

When we talk about the usual day-to-day activity of any Linux administrator, one activity indeed precedes everything else: adding or removing users from the system.
One thing that keeps changing is the users’ access level depending on the kind of work they are undertaking or the department they belong to that needs specialized access.
Either way, it would be much easier for a Linux administrator to manage users with similar or matching access levels as it is easier to add or remove access from a group of users rather than doing it individually for each user.
That is why the concept of user groups exists in Linux. User groups are nothing but a collection of users with similar access permissions. So, here in this article, we will look into how to create or delete a user group in Ubuntu.
Also read: How to Add a User to a Group in Linux?
We will also look into how to check the user groups an Ubuntu user belongs to.
Checking User Groups In Ubuntu
Linux administrators can check the user groups to which an Ubuntu user belongs in two ways:
- Checking User Groups In GUI Mode
- Checking User Groups In Terminal Mode
Let us see how to check user groups in both the modes one by one.
Also read: Linux User Administration: A Complete Guide to Managing Multi-User Systems
Checking User Groups In GUI Mode
To check the user groups to which an Ubuntu user belongs in the GUI mode, we will have to first download the tools required to view the users and group details, as Linux doesn’t come pre-loaded with the tools necessary, at least in the GUI.
Either we can search for <Users and Groups> or simply type <gnome-system-tools> in the Ubuntu Software Center.

We will be taken to the application information page, just press the install button, which may prompt you for the password.

Alternatively, you can also install the Users and Groups application from the terminal.
sudo apt-get install gnome-system-tools
We need to follow the following steps to check the user groups to which an Ubuntu user belongs in GUI mode,
- First, we need to open the Activities tab in the top left corner of the screen. Then we need to search for the term “users” as shown in the image below:
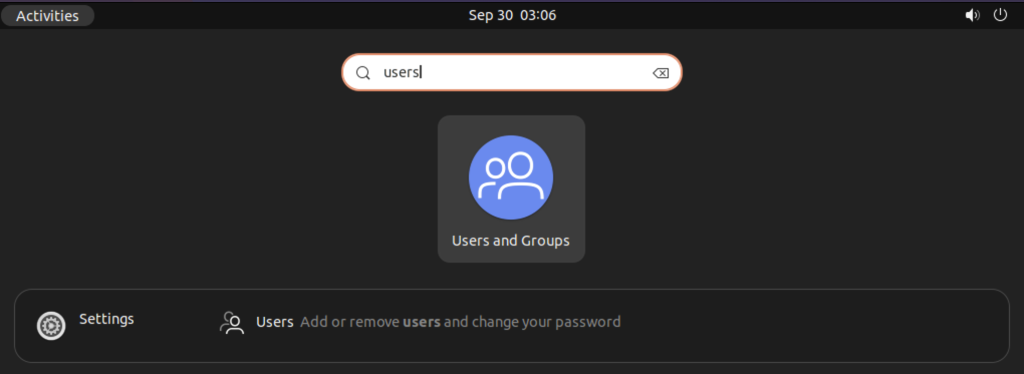
- As we can see in the image above, the search result shows the Users and Groups option. We need to click on it.
- As soon as we click on Users and Groups option, the Users and Groups window will open up as shown in the image below:
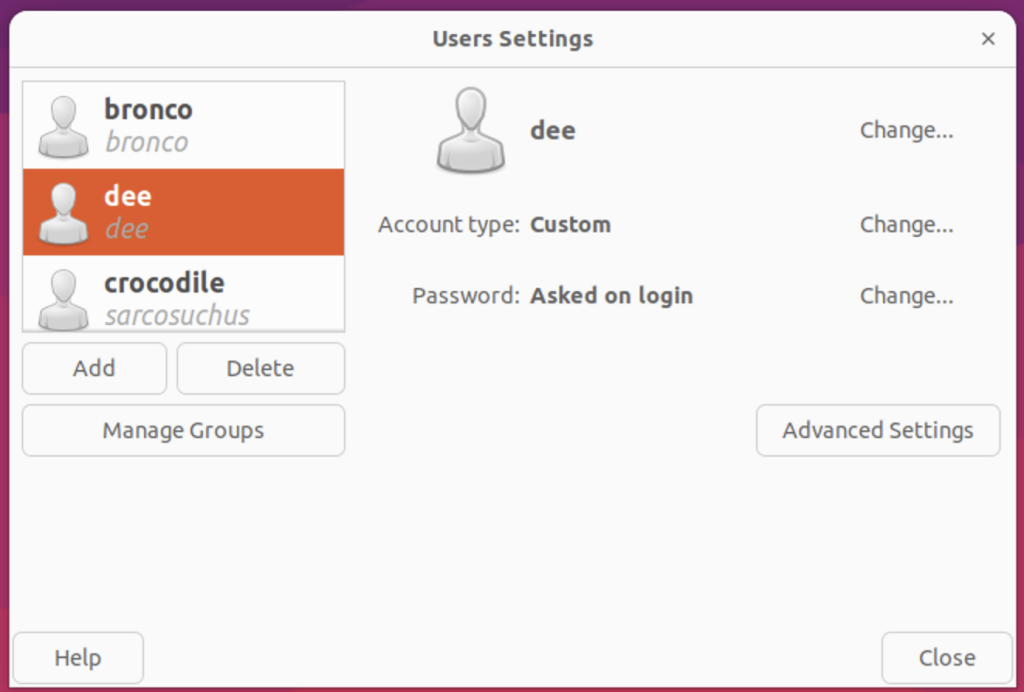
- In the Users and Groups window, we can see the list of all the local users of the system. We need to click on the user whose user groups we want to check.
- As soon as we click on a particular user, the details of that user will be displayed in the right pane as shown in the image below:
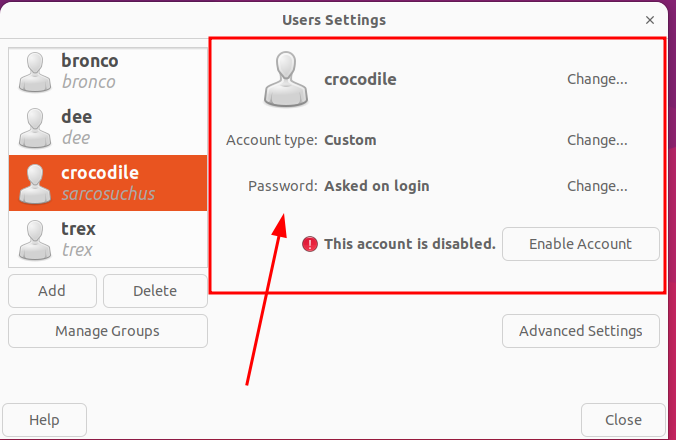
- In the above image, we can see the Groups tab. When we click on it, the Groups to which the selected user belongs are displayed as shown in the image below:
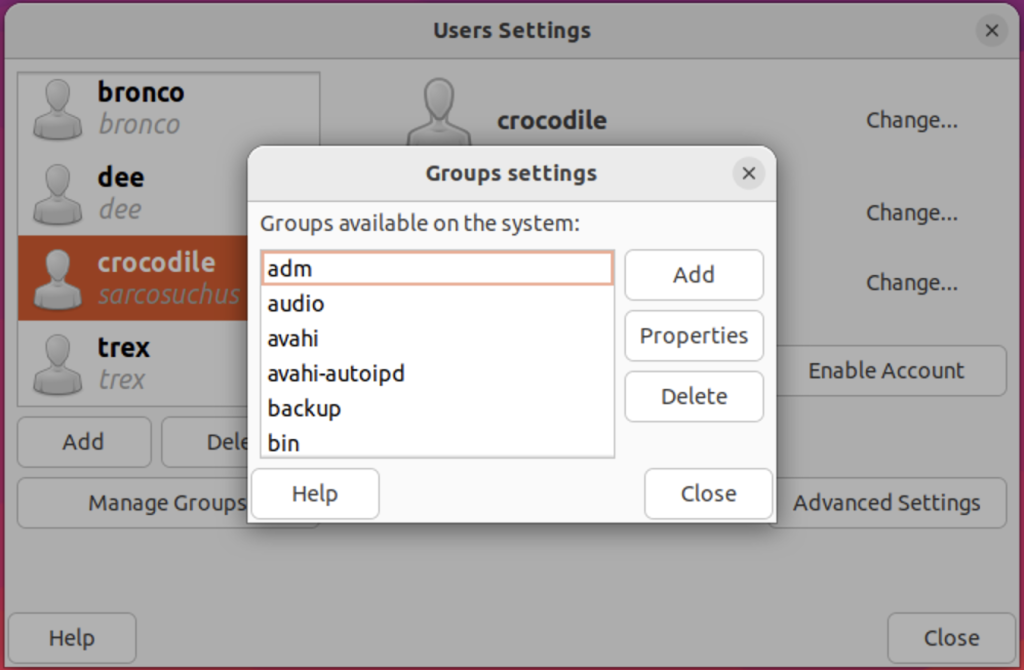
- As we can see in the image above, the selected user belongs to the adm, audio, avahi, avahi-autoipd, backup, and bin user groups.
- Thus, we have successfully checked the user groups to which an Ubuntu user belongs in GUI mode.
Checking User Groups In Terminal Mode
There are multiple ways to check user groups in the terminal mode,
- Method 1: Using groups command
- Method 2: Using id command
- Method 3: getent
The easiest way to access the terminal is by pressing Ctrl+Alt+T. We can also access the terminal using the dash or log into our terminal using SSH.
Method 1: Checking User Groups in Using the Groups Command
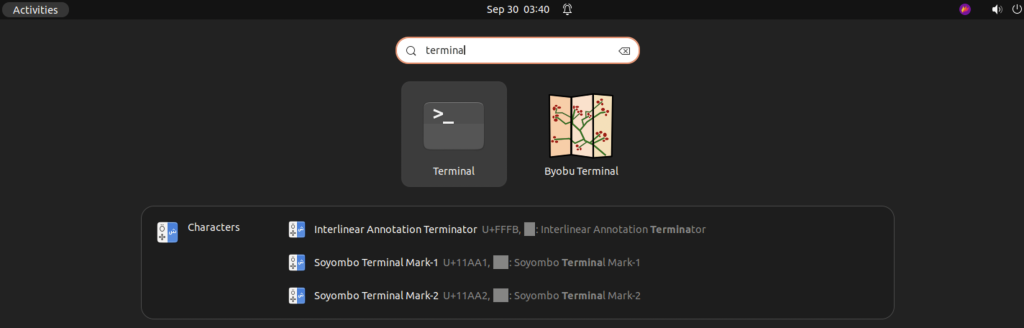
- We can also open the terminal by clicking on the terminal icon as shown in the image below:
2. In the terminal window, type groups command,

The groups command in the terminal displays all the groups the current user is associated with if the groups command is used as is. The above image displays the user dee being associated with the groups adm, cdrom, sudo, dip, plugdev, and lxd.
However, if we need details of some other user in the system, we will have to mention it explicitly after,
$groups <username>
Method 2: Using id command
Another way of checking the groups a user is associated with is to make use of the command id,
id is a command that prints information about the user who is executing the command. The command prints the user’s id, primary group id, and the list of groups to which the user belongs.

Using id with the following flags make id command function just like the groups command,
$id -Gn
We can also use id command to check other users and the groups they are associated with using id command,
$id -Gn <username>
Method 3: Using getent command to find user groups of a user
Method 3 explores the use of getent command to check the groups a particual user is associated with,
$getent group <username>The command “getent group ” will return all of the groups that <username> is a member of. It also displays the gid of the user.

Summary
Knowing what groups a user is part of can help you determine how to shape the authentication and permission protocol for a system. This is especially helpful in larger organizations that have centralized user administration systems. Here, you can view the permissions of different groups and assign specific groups to users directly.