
Btrfs on Ubuntu is a modern copy-on-write (CoW) filesystem for Linux with an aim to implement advanced features while being easy to repair, maintain, and easy administration. Like ZFS, the Btrfs file system features advanced features like Snapshots, RAID, self-healing, and more. You can find the whole list of features at btrfs Wiki. Btrfs project was started in 2007, and it is also a part of the Linux kernel. Some top technologies like Kubernetes also make use of the Btrfs filesystem.
Installing the Btrfs on Ubuntu
Btrfs file system is easily available in the apt package manager.
Before installing, update your apt package manager index by executing the following apt command with sudo:
sudo apt update
Now, to install the Btrfs filesystem, execute the following apt command with sudo:
sudo apt install btrfs-progs
Once we have installed the package, we can proceed further to set up the Btrfs file system on our device.
The device we have used on our system for the Btrfs filesystem is /dev/sdb
Partitioning with the help of cfdisk partition editor
Before creating a filesystem on our device, we need to first create the partition(s). For this purpose, we can make use of the popular Linux partition editor called cfdisk.
Execute cfdisk partition editor for the device /dev/sdb by executing:
sudo cfdisk /dev/sdb
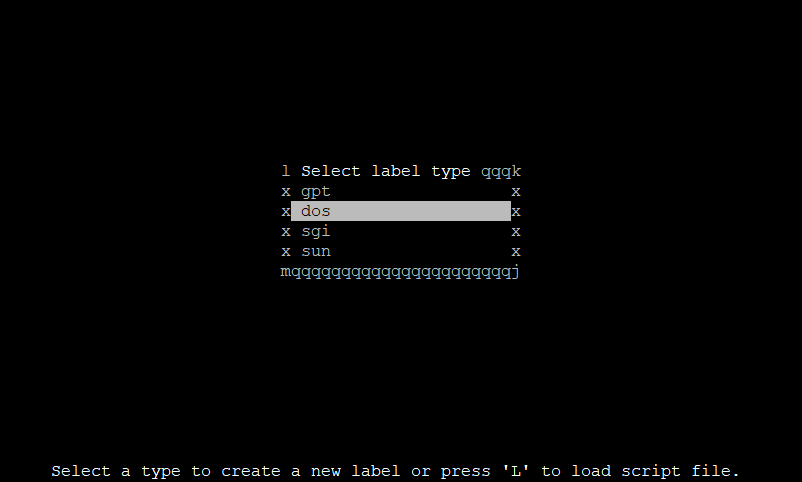
You might wanna use gpt if you are on a UEFI system. But, for this tutorial, we’ll proceed with dos. Use the down arrow to select dos and press Enter to choose it.
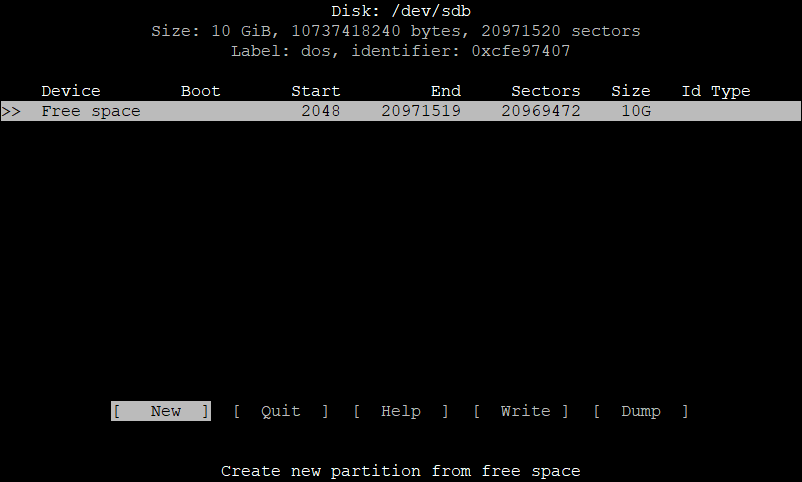
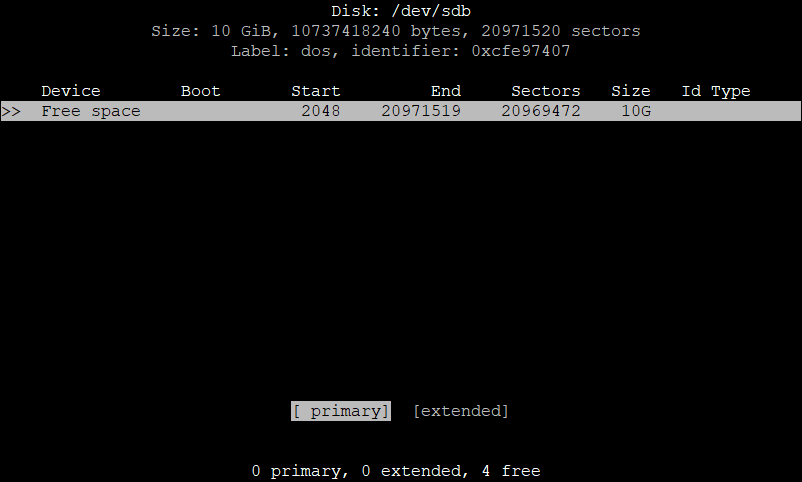
In the above picture, you can see we have no partitions at the moment on this device. So, we have to create a new partition.
Select [ New ] with arrow keys and press Enter.
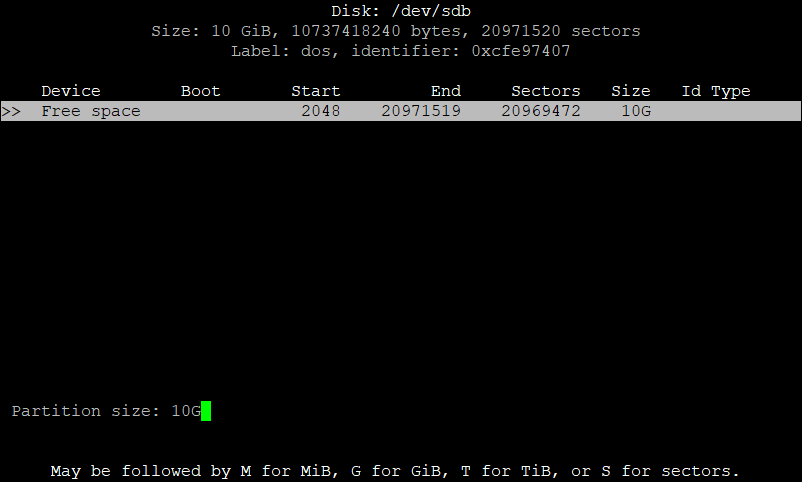
As you can see in the above picture, we are creating a partition of 10G (that is 10 GB, similarly for M for MB, & T for TB). We are using all the available space on our device, but you can choose as per your needs.
Now choose primary, and hit Enter.
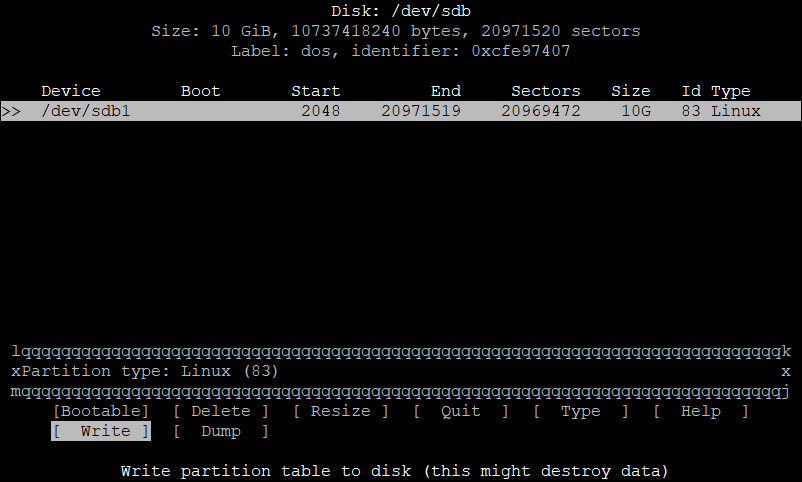
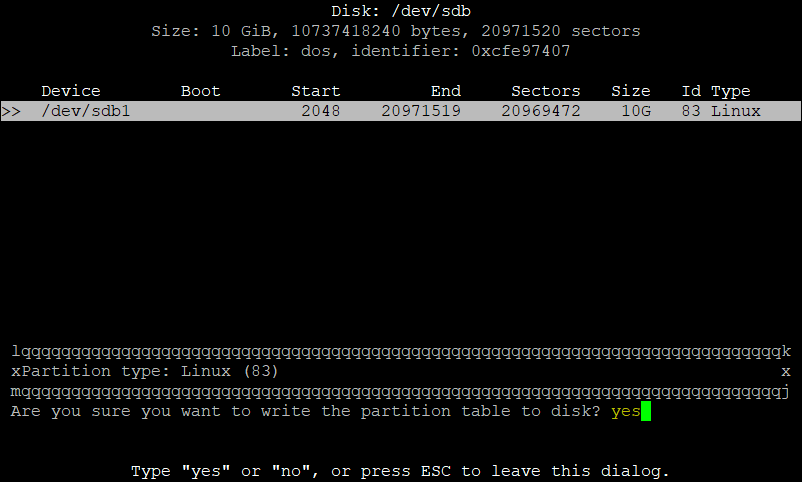
Now type yes to confirm, write changes to the device.
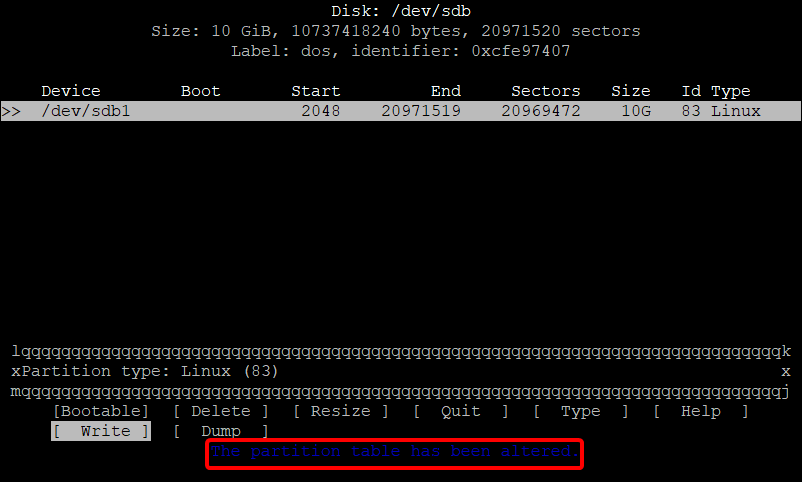
Now you can quit cfdisk. You can list the partition using the lsblk command with sudo:
sudo lsblk
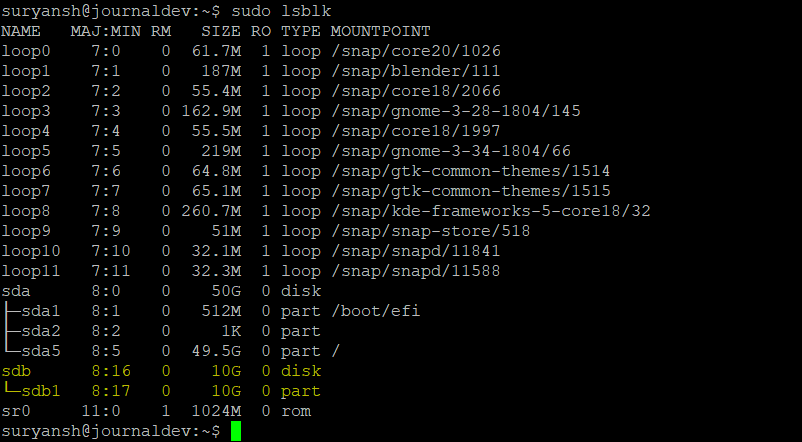
Now that we have a partition created, we can now proceed to create the Btrfs filesystem on the partition.
Creating Btrfs filesystem on a partition
We can make a filesystem on our partition using the mkfs.btrfs command.
To create a Btrfs filesystem on our partition execute the following command and replace your partition with /dev/sdb1:
sudo mkfs.btrfs -L btrfs /dev/sdb1
The -L option is used to specify the volume label.
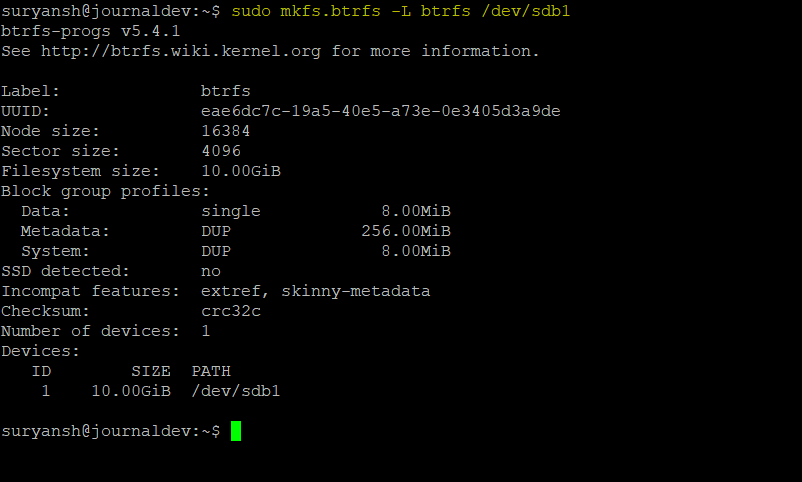
As you can see in the above image, we have successfully created a Btrfs filesystem on our partition.
Mounting a Btrfs partition
To mount a Btrfs partition, create an empty directory preferably in / using the mkdir command with sudo:
sudo mkdir /btrfs
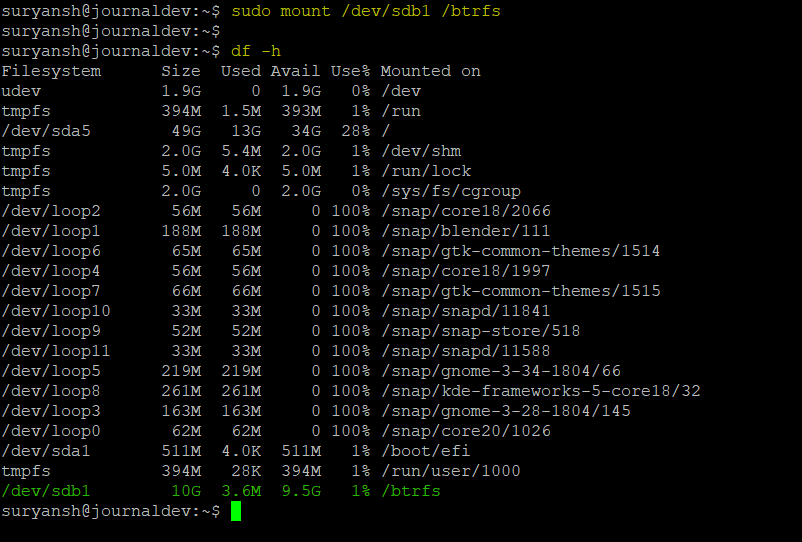
We will use the mount command with sudo to mount our Btrfs partition.
sudo mount /dev/sdb1 /btrfs
You can verify it by executing the following df command:
df -h
Conclusion
btrfs is among the most popular filesystems in the Linux world. It has many advanced features like, snapshots, raid, self-healing, deduplication, and more, which ensures integrity and reliability.
Thank you for reading!