

Samba is an open-source software suite that provides file and print services to SMB/CIFS clients. It is a re-implementation of the SMB (Server Message Block) and CIFS (Common Internet File System) protocols and allows Linux and Unix-based systems to share files and printers with Windows clients and servers.
This tutorial will install Samba on CentOs and configure the Samba server to share files across various operating Systems.
Also read: How to Setup and Mount Samba Share on Windows
Prerequisites for Installing Samba on CentOS
Before installing and configuring Samba, it is important to check if it is already installed on your system. You can do this by running the command
smbd -V
When you run the command smbd -V in the terminal, the version number of the currently installed Samba daemon will be displayed. This can be useful in determining whether or not Samba is already installed on the system and, if so, which version is currently being used.

- We also have to ensure that the system user has root access.
- Next, it is recommended to update the system by running
yum update. This will ensure that all of the necessary dependencies are up to date.

Installing Samba on CentOS
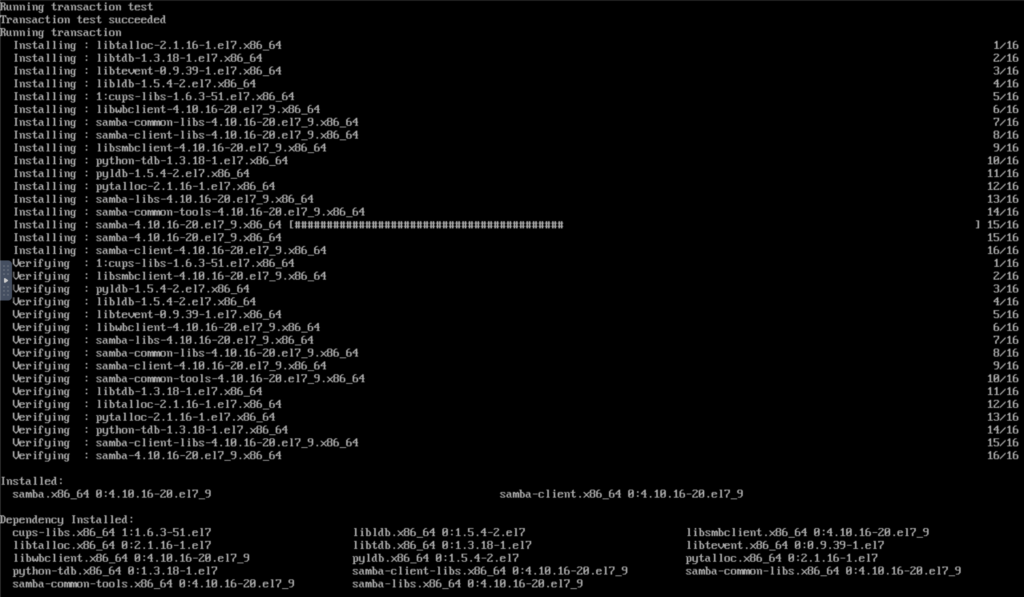
We have successfully checked off the prerequisites for installing the Samba Server. Let’s go ahead and execute the following command to install the Samba server,
dnf install samba samba-common samba-client
If your system doesn’t have dnf preinstalled can use yum,
To install the dependencies required for Samba, including the samba, samba-common and samba-client packages by running the command
yum install samba samba-common samba-client
Starting the Samba Server Services
Let’s start the samba services and enable them to start automatically on system boot,
sudo systemctl start smb.service
sudo systemctl enable smb.service
sudo systemctl start nmb.service
sudo systemctl enable nmb.service
The smbd (Samba daemon) service provides file and print-sharing services to clients using the SMB/CIFS protocol. It runs as a daemon on the server and listens for incoming connections on TCP ports 139 and 445. When a client connects to the server, the smbd service handles requests, such as providing access to files and directories or printing documents. The smbd service also handles authentication, authorization, and access control for the clients connecting to the server.
The nmbd (NetBIOS name server daemon) service provides NetBIOS over IP naming services to clients. It also runs as a daemon on the server and listens for incoming connections on UDP port 137. The nmbd service allows clients to resolve NetBIOS names to IP addresses, which is essential for SMB/CIFS networking. It also allows clients to find and browse network resources, such as shared files and printers, by broadcasting NetBIOS name queries on the local network.
Together, smbd and nmbd services allow a Linux or Unix system to act as a file and print server for Windows clients and to participate in a Windows network browsing environment. They enable Windows clients to access files, directories, and printers on the Linux/Unix server as if it were a Windows server. The smbd service provides the actual file and print-sharing functionality. In contrast, the nmbd service provides the necessary naming and browsing services for the clients to locate and access the shared resources.

Setting Up a Firewall to Allow Samba Services to Run
To allow clients to access the file and print-sharing services provided by Samba, you need to configure your firewall to open the necessary ports.
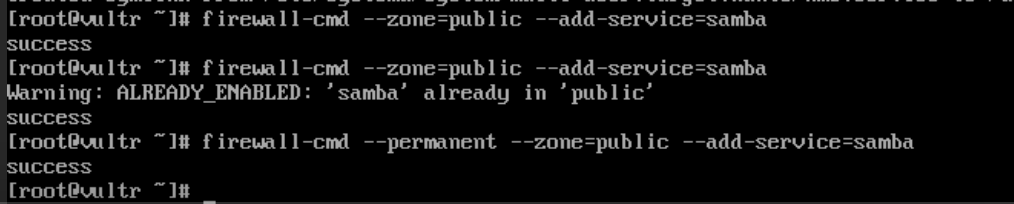
The first step is to run the following command:
firewall-cmd --permanent --zone=public --add-service=samba
This command tells the firewall to add the “samba” service to the “public” zone permanently. This means that the changes will persist across reboots of the system. The “samba” service is a predefined service in the firewall that opens the necessary ports for Samba, including TCP ports 139 and 445 for SMB/CIFS file and print sharing and UDP port 137 for NetBIOS name resolution.
The second command is:
firewall-cmd --zone=public --add-service=samba
This command tells the firewall to add the “samba” service to the “public” zone in a temporary way. This means that the changes will not persist across reboots of the system.
Both commands ensure that the firewall is configured to allow access to the Samba services by clients on the public network. The firewall will now allow incoming connections on the necessary ports for SMB/CIFS file and print sharing and NetBIOS name resolution, allowing clients to connect to the Samba server and access shared files and printers.
It is important to note that if you are using a different firewall software than firewalld, the commands and configurations may be different.
Creating the Samba Share Directory and Adding Users
In order to create a structured and maintainable Samba setup, all Samba directories and data will be located in the /samba directory. To start, the following commands are used to create the /samba directory and set the necessary permissions:
sudo mkdir /samba– This command creates the /samba directory on the system.sudo groupadd sambashare– This command creates a new group called sambashare.sudo chgrp sambashare /samba– This command changes the group ownership of the /samba directory to the newly created sambashare group.

Samba uses Linux users and group permission systems, but it has an authentication mechanism separate from the standard Linux authentication. Therefore, to create Samba users, we will first create regular Linux users using the standard Linux useradd tool and then set the user passwords with the smbpasswd utility.
In this example, we will create two types of users:
- A regular user named reg-user will have access to its private file share.
- An administrative user named samba-admin with read and write access to all shares on the Samba server.
1. Creating a Regular User
To create a new user named ‘reg-user’, use the following command:
sudo useradd -M -d /samba/reg-user -s /usr/sbin/nologin -G sambashare reg-user
Here’s an explanation of what the above flags and commands do,
- -M : Do not create the user’s home directory. We will manually create this directory.
- -d /samba/reg-user: Set the user’s home directory to /samba/reg-user.
- -s /usr/sbin/nologin: Disable shell access for this user.
- -G sambashare: Add the user to the sambashare group.
The follow chown command will create the reg-user’s home directory and set the directory ownership to user reg-user and group sambashare:
sudo mkdir /samba/reg-user
sudo chown reg-user:sambashare /samba/reg-user
The following command is used to add the setgid bit to the /samba/reg-user directory so that newly created files in this directory will inherit the group of the parent directory. This way, no matter which user creates a new file, the file will have the group-owner of sambashare.
sudo chmod 2770 /samba/reg-user
To add the josh user account to the Samba database and set the user password, use the following command:
sudo smbpasswd -a reg-user
You will be prompted to enter and confirm the user password.
Once the password is set, enable the Samba account by using the command:
sudo smbpasswd -e reg-user
2. Creating an Administrative User
The process of creating the administrative user, samba-admin, is similar. To create the administrative user, type:
sudo useradd -M -d /samba/users -s /usr/sbin/nologin -G sambashare samba-admin
The command above will also create a group sadmin and add the user to both sadmin and sambashare groups.
To set a password and enable the sadmin user, use the following commands:
sudo smbpasswd -e samba-admin
3. Create the Users Share Directory
sudo mkdir /samba/users
Set the directory ownership to user sadmin and group sambashare:
sudo chown sadmin:sambashare /samba/users
This directory will be accessible to all authenticated users.
The following command is used to configure write/read access to members of the sambashare group in the /samba/users directory:
sudo chmod 2770 /samba/users
Configuring Samba Server
After creating the samba share directory, it is necessary to edit the smb.conf file to configure shares, users, and permissions. smb.conf is the configuration file of Samba. The smb.conf file is typically located in the /etc/samba directory.
But before we start editing the configuration file, let’s take a backup of it,
mv /etc/samba/smb.conf /etc/samba/smb.con.bak

You can configure shares by adding a section to the smb.conf file in the format:
[users]
    path = /samba/users
    browseable = yes
    read only = no
    force create mode = 0660
    force directory mode = 2770
    valid users = @sambashare @samba-admin

[josh]
    path = /samba/reg-user
    browseable = no
    read only = no
    force create mode = 0660
    force directory mode = 2770
    valid users = reg-user @samba-admin
Now, we save and exit the configuration file.
Now that the configuration file has been saved let us restart the services,
sudo systemctl restart smb.service
sudo systemctl restart nmb.service
Conclusion
That’s Now that we have set up the Samba Server, all we need to do is to connect to the Samba Server. Do read up on connecting to samba server.
FAQs
How do I install Samba on CentOS 7?
To install Samba on CentOS 7, you can use the command `sudo yum install samba samba-client samba-common`. This will download and install the Samba server and its associated packages.
What is the Samba configuration file location on CentOS 7?
The Samba configuration file is located at `/etc/samba/smb.conf`. You can edit this file to customize your Samba settings and shares.
How do I configure Samba users on CentOS 7?
To configure Samba users on CentOS 7, you first need to create a Linux user with the command `sudo useradd username`, then set a Samba password using `sudo smbpasswd -a username`. This makes the user available for Samba file sharing.
Can I share a folder using Samba on CentOS 7?
Yes, you can share a folder using Samba on CentOS 7. You need to define the folder in the Samba configuration file by adding a section like `[share_name]` and specifying the path to the folder and permissions.
How do I restart the Samba service on CentOS 7?
You can restart the Samba service on CentOS 7 by using the command `sudo systemctl restart smb.service` to apply any changes made in the configuration.
Is it possible to configure Samba for printer sharing on CentOS 7?
Yes, Samba supports printer sharing on CentOS 7. You need to add the printer configuration to the `smb.conf` file and ensure that the printer is accessible on the network.
How can I access Samba shares from macOS?
To access Samba shares from macOS, you can use the Finder. Click on “Go” in the menu bar, select “Connect to Server,” and enter `smb://server_ip_address/share_name` to connect to the Samba share.
What do I need to consider when setting up Samba on a CentOS 7 server for Windows devices?
When setting up Samba on a CentOS 7 server for Windows devices, ensure that the Samba configuration is compatible with Windows file and printer sharing protocols, and that you have correct permissions set in the Samba configuration file to allow access.
How do I check if Samba is running on my CentOS 7 server?
ou can check if Samba is running on your CentOS 7 server by executing the command `sudo systemctl status smb.service`. This will show you the current status of the Samba service.
Can Samba on CentOS 7 be used as a domain controller?
Yes, Samba can be configured as an Active Directory domain controller on CentOS 7, allowing it to manage Windows devices and provide centralized authentication for users within a network.