
As a tech enthusiast, I’m always looking for ways to make my life a bit easier when it comes to data storage and sharing. I recently came across the Samba share, and it seemed like the perfect solution for my needs.
Samba share is a free and open-source software protocol for accessing and sharing files, printers, and other data across a local area network. It’s compatible with Windows, Linux, and Mac systems, making it an ideal choice for home networks.
I decided to try it out on my Linux Mint system, and the installation and setup were surprisingly easy. I was able to set up a Samba share in a matter of minutes. I also found out that I could even turn my old PC into a Network Attached Storage (NAS) with Samba and Nginx.
In this tutorial, I will show you how to install and set up Samba Share on Linux Mint and how can you access the storage from a Windows machine.
Installing Samba Share
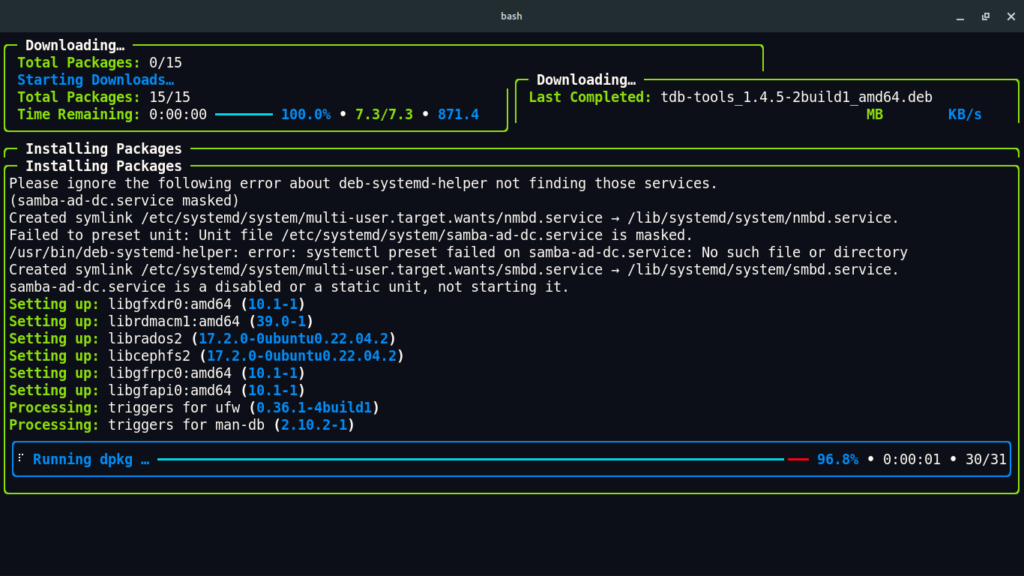
If you look at the Sharing properties of the directory which you want to share, then you will find that Linux Mint does not have Samba installed by default. It also asks us to enable and set up a firewall for security reasons. So let’s first install Samba on our PC. Just open a Terminal window and type the following commands:
sudo apt update && sudo apt install samba
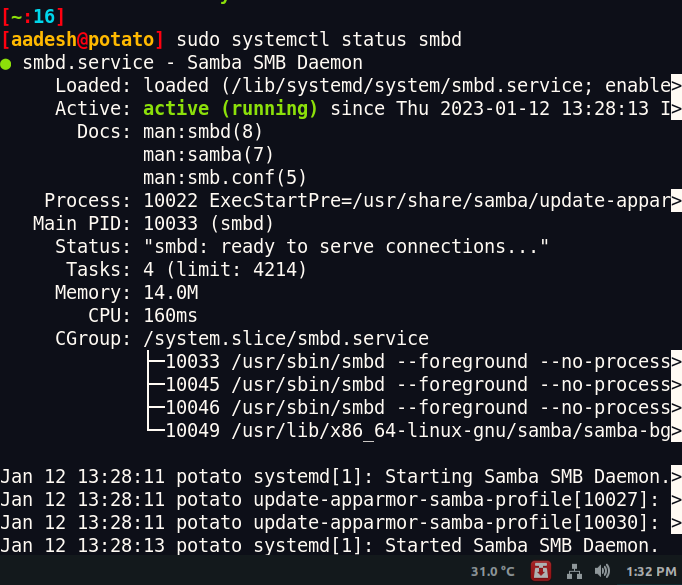
Once installed, you can check if the service is running or not, you can type the following command in the Terminal to check:
sudo systemctl status smbd
If it is disabled, then you can type the following command to enable and start the service:
sudo systemctl enable smbd.service
sudo systemctl start smbd.service
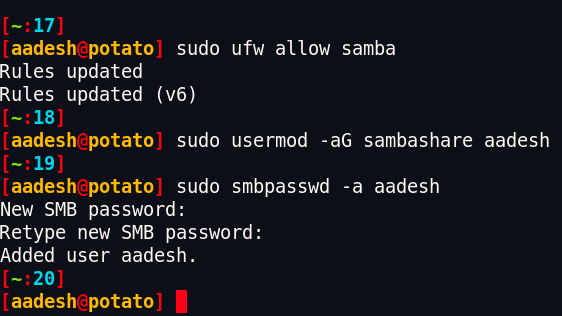
Finally, allow Samba to the firewall rules and then create a user. Yes, you must create a separate user for Samba, your current one will not be able to work with this tool. Just open a Terminal and then type the following command:
# Allow a Firewall port
sudo ufw allow samba

# Create a new user
sudo usermod -aG sambashare $USER

# Add a Password
sudo smbpasswd -a aadesh
Type and then retype a new password and press enter. Finally, select your desired directory and then change its properties by right-clicking and opening its properties. Click on ‘Share this folder’ and then click on ‘Modify Share’. You can optionally allow any user to create and delete the files inside this directory.

Optionally, You can now create a static IP for your PC so that your IP address does not change every time you restart your PC.
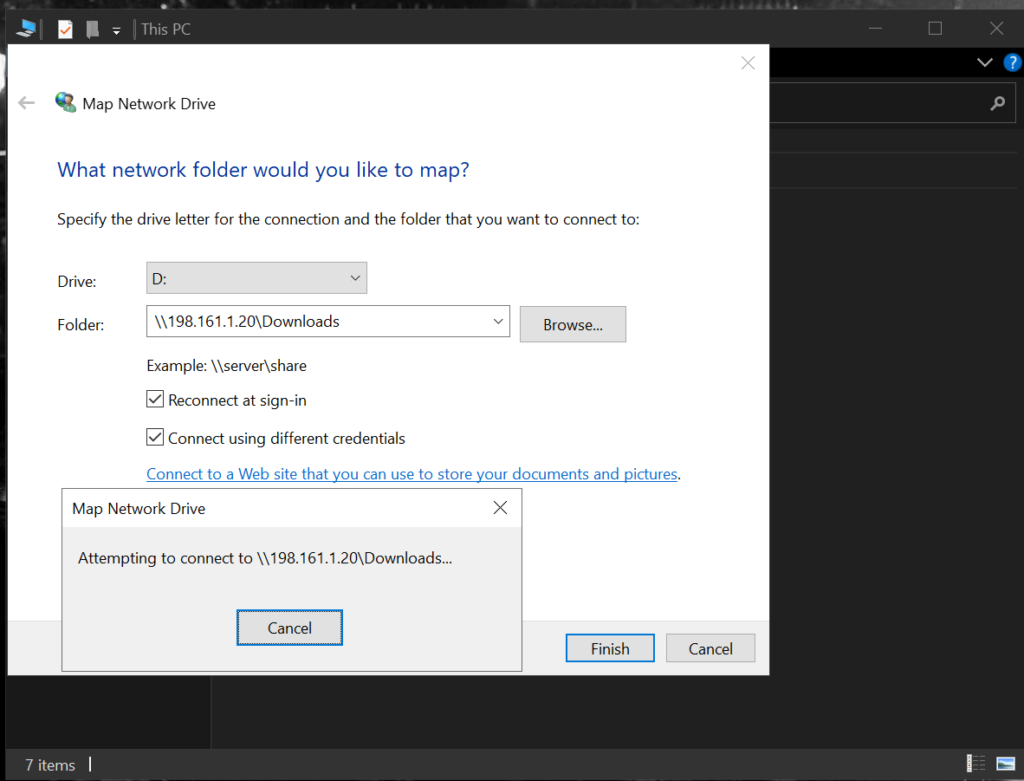
Once finished, you can note down the IP address of your PC. Now, open your Windows PC and then open ‘This PC’ or ‘My Computer’. Make sure that you are on the same network on which your Linux PC is connected.
Now, go to ‘Computer’ and then click on ‘Map a Network Storage’ or ‘Add a network drive’.
From here, you have to type the IP address of your machine like this:
//YOUR.IP.ADDRESS.HERE/FOLDER-NAME
# example:
//192.168.1.1/Downloads
If asked for a password, enter the username and password we just set up in SMB Share.
Summary
The amount of Flexibility a Linux operating system gives you is quite amazing. You can easily set up a seedbox or a file server using this method on your old PC if you want to, apart from the file-sharing part. And if you want to set up several Virtual Machines for different purposes on a single PC, then all your stuff will be separated, and you can easily troubleshoot when any error arises. We hope you learned the right way to work with Samba share on Linux.