

In this tutorial, we will learn how to install Nagios on Ubuntu.
What is Nagios?
Nagios is a continuous monitoring solution. It is an effective system where complete IT infrastructure i.e. the application deployment, production, and so on are monitored continuously in an automated fashion. There are many continuous monitoring tools such as Splunk, Amazon CloudWatch, ELK, Nagios, and so on.
Here we are discussing Nagios. It is an open-source monitoring tool that monitors the entire IT infrastructure. It is also known as Nagios Core. In addition to it, Nagios also monitor applications on remote hosts and networks too.
Nagios is based on Master-Slave architecture. One system acts as a server while others act as a client(on which application is running) connected to the server. The tool is installed on the server. What Nagios can monitor? It can monitor servers, switches, applications, and services. It automatically sends an alert if there is an issue.
The Nagios plugins are required to interact with local and all the remote hosts that need to be monitored. These can be Perl scripts or shell scripts that run from the command line to check the status of the host or a service.
Steps to Install Nagios on Ubuntu 18.04
Check the Nagios Official Documentation for more details. Let’s understand how to install Nagios in Ubuntu. We will also learn how to install the Nagios plugins.
1. Update the repositories
The first step is to upgrade and update the repositories. Updating the packages will download the list of packages with their latest version while upgrading the packages will install the latest version of the packages as mentioned in the list. Learn the difference between apt and apt-get command.
Use apt command to upgrade and update the repositories. Let’s have a look at the command below:
sudo apt update && apt upgrade
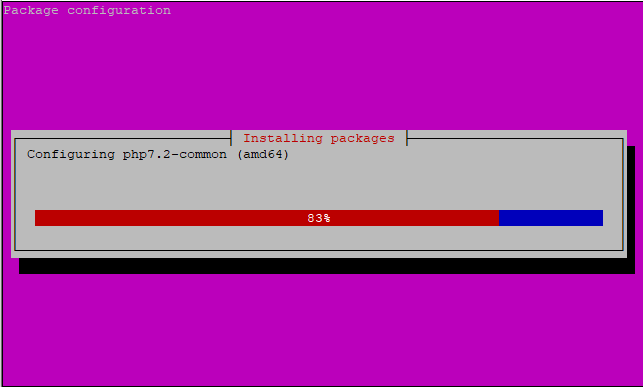
2. Install the LAMP stack
Before installing the Nagios tool, it’s important to install the LAMP stack. LAMP is a collection of Linux Apache MariaDB and Python/PHP/Perl which is used for dynamic websites. It is assumed that you have already installed it on the system. But if not, use the command given below:
sudo tasksel install lamp-server
OR
sudo apt-get install -y autoconf gcc libc6 make wget unzip apache2 php libapache2-mod-php7.2 libgd-dev
3. Install Nagios Package
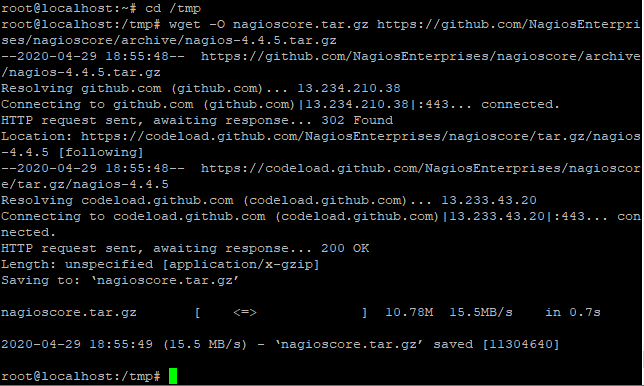
Once you’re done with the installation of the LAMP server, the next step is to install Nagios on Ubuntu using the official tarball. Use the wget command to download the package. You need to change the directory. The command used here will install the tar file. Therefore use the tar command to extract the package.
Let’s have a look at the command below:
cd /tmp
wget -O nagioscore.tar.gz https://github.com/NagiosEnterprises/nagioscore/archive/nagios-4.4.5.tar.gz
After installing the package, use the tar command to extract the file. To do so, type the following command:
tar xzf nagioscore.tar.gz
4. Compile the package
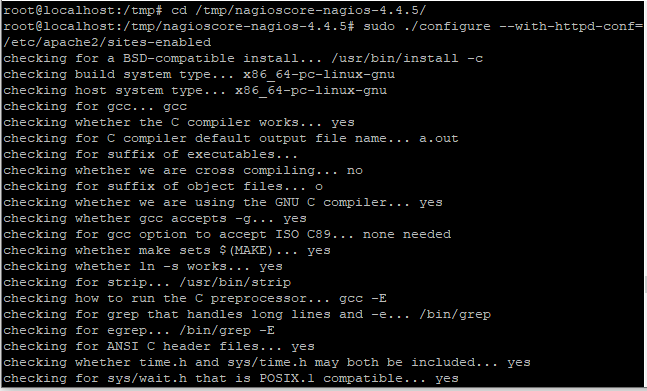
To install Nagios on Ubuntu after downloading and extracting the tarball, we need to compile the package. Change the current directory to the Nagios directory and run the configure script. The configure script is used to check whether all the dependencies are present in the system or not. Let’s have a look at the command below:
cd /tmp/nagioscore-nagios-4.4.5/
sudo ./configure --with-httpd-conf=/etc/apache2/sites-enabled
The next step is to build nagios using the make command. Type the following in the terminal,
sudo make all
5. Create a group and a user
We need to create a group and a user for Nagios. Create the Nagios user account and add it to the group. Learn Linux User Administration. Let’s have a look at the command below:
sudo useradd nagios
sudo groupadd nagios
Once the group and user is created, add the www-data user to the nagios group so we can run Nagios and access the application from the webserver.
sudo usermod -a -G nagios www-data
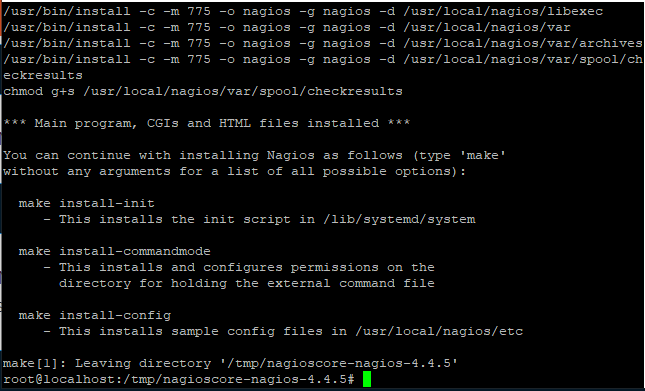
6. Install the Binary files
After successfully creating the binary files, the next step is to install the binary files, CGIs, and HTML files. Let’s have a look at the command below:
sudo make install
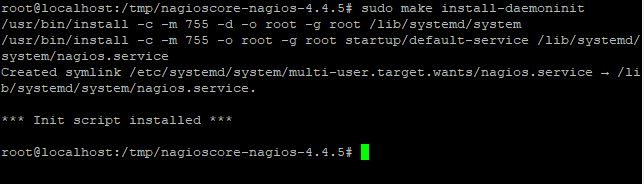
7. Create the systemd unit file
Next, we have to install the daemon/service files that would configure the Nagios on start on boot. This command also creates a systemd unit file.
Let’s have a look at the command below:
sudo make install-daemoninit
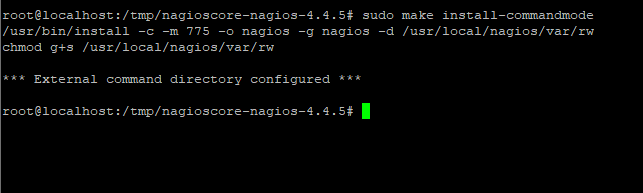
8. Install the external command file
As of now, we have installed the daemon service, the next step is to install the external command file. It will also configure the external directory. Use make install command to do so. Let’s have a look at the command below:
sudo make install-commandmode
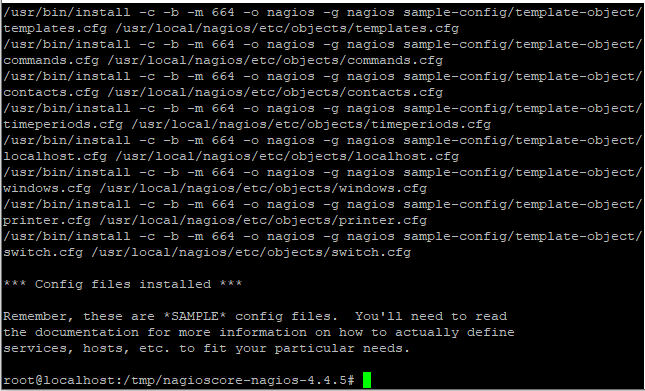
9. Install configuration files
There are many configuration files you need to install in the system. The next step is to install the Nagios configuration file. Let’s have a look at the command below:
sudo make install-config
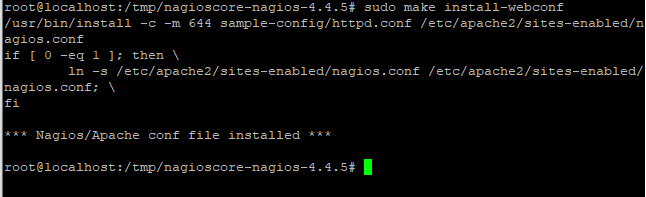
10. Install Apache configuration files
As we are using the LAMP stack, therefore we have to install the Apache configuration file. Note that, make sure the Apache rewrite and CGI are enabled. Let’s have a look at the command below:
sudo make install-webconf
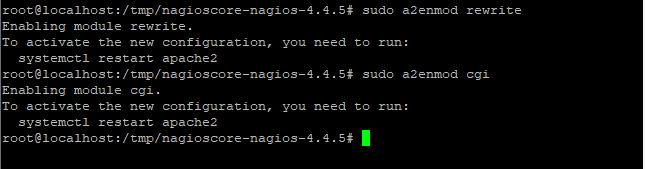
If the Apache rewrite and CGI is not enabled, use the following command to do so.
sudo a2enmod rewrite
sudo a2enmod cgi
11. Firewall configuration
The next step is to configure the firewall i.e. allow the port 80 so that you can access the Nagios web interface. Use the ufw command to do so. Let’s have a look at the following command:
sudo ufw allow 'Apache'
sudo ufw reload

OR
sudo ufw allow 80/tcp
sudo ufw reload
Either of the commands will open the port 80 for us.
12. How to Secure Nagios Installation?
All of us are concerned about security issues. Therefore, it’s important to secure the Nagios account with password to make it accessible only to authorized users. Use the htpasswd command to secure it.
Let’s have a look at the command below:
sudo htpasswd -c /usr/local/nagios/etc/htpasswd.users nagiosadmin
This command would create an account named nagiosadmin and will allow us to set up a password. Add the password as shown in the image given below:

Add a strong password.
14. Restart the Apache service
As we did some changes in the Apache configuration, therefore we have to restart the Apache service again. Use the restart command to restart the service. You can use status command to verify the status of the service.
Let’s have a look at the command below:
sudo systemctl restart apache2.service
sudo systemctl status apache2.service
Starting Nagios and Installing Plugins
Now that we know how to install Nagios on Ubuntu, let’s begin with Nagios. The systemctl command is used to start the Nagios service. Let’s have a look at the command below:
sudo systemctl start nagios.service
The status command is used to verify the status of the service. To do so, type the following in the terminal:
sudo systemctl status nagios.service
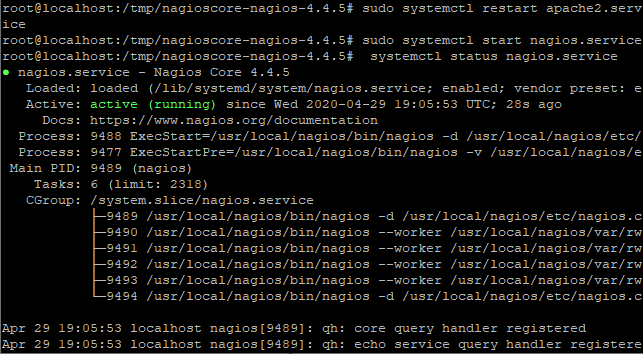
You can see the status as active highlighted in the above image.
1. Install the Nagios plugins
Earlier we discussed that it is important to install the Nagios plugin to interact with the host computer. These are the executable files. Therefore, download the latest version of the plugin. It will be downloaded in the tar file, extract it later using tar command. Do change the directory to tmp folder. Use the wget command to install the plugins.
Check the Nagios plugin Official Documentation for more details.
Let’s have a look at the command below:
cd /tmp
wget --no-check-certificate -O nagios-plugins.tar.gz https://github.com/nagios-plugins/nagios-plugins/archive/release-2.2.1.tar.gz
Extract the archive using tar command. To do so, type the following in the terminal
tar zxf nagios-plugins.tar.gz
2. Compile the plugins
As we did compile the Nagios core software, similarly we have to compile and install the Nagios plugins. The commands are the same as we used before. Make sure to change the directory using the cd command.
Let’s have a look at the command below to set up the plugins.
cd /tmp/nagios-plugins-release-2.2.1/
sudo ./tools/setup
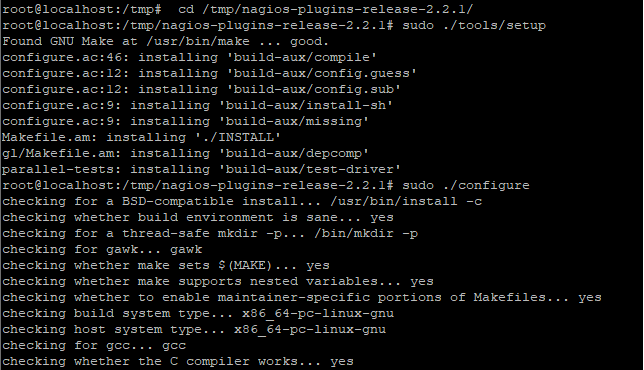
The next step is to run the configure command to configure the plugins. To do so, type the following in the terminal.
sudo ./configure
3. Install the plugins
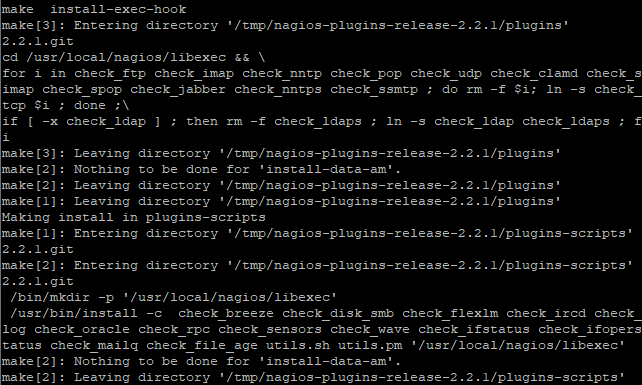
After compiling the configuration files, the next step is to install the plugins. Use the make command to do so. Let’s have a look at the command below:
sudo make

The last step is to run the make install command. Let’s have a look below:
sudo make install
Make sure to start the service again using start command as we did before.
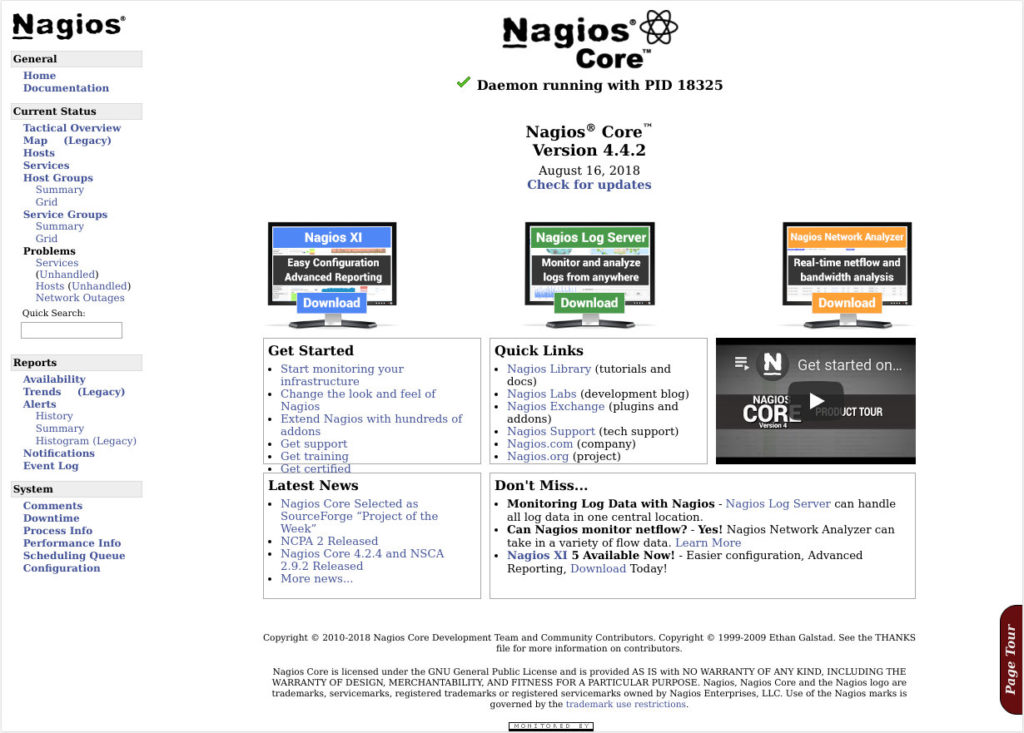
How to View the Nagios Web Interface
That’s it. We now know how to install Nagios on Ubuntu along with the plugins. Let’s begin with the web interface. Mention your server IP address or domain name followed by the nagios. Let’s have a look at the command below:
http://IP_ADDRESS/nagios
Conclusion
We have successfully installed the monitoring tool with its plugins. I hope the concept is cleared. If you still face any issue, do let us know in the comment section.