

WSL2 or Windows Subsystem for Linux version 2 is a free-to-use windows tool using which you can install any Linux distribution directly on a Windows (10 or 11) machine without having to install any kind of virtual machine or dual booting for that matter.
Also check: Windows Terminal – A better way to manage your WSL instances
Now, you can’t get a full experience of any Linux-based distribution using the WSL2 mechanism, this feature is just for the developers who need to test their applications on different platforms without having to reboot/ launch a Virtual Machine.
Now, WSL2 supports a lot of Linux-based operating systems including Ubuntu, Debian, Fedora, and SUSE Linux. And in this tutorial, we will learn to install OpenSUSE on Windows 10 and 11 using WSL2.
Enable WSL Windows 10
If you are using Windows 10, then make sure you are on version 2004, Build 19041, or higher. If you are on any lower version, just upgrade your Windows 10.
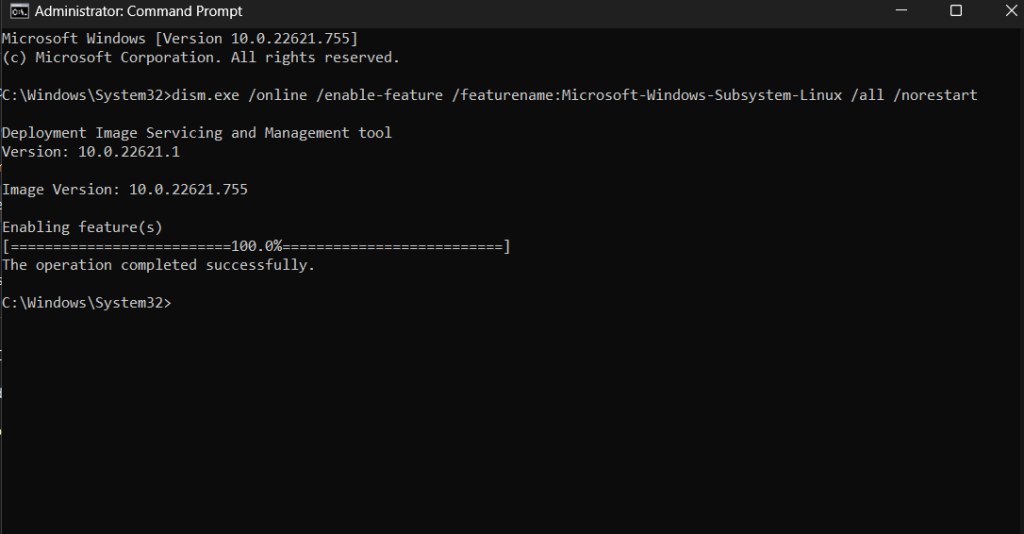
The installation is a lot easier on Windows 11 as WSL version 2 is installed by default, and you just have to enable it. Search and open the Command Prompt application as administrator from your start menu and then copy-paste the following command:
dism.exe /online /enable-feature /featurename:Microsoft-Windows-Subsystem-Linux /all /norestart
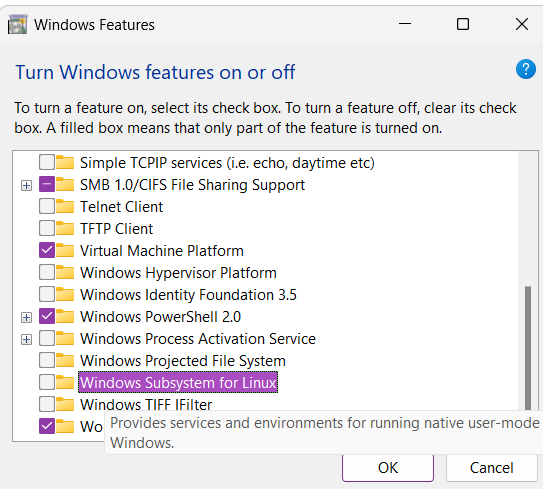
Once enabled, search for ‘Turn Windows Features on or off’ and then scroll down to the bottom and enable ‘Windows Subsystem for Linux’ and click OK, you are now required to restart the computer.
Finally, when restarted, just open your PowerShell application with administrator privileges and type the following command to make version 2 default:
wsl --set-default-version 2
You may see a message like ‘WSL 2 requires an update to its kernel component. For information, please visit https://aka.ms/wsl2kernel‘, in that case, visit that website and download an update and run the above-mentioned command again.
Windows 11 users just have to enable ‘Windows Subsystem for Linux‘ feature from ‘Turn Windows features On or Off‘ and restart their PC.
Installing OpenSUSE from WSL
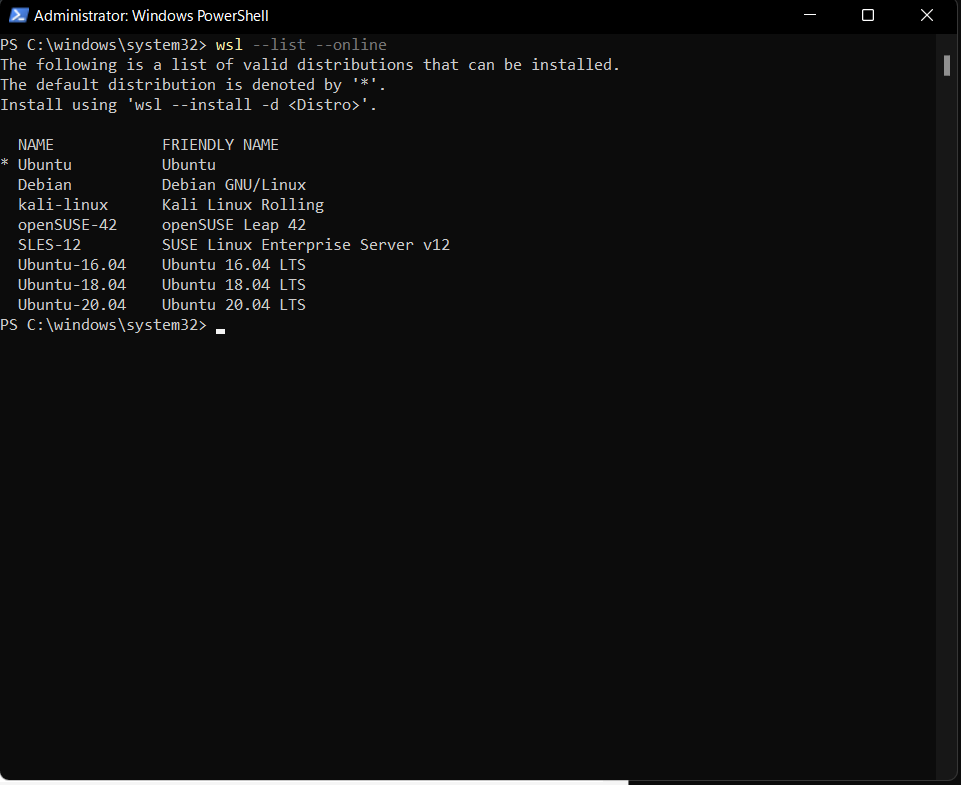
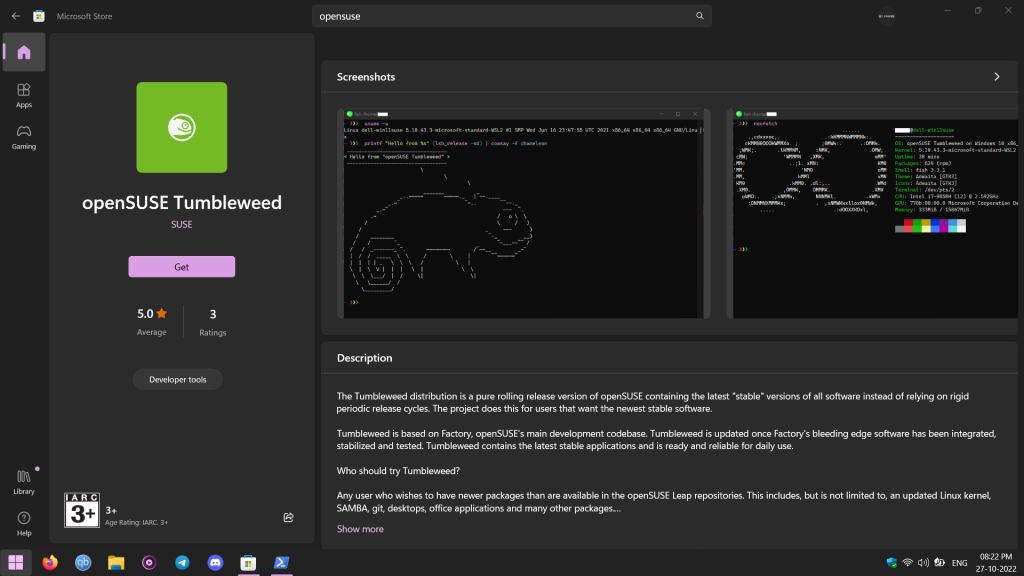
The easiest method would be to search and install OpenSUSE from the Windows Store, however, you can also list and install it from PowerShell if you want by typing the following command:
wsl --list --online
Now, to install OpenSUSE, just type the following command:
wsl -install -d openSUSE-42
OpenSUSE is now installed on your system, let’s do some post-installation tweaks to this machine, such as account creation and updating it to the latest version.
Post-Installation Tweaks
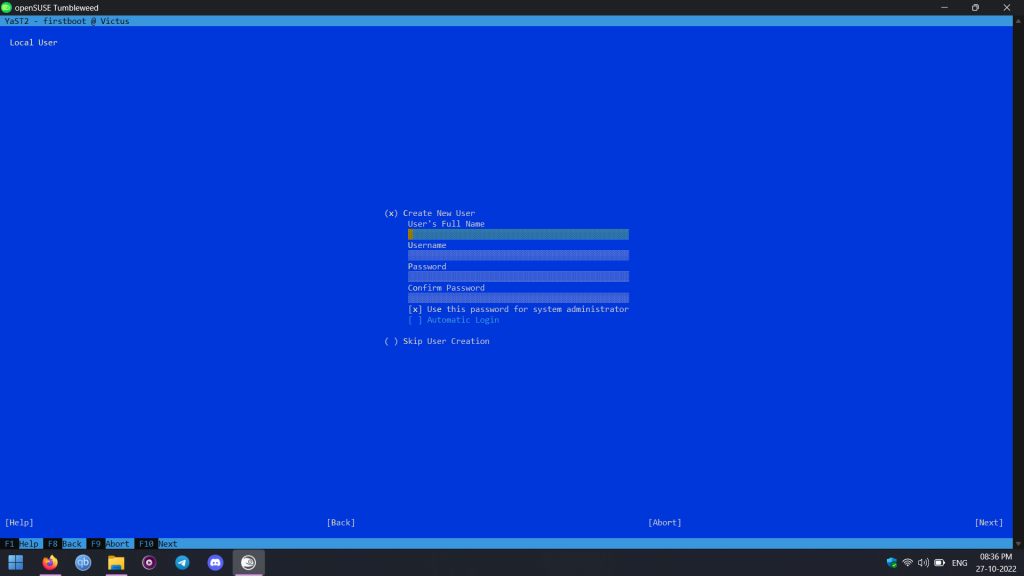
When you launch the OpenSUSE for the first time after a reboot, you will be prompted with a Welcome screen and a license agreement, just hit next and on the next screen you will have to create a User ID and a password, navigate on this screen using your TAB key on the keyboard and enter your details and hit Next.
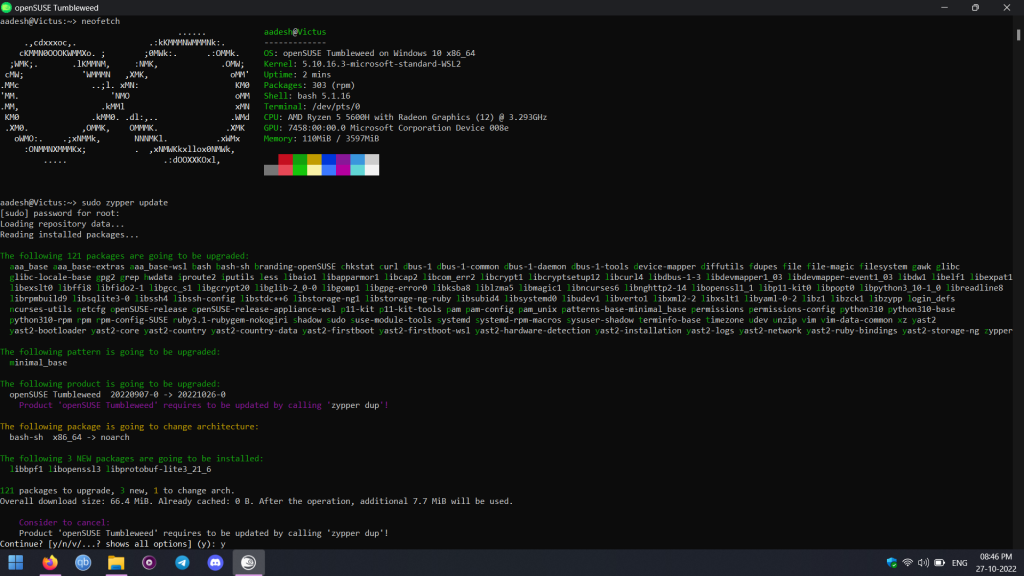
Finally, when everything is done, you will be greeted with the bash prompt. Let’s update our system by typing the following command :
sudo zypper update
Summary
As mentioned earlier, this is definitely not a complete replacement for a Linux Desktop as you can run only CLI applications (GUI applications are supported, but there is no hardware acceleration). If you are looking for an easy-to-use distribution for a beginner, perhaps you should begin with Linux Mint or Pop_OS!