
In this article, we are going to learn how can you dual boot Windows 10 or Windows 11 and Linux Mint and switch between them as per your needs. Although it is laced with many features, Linux isn’t perfect yet. You still might need your Windows installation because of some proprietary software programs or games that just cannot run on Linux.
Note: This only works if you install Windows 10 or 11 first, or you already have a Windows installation on your hardware first. You cannot install Linux Mint first and then Install Windows, otherwise Windows installer will simply remove your Linux Installation.
Steps to Dual Boot Windows 10 and Linux Mint
Let’s get right into the steps to dual boot Windows 10 (or 11) and Linux mint on your system. You can replace Linux Mint with Ubuntu and follow the partitioning section below.
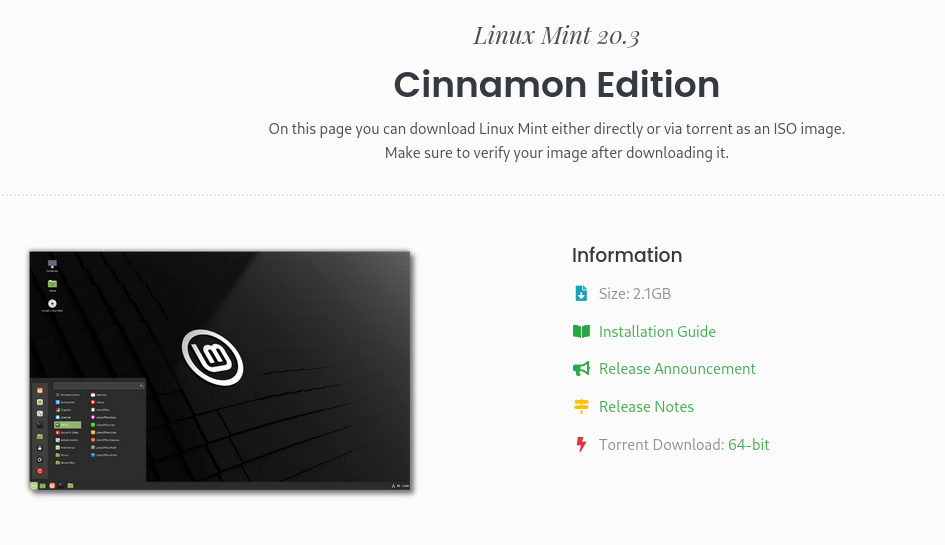
1. Download Linux Mint ISO.
Go to Linux Mint’s official website, and download the edition of Mint that you prefer. No matter which edition you pick, the installation method will be the same. For the sake of this tutorial, I’m using Linux Mint – Cinnamon edition.
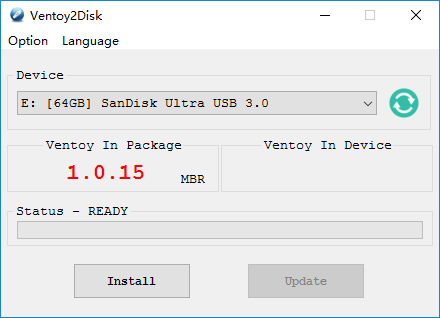
2. Create a bootable USB stick using Ventoy.
After you have downloaded the Linux Mint ISO, pick any USB flash drive of at least 4 GB capacity and make sure that you have no important data in it, as this process will erase it. From Ventoy’s official GitHub page, download the latest version of the Ventoy-Windows.zip file.
Open your downloads folder and extract it there. Now, insert your Flash drive and open Ventoy2Disk.exe. Make sure that your USB stick is selected, if not, click on the refresh button, Now click on the install button.
3. Transfer the ISO file to the Flash Drive
After Ventoy is installed on your Flash Drive, navigate to your Downloads folder and look for the Linux Mint ISO you just downloaded. Copy the ISO using Ctrl + C, now navigate to the Ventoy USB and simply paste it there by pressing Ctrl + V.
4. Disable Secure Boot
Check your Laptop/Motherboard manufacturer website for the key you need to press to access the BIOS menu. It is different for each manufacturer. Don’t worry if you can’t find it, it’s usually one of these keys – DEL, Esc, F2, F10 or F12.
Now, Plug the USB drive and restart your PC and press the key which will lead you to the BIOS menu when the manufacturer logo comes on the screen. Navigate to ‘Boot Options’ using the arrow keys on your keyboard and there, disable ‘Secure Boot’, and using the F5 & F6 keys, change the boot priority order so that your Ventoy USB will be on top and hence booted first. Press F10 key to save and exit.
Now, on the next screen, select Linux Mint and press enter. In a few seconds, you will be greeted with Mint’s Cinnamon desktop interface.
5. Free Up Space
Now, before we proceed to the installation, press the ‘Super’ key (or Windows key) on your keyboard to look for software named GParted, and launch it. We have to free up some space where we will install Linux Mint (If you are installing Linux Mint on a separate SSD, then you don’t have to do this step).
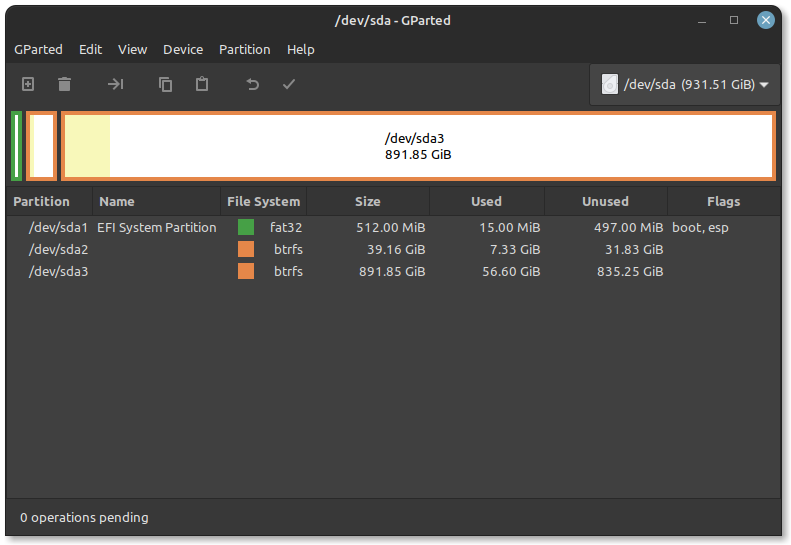
Select the largest partition and right click, resize your other partition so that you have at least 50 GB – 60 GB of unallocated disk space. If you are resizing your C:/ drive, make sure that you have enough space on it so that there is enough space on your Windows installation as well.
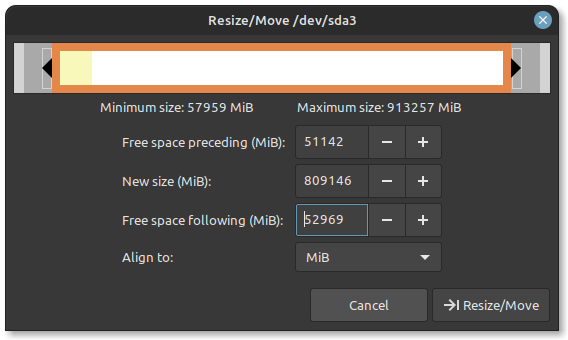
Click on Resize and hit apply changes, this process will take some time if the partition you are shrinking has any Data on it. Although not always, this process can corrupt your files, so make sure that back up your data before proceeding.
When the process is complete, close GParted. Now we are ready to install Linux Mint on your device alongside Windows.
6. Begin Installation
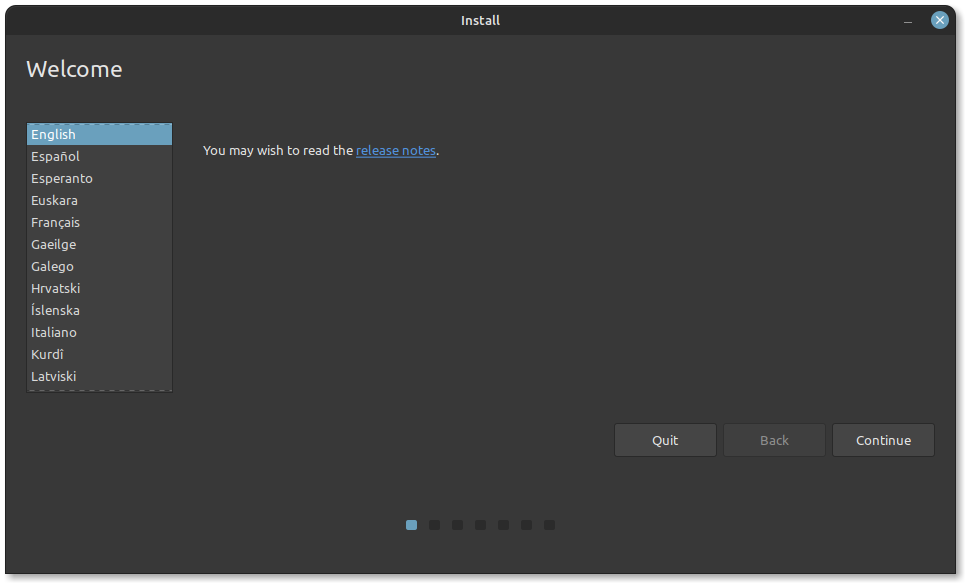
Now, launch the Installer, select your Language and hit continue.
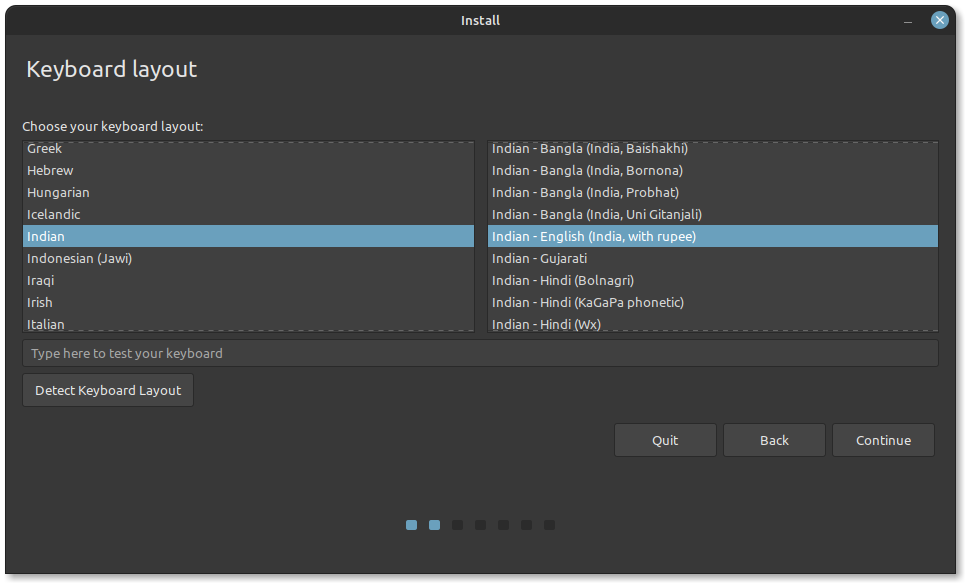
On this step, you need to select your keyboard layout.
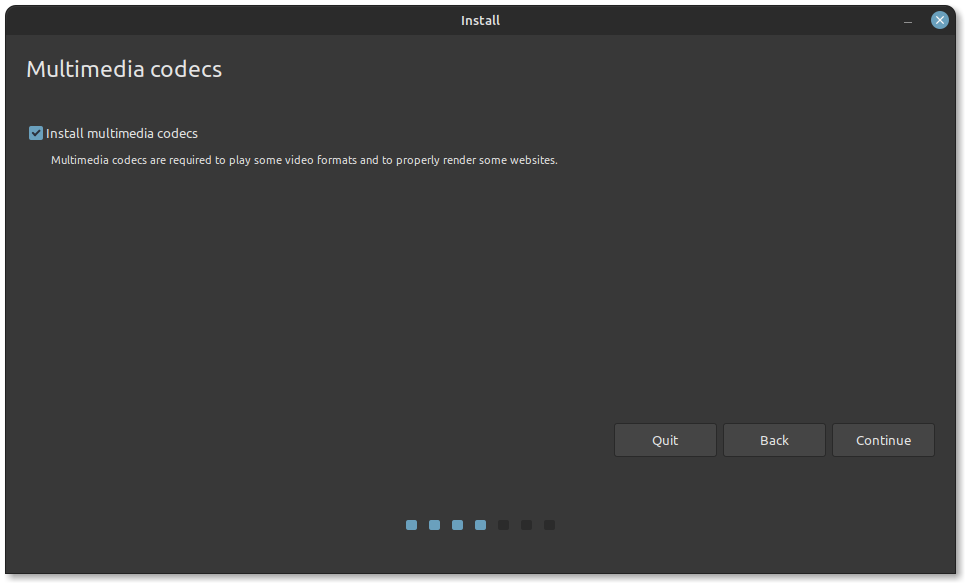
If you are connected to the Internet, the Installer will give you an option to Install Multimedia codecs, click on the checkbox and hit continue.
In this step, if the installer detects your Windows installation, then great! Just hit continue, select the unallocated space we just created, and click on the Install button.
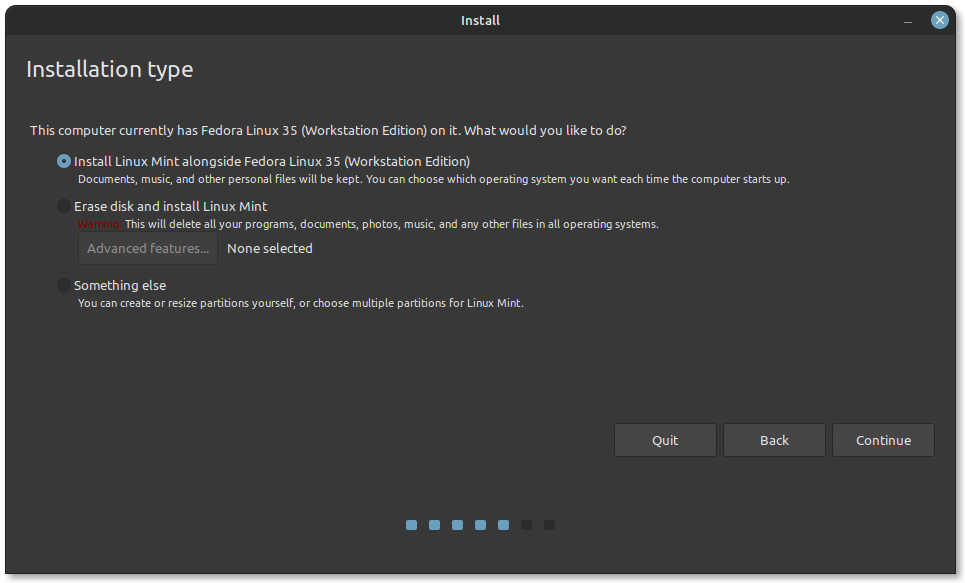
7. Drive Partitions For Dual Boot
For some reason, if the installer does not detect Windows, select ‘Something else’ as the installation type and hit continue.
Next, you’ll see an NTFS partition within the list. This is your Windows partition.
Make sure you do not make any modifications to these NTFS partitions as they will contain Windows system files unless you know exactly which drives are non-Windows drives.
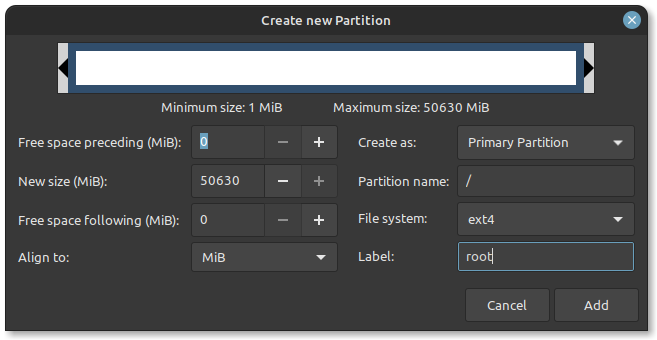
We’ll only work on partitioning the unallocated spaces. So go ahead and right-click on the unallocated space and select create a partition. The root partition should have the ext4 file system.
I’m dedicating my full 50 GB to this partition, but if you want, you can also create a home partition. Finally, when you are sure of the changes you are going to make, click on Install now.
To avoid any kind of complication, the Ideal way to dual boot Linux Mint and Windows OS is to install them on separate SSDs altogether. This method even prevents Windows from erasing the Boot partition during updates, which is a very notorious problem.
8. Complete The Installation
Choose your Time-Zone in the next section and hit next.

Lastly, set up your Username and a desktop password. Click on continue. This installation will take 10–15 minutes from this point. The installer will then ask you to restart your PC and then remove your Installation media and press Enter.

When your system is rebooted, you will be presented with the GRUB menu, from where you can either boot Linux Mint or Windows as per your needs. Note that the first boot can take some time.
9. Update your Installation
The next time you start your PC, the GRUB bootloader will ask you to pick between Linux Mint and Windows 10. Boot once into Linux mint, open Terminal, and type in the following commands to update your system.
sudo apt update && sudo apt full-upgrade
If you do not see Windows 10 or any other operating system that you have installed alongside Linux, go ahead and run the following command on your terminal:
sudo update-grub
Conclusion
I hope, using this tutorial, you were successfully able to install Linux mint alongside Windows 10 or 11 on your PC. Linux Mint is an excellent Linux distribution for beginners, which ship with three types of Desktop Environment customized to look familiar to users who are migrating from Windows 10 or 11 ecosystems. The comprehensive Linux Mint forums also allows users to interact with each other (and the developers) and troubleshoot any problems if encountered.