
In this article, we’ll talk about a handy-little tool called Ventoy. We all have been at a stage where we do not like a certain thing about the Linux distribution which we are using, and we want to switch. But the trouble of formatting and flashing the USB every time you need to try a different distribution consumes a lot of time! That’s where Ventoy comes in.
What is Ventoy?
Ventoy is a better alternative to tools like Balena Etcher and Rufus. You can directly install it once in your flash drive and your work is done.
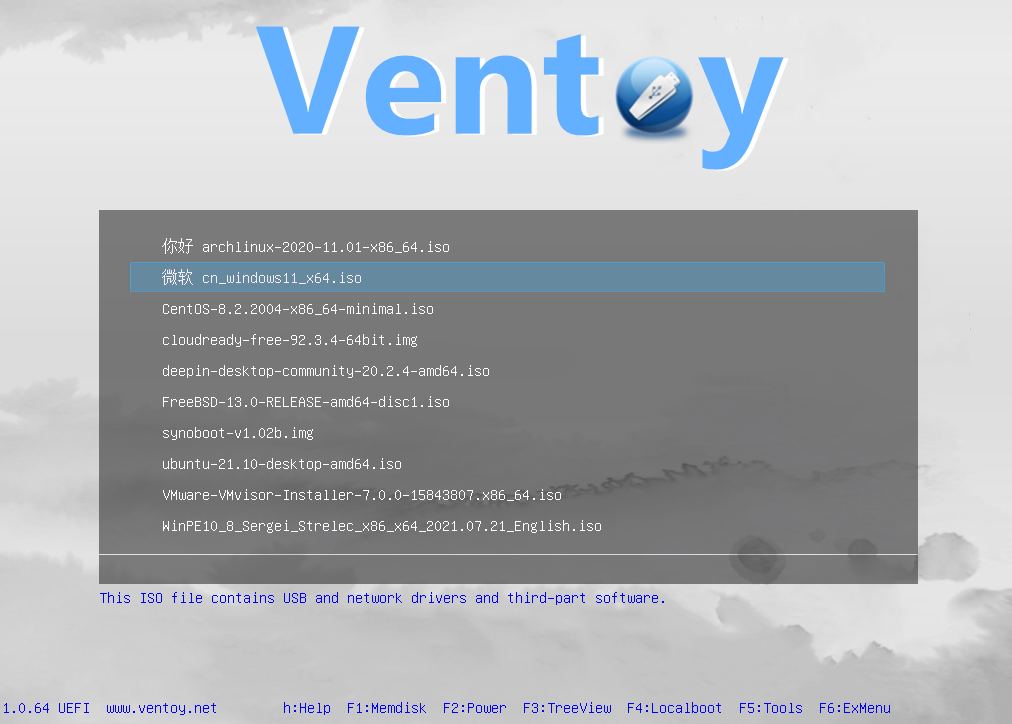
With ventoy, you don’t need to format the flash drive over and over. You just need to copy the ISO/WIM/IMG/VHD(x)/EFI files to the USB drive and boot them directly.
You can copy many files at a time and ventoy will give you a boot menu to select them
It is a rapidly developing open source project and therefore bugs are constantly squashed, and new features are constantly added.
How to use Ventoy?
Let’s quickly go over how you can use Ventoy too boot up ISO images directly from your flash drives.
Download Ventoy
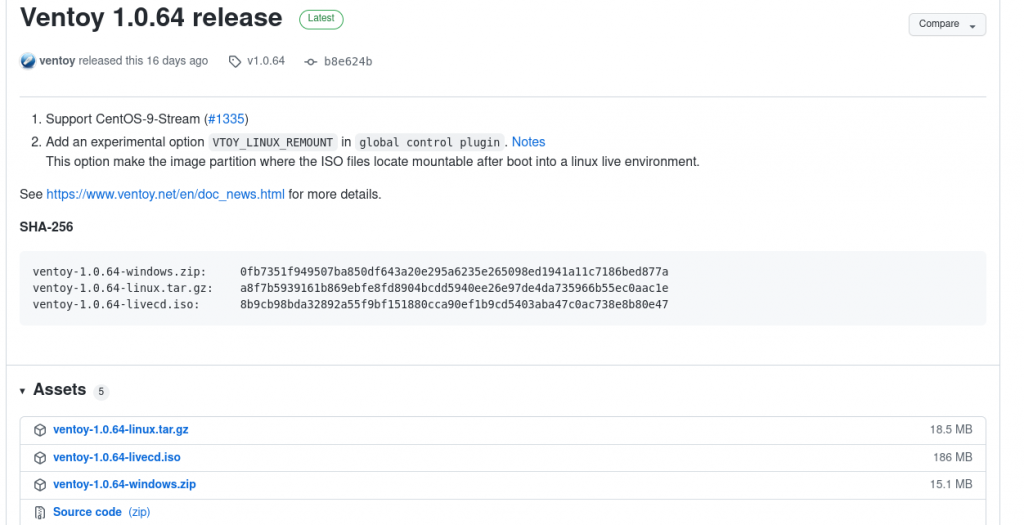
As of now, you can use Install Ventoy from either Windows or any Linux distribution. Visit Ventoy’s official GitHub page, and from the release section, download the latest version of the application. If you’re on Windows, download the .zip file, or if you’re on Linux, download the tar.gz compressed file.
Extract the Compressed file
If you’re on Windows, extract the zip file using WinRAR or 7-Zip and then navigate to the newly created Ventoy folder.
If you are on any Linux, however, extract the tar.gz by right-clicking on it and then selecting ‘Extract here’, and navigating to the newly created Ventoy folder.
Install Ventoy on USB
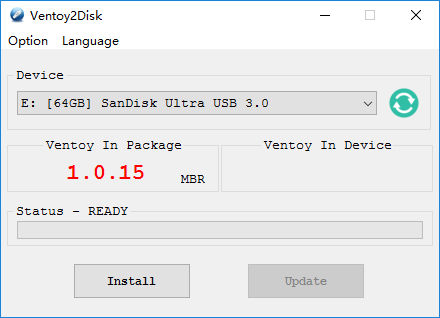
Plug the USB flash drive into one of your USB ports. Now, if you’re on Windows, you can run Ventoy2disk.exe. Make sure that you have selected the correct USB drive because this process will format your Flash drive. Hit Install and Ventoy will be installed on your USB.
If you are on Linux, look for a file named VentoyGUI.x86_64 to launch the GUI installer. Plug the USB drive and launch the installer. Enter your sudo (desktop) password and then hit the enter key.
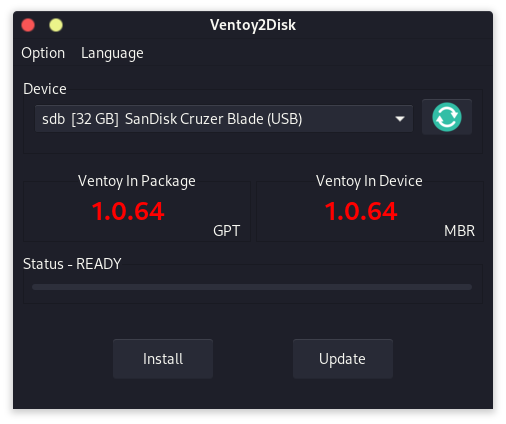
Hit the Install button and Ventoy will be installed on your USB drive.
If you are installing Ventoy to an external hard disk drive for some reason, from the ‘Options’ menu on the menu bar, open ‘Partition Configuration’ and check the ‘Preserve some space at the end of the Disk’ checkbox.
Now, this step depends upon you, how much space do you want to give to the partition that holds all of your ISOs?

Now, when you click on Install, It’ll create a separate unallocated space of 837 GB through which you can create another usable NTFS or FAT32 or EXT4 partition later.
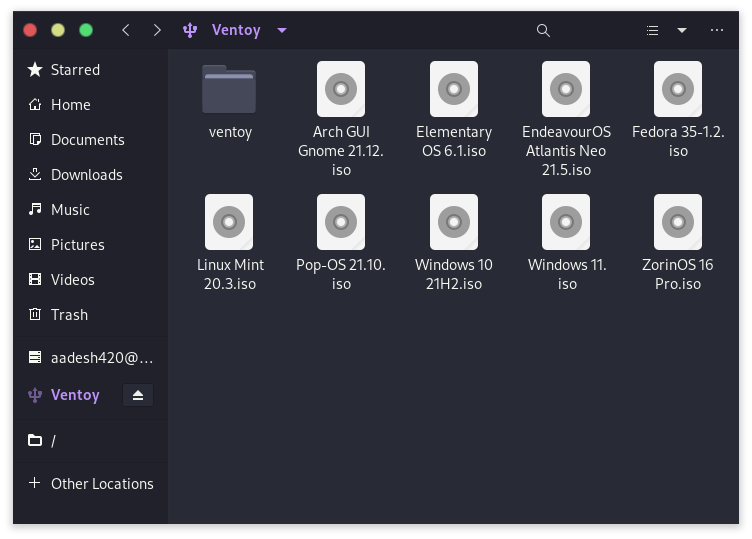
Transfer ISOs to the Flash Drive
Just copy the ISO files to the Ventoy USB stick, and it’s done. You can even store multiple versions of the same operating systems on the drive. The only limit is the space on your USB stick.
Theming the Bootloader
You can even change the default theme of Ventoy and how it looks on the boot screen, visit gnome-look.org, and look for any grub theme which you like. For demonstration purposes, I’m using this “Distro GRUB theme” to download the Ventoy.tar and extract the compressed file. Open the ventoy folder, now right-click and select ‘Open in terminal’. Type the following commands in the terminal.
$ nano theme.txt
Scroll down a little and look for align = “center”, change it to align = “left” and then press Ctrl + O to save the file and press Ctrl + X to exit.
In the file manager, press Ctrl + A to select all the files in the folder, and press Ctrl + X to cut. Navigate to the Ventoy USB drive and create a folder ‘ventoy’, and inside that folder, create another ‘theme’ folder and paste all the content you cut by pressing Ctrl + V.
Go back to the ’ventoy’ folder and Once again open this folder in the terminal. Type the following commands :
$ nano
Paste the following script :
{
"theme": {
"file": "/ventoy/theme/theme.txt",
"gfxmode": "1920x1080",
"display_mode": "GUI",
"serial_param": "--unit=0 --speed=9600",
"ventoy_left": "5%",
"ventoy_top": "95%",
"ventoy_color": "#0000ff"
       }
}
Press Ctrl + X and save the text file as ventoy.json and then press Ctrl + O to exit.
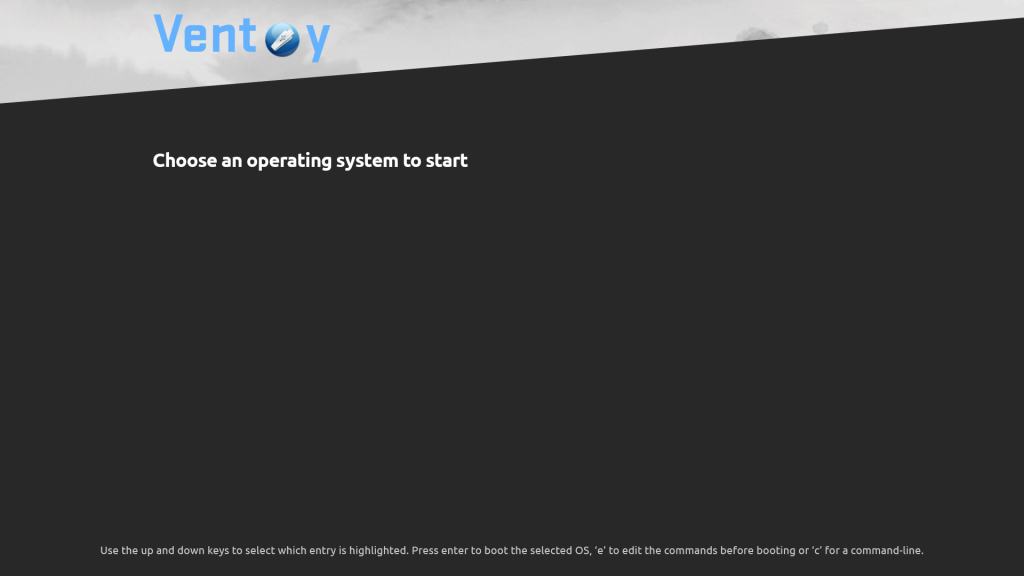
The theme is now applied, when you will boot into the USB next time you will be greeted with a pretty interface.
Conclusion
That’s it! You now have the perfect boot manager for your USB drives and ISO files. Go ahead and turn this personal ISO playground into a powerful USB device that has every operating system you need.