
In this article, we will look into setting up a Flask webserver on Raspberry Pi. For the sake of this tutorial, we will keep things simple and beginner-friendly. Feel free to look up other articles on Flask to develop your websites further!
Also read: How to Install Apache Web Server on Ubuntu?
Install Python3, pip, and Flask
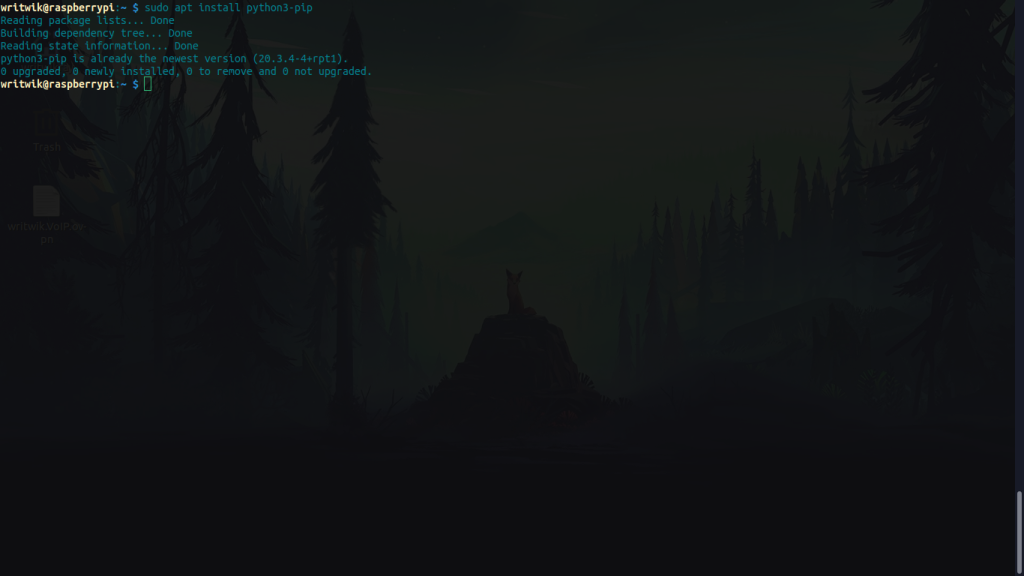
First and foremost we will install pip and Flask. To install these, ssh into your Raspberry Pi and run these commands:
sudo apt install python3-pip
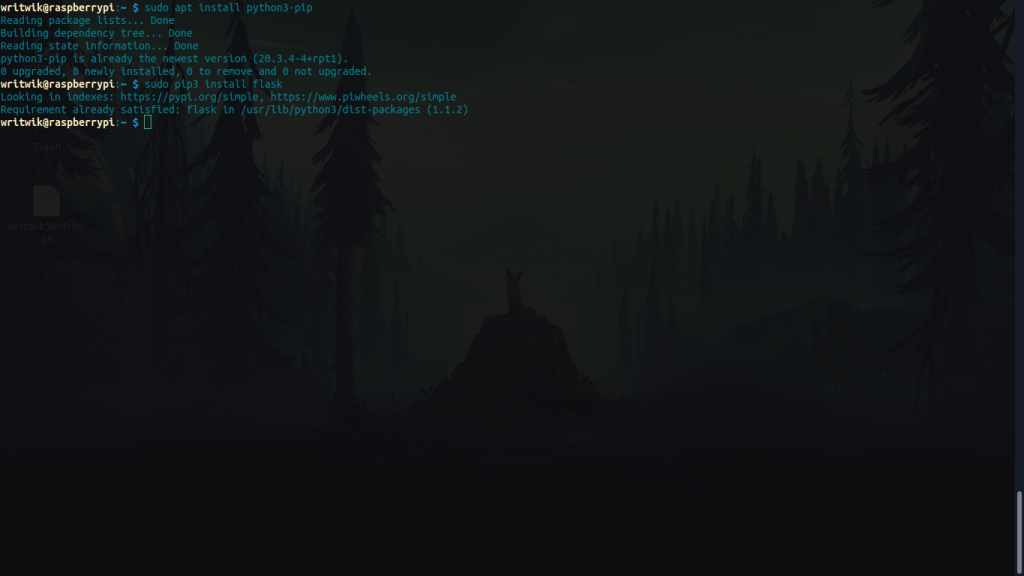
Now to install Flask run:
sudo pip3 install Flask
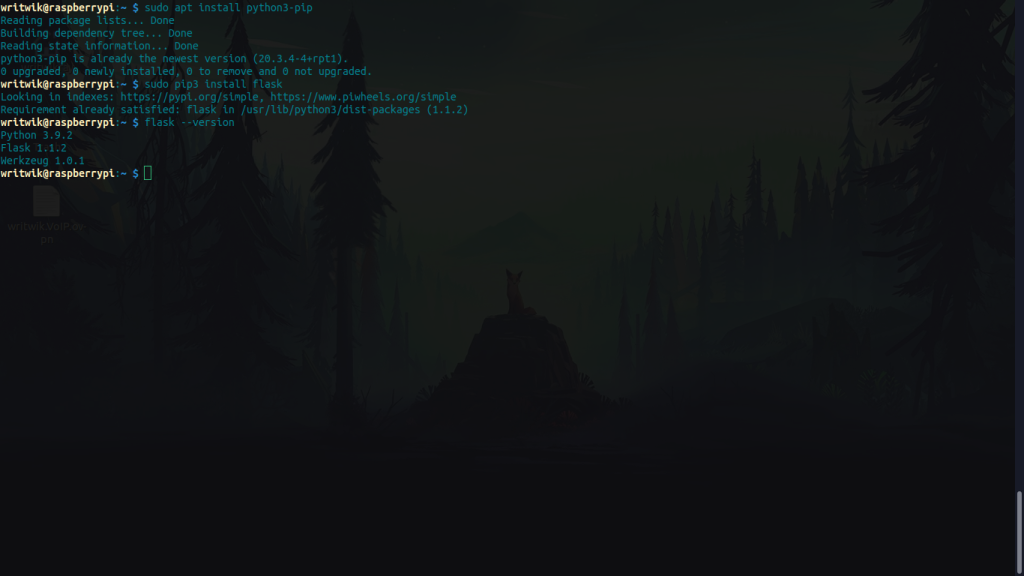
Now to check the version run:
Flask --version
Hosting Your Flask Webserver
Now we will write the python script. You can write your script anywhere you like, we will proceed in the home directory. Also, we will use the nano editor, feel free to use any editor you like. Run the following command:
sudo nano mywebserver.py
Now a new Nano instance will open up. Copy-paste the following code into the file.
	from flask import Flask

	app = Flask(__name__)

	@app.route("/")
	def hello():
		return "Welcome to Writwik's web-server!"

	if __name__ == "__main__":
		app.run(host="0.0.0.0", port=80, debug=True )
Now to run the server simply paste in the following command:
sudo python3 mywebserver.py
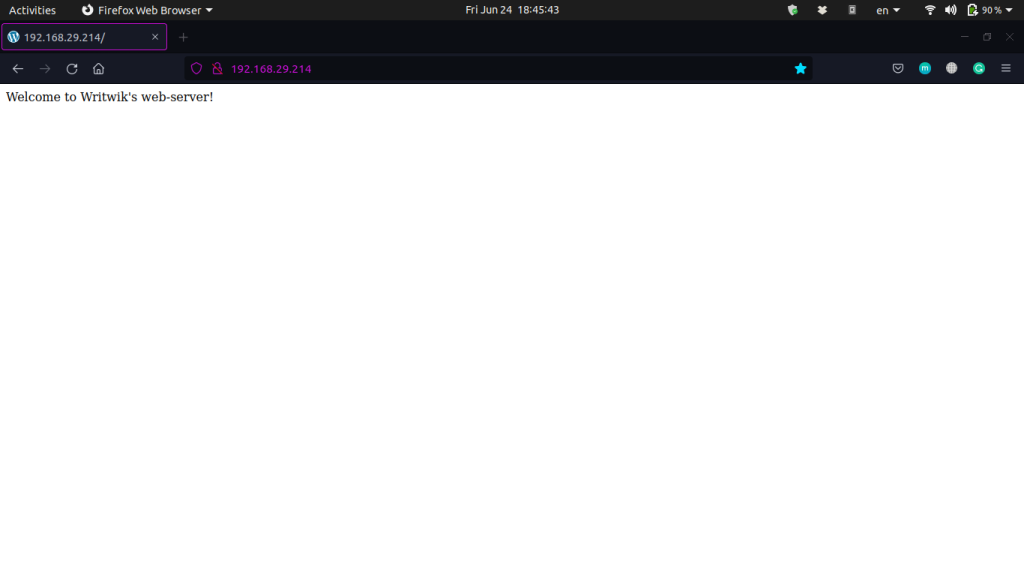
You will see some output and the server will be running on the IP address of the Raspberry Pi. Now open up a server and put in the IP address of the Raspberry Pi, you will see the text we wrote inside the script. Also if you look carefully you will find the HTTP request on the terminal.
Adding pages to the server
In the last section, we only wrote one line on our server and host it. But now we add multiple pages to host in our server. First and foremost we need to import render_template in order to serve HTML files. After that’ll let us create an HTML file named “home.html”. And we’re going to return the render_template (‘home.html’) this time.
Create a new directory named ‘templates’ and inside the directory create the ‘home.html’ file. You can host your own HTML files this way, just make sure to change the name of the file accordingly.
Your file structure should be like this:
        /-------------
        mywebserver.py
        templates/
            |home.html
        -------------/
Your new Python file should look something like this:
    from flask import Flask, render_template

	app = Flask(__name__)

	@app.route("/")
	def hello():
		return render_template('home.html')

	if __name__ == "__main__":
		app.run(host="0.0.0.0", port=80, debug=True )
Now that we can host our own HTML files, let us see how to host more than one page here. For every page we add, we have to specify the path. To do this we add a new @app.route.
To keep things simple we will add the route “/about” to our about page, keep in mind we will have to make another about.html file in the templates folder, also, we will again have to make a new function that returns us the about.html file we wrote.
Your new file structure should look like this:
        /-------------
        mywebserver.py
        templates/
            |home.html
            |about.html
        -------------/
Your new script should look like this:
    from flask import Flask, render_template

	app = Flask(__name__)

	@app.route("/")
	def hello():
		return render_template('home.html')

    @app.route("/about")
    def about():
        return render_template('about.html')

	if __name__ == "__main__":
		app.run(host="0.0.0.0", port=80, debug=True )
To visit the about page type in the IP address as before, but this time in the end type in “/about” and press enter. Your ip for the about page should look something like this:
http://192.168.29.XX/about
For the sake of simplicity we just put some heading and paragraph tags in our HTML files, you can put anything you like. Here’s our home.html file for reference:
    <h1>Hello</h1>
    <p>This is my home-page!</p>
and about.html for reference:
    <h1>About Page</h1>
    <p>This is the about page</p>
Conclusion
Now that you have honed the basics of Flask webserver, feel free to look up related articles on Flask and set up your own home server! As always, thanks for reading.