

With a boom in back-end web development technologies, working with the right framework can make or break your web development efforts. Python Flask is one of the many good frameworks out there.
Flask is a popular Python web framework that enables the rapid development of web applications. Since most developers prefer working in Linux as that environment offers maximum flexibility, for developers working in Ubuntu, here’s how to install Flask on Ubuntu.
In this guide, we’ll show you how to get started with Flask on your Ubuntu system. By the end of this guide, you should have a solid understanding of how to install and use Flask on your Ubuntu system.
Also read: Flask Webserver on Raspberry Pi
Checking Python Version
Before we begin, let’s quickly open up the Ubuntu terminal and run a quick command to check if Python is installed. We’re working with Python 3, so we’ll check if we have that installed. Run the below command.
$ python3 -V
$ pip3 -V
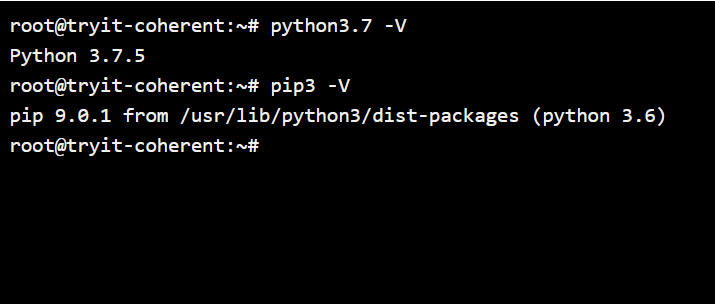
I ran the command python3.7 -V as I have multiple versions of Python installed in my system.
Steps to Install Flask on Ubuntu
We can install Flask directly in Ubuntu. But, it’s recommended to use virtual environments for the projects, so that we can manage multiple projects in the same system. We will first create a virtual environment, then activate and install Flask on Ubuntu.
1. Creating a Virtual Environment
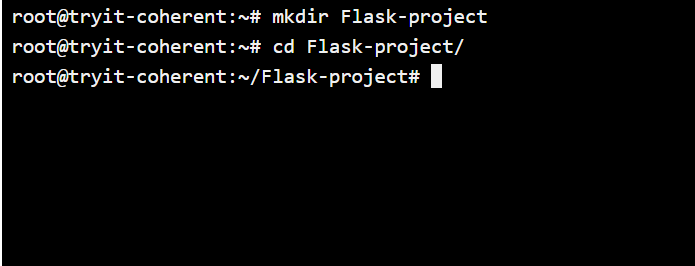
Our first task is to create a virtual environment for Python to run Flask in. To do so, we need to create a folder where we’ll base our flask project files. Let’s create a project folder called “Flask-project” and change the directory to that folder.
$ mkdir Flask-project
$ cd Flask-project
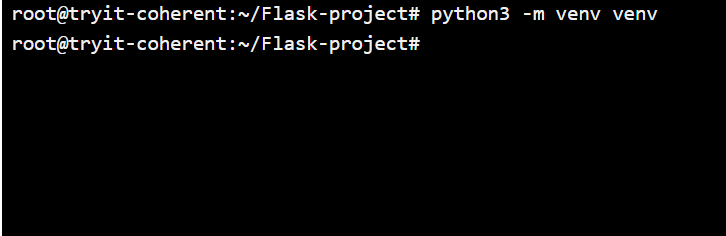
Now let’s quickly create the virtual environment.
$ python3 -m venv venv
If you need to install a virtual environment, enter the below command.
$ sudo apt-get install python3-venv
Awesome! You’re just 2 more steps away from installing Flask.
2. Activating the Virtual Environment
Let’s activate the virtual environment folder that we just created above. While you’re inside the folder, run the command below to activate venv.
$ . venv/bin/activate
You should see (venv) added to the directory path on the left (see image below for reference). Once you’ve activated the virtual environment, it’s time to get Flask up and running.
3. Installing Flask
Run one of the below commands. If you have multiple Python versions on your system, use pip3.
$ pip install flask
OR
$ pip3 install flask

Running Flask
Once you’re done with installing Flask on the virtual environment, you should be able to run Flask with the following command.
$ flask run
This will initialize a local server to run your web application. Apps that you write within the virtual environment folder will run on this local server after you tell flask what file to run first.
Great, you’re all set! You now have a system ready to run your web applications.