

In this tutorial, we will learn how to install Joomla CMS on Debian.
What is Joomla CMS?
Let’s first dive into what is Joomla CMS. A Content Management System (CMS) is a software used to modify, create and manage the content of the website. Like Joomla, there are many other CMS such as WordPress, Drupal, Radiant CMS and so on.
Joomla is quite easy and usable. It provides the same security as of WordPress. Open-source software is used to manage the website. Its source code is available for modification.
Joomla is very easy to maintain and manage. Folks, you don’t need to invest the time in building websites using HTML and CSS. It’s just so easy, 1000s of plugins and themes are provided to build the website. Yeah! It’s quite easy. For more details, check the Joomla Official Documentation.
If want to learn about WordPress, check the tutorial how to install WordPress in Debian/Ubuntu?.
Let’s learn how to install Joomla CMS in Debian.
1. Update the repositories
Whenever you install any software, it’s important to update the packages to their latest version. Here, we will use the apt command to update and upgrade the packages. Upgrading means we are installing the latest versions of the packages. However, we used the apt-get command. Folks, both are different. There is a difference between apt and apt-get command. Let’s have a look at the command below:
sudo apt update && apt upgrade
2. Install LAMP stack server for Joomla
The basic requirement to install Joomla CMS on Debian is Apache Web server, MariaDB and PHP modules. Therefore, you have to download all three packages.
It is the same as we did to install WordPress in Debian. There are two ways to install these packages, either use a single command or use a specific command for the particular package.
Follow the steps explained in the blog: How to install WordPress in Debian to install the LAMP stack.
3. Configure MySQL Database
I hope you have successfully installed the LAMP stack. The next step is to configure the database. Here, we will create the user and the database, assigning all the privileges to the user over the database.
But before this, you need to set the password. Let’s discuss the command given below:
mysql_secure_installation
Here, you have to set the password. It is highly recommended to respond YES to the questions asked. Have a look at the image given below:
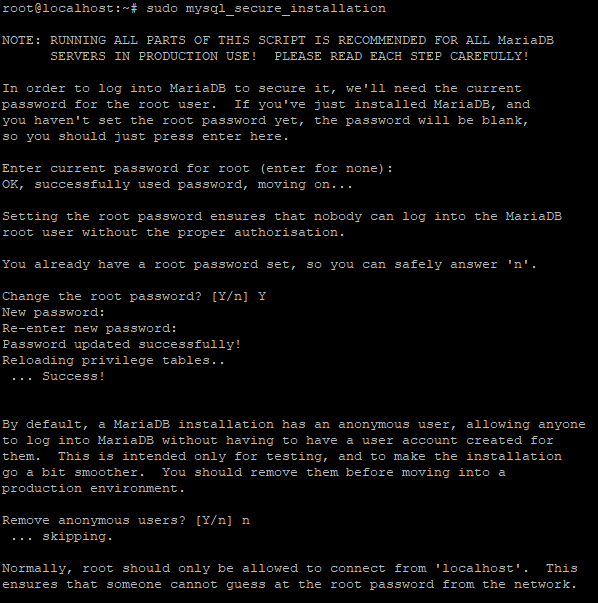
You can choose to remove anonymous users if you want to improve security. I’ve skipped the part since it’s a virtual machine.
After setting the password, we need to create the user and the Database. Let’s have a look at the command below:
mysql -u root -p
> Create Database joomla_db;
> Grant all on joomla_db.* to 'joomla_user'@'localhost' identified by '12345'
> flush privileges;
> exit;
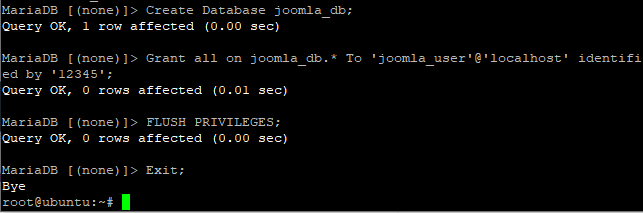
Hence, the database has been successfully configured.
4. Install Joomla CMS on Debian
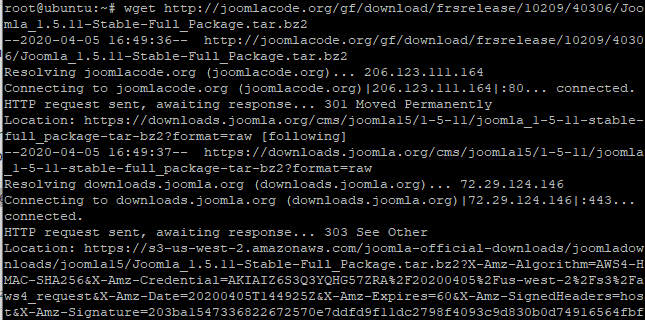
We have already set up the prerequisites of the Joomla package. The next step is to install Joomla on Debian. We will use the wget command to install the package. Check the link to download the package on Joomla Official Documentation. Let’s have a look at the command below:
wget http://joomlacode.org/gf/download/frsrelease/10209/40306/Joomla_1.5.11-Stable-Full_Package.tar.bz2
We will use tar command to extract the package. Let’s switch to the directory where the package is located.
We’ll also make sure that the contents of the file are extracted in /var/www/html/joomla directory. That will make things easy for us when we’re setting up the permissions.
Folks, use the mv command to move the content of any file. Let’s have a look at the command below:
mv Joomla_1.5.11-Stable-Full_Package.tar.bz2 /var/www/html/joomla
cd /var/www/html/joomla
tar -xvjf Joomla_1.5.11-Stable-Full_Package.tar.bz2
5. Grant Read-Write Permissions to the www-data Group
The next step is to grant the permissions and change the ownership of the user. Here, we will use chown command to change the ownership and chmod command to change the permissions of the file. Let’s have a look at the command below:
chown -R www-data:www-data /var/www/html/joomla
find /var/www/html/joomla -type f -exec chmod 0644 {} \;
find /var/www/html/joomla -type d -exec chmod 0755 {} \;

6. Configure the Apache Web Server
After successfully setting up the permissions, the next step is to configure the Apache Server. Here, we will create the virtual host file named joomla.conf in the /etc/apache2/sites-available directory. We will use nano editor to edit the configurations.
Let’s have a look at the command below:
sudo nano /etc/apache2/sites-available/joomla.conf
Add the following code in the directory. Don’t forget to change the server name and the server admin while adding the code. Let’s have a look at the code below:
<VirtualHost *:80>
   ServerName joomla.example.com
   ServerAdmin [email protected]
   DocumentRoot /var/www/html/joomla
   <Directory /var/www/html/joomla>
	    Allowoverride all
   </Directory>
</VirtualHost>
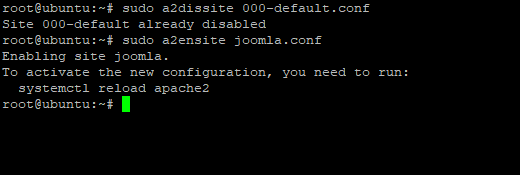
There is a default configuration file which needs to be disabled. You need to enable the Joomla host file as well. The command for this is as follows:
sudo a2dissite 000-default.conf
sudo a2ensite joomla.conf
7. Restart the Apache Server
After successfully doing the configurations required, restart the server again. Here we will use systemctl command with restart keyword to start the Apache server again. Let’s have a look at the command below:
sudo systemctl restart apache2
If you want to check the status of the server, use status keyword with systemctl command as given below:
sudo systemctl status apache2
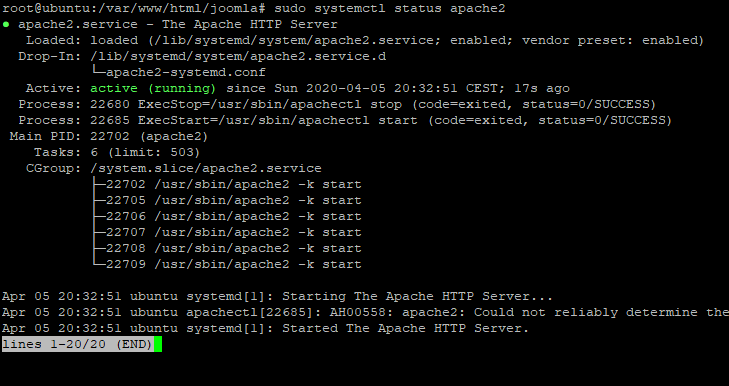
You can see the status as running highlighted in the given image above.
8. Getting Started with the Joomla Interface
Now we know how to successfully install Joomla CMS on Debian. Let’s begin with the Joomla Interface. Here, we will access the Joomla interface. As of now, we have done all the necessary configurations. Folks, you need to use the server or your domain name. Let’s have a look command below:
http://server-IP/
Set the details such as configuration, Database and Overview. You will see the following window as given below:
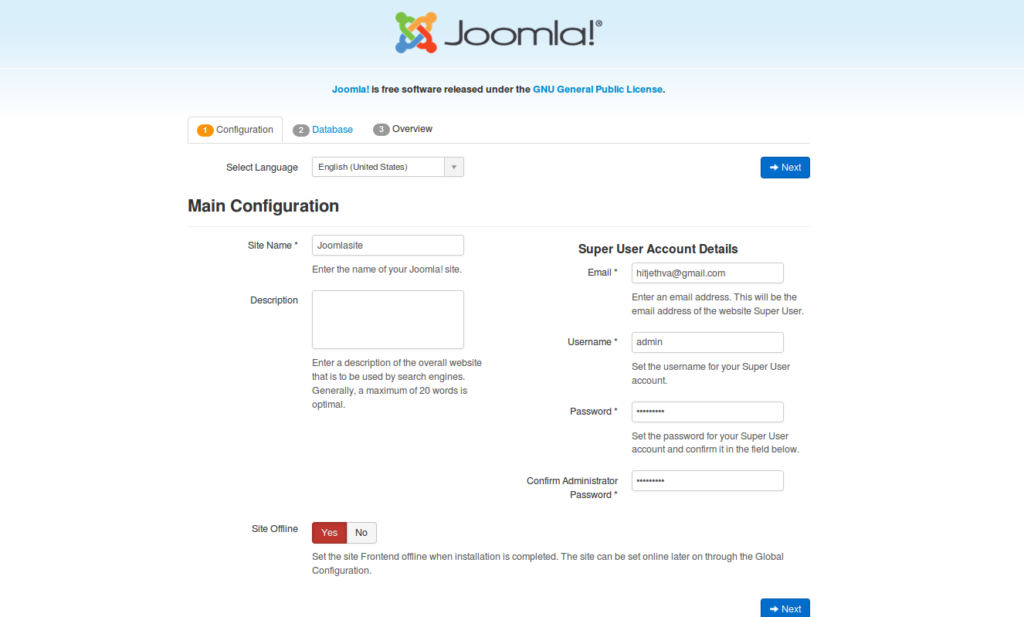
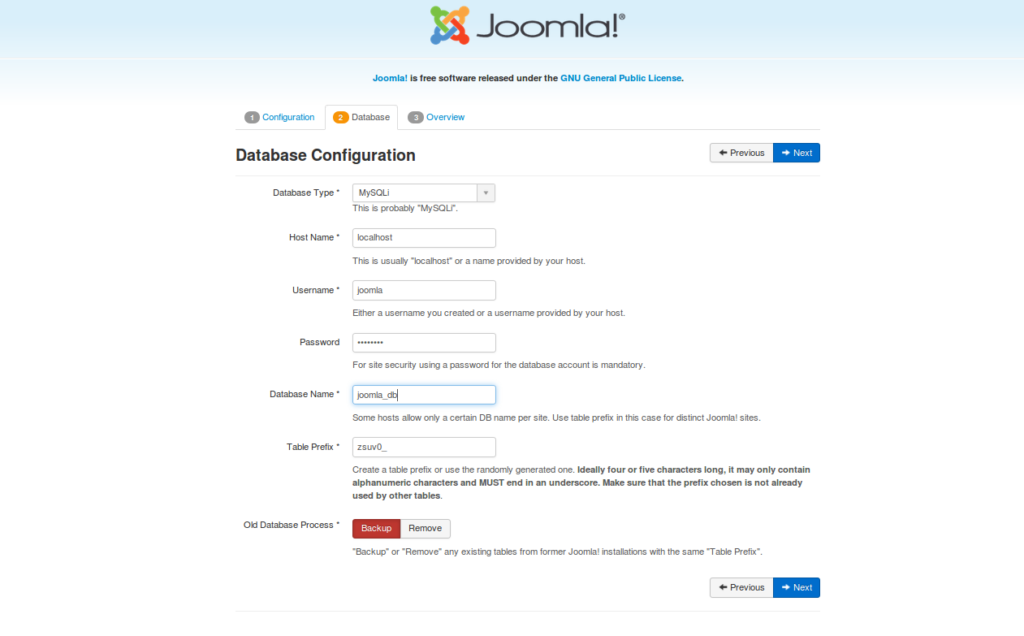
Fill up the necessary details like email id, password, and so on. The next step is to add up the database details as you did before while creating the database in MySQL. Let’s have a look at the image below:
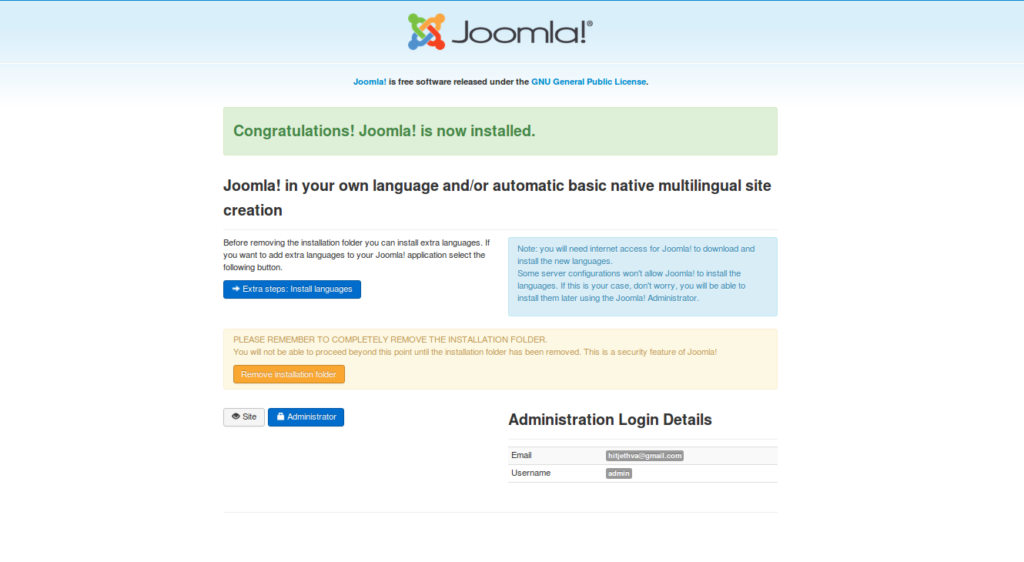
Check the details before finalizing it as shown in the image below:
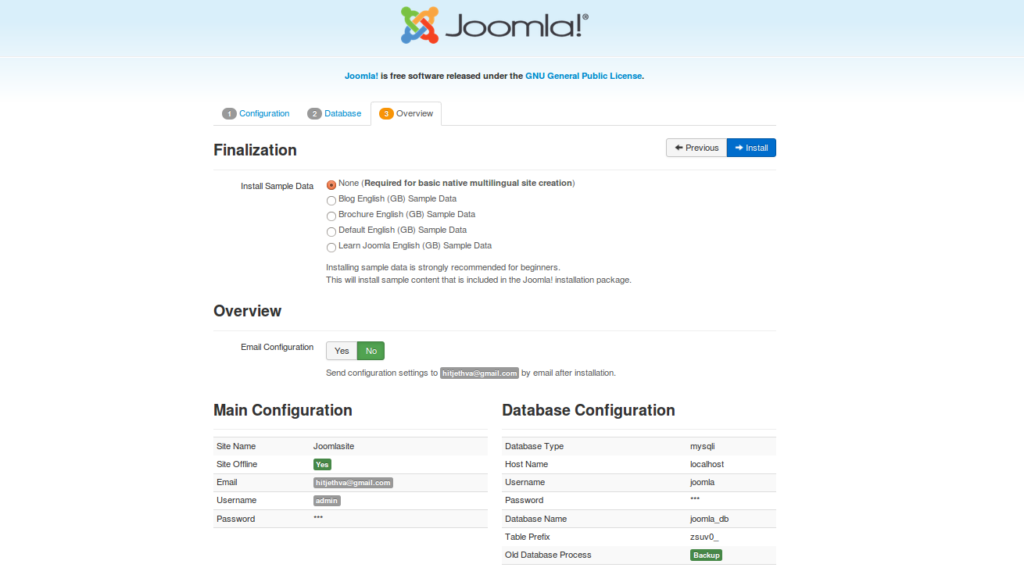
The last step is to confirm the settings. Therefore, you have successfully set up the Joomla CMS.
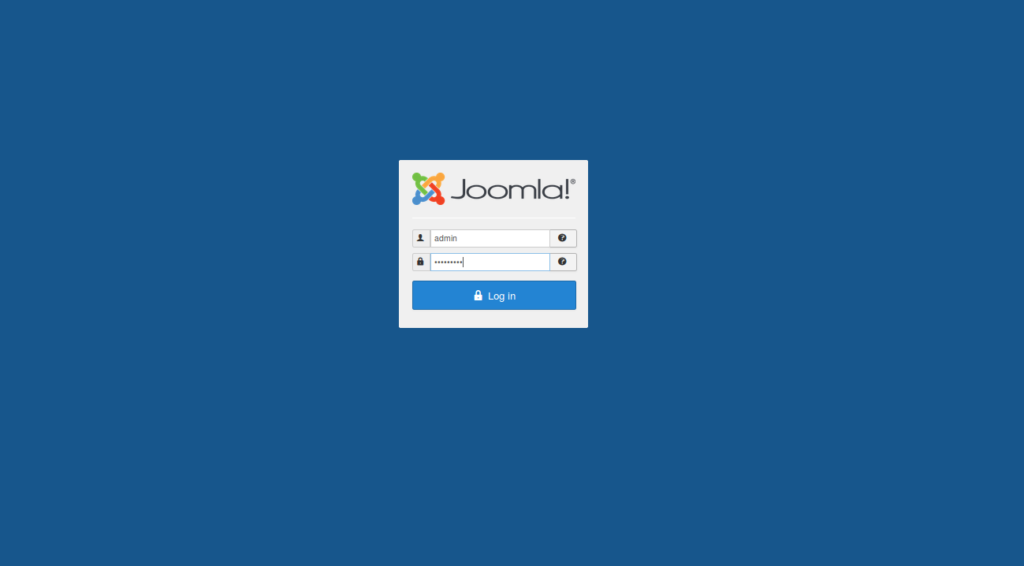
You are done with the setup . Now, log in to the Joomla Dashboard by adding up the credentials. Let’s have a look at the interface below:
After adding up the credentials, you will be logged into the Joomla dashboard as given below:
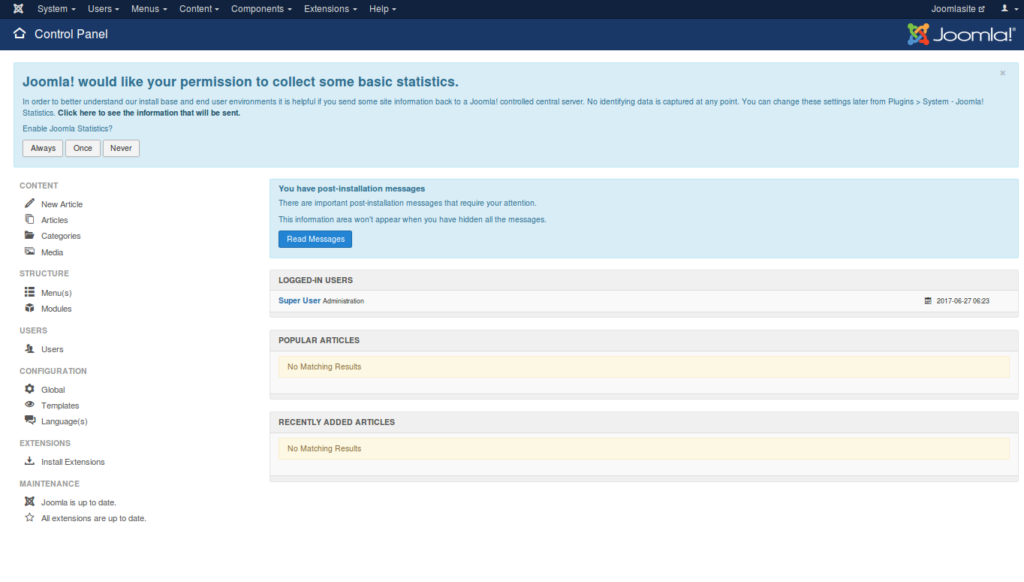
Yeah! We are done with the setup. You can now start building the website on Joomla.
Conclusion
We have successfully learned how to install Joomla CMS on Debian. If face any issues, then do let us know in the comment section.