

In this tutorial, we will learn how to install Jenkins on Debian/Ubuntu.
What is Jenkins?
Let’s first dive into the Jenkins. In the early days, continuous code integration was a difficult task to achieve. To solve this problem, many developers came forward and created tools for continuous integration.
The goal of continuous integration is to test the code over the test cases designed by the testers and validate it. If it’s doesn’t pass the code, it is sent back to the developer.
Jenkins is one of the leading continuous integration tools that allow continuous development, test, and deployment of newly created codes. Developers can continuously generate the code, test it and can move to the next sections of the code. This helps to submit the code consistently into the source code environment.
What does Jenkins do?
- Commit changes to the source code
- The CI server will pull the code automatically whenever there is a commit made to the source code.
- All the changes made to the source code are built continuously through the Jenkins tool.
Jenkins is an open-source automation server written in Java. It is used to automate the software development process via continuous integration and facilitates continuous delivery too. Some of the features of Jenkins is:
- It is easy to install Jenkins as it is a self-contained Java program.
- As it provides the web interface, therefore, it can be easily set up and configured.
- It also provides many plugins in the update center and integrates with every tool in continuous integration and delivery chain.
- It can be distributed i.e. the work can be distributed across multiple machines which helps in the faster building of code and deployments.
For more details, refer to the Jenkins Official Documentation. I hope the concept is cleared.
Let’s now discuss how to install Jenkins on Debian.
1. Update the Ubuntu Repositories
Before we begin with the installation process, it’s important to update the default packages using the apt package management system. We will use the apt command to update and upgrade the repositories. There is a difference between apt and apt-get command.
To do this, you need to type the following command:
sudo apt update && apt upgrade
2. Install the Java Package
As Jenkins is written in Java, so it’s important to install Java in the system. But Folks, Jenkins is compatible with some Java versions only. The basic Java requirements for Jenkins is:
- Java 8 runtime environment for both 32 bit and 64 bit versions
- Jenkins version- 2.164 and 2.164.1 supports Java 11 runtime environment.
- Java 9, 10, and 12 are not supported.
- OpenJDK JDK/JRE 11 and 12 are supported.
For more detailed information, check the Java requirements for Jenkins.
The steps to install Java are explained in the tutorial, how to install Java in Debian/Ubuntu. Follow the instructions as stated to download the package.
3. Install Jenkins on Debian
Once you are done with the installation of the Java package, the next step is to import the PPA public key followed by enabling the repositories to install Jenkins on Debian. Here, we will use the wget command to import the key and echo command to enable the repository.
Let’s have a look at the command below:
wget -q -O - https://pkg.jenkins.io/debian/jenkins.io.key | sudo apt-key add -

It should respond with OK. As discussed earlier, the next step is to enable the repository as it contains the required packages to install Jenkins. For this, we will use the echo command. To do so, type the following:
sudo sh -c 'echo deb https://pkg.jenkins.io/debian-stable binary/ > /etc/apt/sources.list.d/jenkins.list'
Once we are done with this, we need to update the repositories once again. For this, we will use the same command as used before to update the packages. The command is as follows:
sudo apt update
The last step is to install the Jenkins package. To do so, use the following command:
sudo apt install jenkins
You might be prompted to confirm the installation, just proceed that with ‘Y’. The packages will be installed.
4. Check the Service Status of Jenkins
As of now, we are done with the installation part. The next step is to check the status of the service. Before this, we need to enable the services using start command. Let’s have a look at the command below:
sudo systemctl start jenkins
sudo systemctl status jenkins
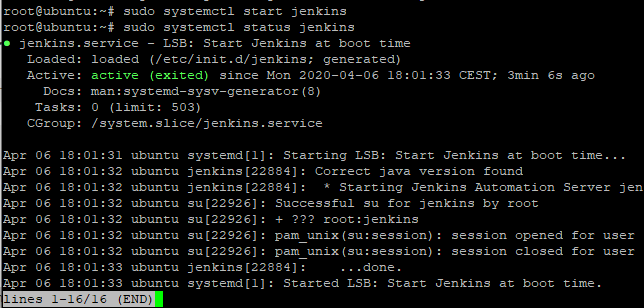
You can see the status as active highlighted in the image shown above. This states that we have successfully installed the Jenkins.
5. Adjust the firewall configurations
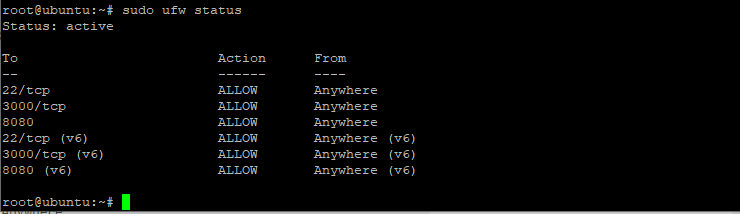
The Jenkins runs on the port 8080. Therefore, we need to allow the port 8080 to accept the request. We will access the Jenkins server using the web interface, that’s why it is necessary to allow the port. We will ufw to open the port. To do so, type the following command:
sudo ufw allow 8080

You can see that the port has been allowed but to verify it we need to check the status of the port. To do so, we can simply use the status command. Let’s have a look at the command below:
sudo ufw status
6. Configuring Jenkins via the Web Interface
After you successfully install Jenkins on Debian, let’s configure it using our web browser. To access it from the web, we need to use the server IP address followed by the port number. You can also use your domain name.
If you’re working the system where Jenkins is installed, just type in “localhost:8080” in your browser’s URL bar.
http://server_IP_address:8080
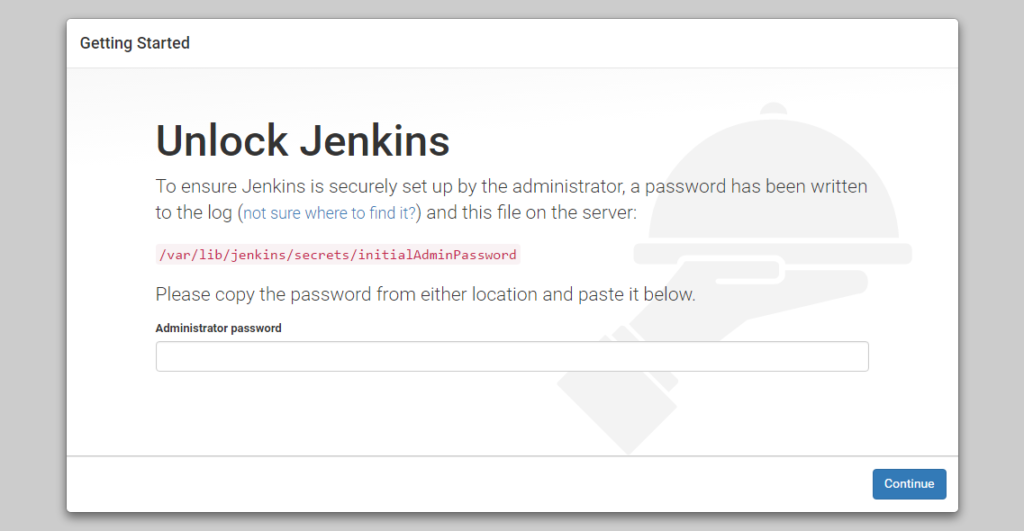
You can see that it is asking for the Initial Admin password. This password is auto generated.
You would find this password in the initialAdminPassword file located in /var/lib/jenkins/secrets directory. Use cat command to get the admin password as shown below:’
cat /var/lib/jenkins/secrets/initialAdminPassword
The password generated will be of 32-characters. Paste the following password in the admin password column and click continue. The next slide would ask you to select the plugins.
You will be asked either to use the suggested plugins or to install the new ones. As per requirements select the plugins, otherwise install the suggested plugins. Have a look at the image given below:
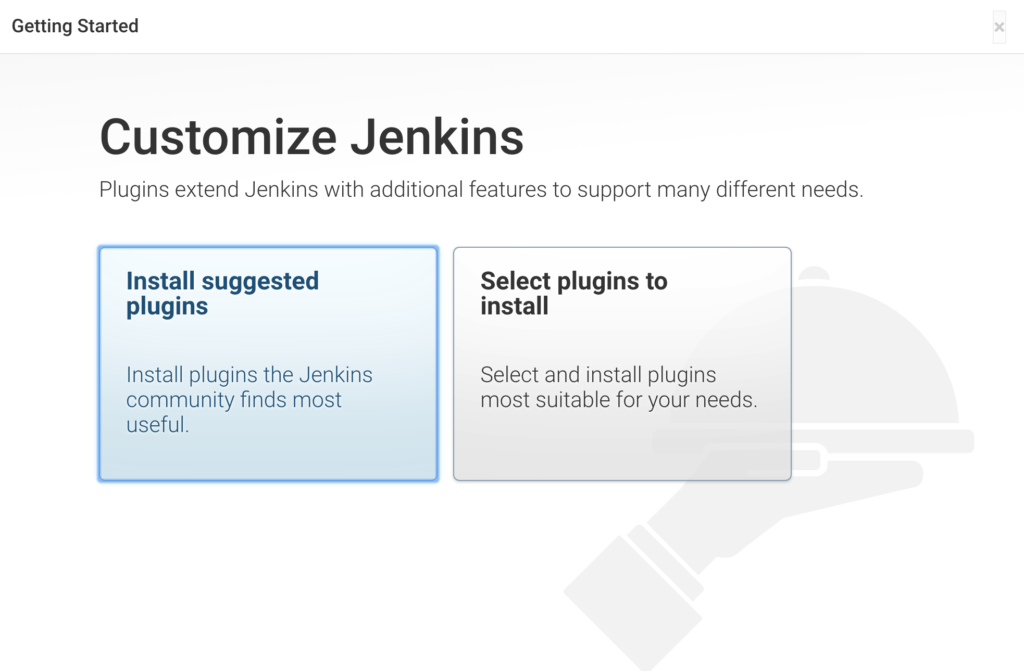
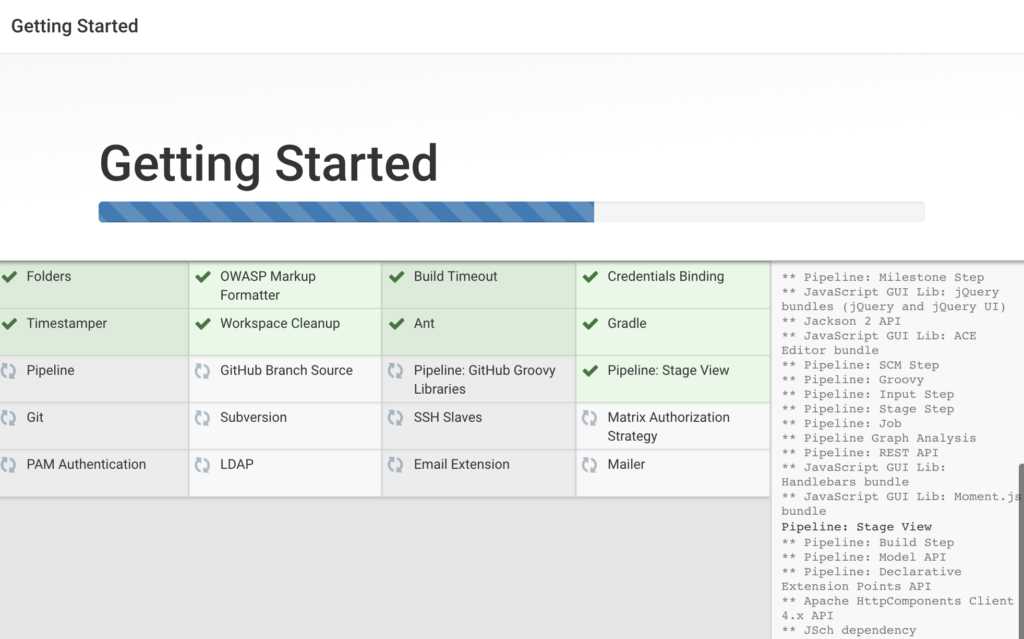
Proceed further by selecting to install the suggested plugins, You would see the installation screen as given below:
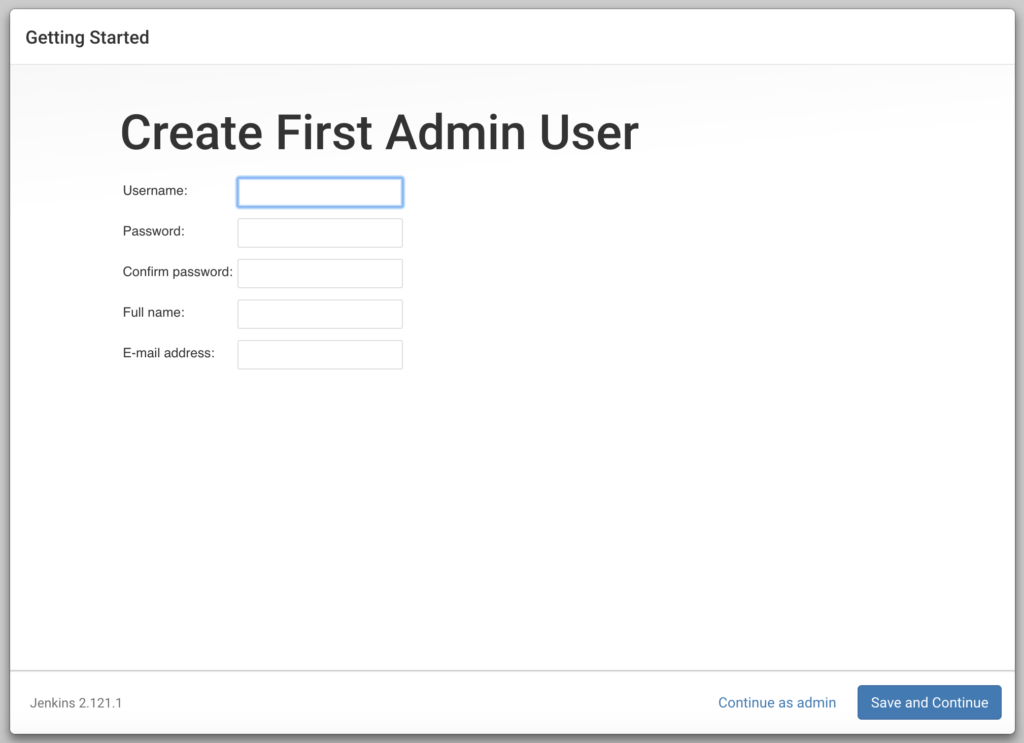
After the successful installation, you will be asked for the user credentials. Add up the user credentials in the next window as given below:
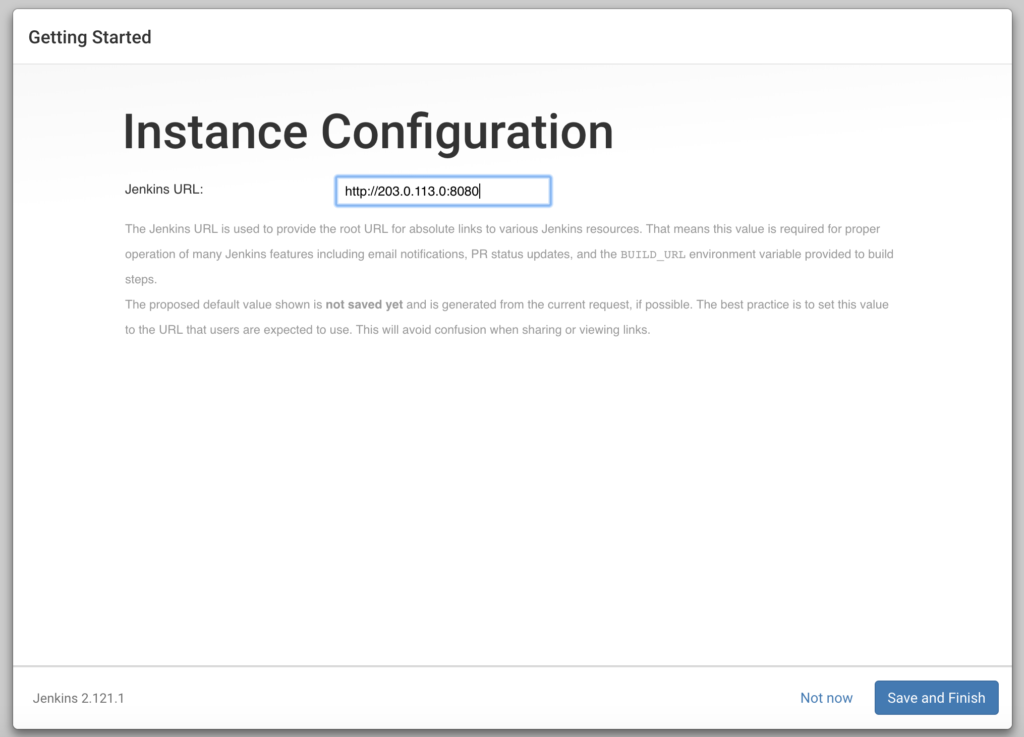
Proceeding further, you will be asked to confirm the domain name or IP address. Just add up the details and finish the installation.
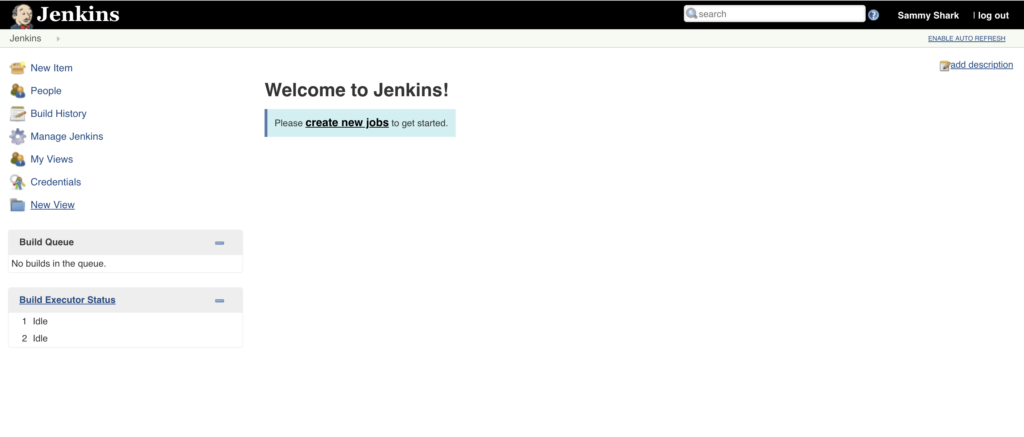
We are done with the setup of the Jenkins. At last you would see the Jenkins dashboard. Just begin with your work!
Conclusion
We now know how to install Jenkins on Debian. We hope that we have solved all your concerns. If still you face any issues, reach out to us in comment section.