

In this tutorial, we will learn how to install Redis in Debian. Before we begin to install it, let’s understand what Redis is.
What is Redis?
Redis is a NoSQL database that stores the data in the form of data structures. The open-source system was developed by Salvatore Sanfilippo on 10th April 2009. It is the cross-platform application written in ANSI C.
Redis is short for Remote Dictionary Server which stores the value in the Key-Value pair. For example, name = Journal. Here, “name” will be considered as key and Journal will be considered as the value. This key-value store can be used as a database to read and write data as key-values.
Unlike MySQL, it neither has tables, rows, columns, functions or procedures nor uses statements like select, insert, update or delete. It uses data structure to store the data in the form of string, lists, sets, sorted sets, hashes and so on.
It is an in-memory database i.e. it keeps the data in the memory cache and doesn’t write it to the disk which simply makes it super fast. For more detail knowledge of Redis or Redis queries, follow the Redis Official Documentation. I hope the concept is cleared.
Steps to Install Redis in Debian/Ubuntu
Let’s learn how to install Redis in Debian. We’ll go over all the steps and walk you through the entire process. By the end of the tutorial, you should have a fully functional Redis installed on your Debian system.
1. Update Repositories
Before, we begin with the installation process it’s important to upgrade the repositories to its latest version. We do it because there are some of the packages that are required in the installation process of Redis.
We will use the apt command to update the repositories from the apt package management system. I hope you are cleared about the difference between apt and apt-get command. Let’s have a look at the command below:
sudo apt update && apt upgrade
2. Install Redis in Debian Using the Apt package manager
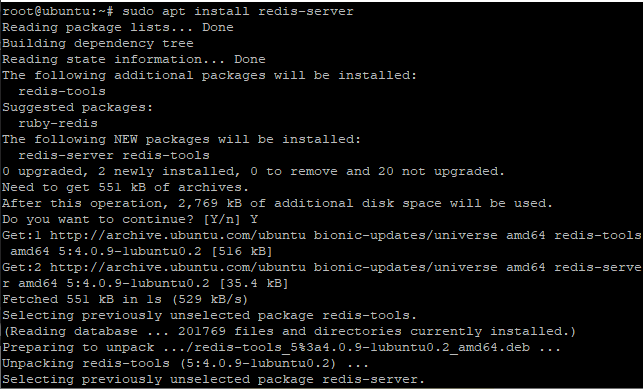
The next step is to install Redis in Debian using the official package. We don’t have to use curl or wget command to download it. We will simply use sudo apt install command in Debian. To do so, type the following in the terminal:
sudo apt install redis-server
Basic configuration to start the Redis Server
There are some of the basic configurations that are required before we begin to work with the Redis server such as password configurations, binding configurations and so on. Let’s have a look at different configurations.
1. Configuring the Password
The default password for this is set to “foobared” which requires to be changed. For this, we need to change the configuration in redis.conf file located in /etc/Redis directory. Here, we will use the nano editor. You can use any other too. Let’s have a look at the command below:`
sudo nano /etc/redis/redis.conf
Here, you need to look for the “requirepass” keyword. Just scroll down and search for the security section in the file. You would see “requirepass foobared”. Change the password from foobared to a strong one. For creating a strong password, it must contain uppercase, lowercase, numeral, and special character. I have set a simple password just for example. Let’s have a look at the command below:
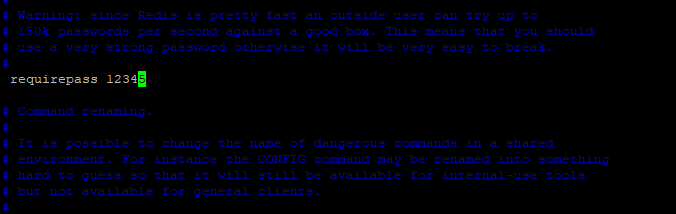
Don’t forget to save the changes. You’ve taken the first step towards securing your database.
2. Binding Configurations
Redis only accepts the localhost connections i.e. you can only access the Redis server from the host machine (where it is running). Therefore, we need to enable remote connections in the redis.conf file located in /etc/redis directory.
Just comment on the bind IP address i.e. bind 127.0.0.1::1to accept all the remote connections. As earlier, we have used vi editor. Let’s have a look at the command below:
sudo vi /etc/redis/redis.conf
Comment the bind IP address as shown below in the given image. Don’t forget to save the changes. As discussed earlier, use “:wq!” command to save and exit the changes.

3. Updating Redis process
By default. the Redis configuration file is not updated. We need to configure it. This configuration is one of the important configuration, need to be done just after the installation process. As earlier, we will change the settings in redis.conf file located in /etc/redis directory. Let’s have a look at the command below:
sudo nano /etc/redis/redis.conf
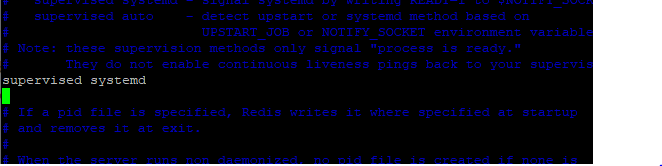
Search for the “supervised” keyword. You would find “NO” after it. Replace it with the “systemd” and that’s it. Have a look at the image given below:
Starting and Stopping Redis Service on Debian
Whenever we make any of the changes in the configuration file, we need to restart the services again. You also need to get a hang of how to work with the services using the systemctl command.
1. Restart Redis Service in Debian
We will use the restart command to restart the services again. If you want to check the status whether it has started or not, can use the status command. To do so, type the following in the terminal:
sudo systemctl restart redis
sudo systemctl status redis
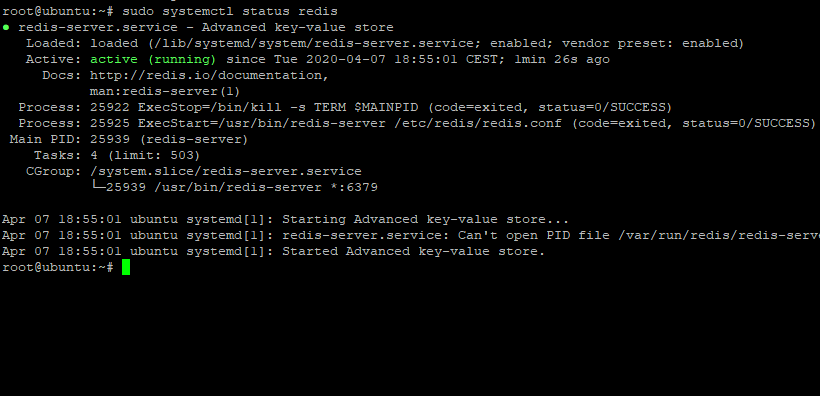
You can see the status as active highlighted in the image given above.
2. Command to start and stop the services
If in case, you want to start the services during the initialization of the sever. Use start command to start the services. Same as to check the status, you can use the status command as described earlier. Let’s have a look at the command below:
sudo systemctl start redis
To stop the services, we will use the stop command as shown below:
sudo systemctl stop redis
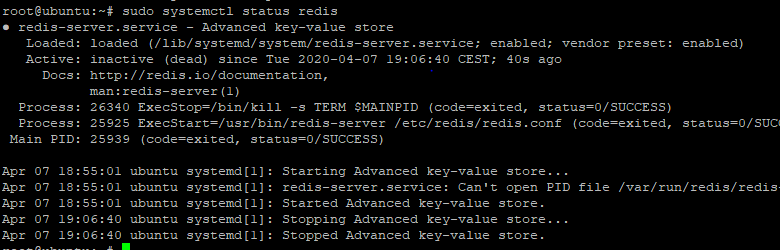
To verify whether the services has stopped or not, use status command as described earlier. You can see the status as inactive in the image given below:
Verify Client-Server Connecting for the Redis Server
Once we are done with all the necessary configurations, the next step is to access the client using the command. Therefore, we will also test whether the connection between the server and the client has been successfully set up or not. Let’s begin by testing the success of this service with the use of the ping command.
redis-cli
Set the authentication
After this, you need to set up the authentication then only you would be able to run commands. If you don’t set up the authentication, you will see the error as shown below. Use auth followed by the current password set up in the configuration file. Let’s have a look at the command below:
auth 12345
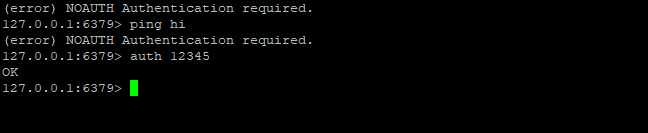
You can see the error NOAUTH Authentication required occurred before setting up the authentication.
Check the connection using PING-PONG command
This would verify whether the server-client connection has been successfully set up or not. Type ping in the terminal. If it responds with PONG, we know that the connection is successfully working. Let’s have a look at the command below:

Storing Data in Redis
Earlier, we discussed that Redis store the command in key-value pairs. We will use the set command to set the value of the key and get command to get the value of the Key. For example, set the value of an employee as “Vaishali” and use get command to fetch the value. Let’s have a look at the command below:
set employee vaishali

Command to get the employee:
get employee

You can see that the data is stored in the key-value pair. Use the exit command to quit this. I hope the concept is cleared.
Check Redis version
To check the information regarding the version of Redis, simply use the info server command. It will display all the necessary information as given below in the image. Let’s have a look at the command below:
INFO server

Conclusion
We have learned how to install Redis in Debian. We hope that your all concepts are cleared. If face any kind of issues, do tell us in the comment section. Feel free to reach us.