
In this tutorial, we will discuss how to install OwnCloud on CentOS.
Let’s first learn what is OwnCloud? You might be aware of cloud services very well. The online storage platform which can be accessed anytime, data files can be stored and accessed remotely on any computers or even mobile phone. All you need to do id to remember the cloud ID and password.
Owncloud works on the same feature too. It’s a cloud i.e. a cloud file-sharing system. OwnCloud is a program that either installs on your own server or you can have it be hosted off-site if you don’t have a server or don’t need access to your internal file servers.
Basically, OwnCloud provides the following features:
- It is the private cloud file storage system where the data stored is secure.
- It keeps the synchronization between all of your computers.
- It provides mobile access to your internal file servers.
- You can also share files with your family, coworkers, and friends.
- It is the cloud that is private and owned by you only.
- The most important feature is that it is open-source, there is no licensing i.e. you don’t need to buy the license.
- It works with iPhone, Android, iPad, PC, and Mac too i.e. you can access the files from any of these devices.
I hope you have understood about OwnCloud.
OwnCloud is based upon PHP, PostgreSQL or MYSQL or Oracle. So it can run over all platforms which meet all these requirements. Let’s understand how to install OwnCloud on CentOS.
Update the repositories
The first step before you install OwnCloud on CentOS, is to refresh the repositories. For this, we will use the yum command. Basically, YUM stands for YelloDog Updater Modifier, which allows users and system administrators to easily install, update, remove or search software packages. It’s important to refresh the repositories first before installing any new packages. The command for this is as follows:
yum -y update
Install Apache, PHP, and MariaDB
These are some modules that are required to be installed before installing OwnCloud. The OwnCloud server is based on these platforms. Basically, this is called the LAMP stack. We will have a look at the command to install Apache server, MariaDB and PHP modules.
The command to install the Apache server is as follows:
sudo yum install httpd
After this, you have to make some configurations, for this follow the guide: Click Here
The command to install MariaDB is as follows:
sudo yum install mariadb-server
If you still face any issue, follow the guide: Click here
PHP Modules like PHP5, PHP module ctype, PHP module dom, PHP module GD, PHP module iconv, PHP module JSON and so on. You can check all the necessary modules here: Click Here. The command to install PHP modules is as follows:
sudo dnf install php-curl php-gd php-intl php-json php-ldap php-mbstring php-mysqlnd php-xml php-zip php-opcache
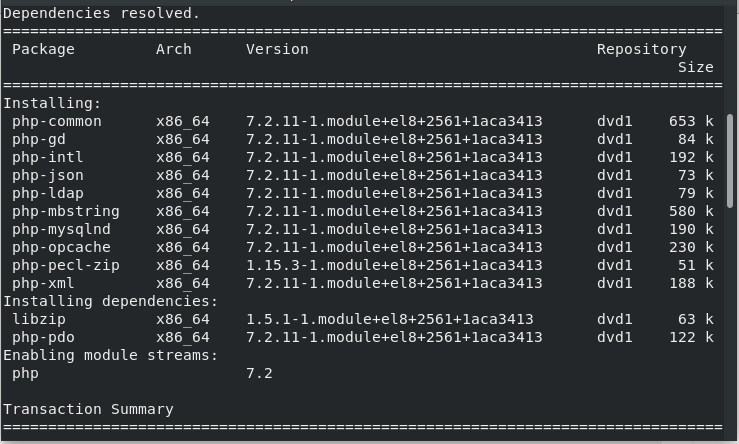
It will install the required packages.
Install OwnCloud on CentOS Using Official Tarball
After successfully installing all the packages, we need to install the OwnCloud. We will use wget command to download the tar file. wget command is useful as it downloads the files from web servers using HTTP, HTTPS, and FTP protocols. Extract the downloaded file using tar command. Don’t forget to change its directory. Let’s have a look at the command below:
wget https://download.owncloud.org/community/owncloud-10.4.0.tar.bz2
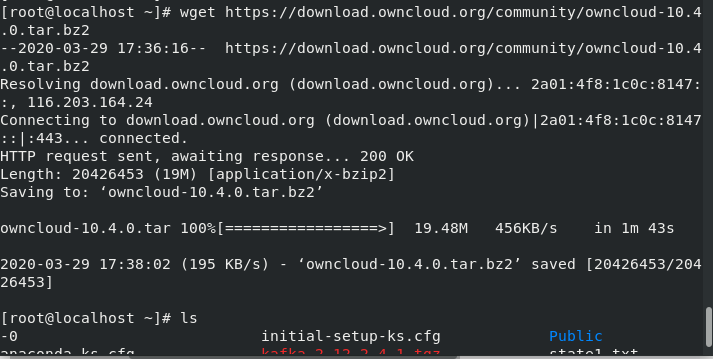
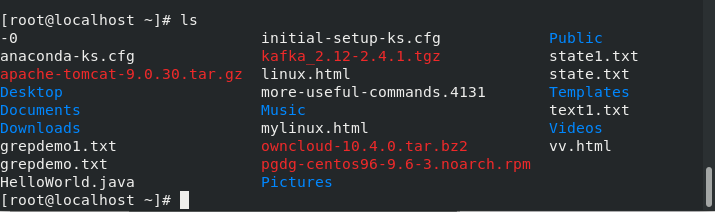
You can also list the folders to check the downloaded file using ls command.
Extract the archive using tar command. The command for this is as follows:
tar -jxf owncloud-10.4.0.tar.bz2 -C /var/www/html

Don’t forget to extract the file in /var/www/html directory.
Grant permissions
The next step is to grant permission of the webserver to read and write the file on the cloud directory. For this, we will use chown command. Chown command is used to change the ownerships. You can have detailed knowledge of chown command here. The command for this is as follows:
$ sudo chown -R :apache /var/www/html/owncloud
Database Configurations
For this, it’s important to install MariaDB as the command is provided above. After installing MariaDB, you need to secure its installation i.e. to set some configurations. Use the following command to do so:
mysql_secure_installation
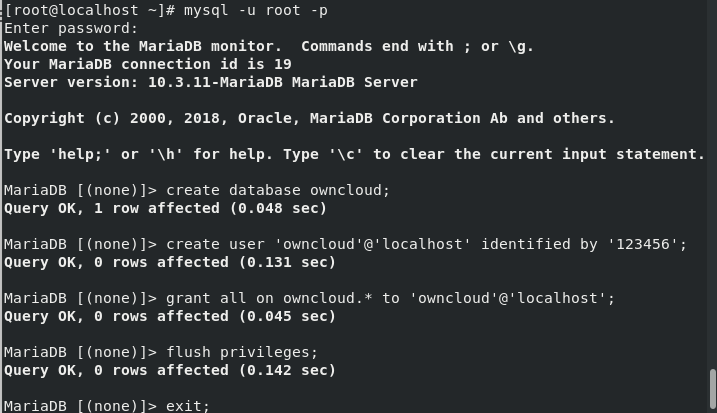
Set the password, and respond YES to all the asked questions. Now, we need to create the database and user named OwnCLoud. You can set a name according to your choice. Then, grant all the privileges to the user over the database. This can be done using the following command:
mysql -u root -p
>CREATE DATABASE owncloud
>CREATE USER `owncloud`@`localhost` IDENTIFIED BY '1234';
>GRANT ALL ON owncloud.* TO `admin`@`localhost`;
>FLUSH PRIVILEGES;
>exit
Apache Web Server Configurations
We are done with the database configurations, the next step is to set Apache Web Server configurations. For this, open the external configuration file for OwnCloud. We will use vi editor. You can use any of the editors. You can also prefer nano command. It depends on your choice. The command for this is as follows:
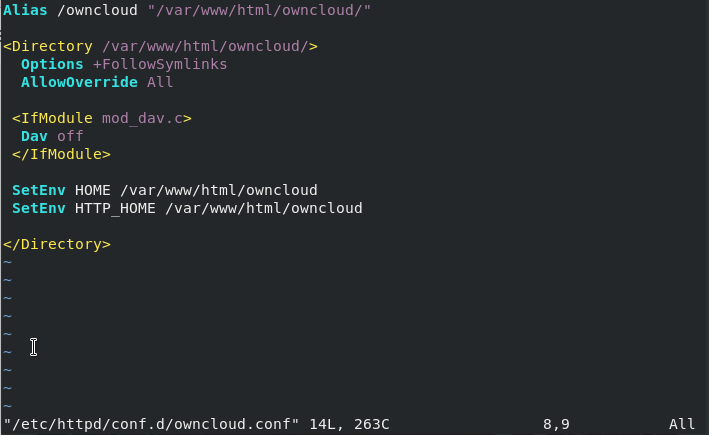
sudo vim /etc/httpd/conf.d/owncloud.conf
Add the following code as given below:
Alias /owncloud "/var/www/html/owncloud/"

<Directory /var/www/html/owncloud/>
  Options +FollowSymlinks
  AllowOverride All

 <IfModule mod_dav.c>
  Dav off
 </IfModule>

 SetEnv HOME /var/www/html/owncloud
 SetEnv HTTP_HOME /var/www/html/owncloud

</Directory>
Folks, Don’t forget to save the changes. Press Esc command followed by “:wq!” command to exit the text editor. After saving the changes, you need to restart the apache services using the restart command. This will be done using systemctl commons. The command for this is as follows:
sudo systemctl restart httpd
After restarting the services, you can check the status of the Apache server using the following command:
sudo systemctl status httpd
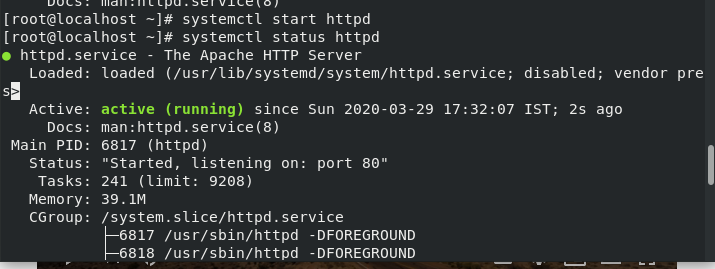
You can see the status as active in the above figure shown. Here, we need to add the additional step regarding SELinux. SELinux is basically the security of the Linux which has its own database. You can have a detailed knowledge of SELinux Official Documentation. The command for this is as follows:
sudo setsebool -P httpd_unified 1
Begin with OwnCloud
After successfully installing and setting the configurations, you need to connect to the local browser. This is the last step of the installation process. Here you need to type the IP address of your server on the browser. The command for this is as follows:
http://server-IP Address/owncloud
OR
localhost/OwnCloud
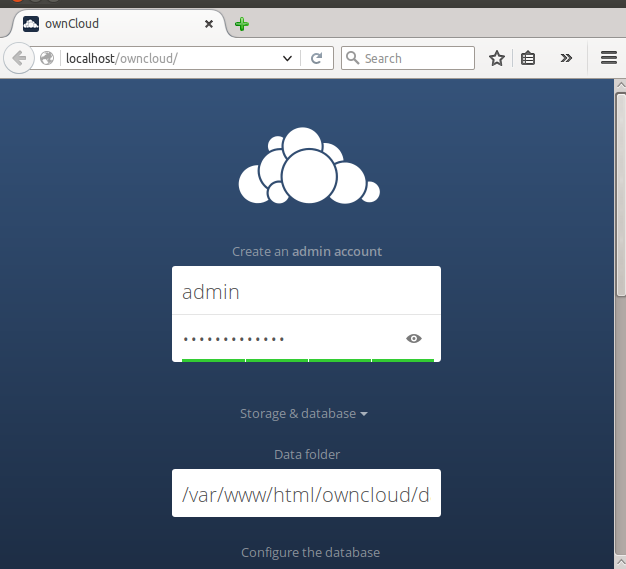
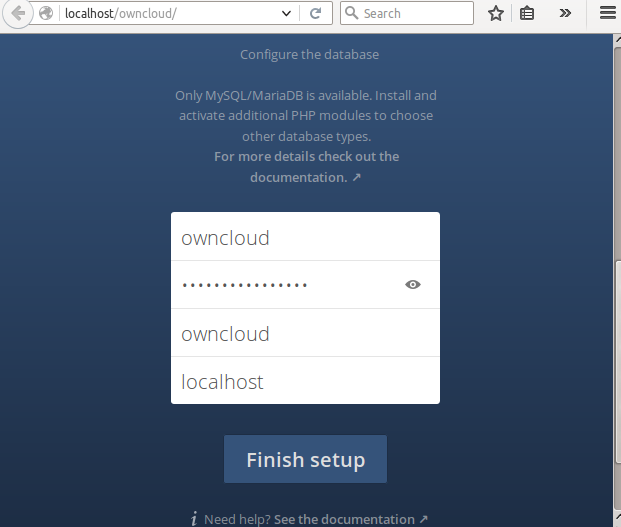
Create the admin account and set the password. Fill up the necessary details asked as shown in the figure below. Add up the database details and finish the setup.
After successfully finishing the installation process, a dashboard will appear as shown in the image below:
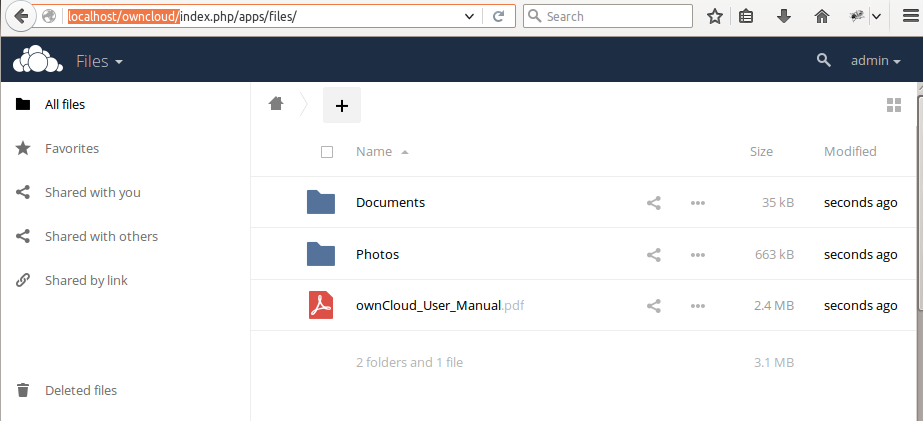
Here, you are done with the set up of OwnCloud.
Conclusion
We have successfully learned how to install OwnCloud on CentOS. If face any issue, do let us know in the comment section.