

If you are a beginner in the field of scientific computing, this is the right tutorial. In this tutorial, we will learn how to install Anaconda on Debian.
Let’s first discuss Anaconda. Basically, Anaconda is a bundle of some popular python packages and a package manager called conda. It is similar to pip.
You might be thinking that if we have pip libraries then why we are using Anaconda. As discussed Anaconda is a bundle of packages, some of the popular Anaconda packages are bumpy, scipy, Jupyter, nltk, sci-kit learn and so on. If you have simple python installed on your system, in order to use these packages you have to install them separately using pip.
Folks, why suffer if we have a solution! We can install Anaconda, as it is the bundle of all these packages. We get all the packages in just one shot. It’s a matter of convenience.
Basically, Anaconda is a free and open-source distribution of the python and R programming languages used for scientific purposes like Data Science, Machine learning and so on.
You don’t need to uninstall other python installations or packages before installing Anaconda. Don’t uninstall other python packages if you are using Anaconda.
I hope you got the concept. Let’s learn how to install Anaconda on Debian.
Pre-Requisites Before You Install Anaconda on Debian
Before you begin with the steps to install Anaconda on Debian, make sure you run the below line to install all the dependencies for the package.
sudo apt install libgl1-mesa-glx libegl1-mesa libxrandr2 libxrandr2 libxss1 libxcursor1 libxcomposite1 libasound2 libxi6 libxtst6
Install Anaconda on Debian from Anaconda Official Website
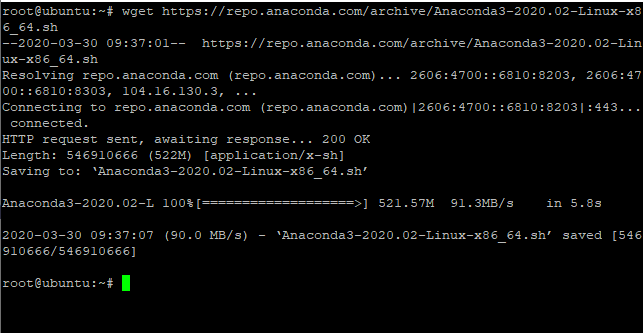
The first step to install Anaconda on Debian is to download the package using wget or curl command. Wget command is used to download the packages over web servers. Get the detailed knowledge of wget command: Click here. You need to download the package from the Anaconda Official Website. Let’s have a look at the command below:
wget https://repo.anaconda.com/archive/Anaconda3-2020.02-Linux-x86_64.sh
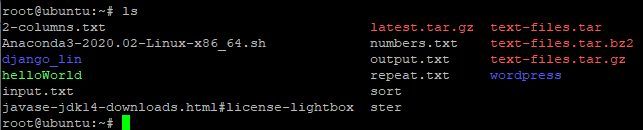
You can also list the folder using ls command to check whether it has been installed or not. Have a look at the image below:
The next step is to verify the integrity of the downloaded package using the sha256sum command. Basically, the sha256sum command is used to check the 256-bit checksum. Now, what is a checksum? The checksum is like a fingerprint of the file. The purpose of checksum is to detect the errors which may have introduced during its transmission or storage. For more detail knowledge, can check the Ubuntu Official Documentation. Let’s have a look at the command below to check the data integrity of the Anaconda:
sha256sum /path/filename

It will print the output as shown in the image above. Just make sure that the hash key of the installed package should match with the hash keys of Anaconda with Python.
Begin with the installation process
After successfully downloading and verifying its integrity, the next step is, to begin with, the installation process. We will use a bash installer to run .sh scripts. It will unpack all the packages downloaded. If you want the detailed description of the bash shell, do check this documentation: Click Here. Let’s have a look at the command below:
bash File_NAME
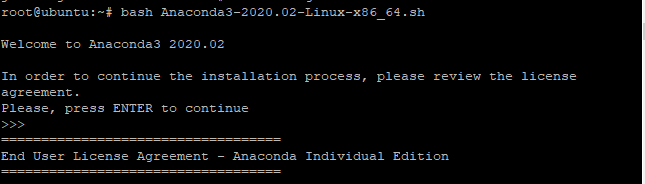
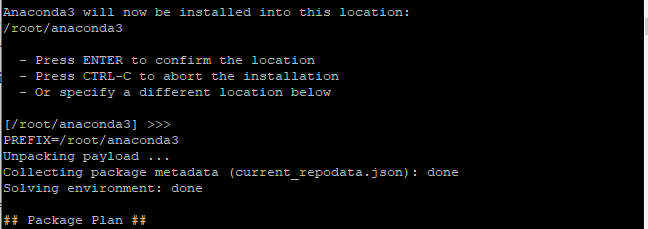
During the installation process, you will be asked to view the license terms and conditions. Press enter to view it completely. Further, you will be asked to install the package at which location. I recommend selecting the default location.
After this, it would ask you to initialize Anaconda with conda init. I recommend typing yes as it would automatically add the path in the shell scripts. The package will be installed successfully.
The Last step is to activate Anaconda i.e. to load the changes made in the Path environment variables. Whenever we make the changes in Path environment variables, it’s important to reload it again. Let’s have a look at the command below:
source ~/.bashrc
Hence, the installation process has been completed.
Check the version or detailed information
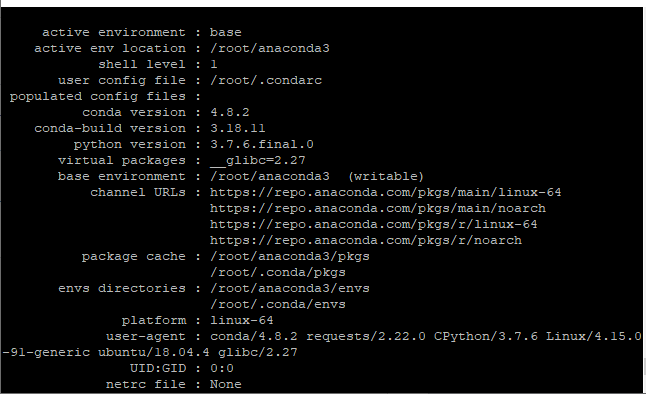
If you want to check the version or detailed information of Anaconda version, use –version command or info command to do so. Using version command it will print the version of the Anaconda but using info command, it will print the detailed information of Anaconda. Let’s have a look at the command:
conda --version

OR:
conda info
Updating the Anaconda
The next step is to update the packages installed in Anaconda. For this, we will use the update command. It will update all the packages. Let’s have a look at the command:
conda update --all --yes
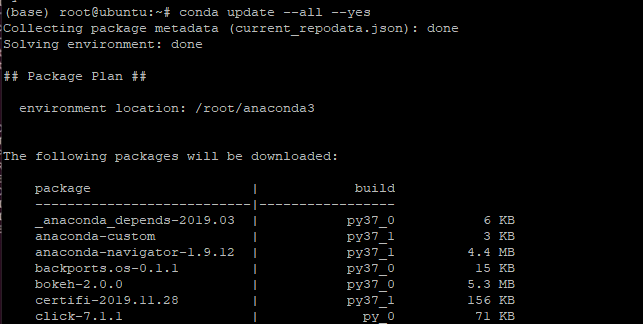
It will successfully update the packages. In the above image, you could the base keyword. This simply means that Anaconda is activated running on the base environment.
Python with Anaconda
Here, we will associate the Anaconda with Python. For this, we need to activate Anaconda services. The command for this is as follows:
conda activate

This command will activate Anaconda services. Run python command to verify whether it is been associated with Anaconda or not. You will notice the Anaconda is associated with Python as shown in the image given above.
Deactivate the Anaconda
Earlier we discussed the command to activate the services. What if, you want to deactivate the services? we will use the deactivate command to disable the services. Let’s have a look at the command below:
conda deactivate

Uninstall the Anaconda in Debian
We have learned how to uninstall anaconda. now, we will have a look at how to uninstall the Anaconda installed in our system. As it is installed through wget command, therefore we need to remove its directory. We will use the rm command to delete the directory with -rf options (as it would delete all the files in this directory). The command for this is as follows:
rm -rf ~/anaconda3
It will remove the directory installed. During the installation process, the path of environment variables of Anaconda was automatically configured. Therefore, we need to edit the path in bashrc file. Run the command to open the bashrc file and remove the path as given below:
nano ~/.bashrc
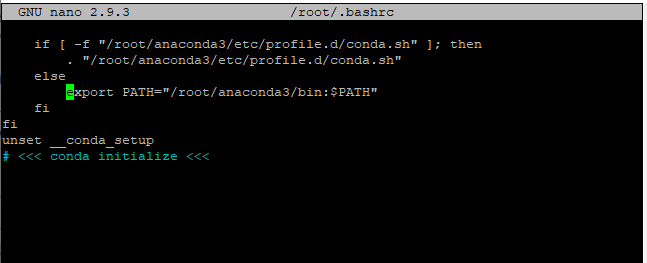
Remove the path as shown in the image above.
The last step is to remove the hidden files created at the time of installation. After this, the uninstallation process will be completed. It will be successfully removed. The command for this is as follows:
rm -rf ~/.condarc ~/.conda ~/.continuum
Conclusion
We have successfully learned how to install Anaconda on Debian. If face any issues, do let us know in the comment section.