
In this article, we’ll learn about how to install and configure Kubernetes on Ubuntu. We’ll also deploy a NGINX server.
Kubernetes can be installed with its deployment tools using kubeadm, or kops, or kubespray. However, in this article, we’ll be installing it with kubeadm.
What are the requirements for Kubernetes?
1.) A compatible Linux host. The Kubernetes project provides generic instructions for Linux distributions based on Debian and Red Hat, and those distributions without a package manager.
Source: https://kubernetes.io/docs/setup/production-environment/tools/kubeadm/install-kubeadm/
2.) 2 GB or more of RAM per machine (any less will leave little room for your apps).
3.) 2 CPUs or more.
4.) Full network connectivity between all machines in the cluster (public or private network is fine).
5.) Unique hostname, MAC address, and product_uuid for every node. See here for more details.
6.) Certain ports are open on your machines. See here for more details.
7.) Swap disabled. You MUST disable swap in order for the kubelet to work properly.
Kubernetes uses a container runtime, in this article, we’ll use Docker if you don’t have docker installed on your system you can quickly install it by referring to https://www.linuxfordevices.com/tutorials/ubuntu/install-docker-run-docker-container-ubuntu
How to install Kubernetes on Ubuntu?
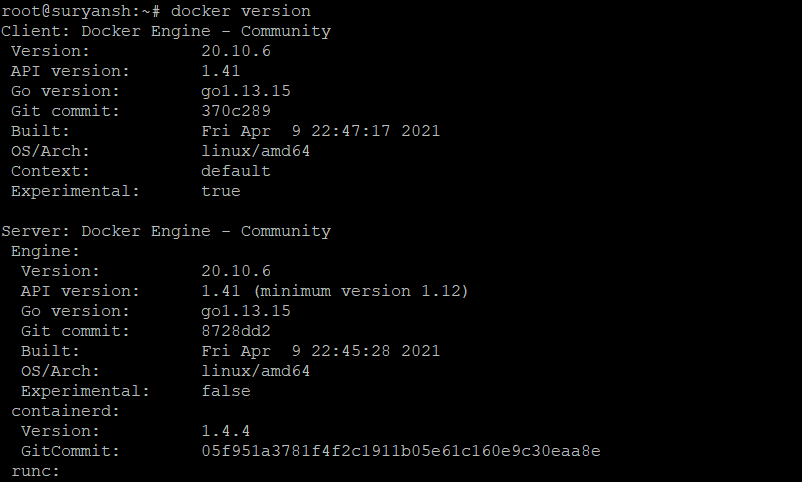
Before we proceed with Kubernetes installation, check if you have a functional container runtime installed. Like in this articles we are using Docker so you can simply execute:
docker version
Update your index with apt command and install required packages for Kubernetes installation:
sudo apt update
sudo apt install apt-transport-https ca-certificates curl
Next download signing key of Google Cloud by using curl command:
sudo curl -fsSLo /usr/share/keyrings/kubernetes-archive-keyring.gpg https://packages.cloud.google.com/apt/doc/apt-key.gpg
Now add the Kubernetes repository to apt package manager by:
sudo echo "deb [signed-by=/usr/share/keyrings/kubernetes-archive-keyring.gpg] https://apt.kubernetes.io/ kubernetes-xenial main" | sudo tee /etc/apt/sources.list.d/kubernetes.list
Now update the apt index and install kubeadm, kubectl, and kubelet by:
sudo apt update
sudo apt install kubelet kubeadm kubectl
Now hold the version of them by executing:
sudo apt-mark hold kubelet kubeadm kubectl
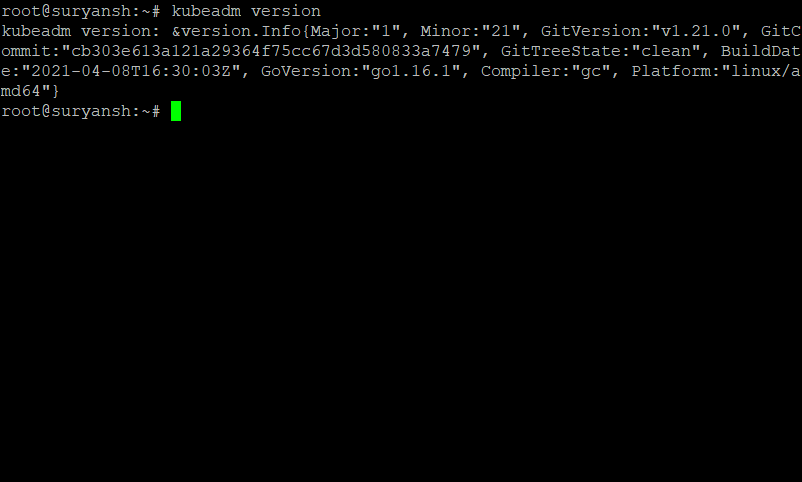
Now verify the installation by:
kubeadm version
These steps have to be repeated on each node you create.
How to configure Kubernetes?
Now that we have installed the necessary tools, we can now proceed to configuring Kubernetes.
1. Disable Swap and Initialize the Master Node
As already mentioned in the requirements above, swap must be disabled for kubelet to work properly. Disable swap on all nodes by executing:
sudo swapoff –a
Now initialize the master node by:
sudo kubeadm init --apiserver-advertise-address 192.168.0.148 --pod-network-cidr=10.5.0.0/16
Replace 192.168.0.148 with your machine’s IP address.
We have successfully initialized our master node.
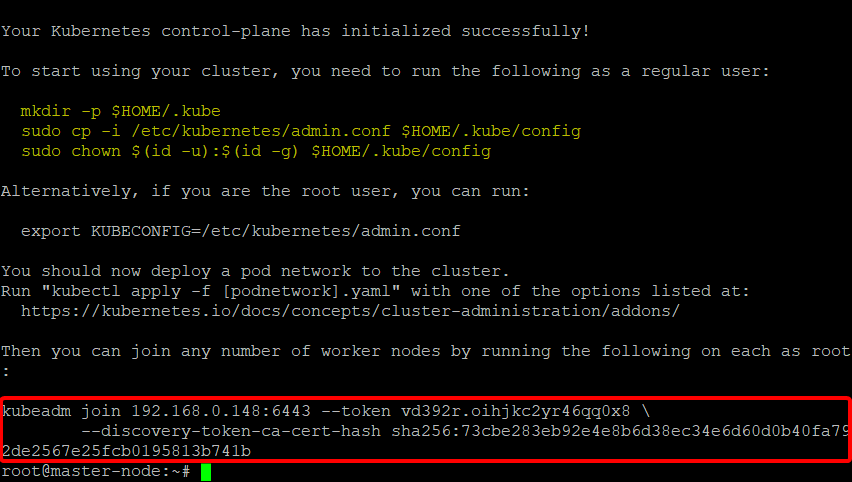
2. Join Worker Nodes to Master
We are now required to run the highlighted commands, but you are also required to save the command inside the red rectangle as it will be required later to make our worker nodes join our master node.
mkdir -p $HOME/.kube
sudo cp -i /etc/kubernetes/admin.conf $HOME/.kube/config
sudo chown $(id -u):$(id -g) $HOME/.kube/config
Now you can execute the command below to see the nodes:
sudo kubectl get nodes
You can see our master-node is NotReady at the moment.

3. Initialize Cluster Networking
Now initialize cluster networking by executing:
sudo kubectl apply -f https://raw.githubusercontent.com/cloudnativelabs/kube-router/master/daemonset/kubeadm-kuberouter.yaml
Now execute sudo kubetctl get nodes and the NotReady status should’ve changed to Ready,

If it is still NotReady for you, give it a moment as it may take some time to get Ready.
Now we will make our worker node join our master node with the command we saved earlier. It will look similar to the command below but not the same, and it has to be executed on your worker node server.
sudo kubeadm join 192.168.0.148:6443 --token vd392r.oihjkc2yr46qq0x8 \
	--discovery-token-ca-cert-hash sha256:73cbe283eb92e4e8b6d38ec34e6d60d0b40fa792de2567e25fcb0195813b741b
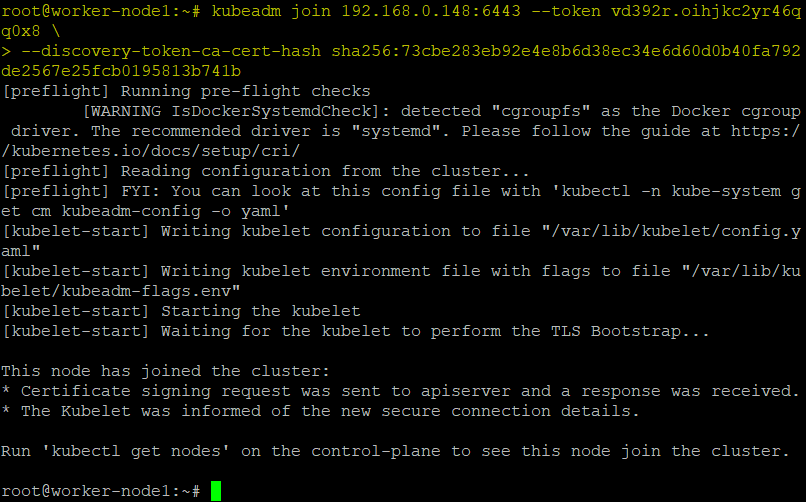
To see if our worker node joined our master node, execute kubectl get nodes and it might again take a moment.

4. Create Nginx deployment
Now let’s create a NGINX deployment by executing:
sudo kubectl apply -f https://raw.githubusercontent.com/kubernetes/website/master/content/en/examples/application/nginx-app.yaml
It should have successfully deployed nginx server. Now execute the command below to get list of all services:
sudo kubectl get svc
You should be able to find NGINX in it.

By default Kubernetes will assign a port in 30000+ range to NGINX service.
You can test your deployment by executing similar curl command as given below:
curl master-node:30658

Congratulations we have successfully installed and deployed our first deployment on Kubernetes.
Conclusion
Kubernetes is a great application orchestrator (which basically deploys and manages applications), you have to just deploy your application without having to worry about scaling up or down, you can provide rolling updates, self-healing and much more. We hope you found this article helpful to you, happy learning!