

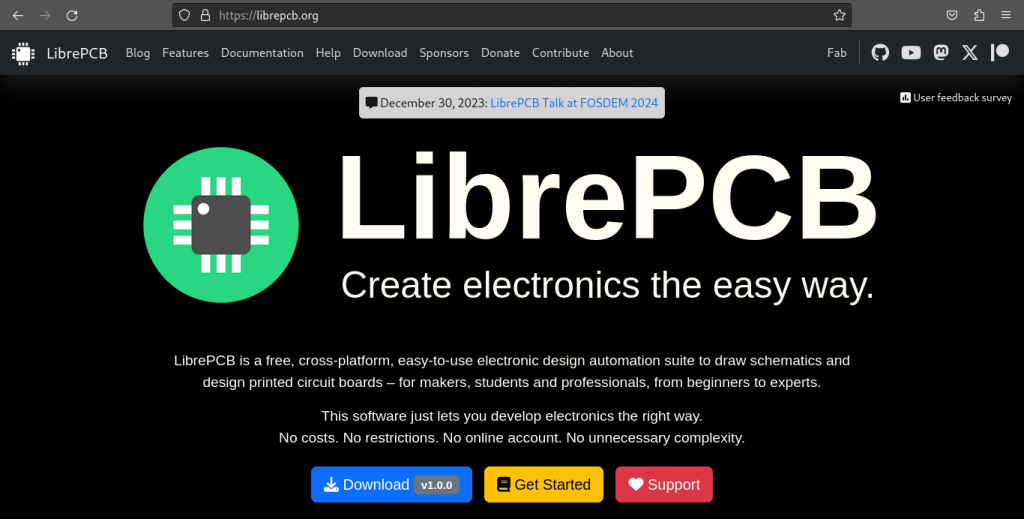
LibrePCB is a free & open-source software, cross-platform, easy-to-use EDA (Electronic Design Automation) suite to draw schematics and design printed circuit boards. Using this, we can develop printed circuit boards. It comes with easy to use GUI, project management and library, schematic, board editors.
Most of EDA tools are proprietary, close source and vendor specific i.e. Altium, whereas LibrePCB is FOSS, vendor neutral with growing worldwide community.
In this module, we will see how to install LibrePCB on our Linux PC.
Features of LibrePCB
- LibrePCB is an open source EDA tool powered by worldwide community
- No costs, No restrictions, No online account, No unnecessary complexity.
- Cross-platform — including Windows, Linux and macOS, and up to 16 languages
- Easy to start interface, no need to spend days on documentation
- All files created by LibrePCB are human-readable, canonical and conceived very carefully.
- LibrePCB can also be used fully offline.
- For everyone from Beginners to Professional.
Installing LibrePCB
There are multiple ways through which we can install LibrePCB on our Linux PC. We will discuss all these steps one by one.
- Installing via AppImage
- Installing via Flatpak
- And installing with the Snap package Manager
We will discuss all these methods one by one.
LibrePCB is contained in several app stores / software centers, just search for “LibrePCB” to find and install it. If it doesn’t exist, use one of the installation options below. We are not discussing this method, because sometimes we are not able to find “LibrePCB” there.
Method 1: Installing via AppImage
Open your browser, we will go to the LibrePCB website.
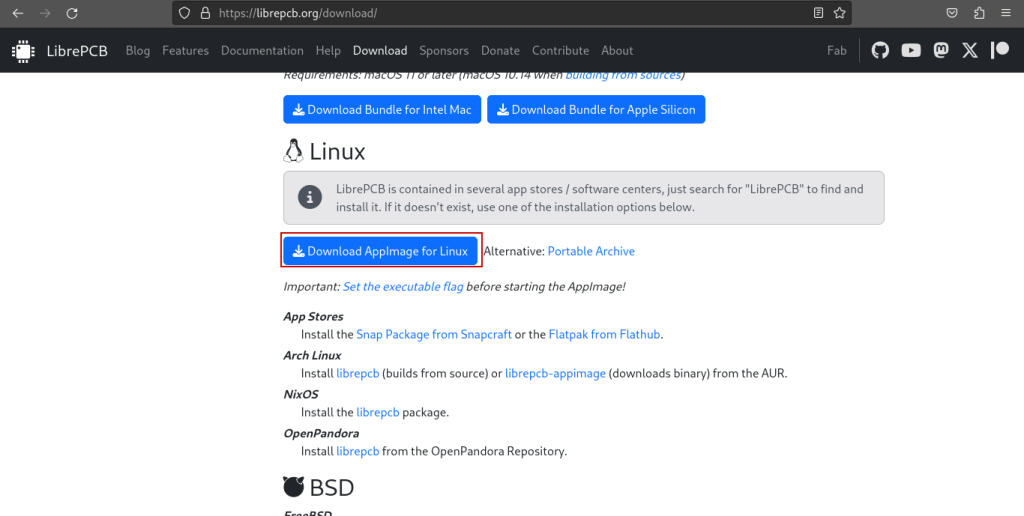
And click on Download button. Right now, we want to install it on Linux, so scroll for Linux and click on Download AppImage for Linux to download AppImage file.
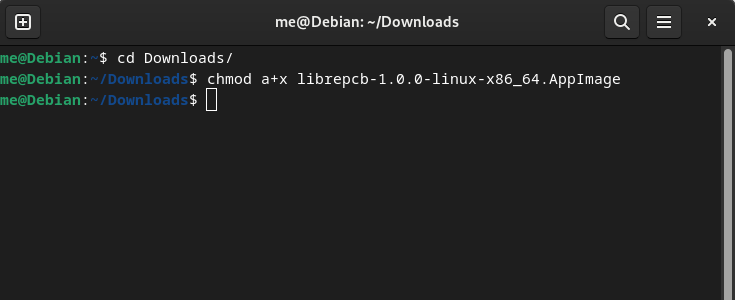
Now we have to make this AppImage file executable, so open the Terminal on your Linux system and run the following command to make the file executable.
chmod a+x Downloads/librepcb-1.0.0-linux-x86_64.AppImage
But first either change the directory to where the file is located or give the full path to fill in the command line for me, it is in “/home/Downloads/”. Also don’t exactly copy my code as the file name may change based on the version you may have downloaded.
I have changed the directory to download before executing the commands, as you can see in the image below.
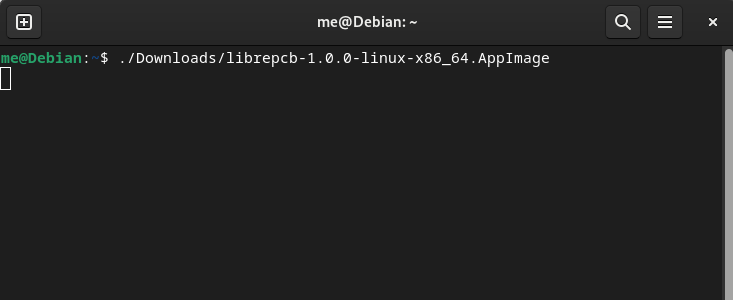
Now we have to run this executable file so, in a fresh Terminal tab, run the below command:
./Downloads/librepcb-1.0.0-linux-x86_64.AppImage
Now, LibrePCB window open up in some time.
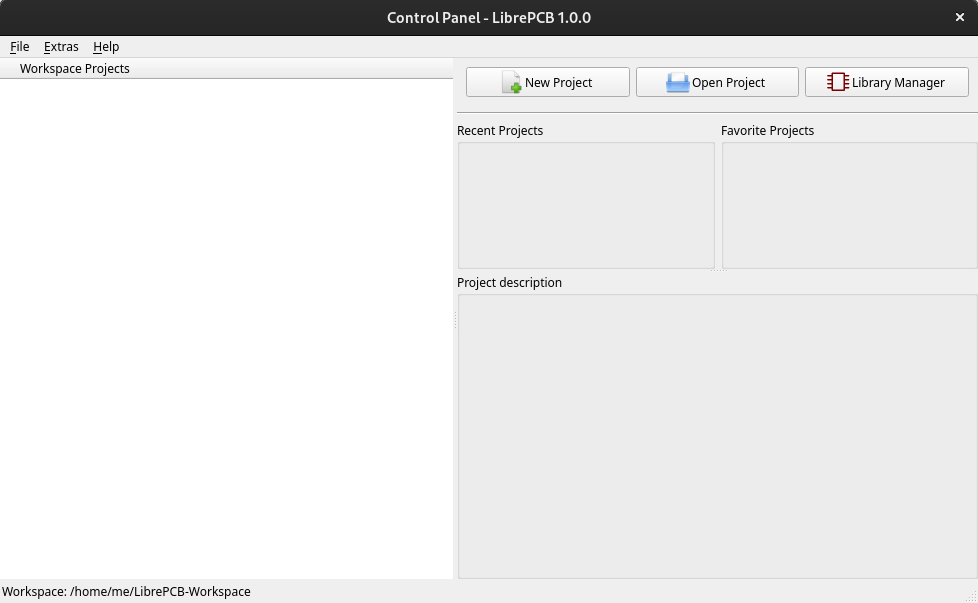
Our LibrePCB is ready to use. Now, we look at other method of installing LibrePCB.
Method 2: Installing via Flatpak
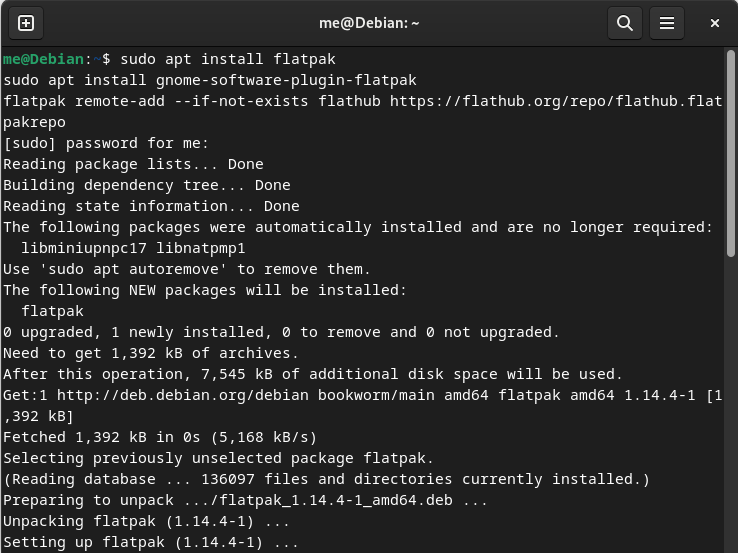
If you don’t have installed flatpak on your Linux PC, follow this guide and install using the commands according to your OS. For Debian, follow below given command:
sudo apt install flatpak
sudo apt install gnome-software-plugin-flatpak
flatpak remote-add --if-not-exists flathub https://flathub.org/repo/flathub.flatpakrepo
Here
aptis for Debian based distros, for Red hat based distros it will beyumordnf. Changeaptaccording to your distribution.
To complete setup, we may need to restart our system. After that, we can install LibrePCB.
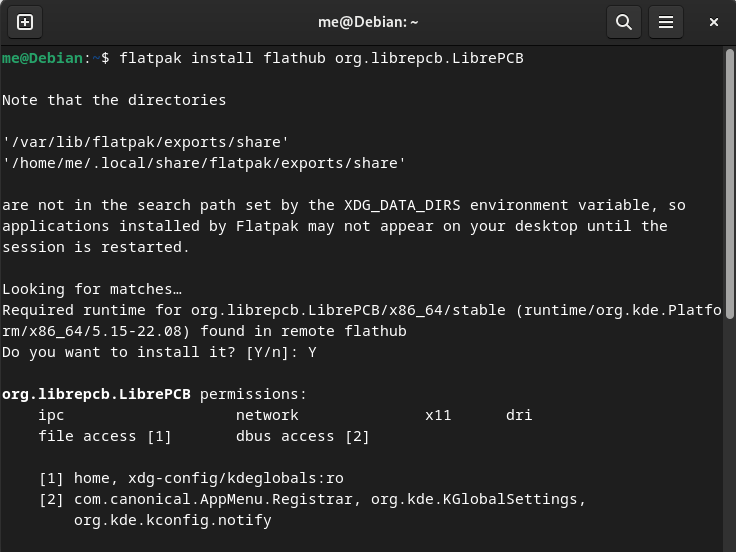
Now, Install LibrePCB using flatpak:
flatpak install flathub org.librepcb.LibrePCB
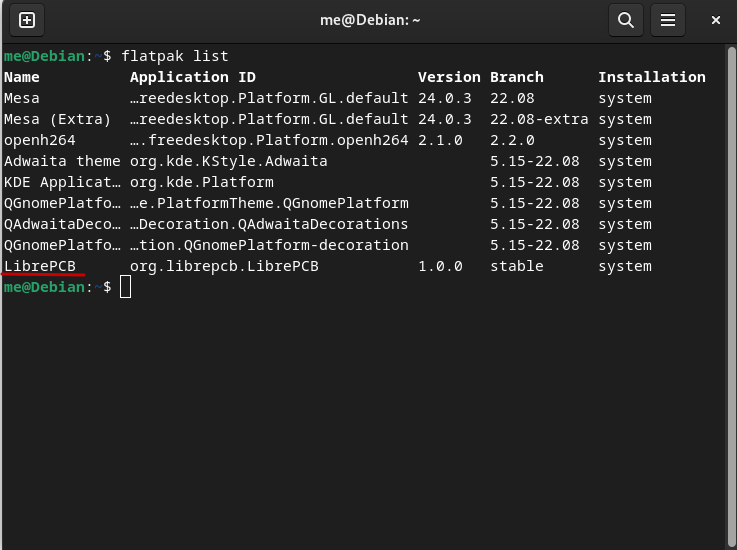
We can check all the installed flatpak application using below command:
flatpak list
We can launch this LibrePCB using below command:
flatpak run org.librepcb.LibrePCB
Method 3: Installing via Snap
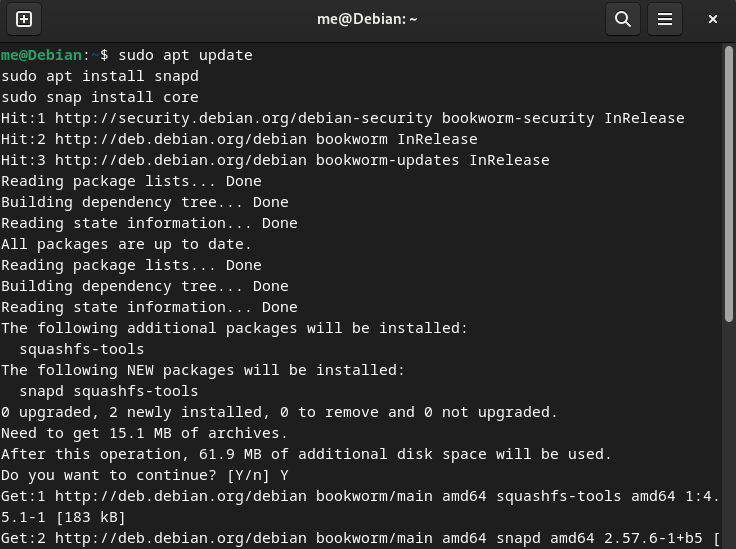
Again, if you don’t have installed snap on your Linux PC, follow this guide and install using the commands according to your OS. Note that if you are using Ubuntu, snaps are preinstalled on your system. For Debian, follow the below command:
sudo apt update
sudo apt install snapd
sudo snap install core
Now, Install LibrePCB using snap:
sudo snap install librepcb
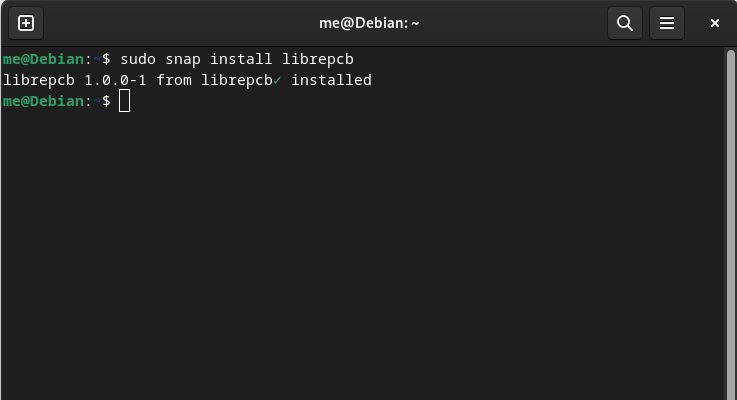
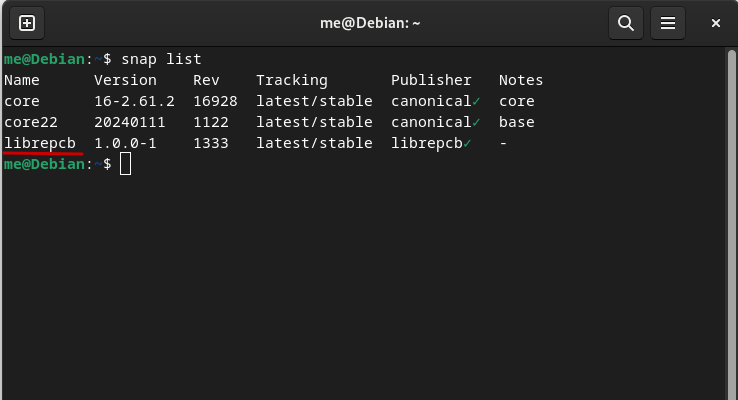
LibrePCB has installed using snap. We can check all the installed snap application using below command:
snap list
Now, we have successfully installed this application using all above-mentioned three methods, you can just launch the application from the app grid/Menu.
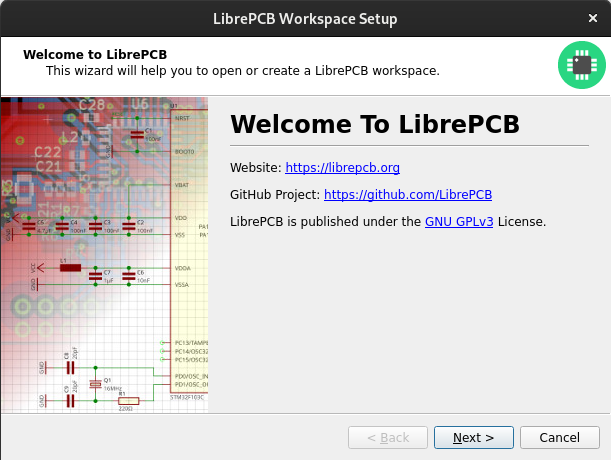
Usage of LibrePCB
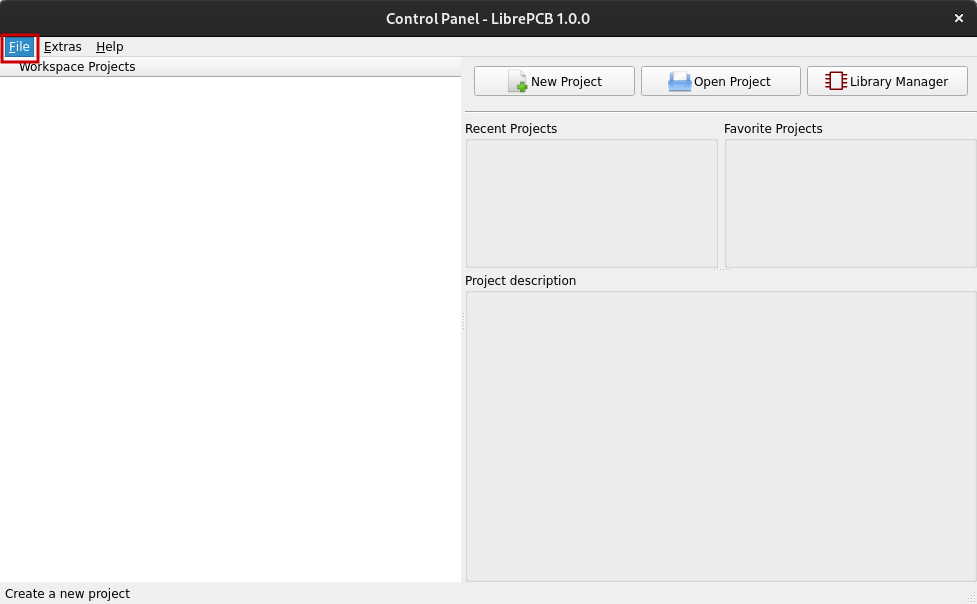
We can launch a new project by clicking on File tab.
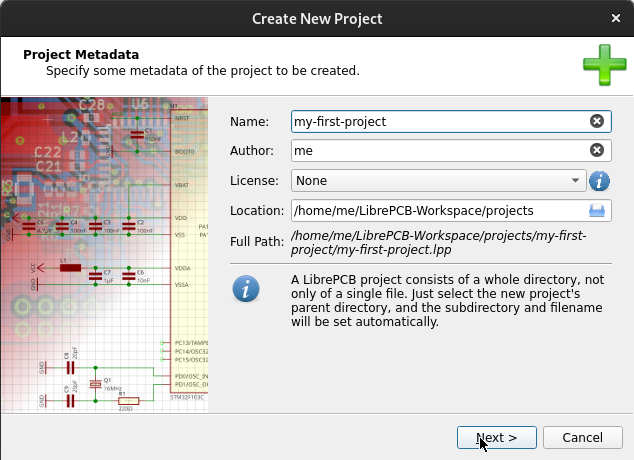
Provide a project name for our project and click Next.
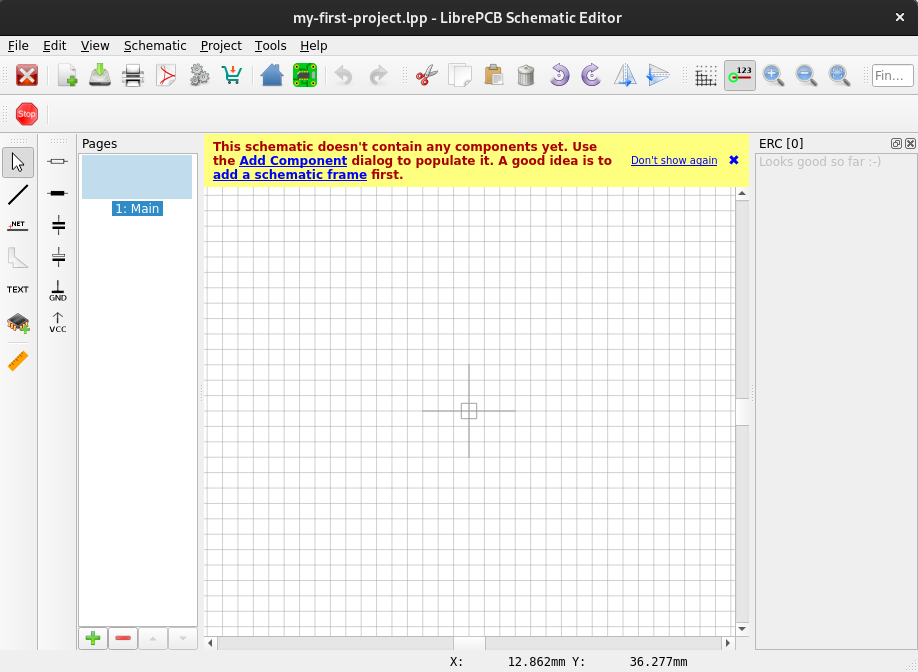
Now, we start building our circuit board project.
Conclusion
In this module, we discussed LibrePCB A EDA tool which is used for drawing schematics and designing printed circuit boards, and how to install it on our Linux system. We installed LibrePCB on our Linux in three different ways, one way by using AppImage, secondly via flatpak and finally with snap package manager.