
It has been well over a year since the Raspberry Pi foundation released its own version of a microcontroller, namely the Raspberry Pi Pico. The Pi Pico boasts the fast and lightweight RP2040 chip that has been developed by the Raspberry pi foundation.
Makers everywhere in the world have warmly welcomed the Pi Pico and also have made all sorts of projects with it. Although it does not offer much different from its standard competitors in terms of computational power or power consumption, it is slightly faster and cost-efficient.
Also, the C++/Micropython language opens up more versatility for makers to learn new things. Today we will be looking at some of the projects and specs of the Raspberry Pi Pico board.
Specs of the Board
The board now in 2022 comes in two variants the standard Pico and the new Pico W. Both the boards have quite small form factors in terms of footprint. The CPU is a dual cortex ARM, that provides 2MB of memory and 26 GPIO pins including 3 analogue inputs.
The new Pi Pico W also provides wireless capabilities with a built-in antenna. The board provides SPI, UART as well as I2C communication protocols. The fast processing power and the vast memory is what pull makers to the Pico Microcontroller.
Getting started with the Pico Board
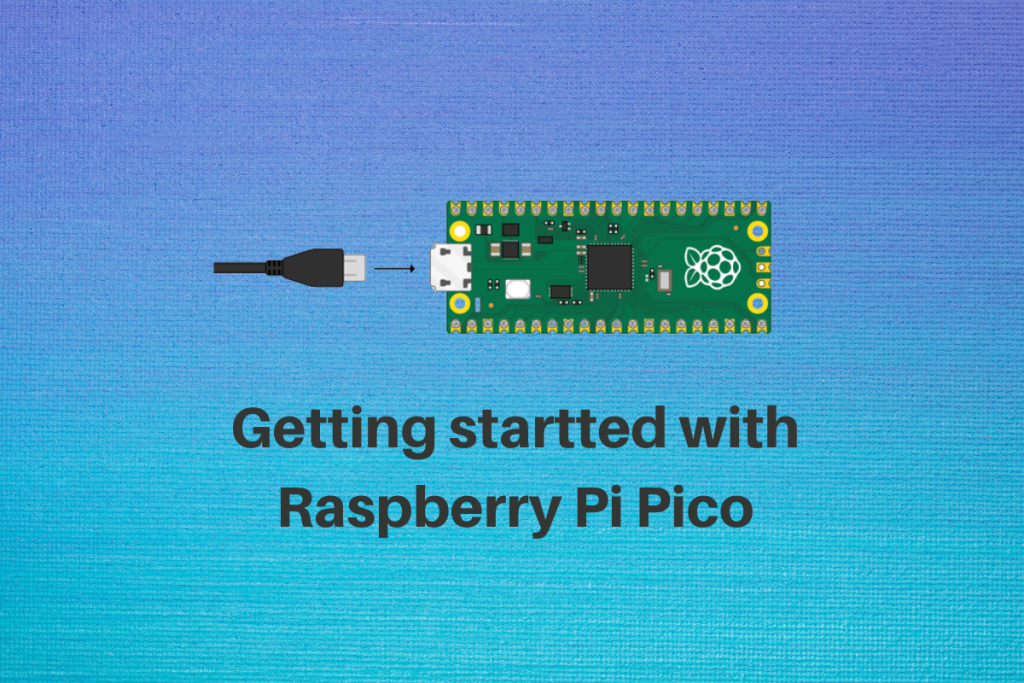
First thing’s first to connect your board to the computer press and hold the BOOTSEL button and plug in the board using a micro USB cable. Once you’re plugged in let go of the button and your PC should recognize the Pico as a storage device.
Now go into the device using a file manager and you will find an HTML link to the official page of Raspberry Pi, from there we need to download the bootloader. It’s a UFC file that you can just drag and drop into your Pico folder once it has been downloaded. Now the Pico will detect the bootloader and is going to reboot itself.
Now we come to the code editor. We recommend using the Thonny Python code editor as it is perfect for someone starting out in python and programming in general.
After opening up Thonny, in the bottom right corner, you can choose Pico as your device and follow the instructions to install MicroPython Firmware into the board.
Let’s start by printing some classic hello world content into the terminal through the processor of the Pico board, after writing the code make sure to save the code onto your Pico board and not your computer.
print("Hello World!")
The Pico board has a memory of up to 2MB so make sure that your file is under that constraint, and that you save the file ending with a .py extension. And Congratulations you have written your first MicroPython code on your own Pi Pico!
The Blink Sketch
Now printing out to the console is cool, but controlling electronics is the main goal of using any microcontroller. So let’s dive into it.
Let’s create a new file and copy-paste the following code into it.
import machine
import utime

led_pin = machine.Pin(25, machine.Pin.OUT) #uses the onboard LED

while True:
          led_pin.value(1) #turns the LED on
          utime.sleep(3) #sleeps for 3 seconds
          led_pin.value(1) #turns the LED off
          utime.sleep(3)
Save the sketch using the .py extension to the Pico and watch the onboard LED blink.
Summary
Although the first program (blink sketch) is quite anti-climactic it was your first sketch ever to who-knows-how-many several thousands of sketches and programs to come. Here at LinuxForDevices, we encourage you to dive deeper into the realm of MicroPython and Raspberry Pi Pico and Linux in general. Hope you have had a great experience and as always, thanks for reading!