
UltiMaker Cura turns a 3D model into the toolpaths and G-code a printer follows layer by layer. On Linux, the current stable release is Cura 5.13.0, and the safest installation choice depends on whether you want UltiMaker’s x86-64 AppImage or the community-maintained Flatpak.
Choose the AppImage or Flatpak package
The AppImage comes from UltiMaker’s current release and keeps Cura in one portable file, while Flatpak adds managed updates and desktop integration through a community-maintained Flathub package.
| Method | Choose it when | Main boundary |
|---|---|---|
| Official AppImage | You use an x86-64 Linux system and want UltiMaker’s stable build | You download updates yourself |
| Flathub Flatpak | You want package-managed updates and desktop integration | The package is community maintained and currently lists an x86-64 build |
If you want the direct vendor build, use the AppImage steps below and consult the Linux package management guide for the difference between managed packages and portable application files.
Check your Linux architecture first
UltiMaker’s Cura 5.13.0 Linux download is named UltiMaker-Cura-5.13.0-linux-X64.AppImage, and the X64 label means the executable targets x86-64 processors rather than ARM64 systems.
uname -m
An x86-64 machine usually prints x86_64, while aarch64 or arm64 means this AppImage cannot run natively even after you grant execute permission.
You also need a maintained 64-bit desktop distribution and working graphics drivers. If Cura opens to a blank window or reports an OpenGL failure, update the distribution and GPU driver first. On Ubuntu hardware with Intel graphics, use the Intel graphics driver checks for Ubuntu before changing Cura files.
Install Cura with the official AppImage
Open the UltiMaker Cura download page and select Linux (.AppImage) under Cura 5.13. Save the file in your Downloads directory.
1. Make the downloaded file executable
Open a terminal and move to the directory that contains the download.
cd ~/Downloads
chmod +x UltiMaker-Cura-5.13.0-linux-X64.AppImage
The chmod command adds execute permission without installing Cura into a system directory. If you want to see how owner, group, and execute bits work, the chmod and chown reference covers the permission model.
2. Verify the downloaded architecture
Run file against the AppImage before launch. Its output should identify an x86-64 executable.
file UltiMaker-Cura-5.13.0-linux-X64.AppImage
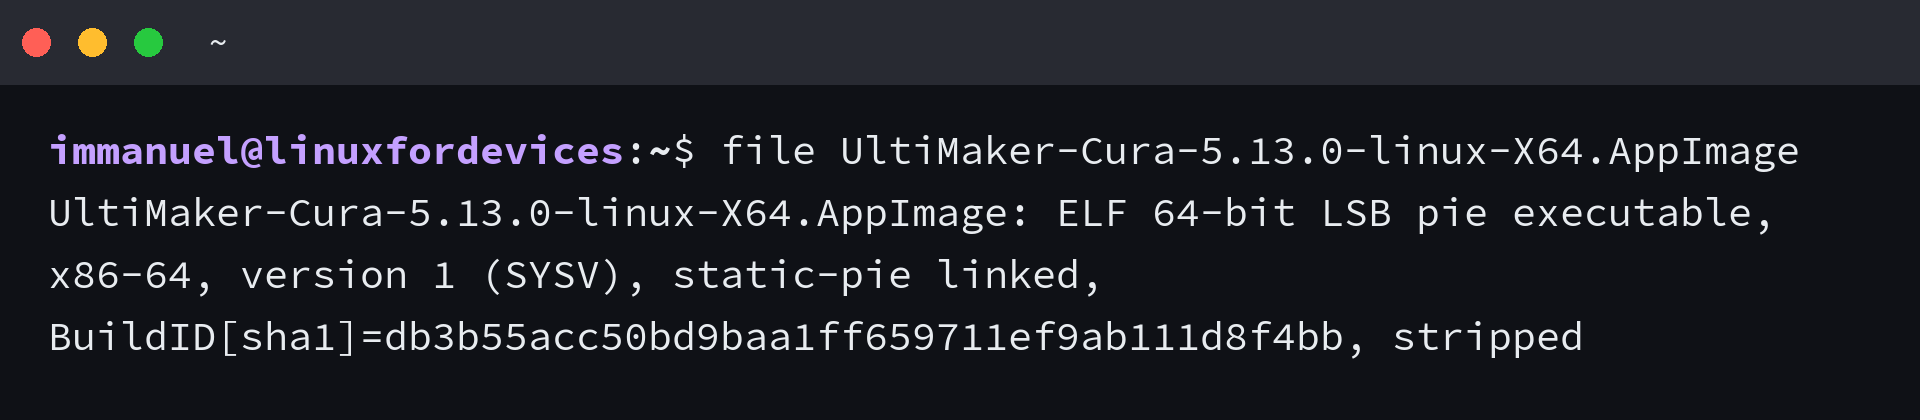
The executable type must match the machine reported by uname. A mismatch ends in an Exec format error because the kernel cannot start instructions compiled for a different processor family.
3. Start Cura
Launch the AppImage from the same directory.
./UltiMaker-Cura-5.13.0-linux-X64.AppImage
Cura stores your configuration separately from the portable executable, so replacing the AppImage does not mean replacing every printer profile. Keep the filename unchanged until the first launch succeeds, which makes permission and path errors easier to diagnose.
Install Cura from Flathub
Flathub currently lists UltiMaker Cura 5.13.0 under the application ID com.ultimaker.cura for systems where Flatpak is already configured and managed updates are the priority.
flatpak install flathub com.ultimaker.cura
flatpak run com.ultimaker.cura
Confirm the prompt because Flatpak may add a shared runtime, and use the AppImage, Flatpak, and Snap installation comparison when you need to set up Flatpak first.
Do not install both methods unless you have a reason to compare them. Two launchers named Cura make it easy to open one build while updating or removing the other.
Complete Cura’s first-run setup
Cura asks you to add a printer before slicing, so choose the exact manufacturer and model or add a custom printer only when you know its build volume, nozzle size, and G-code settings.
The Prepare workspace brings printer, material, quality, infill, support, and build-plate adhesion choices into one screen before you import a model, check its scale and orientation, and choose Slice.
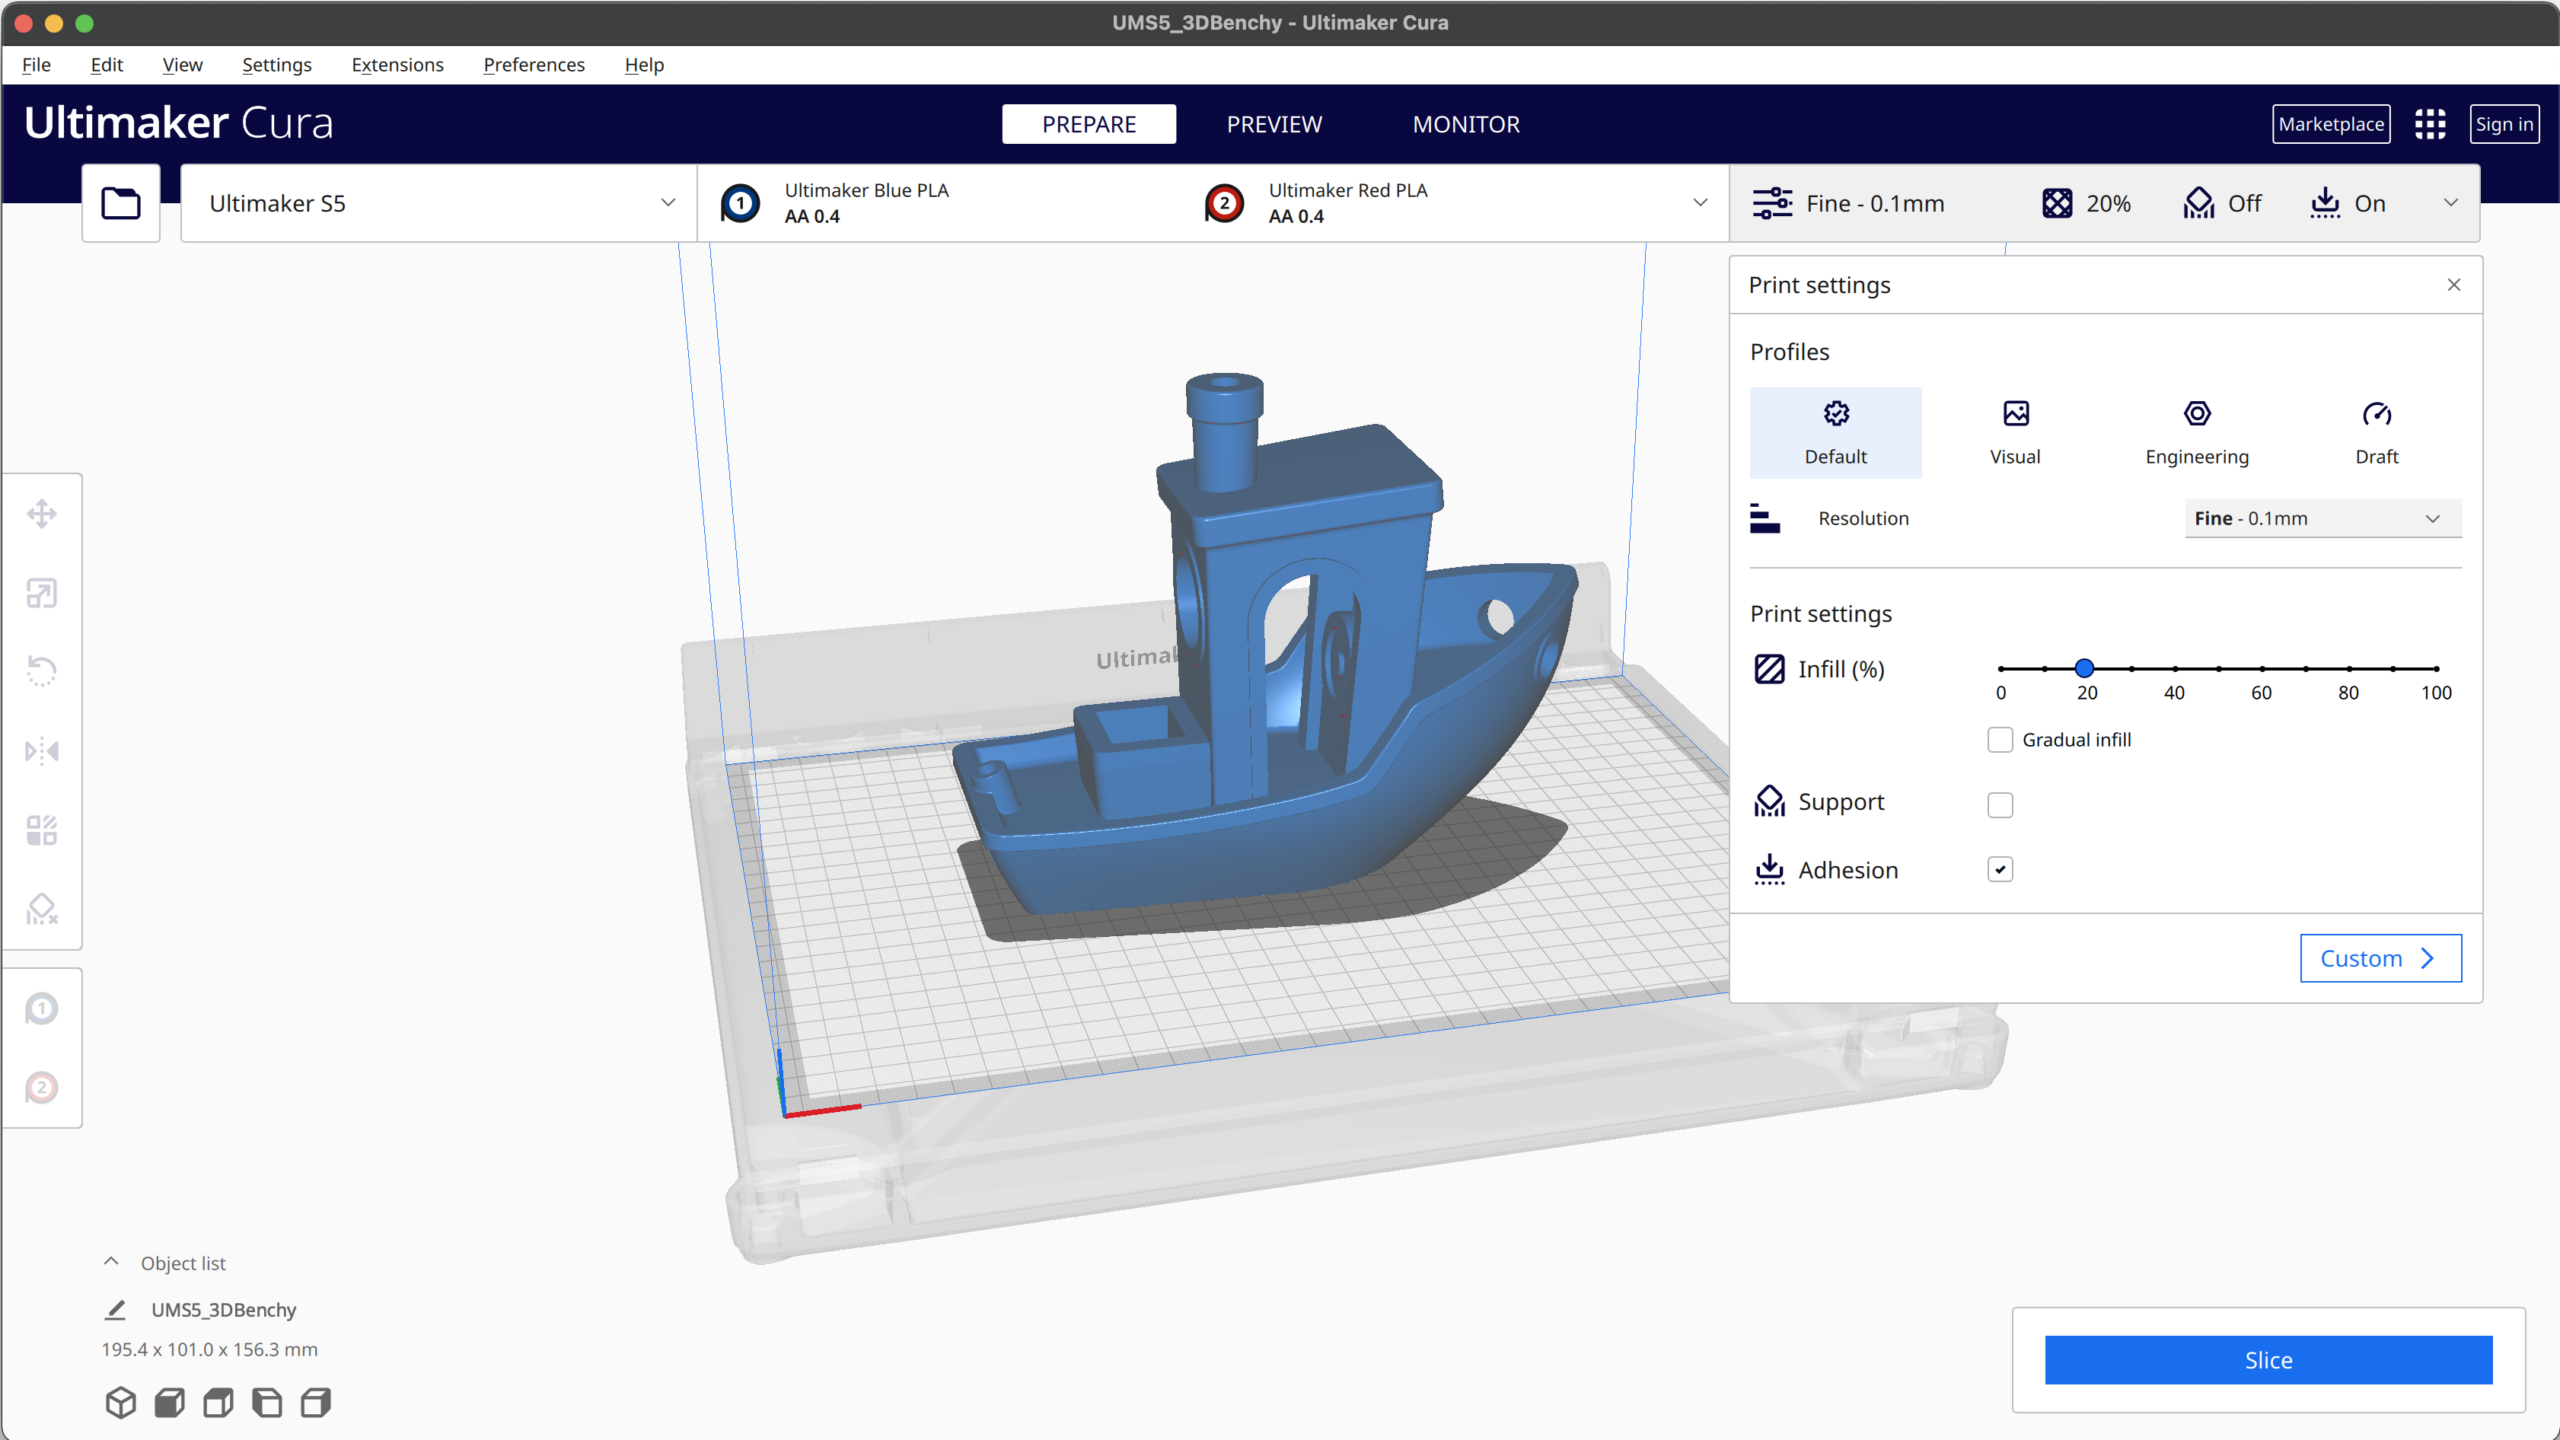
Review the generated Preview before saving G-code. Layer view reveals missing supports, unintended cavities, and adhesion choices while you can still change the profile.
Fix common Cura launch problems
Most AppImage launch failures fall into permission, architecture, path, or graphics categories. Match the error to the check below instead of repeating the download.
| Symptom | Cause to check | Next action |
|---|---|---|
| Permission denied | The execute bit is missing | Run chmod +x against the exact downloaded filename |
| No such file or directory | The terminal is in another directory or the filename differs | Run pwd and ls, then use the filename shown |
| Exec format error | The x86-64 AppImage is running on ARM64 | Use an x86-64 machine or a Cura package built for your architecture |
| Blank or unusable window | The desktop graphics stack does not satisfy Cura’s rendering path | Update the distribution and graphics driver, then retry without elevated privileges |
Never start the AppImage with sudo to fix a display or permission error. A root-owned Cura configuration can create a second problem in your home directory without repairing the original cause.
Update or remove Cura
An AppImage does not update itself. Download the next stable Linux AppImage from UltiMaker, grant execute permission, launch it to confirm your profiles, and delete the older file afterward.
rm ~/Downloads/UltiMaker-Cura-5.13.0-linux-X64.AppImage
If you installed the Flathub package, use its application ID for both updates and removal.
flatpak update com.ultimaker.cura
flatpak uninstall com.ultimaker.cura
Once Cura slices a small test model and Preview shows the expected support and adhesion, save the G-code using the printer manufacturer’s transfer method. If the printer is networked or attached to a small server, the OctoPrint setup guide is the useful next step.