
The chmod +x command sets the executable bit on the AppImage. I find that small checkpoint useful because it concerns whether Linux can run the file, not the sketch.
Bring the sketch you want to write into focus. Then see where the desktop IDE fits in getting it ready for a board.
What Arduino IDE 2 does on Linux
Arduino IDE 2 is the desktop application where you write a sketch and send it to a connected Arduino board. A board package supplies support for its model, and the serial port carries the upload over USB.
If the board family you need is not listed after the IDE opens, Arduino’s Board Manager instructions explain how to add its package. Serial permissions are separate from board packages.
| Part | Job |
|---|---|
| Arduino IDE 2 | Write and upload a sketch from a desktop window |
| Board package | Provide support for a board family |
| Serial port | Connect the IDE to the board over USB |
What you need before installing
Arduino’s Linux IDE 2.3.10 release provides a 64-bit x86-64 AppImage. That file targets Intel and AMD x86-64 Linux systems, not 64-bit ARM.
Check your machine’s architecture before selecting the download:
uname -m
An x86_64 result matches this AppImage. An aarch64 result means you need a Linux build made for ARM instead.
- A Linux x86-64 desktop and a connection to download the AppImage.
- FUSE 2 support to run the AppImage. Ubuntu’s installation notes name the libfuse2 package.
- Administrator access only if you need to add the FUSE package through your distribution’s package manager.
- An Arduino board is optional for installing the IDE, but you need one connected by USB to upload a sketch.
Install Arduino IDE 2 from the Linux AppImage
The current Arduino IDE 2 release is 2.3.10, with a Linux AppImage for x86-64.
1. Download the Linux AppImage
Open Arduino’s software download page and choose the Linux 64-bit x86-64 AppImage under Arduino IDE 2. The official 2.3.10 release page lists the exact file as arduino-ide_2.3.10_Linux_64bit.AppImage.
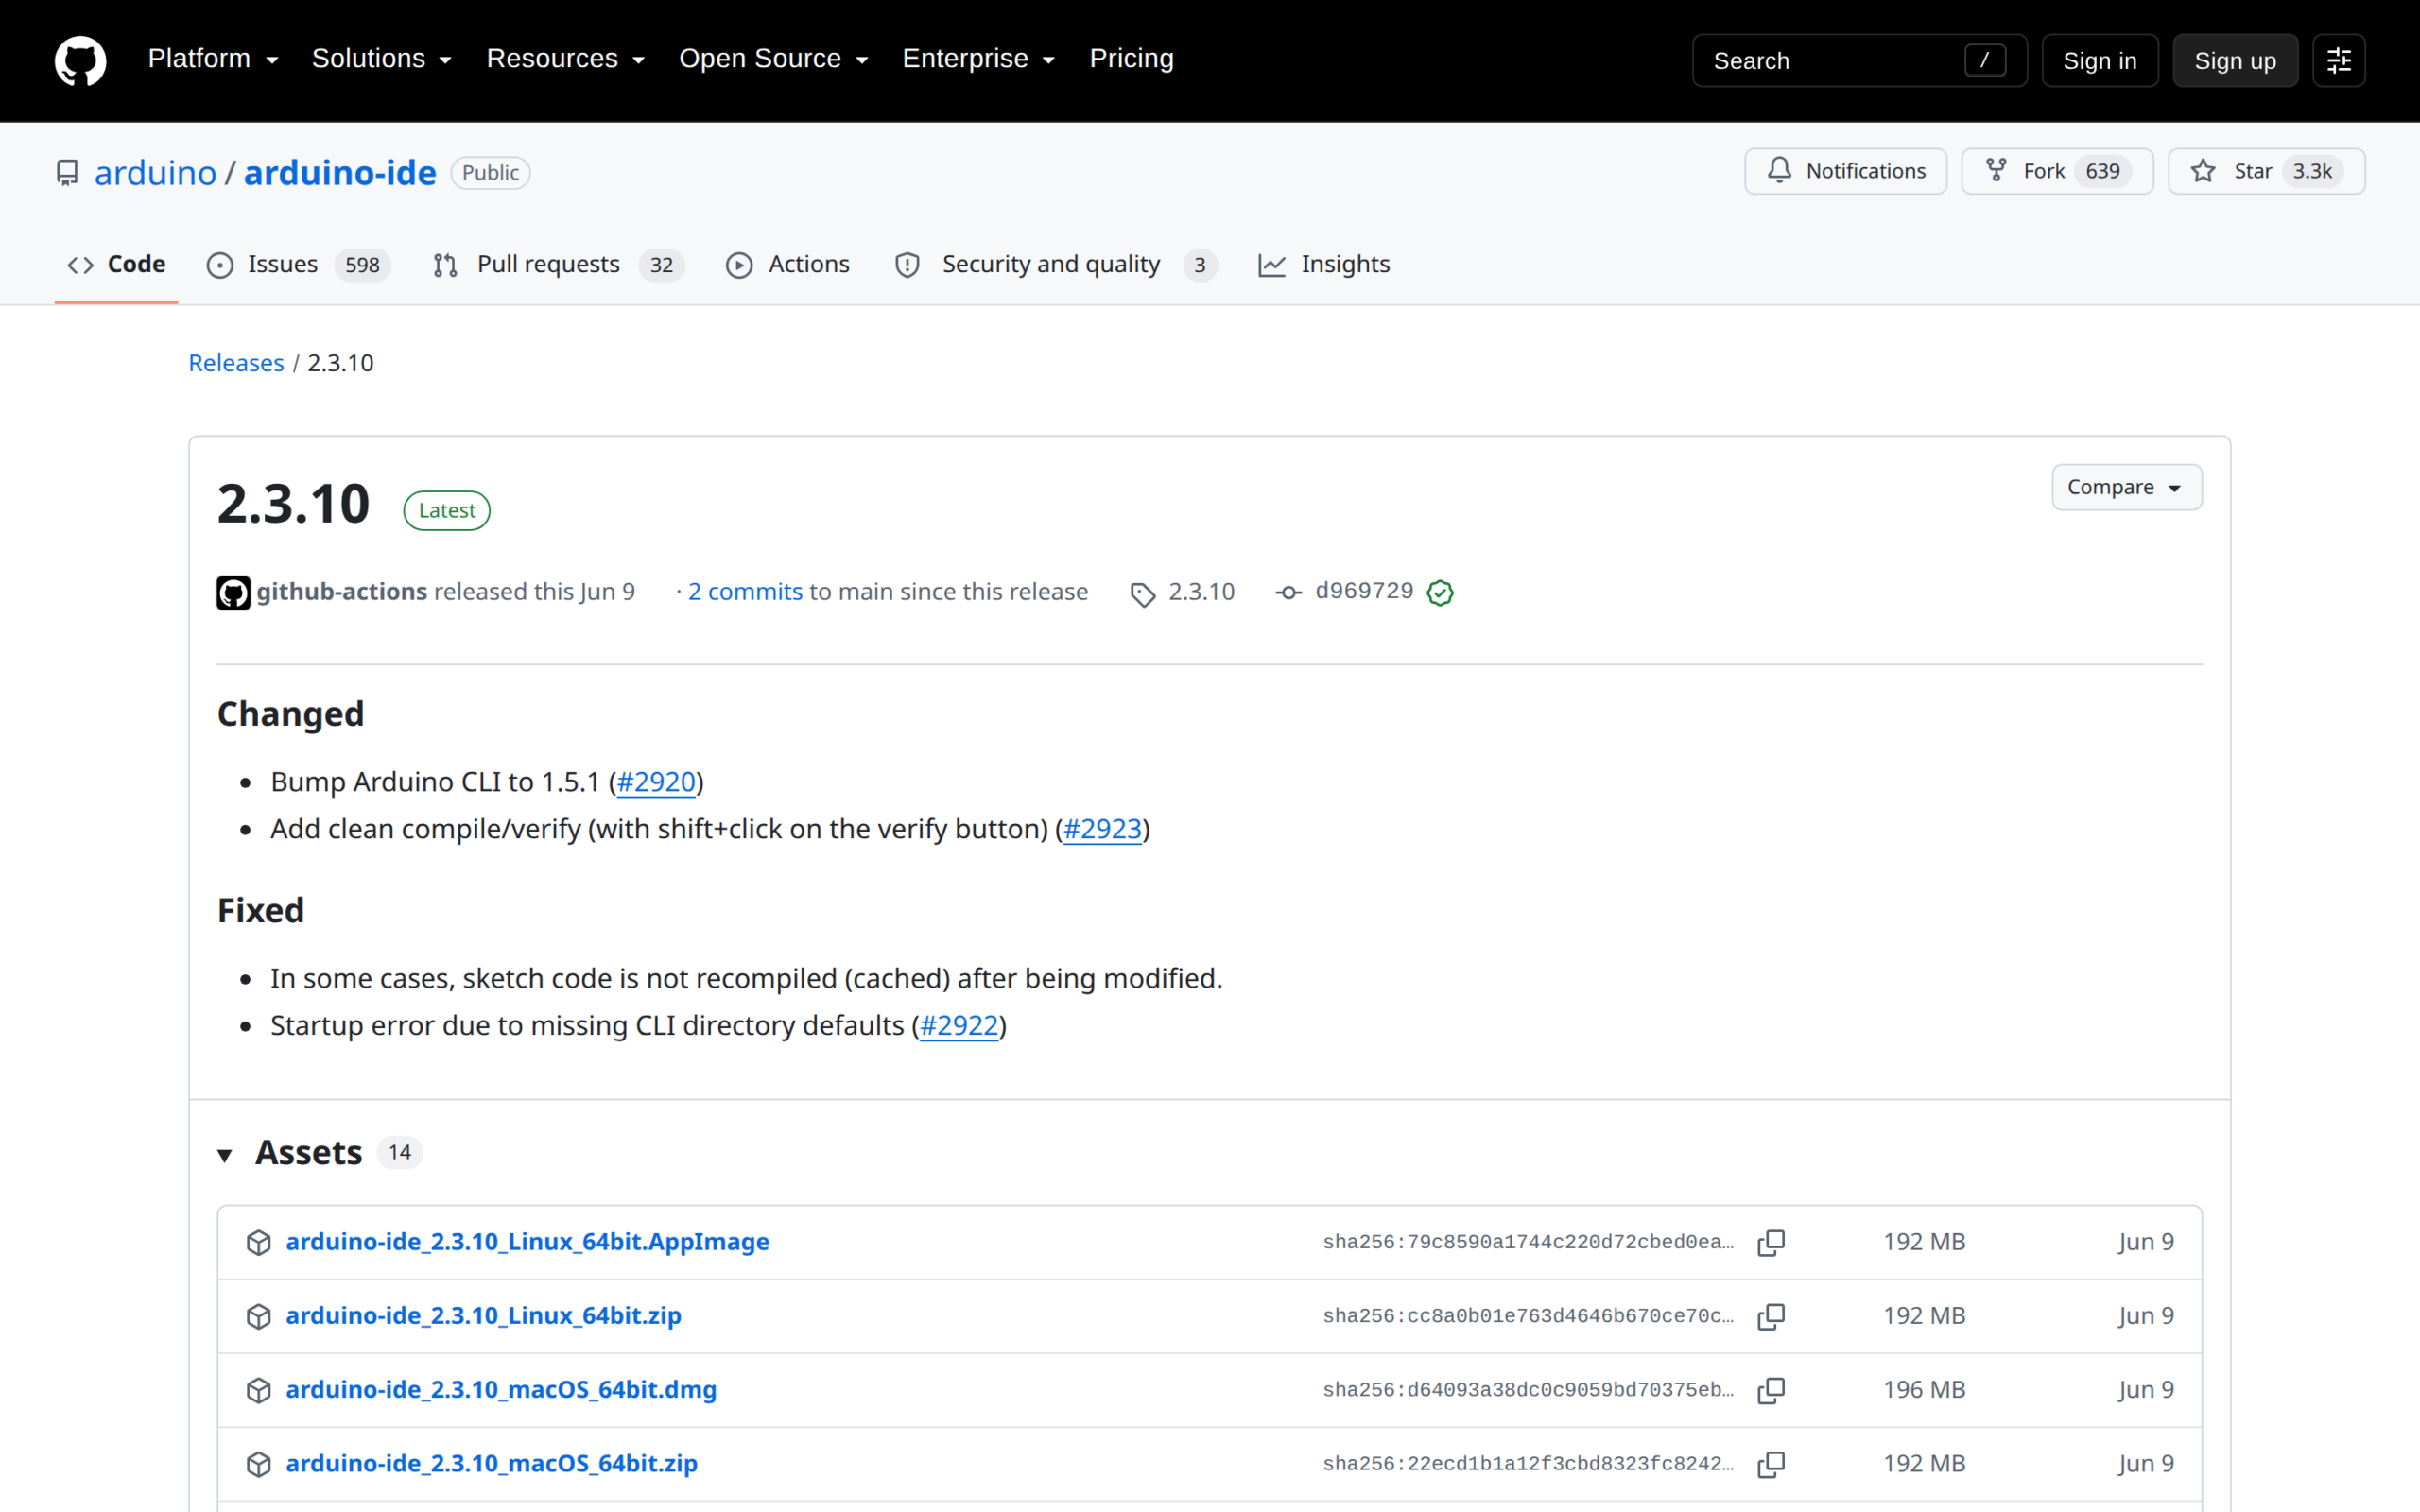
The AppImage is a single application file rather than a package installed through apt or another system package manager. For its execution and update behavior, see how an AppImage runs without a package-manager install.
2. Add FUSE 2 on Ubuntu if it is missing
An AppImage needs FUSE 2 to launch. The AppImage architecture documentation explains that the runtime mounts its bundled filesystem as a read-only directory, and Ubuntu’s installation instructions name libfuse2 if that runtime is missing:
sudo apt install libfuse2
Other distributions use their own package names for FUSE 2, so follow the current package instructions for your distribution. The sudo command runs this one system-package operation with administrator privileges.
3. Make the file executable and open it
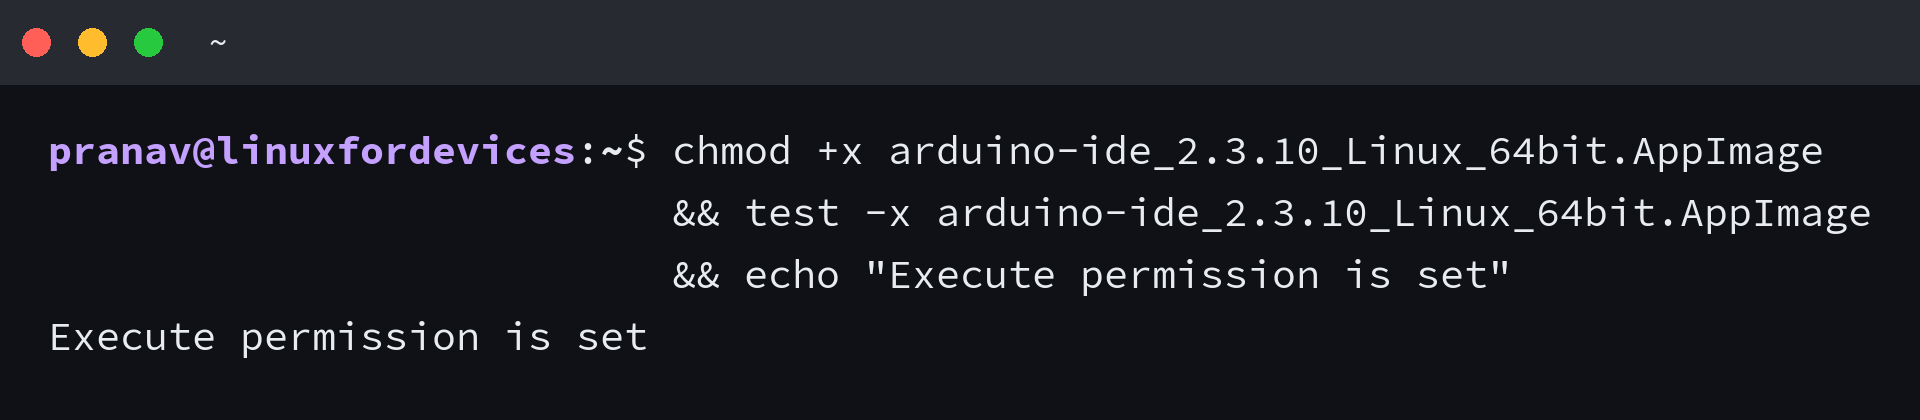
Open a terminal in the folder where the AppImage was downloaded. The executable bit lets Linux run the file, and the test prints a message only after that permission is set.
chmod +x arduino-ide_2.3.10_Linux_64bit.AppImage && test -x arduino-ide_2.3.10_Linux_64bit.AppImage && echo "Execute permission is set"
Run the AppImage from the same folder to open Arduino IDE 2:
./arduino-ide_2.3.10_Linux_64bit.AppImage
If you prefer a desktop shortcut, launch the executable from your file manager after granting it permission.
Fix launch and serial-port problems
A launch error and a missing board port come from different layers. Check whether the application starts before changing USB permissions.
| What you see | Check next |
|---|---|
| Launch reports a missing FUSE library | Install FUSE 2 using your distribution’s package instructions. On Ubuntu, the package is libfuse2. |
| Terminal says permission denied for the AppImage | Run the executable-permission command above from the directory containing the file. |
| The IDE opens but no serial port is listed | Connect the board by USB and check whether Linux created a serial device. On Ubuntu, the device group is commonly dialout. |
| The board appears but upload access is denied | Check the device’s group and your account’s supplementary groups. Apply the distribution’s serial-device permission steps, then start a new login session. |
Ubuntu’s instructions add the account to dialout with usermod. Arduino’s Linux port-access instructions also identify dialout as the group used by many Linux configurations.
sudo usermod -a -G dialout $USER
The -a flag appends dialout to the account’s supplementary groups rather than replacing its other groups. Log out and back in after the change so the new session loads it.
When no serial device appears, use dmesg to check USB detection, then inspect rules with udevadm if Linux created a device with unexpected access.
The IDE launches before the board is ready
A working editor confirms that the AppImage opened, not that your account can use the board’s serial port. After adding your account to the device group, start a fresh login session before checking membership.
id -nG
If dialout appears in the output, return to Arduino IDE 2 and select the connected board and port. If it does not, see checking which groups your account belongs to before repeating the group change from a privileged account.
Arduino IDE on Linux questions
Does the Arduino IDE 2 Linux AppImage run on ARM?
No. The Arduino IDE 2.3.10 Linux AppImage listed by Arduino is built for 64-bit x86-64 systems. A 64-bit ARM machine needs a build for that architecture, not this file.
Does an AppImage need a system-wide install?
No. Make the downloaded file executable and launch it from its folder. The AppImage still depends on FUSE 2 being available on the system.
Why does Arduino IDE open without showing a port?
Launching the editor and accessing a USB serial device are separate checks. On Ubuntu, verify that your account belongs to dialout and start a new login session after changing group membership.