

Packetsender is an open source Application for allowing sending and receiving UDP/TCP packets. It also supports SSL with TCP connections. It comes with TCP/UDP and SSL servers on multiple ports. Not only that, but it has a built-in GET/POST request client and Panel Generation for coordinating with control Systems.
Before we start to install the Packetsender on Linux, Let us understand briefly about Packet transfer using TCP/UDP.
Understanding TCP and UDP
So, TCP (Transmission Control Protocol) and UDP (User Datagram Protocols) are used to send data packets over a network. Protocols are simply sets of rules that decide and format how data is to be sent over a network. TCP establishes a secure connection medium for the transmission of all the data at once. Verification of the data transfer is checked by receipt.
In Contrast, UDP does not create a connection but provides low latency and loss toleration. It speeds up the transmissions by ignoring data verification. Packetsender Application is available for Multiple Operating Systems, However, in this article, we are only going to focus on Installing Packetsender on Linux. So let’s get started.
Essential Features
- It monitors Live Packet traffic logs for when the Packet is to be captured and something vulnerabilities occur.
- It maintains persistency in TCP with SSL Connections for better transmission of the Data packets and assures that no duplicate Packets get transmitted to the destination.
- It generates UDP flooding to check what about of load the server-host can handle when it’s needed.
- Packet Import/export can be done using this application.
- Numerous TCP/UDP servers, with packet resending at (n) periodic intervals.
- Smart packet responses for continuous packet requests.
- IPv4, IPv6, Custom IP address multicast, and broadcast support
Demerits of using Packetsender
- If used in an Organization, it connects to the system, which makes it easy for hackers to exploit.
- High-performance CPUs and GPUs are required for the application for smooth performance and efficient reliability.
- It may also lead to the corruption of data in slower transmission speeds.
- It requires complex routing protocols and high-performance machines.
Uses of PacketSender
- It is used for Test automation to maintain and regulate test data, perform tests, and analyze results for Software Quality Improvement.
- It is also used for testing Network APIs for ensuring that it can handle load traffic and hence, is reliable across all devices that provide benefit in cost reduction and are faster to market.
- Extremely use for Malware Analysis which includes investigating vulnerabilities, functionalities, origin, and its consequences.
- It is used for Panel Generation.
- Used for Testing HTTP requests/responses with Intense Traffic Flooding.
- Used widely for Testing Network Firewalls Connection by having 2 Packet Senders talk to each other.
- Used for Packet Security Research that transports SSL and then checks the Traffic log.
- Used for reverse-engineering, which deconstructs the software until the design is found which can be extracted and used in other similar products.
- Packet Automation via Command Line Interface(CLI) to facilitate the running of scripts concurrently.
- Used for Stress Testing to check whether the system with particular network service can handle loads efficiently.
- Used as a Packet Sender Cloud Service to handle remote client-server service in large scale.
Installation Process
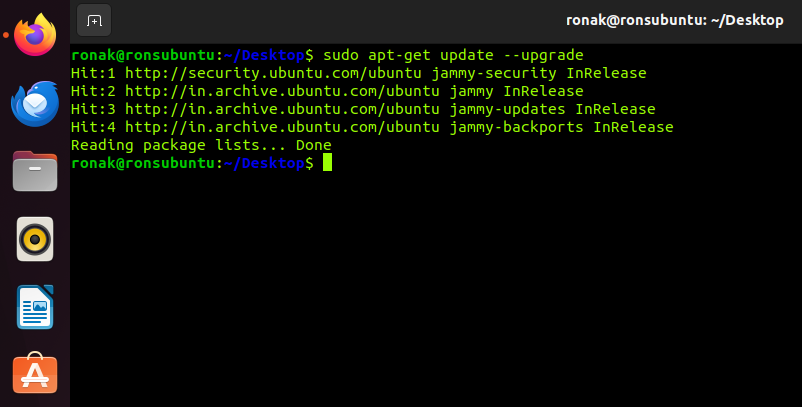
Let’s first update the database using the following Command.
sudo apt-get update
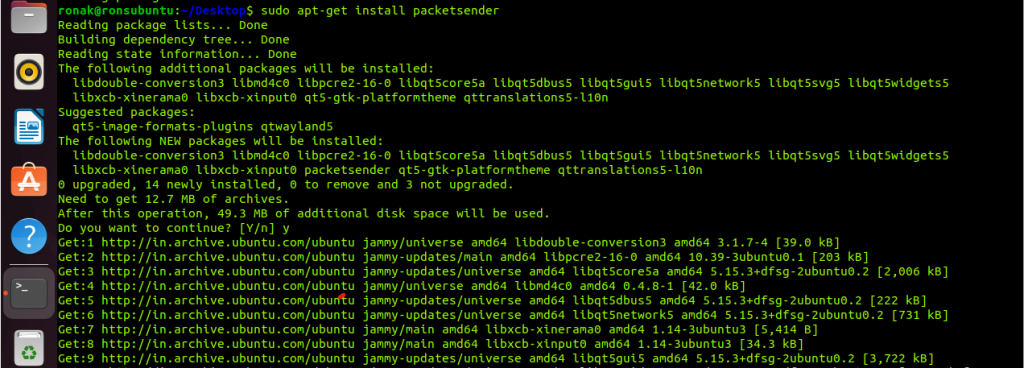
After updating the database repo, we can now install Packetsender by using the following command:
sudo apt-get install packetsender
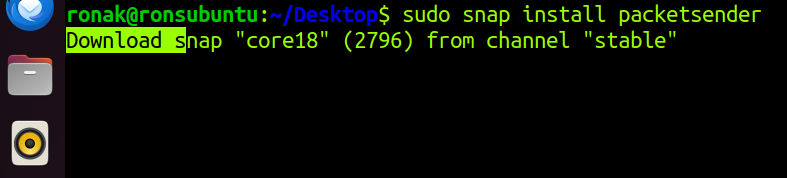
You can also try using snap command.
sudo snap install packetsender
General Notes
Please be aware of firewall blockage, as it can’t receive unsolicited TCP-based packets. For IPv6, you will need Scope ID. You can also send optional responses in order to be used for TCP/UPD and SSL. To Navigate to the Multiple Transmission Protocols option, you can use the t/u/h/s buttons to make a selection. Please turn off “Restore the previous session” if you are proceeding to automate with shortcuts/hotkeys.
Useful Keyboard Shortcuts:
- CTRL + 8 : [Send]
- CTRL + 7 : [Protocol Selection]
- CTRL + 6 : [Resend delay]
- CTRL + 5 : [Port]
- CTRL + 4 : [Address]
- CTRL + 3 : [HEX]
- CTRL + 2 : [ASCII]
- CTRL + 1 : [Name]
Uninstallation Process
In case you want to uninstall this application, we shall use the following command:
sudo apt-get autoremove packetsender
sudo apt-get purge packetsender
Or
sudo apt autoremove --purge packetsender
Summary
Here’s how you can Install Packetsender on Linux. It also comes with a wide range of applications but with a few drawbacks which are mentioned in the Demerit section. For specific Utilization such as packet transfer, network monitoring, and malware analysis, it would be handy. However, this application is expected to come with a greater and wider range of functionalities in the future.
References
You can also refer Packetsender documentation for more details.
Join the FAQs: https://github.com/dannagle/PacketSender/discussions