

If you are using any integrated development environment (IDE) such as Netbeans, Eclipse, etc., for java based programming if your IDE automatically installs and sets the required variables for you to do java programming, you will never hear from your system
But more often than not this doesn’t happen so you will encounter issues where your system will throw errors such as ‘java_home environment variable is not set.’ This is because IDE requires Java Development Kit(JDK) to be pre-installed on the computer.
Here’s a simple solution on how we can go setting ‘java_home environment variable’, this solution will primarily target Ubuntu however the solution should also work with other distributions.
Let’s start off with installing OpenJDK on Ubuntu
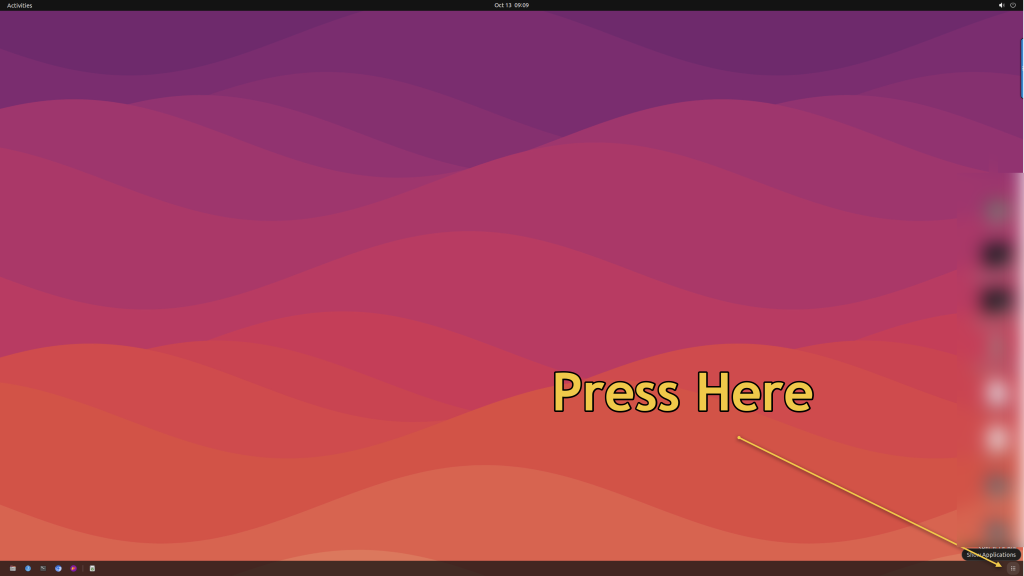
Step 1. In the bottom right side press show applications
Step 2. Press the search box at the top of the launcher

Step 3. Type terminal in the search box
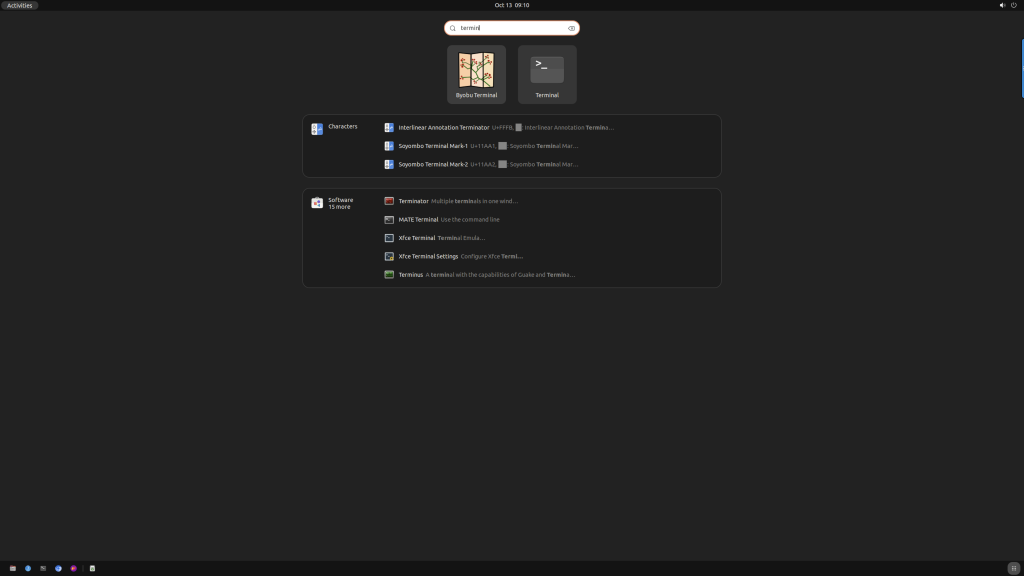
Step 4. Open Terminal
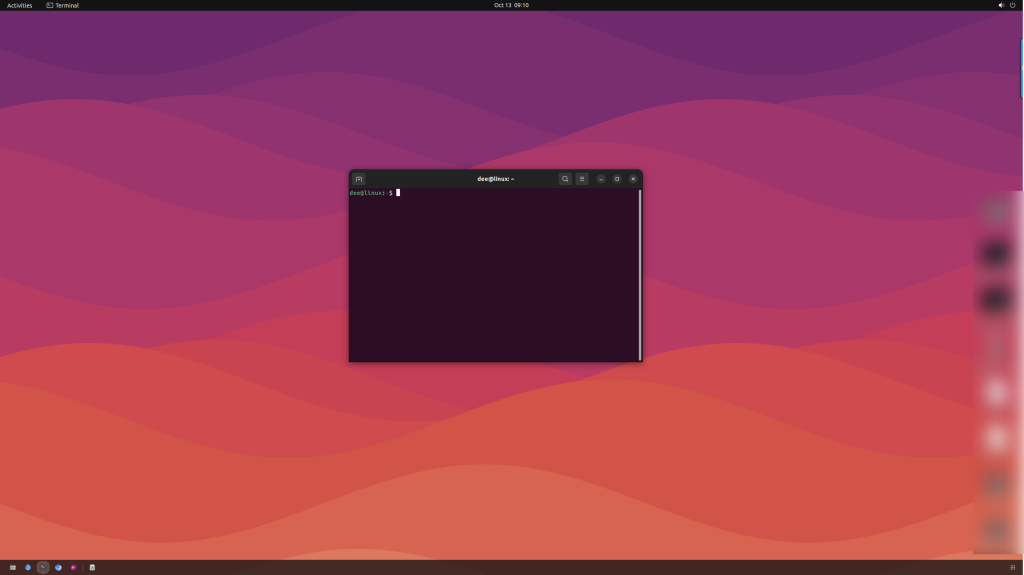
Alternatively, you can also just press CTRL+ALT+T to open up the terminal.
Step 5. We need to check what versions of OpenJDK are compatible with our system.
To check what all versions of OpenJDK are compatible with my system type the following command
apt-cache search openjdk-
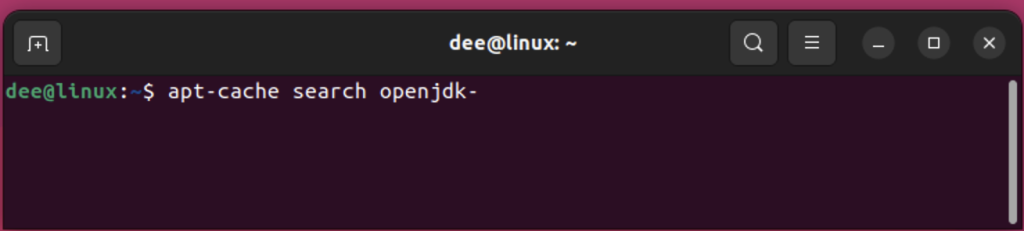

As you can see, our system supports OpenJDK 8, OpenJDK 11, OpenJDK 17, and OpenJDK 18.
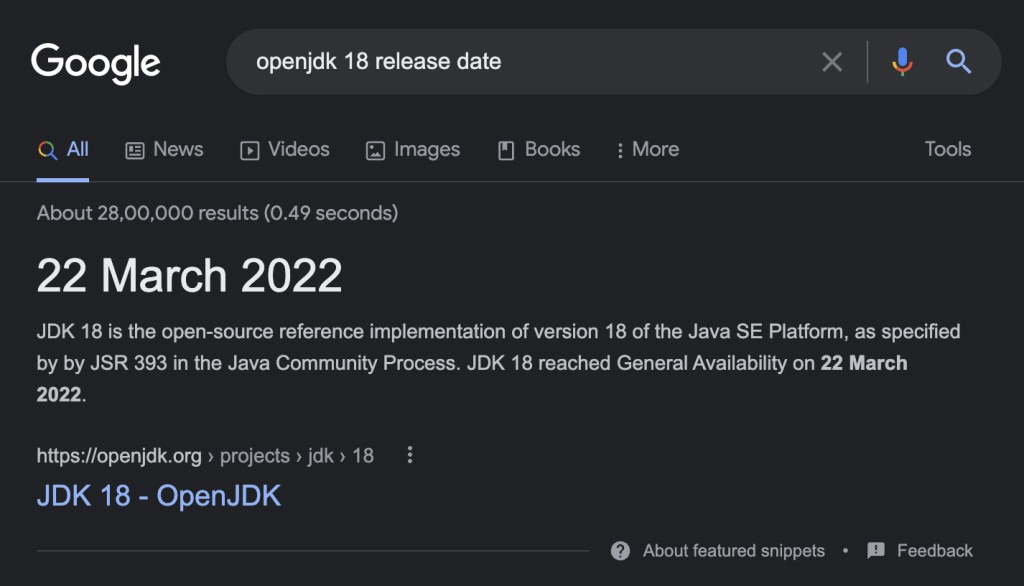
Since I like to be on the cutting edge of technology, I’m going to install OpenJDK 18.
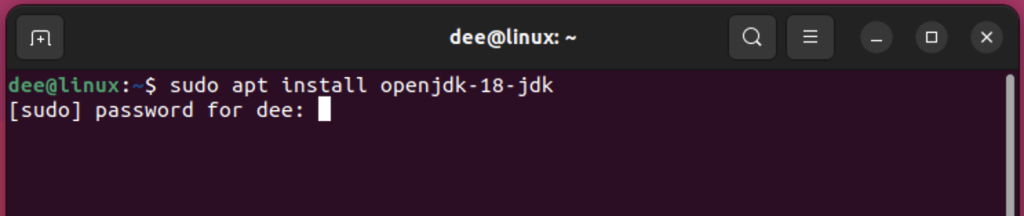
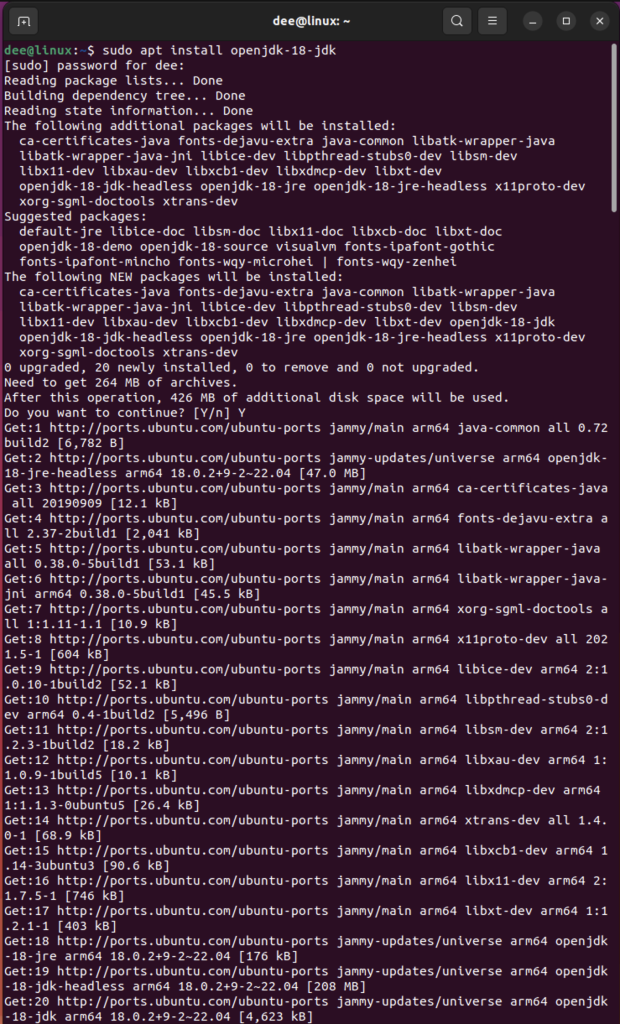
Step 6. We will install OpenJDK 18, using the following command
sudo apt install openjdk-18-jdk
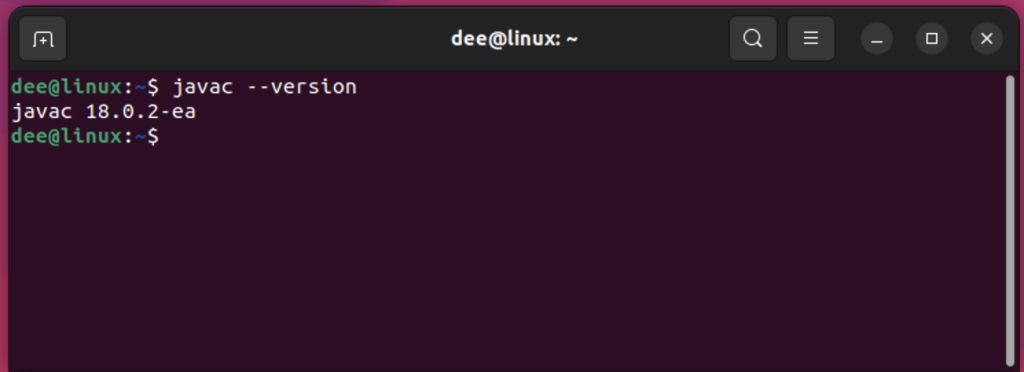
Step 7. Let’s check the version of OpenJDK that has been installed
We do this by entering the following command in the terminal,
javac --version
A note on the versions compatible with your system
Since I’m working on an arm-based system the selection of the versions that can be installed in my system is limited.
If you are running an x86 or x64 system this may not be the case as these systems are widely popular. So your system may support more versions of OpenJDK.
Following are the commands to install specific versions,
If you want to install the default version of JDK enter the following in the terminal
sudo apt install default-jdk
For installing OpenJDK 8
sudo apt install openjdk-8-jdk
For installing OpenJDK 11
sudo apt install openjdk-11-jdk
For installing OpenJDK 14
sudo apt install openjdk-14-jdk
For installing OpenJDK 16
sudo apt install openjdk-16-jdk
For installing OpenJDK 17
sudo apt install openjdk-17-jdk
For installing OpenJDK 18
sudo apt install openjdk-18-jdk
Locate where OpenJDK is installed in the system
Usually, programs get installed in a default location specified by the developer. However, sometimes the default location changes, or the user decides to install in a different location. It is best to check where OpenJDK is installed by running the following command:
which java

Checking the value of JAVA_HOME directory
The echo command is used to print the value of a given variable. In this case, the $JAVA_HOME variable contains the path to the Java installation directory.
echo $JAVA_HOME

This however is a symbolic link, we need to get the actual location of the java_home directory. So we need to execute the following command in the terminal.
readlink -f `which javac` | sed "s:/bin/javac::"

The above code is a command that will return the full path of the javac command. The command uses the readlink command to return the full path of the javac command and uses the sed command to remove the /bin/javac portion of the path.
Setting the JAVA_HOME path variable
Now that we have the JAVA_HOME directory location let us set that up using,
export JAVA_HOME=/usr/lib/jvm/java-18-openjdk-arm64
A note on the above location since I’m using an arm64-based system the location of my JAVA_HOME is different but the procedure for setting the variable and the discovery of it will remain the same.

Now, let us check if the variables have been set successfully using echo command.
echo $JAVA_HOME

There is an issue with this though once we are done with the current session, the path will change back to being nothing just like how it was previously.
To make the changes permanent we need to make a few more changes.
Assuming that you are using bash as your primary shell as it is the default shell shipped with Ubuntu.
We will be setting this variable to permanently store the JAVA_HOME path.
First, let’s take a backup of the bashrc configuration file,
cp ~/.bashrc ~/.bashrc.bak

Finally, we set up the JAVA_HOME permanently using the below command,
echo "export JAVA_HOME=/usr/lib/jvm/java-18-openjdk-arm64" >> ~/.bashrc

Let’s check whether the changes we made took place using the tail command,
tail -5 ~/.bashrc

The tail command is used to print the last few lines of a file. The -5 option tells the tail command to print the last 5 lines of the file. The ~/.bashrc file is a configuration file for the bash shell. It contains a variety of settings, including the setting of environment variables.
That’s it we successfully set up the Java_Home Path In Ubuntu Permanently.