
C++ developers rely on G++, a key player in creating software. This tool is called a compiler and its job is to translate code into machine language, letting programs run on any platform. Additionally, it also acts as a linker and loader, bringing different pieces of code together. G++ lets developers leverage C++’s power for efficient, robust software. Beyond basic compilation, it optimizes code, checks for errors, and works on various systems. G++ is the foundation for building innovative and reliable C++ applications.
In this tutorial, we’ll go through the process of setting up a G++ environment in Red Hat Linux for development in C++ applications. Additionally, we’ll also cover the setup process on an Ubuntu/Debian-based system for users who prefer it over Red Hat. This article here demonstrates how to build and execute C++ programs using the G++ compiler.
Installation on Red Hat Linux
To install the system compilers GCC and G++ on Red Hat Enterprise Linux (RHEL), you can use the following command:
yum install gcc-c++
Please note, however, that this command may not always work in case “gcc-c++” isn’t present in the repolist. You can always use the following command however to check what repolists are installed on your Red Hat installation.
yum repolist
Method 1: Using the Yum Package Manager
The simplest, easiest way to install G++ on Red Hat Linux is to use the inbuilt yum package manager in Red Hat Linux
sudo yum group install "Development Tools"
This command installs G++ and other essential developer tools to help you get started with your coding journey on Red Hat Linux as fast as possible.
Method 2: Developer Tool Set
If you want to install newer versions of g++ instead of the older base versions of this application, you may be interested in this method. You can use the Red Hat Developer Tool Set (DTS) for this.
First of all, enable your DTS repository:
sudo subscription-manager repos --enable rhel-7-server-devtools-rpms
Next, Install the DTS version you would like through the command, for example version 10:
sudo yum install devtoolset-10
Now, activate the DTS environment on your device:
scl enable devtoolset-10 bash
Finally, Permanently adding DTS to Environment PATH. This can be done by adding the following line of code to the login script of the specific User ID that is your development environment.
source scl_source enable devtoolset-10
You can then log out, and log back in to verify that DTS GCC is indeed in your system’s PATH.
You can now use the newer G++ versions within this active environment.
Installation on Ubuntu/Debian
Method 1: Using APT Package Manager:
As Linux Mint is based on Ubuntu, package management is handled by the Advanced Package Tool (APT). Installing g++ using APT is an easy and quick process. Launch the terminal program and type the following command:
sudo apt update
sudo apt install g++
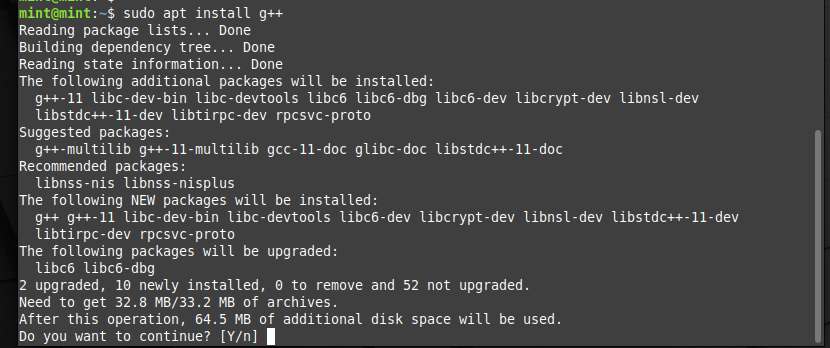
You don’t need to worry about dependencies because APT will download and install g++ for you. Most people will find this strategy to be convenient and appropriate.
Method 2: Using the Official Repository to download:
Users who prefer to download and install packages manually, have access to an official repository offered by Linux Mint. Perform the following steps:
The following commands should be entered into your terminal to update the package list on your system:
sudo apt-get update
Now we install G++ :
sudo apt-get install g++-multilib
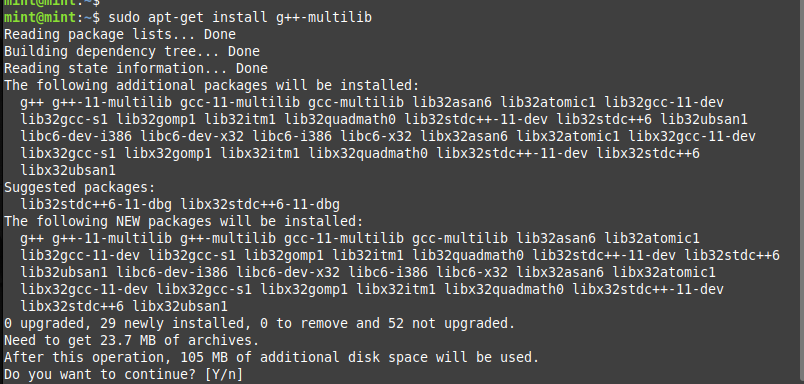
You can be sure you’re getting a version that has been tested and maintained by the Linux Mint team by downloading from the official repository.
Method 3: Command line, the most basic way to install G++ on Linux Mint
Firstly, update the package information. This ensures you’re installing the latest versions:
sudo apt update
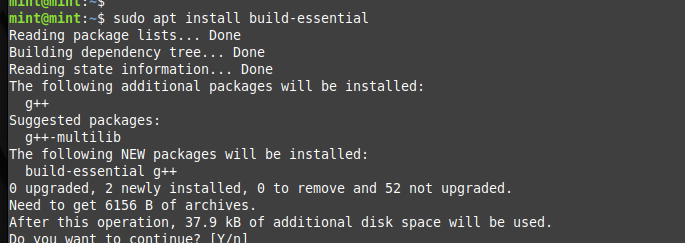
Now, download and install the build-essential package, which includes G++ and other essential development tools:
sudo apt install build-essential
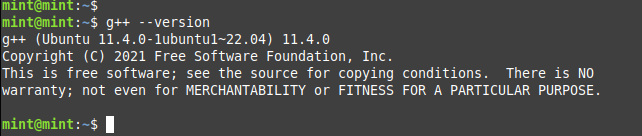
Finally, verify the installation of G++ on your device:
g++ --version
To install a specific version of G++ to suit your specific needs, you can use the following command to install a specific version of G++ on your device, for example G++-10, using:
sudo apt install g++-10
Did it work?
Now that G++ is installed in the system, it’s only fair that we test if it’s running properly. Create a very simple C++ file using your favorite text editor and save it.

#include <iostream>

int main( int argc, char *argv[] )
{
        std::cout << "Hi fellow RedHat dev !" << std::endl;
        return 0;
}
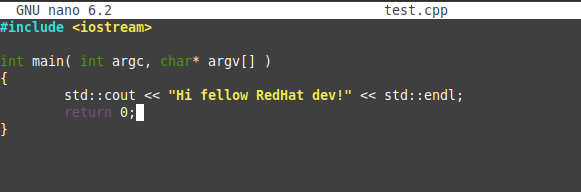
“iostream” is a basic C++ header file that can be compiled using the g++ compiler. This way we can verify if g++ has been set up properly and whether it’s running.
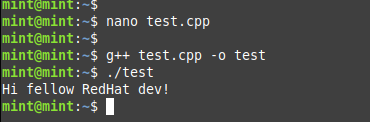
As you can see, we get a successful output, meaning g++ is working perfectly.
Conclusion
And there you have it! Installing g++ on Red Hat and Linux Mint could not have been made simpler. You now have the ultimate arsenal to compile, build, and ship C++ driven applications, from the comfort of your favorite IDE.
References
- Red Hat developers site
- Installing g++ on Ubuntu 22.04LTS
- How to install a specific g++ version – AskUbuntu