

An unfamiliar directory can contain several layers of folders, making its contents harder to scan. The tree command displays those folders and their files in a branching hierarchy.
This article covers installing tree and tailoring its output with depth limits and name filters.
TL;DR
The tree command prints a directory and its contents as an indented hierarchy, and options let you limit or filter that view.
- Run tree PATH to choose the directory to inspect.
- Use -L to cap depth, -a to include hidden entries and -d to show directories only.
- Quote wildcards passed to -P or -I.
What Is the Tree Command in Linux?
tree is a command-line utility that presents directory and file names as an indented hierarchy.
Without a path, it starts in the current working directory. Pass a directory name to choose another starting point. Because I used -a, my captured listing includes the hidden .env.example file.
| Input | Starting point |
|---|---|
| No path | The current working directory |
| A directory path | That directory and its visible entries |
How to Use the Tree Command in Linux
Install tree from your distribution’s package repository if the command is missing, then pass it the directory you want to inspect. Examples use an explicit path to avoid printing an entire home directory by accident.
Step 1: Install tree if it is missing
On Debian and Ubuntu, apt-cache policy reports whether tree is installed and which version the repository offers, without changing package state.
apt-cache policy tree
tree:
  Installed: 2.1.1-2ubuntu3.24.04.2
  Candidate: 2.1.1-2ubuntu3.24.04.2
  Version table:
 *** 2.1.1-2ubuntu3.24.04.2 500
        500 http://ap-mumbai-1-ad-1.clouds.ports.ubuntu.com/ubuntu-ports noble-updates/universe arm64 Packages
        100 /var/lib/dpkg/status
     2.1.1-2ubuntu3 500
        500 http://ap-mumbai-1-ad-1.clouds.ports.ubuntu.com/ubuntu-ports noble/universe arm64 Packages
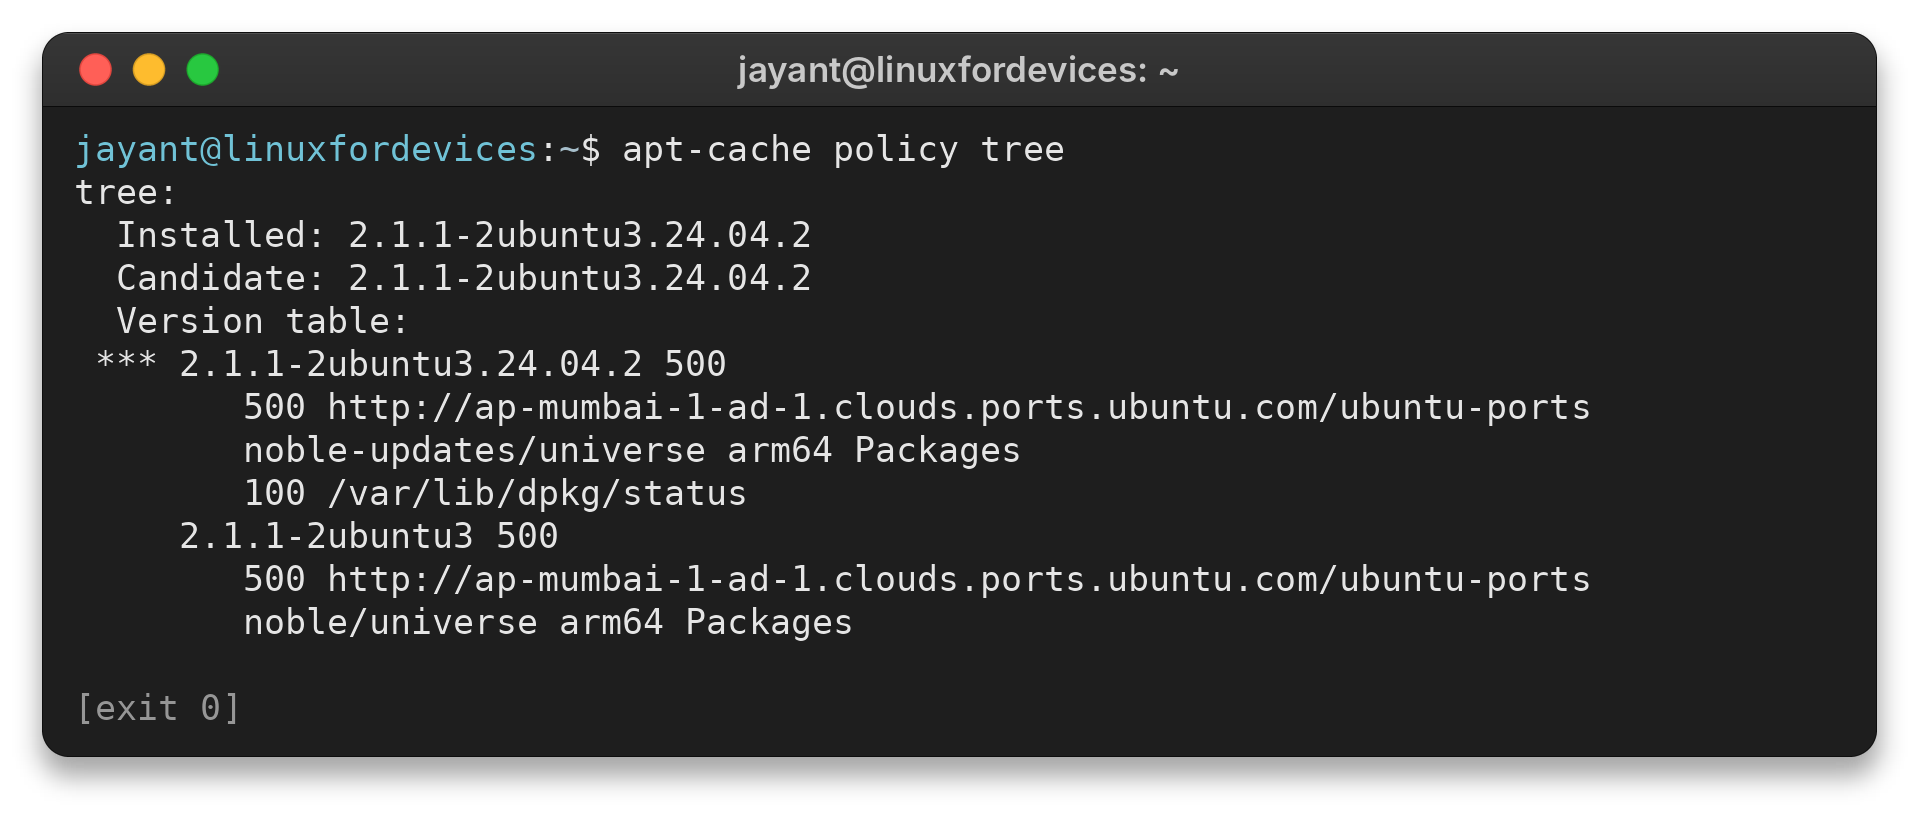
The installed and candidate versions match in this result. If tree is absent, use the package command below to install it. Your repository can offer a different version.
sudo apt install tree
Package installation requires the account’s authorization. After the package manager finishes, run the directory listing command in the next step to confirm it works.
Step 2: Print a directory and choose what to show
Run tree with a directory argument for a focused listing. This captured example uses -a to include the dot-prefixed sample file and -L 3 to stop at three levels:
tree -a -L 3 sample-project
sample-project
├── .env.example
├── README.md
├── package.json
├── src
│   ├── app.js
│   └── utils
│       └── helpers.js
└── tests
    └── test.sh

4 directories, 6 files
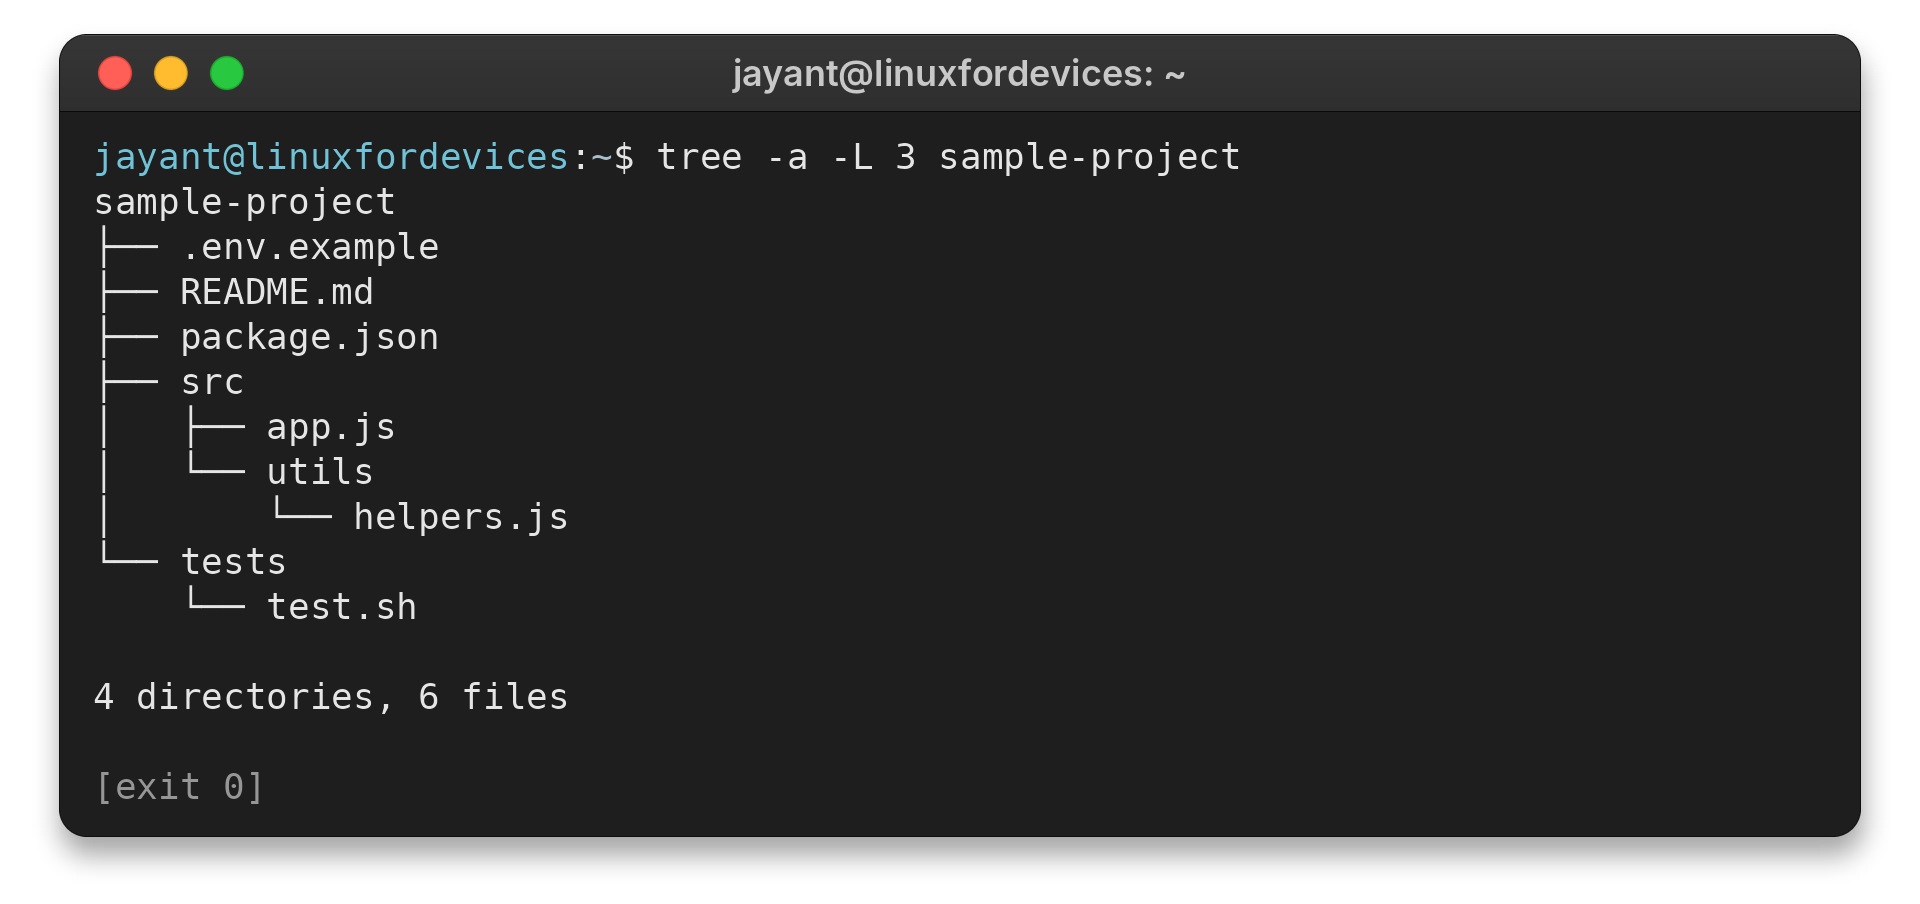
The branches show which files belong to each folder. Choose flags by the view you need:
| Flag | Effect | Use it when |
|---|---|---|
| -a | Includes dot-prefixed entries | Configuration files matter |
| -L N | Caps the displayed depth | The full listing is too long |
| -d | Shows directories without files | You only need a folder outline |
Step 3: Limit folders and filter matching names
Use -d to show folders without listing files. To filter names, use -P to include matches or -I to omit them, and quote the wildcard so the shell passes it unchanged. The command below shows both views:
tree -d -L 2 sample-project && tree -P '*.js' -I 'test*' sample-project
sample-project
├── src
│   └── utils
└── tests

4 directories
sample-project
└── src
    ├── app.js
    └── utils
        └── helpers.js

3 directories, 2 files
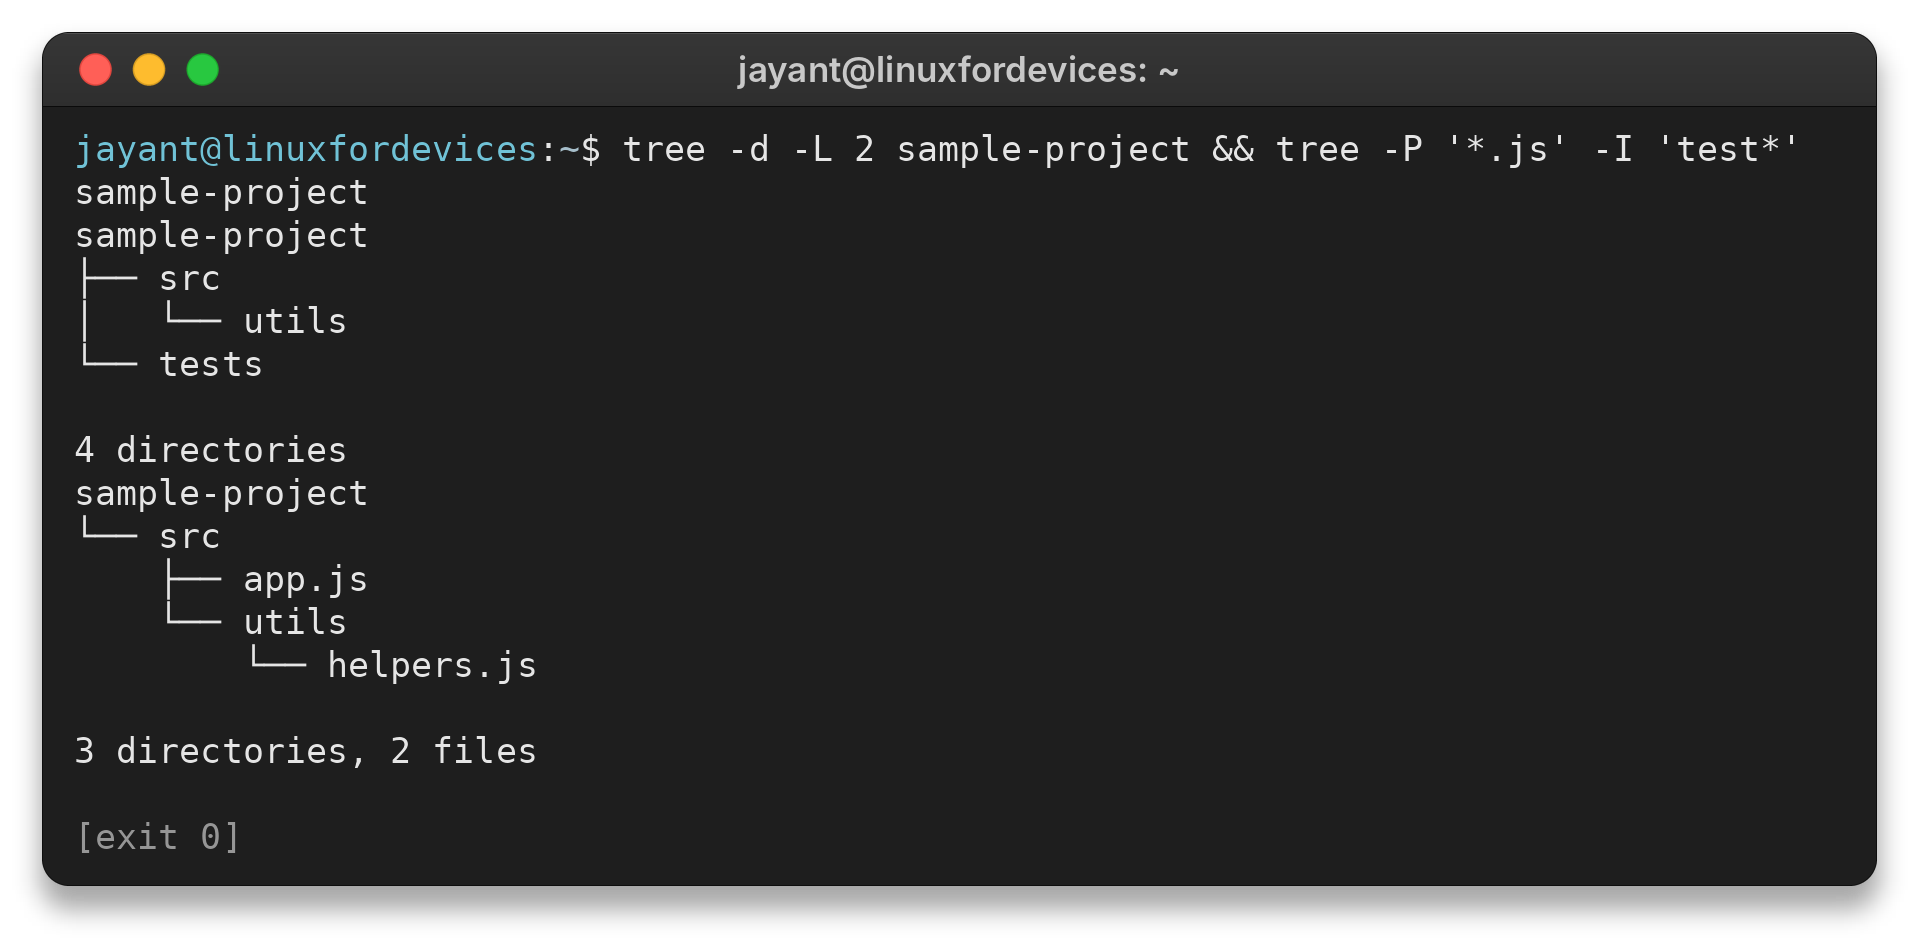
The second listing contains only JavaScript files and the branches that lead to them. Its exclude filter removes the tests folder by matching the directory name. Quoting prevents the wildcard from expanding before tree sees it.
Tree Command Limits and Common Fixes
Recursive output can become extensive on deep or busy directories. Because tree descends into nested folders by default, name a smaller starting directory or use a depth limit when the listing becomes unwieldy.
| What you see | What to check | Next step |
|---|---|---|
| Dotfiles are absent | Names beginning with a dot are hidden by default | Add -a |
| Permission denied or incomplete branch | Your account may lack directory search/read access | Check read and execute access on each parent directory. Ask the system owner to grant access if traversal is denied. |
| A symbolic link is shown but not expanded | tree does not follow directory links by default | Inspect the link target before relying on its contents |
| Listing is too long | Recursive traversal reaches nested folders | Set -L or name a smaller starting path |
Directory access depends on permissions along the path, not just the final folder. The Linux permissions guide explains those rules. Avoid following symbolic links blindly: they can point outside the starting directory or back into a parent, so check their targets before relying on the listing.
For a flat listing, use ls. Use find when you need to select file paths by conditions.
For a focused explanation of display depth, see limiting tree depth. The hidden-files guide explains dot-prefixed names.
Conclusion: Choose the View You Need
Use the tree manual when you need options beyond these examples. For a search by filename or file type, use find rather than expanding the listing.
FAQ
These quick answers cover installation and hidden entries.
How do I install the tree command on Ubuntu?
Run sudo apt install tree in a terminal on Ubuntu, then use the listing command shown above to confirm it works. Installation requires permission to install packages.
How do I show hidden files with tree?
Add the -a option, as in tree -a PATH. By default, tree omits names that begin with a dot.