
Designers and mechanical engineers build wonderful machines and tools. They’re creative and logical as well which helps them to visualize things. Their work can be aided by CAD software which lets them easily visualize and make changes in their designs.
OpenSCAD is a unique, script-based CAD application that allows for precise 3D modeling. It’s open-source and compatible with various Linux distributions like Debian, Ubuntu, Fedora, and more. Installation is straightforward and can be done via package managers like apt, yum, and pacman, or through Snap and Flatpak. OpenSCAD is ideal for fields requiring high levels of accuracy such as engineering and architecture.
Some features of OpenSCAD:
- It is available on a wide variety of platforms like Windows, Mac, Linux, etc.
- The 3D models are created through the code written in the scripting file.
- It can be used for 3D modeling, scientific models, 3D printing, architecture blueprints, engineering models, and much more.
- The designs can be replicated and built upon other designs easily.
- Fields like engineering, architecture, and science demand accuracy and precision. Since the models are generated from code in OpenSCAD, you can define precise measurements in the code and it’ll be modeled accurately.
- OpenSCAD’s user-friendly scripting language makes it easy to learn and use, even for those new to CAD software
- The scripts of OpenSCAD can be used in automated pipelines and workflows as well. This helps to generate designs programmatically on-the-fly.
Pre-requisites for Installing OpenSCAD on Linux
Some of the prerequisites before installing OpenSCAD on Linux are:-
- You should have sudo or root access to your system. The installation of OpenSCAD requires administrative privileges.
- Check if your Linux distro is supported by OpenSCAD. Some of the popular Linux distros OpenSCAD supports are:- Debian, Ubuntu, Kubuntu, Fedora, openSUSE, and many more.
- You should have modern hardware with decent specifications.
- A fast and stable internet connection for downloading OpenScad.
- Update your package manager and system.
Step-by-Step Guide to Installing OpenSCAD on Linux
You can install OpenSCAD via default package managers like apt, yum, and Pacman or through other package managers like snap or flatpak. We’ve listed the method to install through multiple ways. You can choose whichever you find convenient.
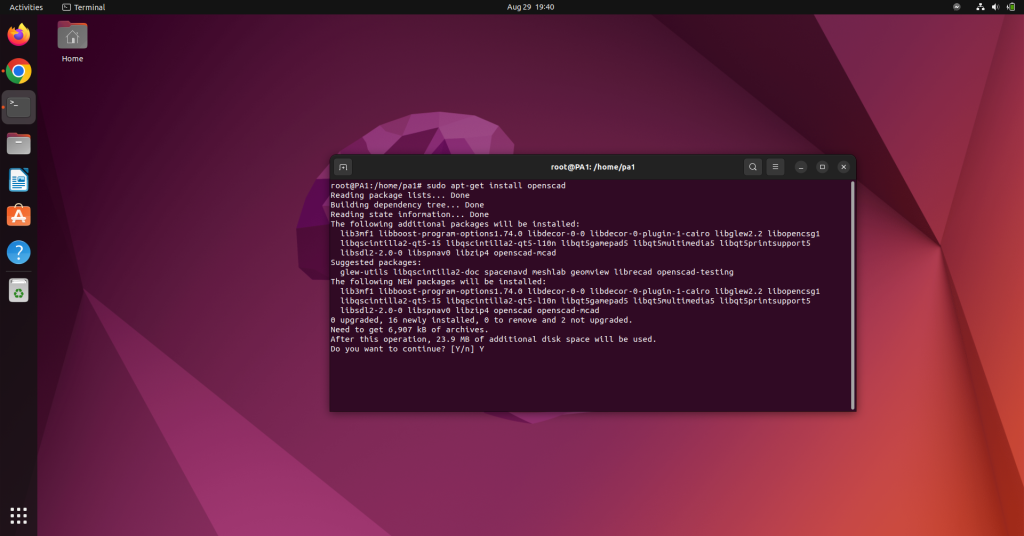
Installing OpenSCAD on Debian/Ubuntu/Kubuntu-based Linux distros
The OpenSCAD package can be installed from the default apt package manager’s repositories. Open the terminal and run the following command to do so:-
sudo apt install openscad
Installing OpenScad on Fedora-based Linux distros
We can use the yum package manager to install OpenScad. To do so open the package manager and run the following command:
# yum install openscad
You can also install the MCAD library of OpenScad. MCAD library contains common components that are commonly used in various designs and mock-ups. To install MCAD, run the following command in the terminal:-
# yum install openscad-MCAD
Installing OpenScad on Arch Linux-based distros
The OpenScad package is available on the default pacman package manager’s repository. To install it, run the following command in the terminal:
# pacman -S openscad
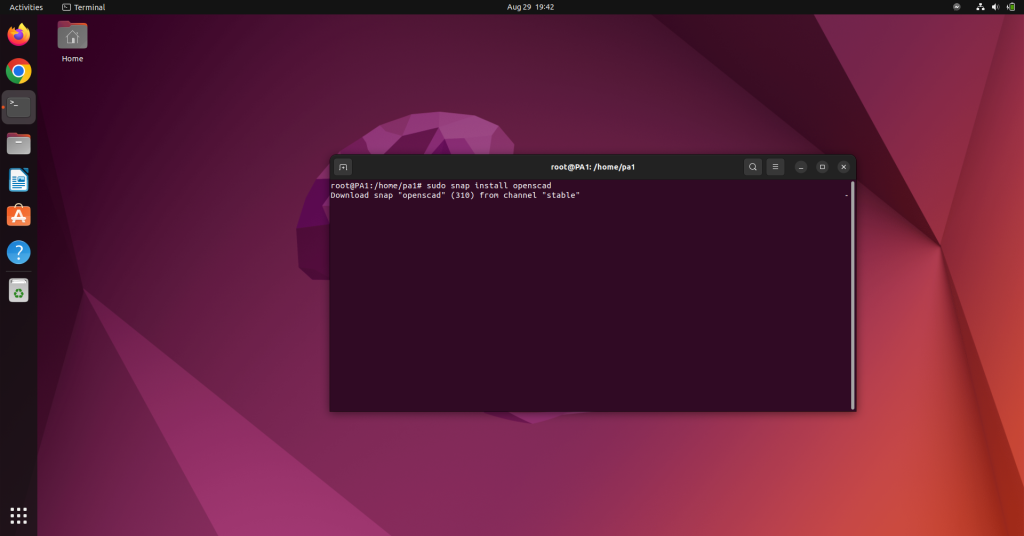
Installing OpenScad on Linux via snap
Snap is a popular package manager for Linux distros. If Snap is installed in your system then you can use it to install OpenSCAD. Run the following command in the terminal to install OpenScad:-
sudo snap install openscad
Installing OpenScad on Linux via flatpak
The OpenScad package is available on the Flatpak repositories. Flatpak is also a popular package manager like Snap. If Flatpak is installed in your system then you can run the following command to install OpenSCAD:
flatpak install flathub org.openscad.OpenSCAD
Installing OpenScad on Linux via AppImage file
If you want to manually install OpenSCAD from its AppImage file, then you can do so by downloading its package file from the official website. The steps to do so are:
- Visit the official site and download the suitable AppImage file.
- Open the terminal into the directory of the downloaded AppImage file.
- Make the file executable either from the GUI options. Or you can run this command as well:-
chmod u+x <File_name>
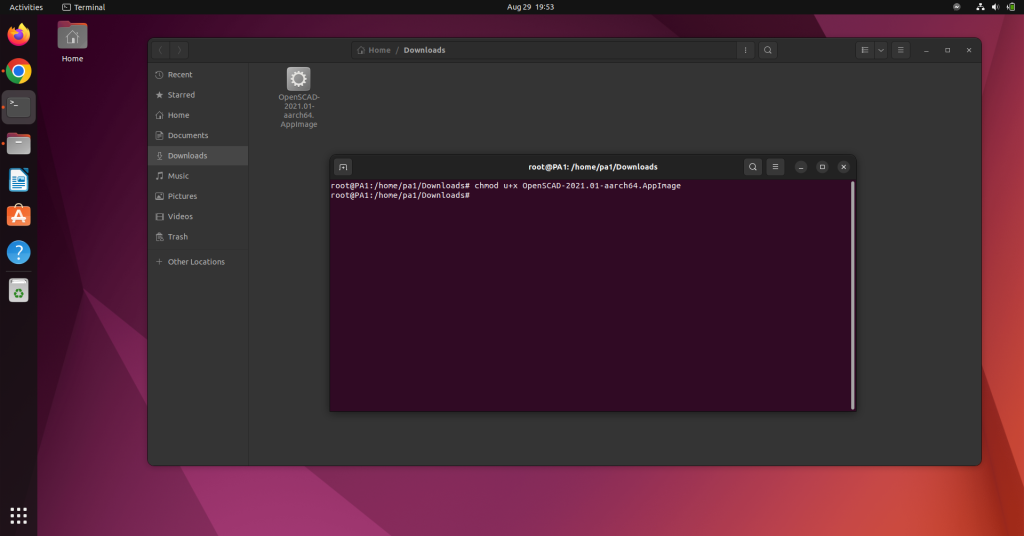
- The file will become executable and you can now run OpenScad by double-clicking it.
How to use OpenScad?
OpenScad is a scripting-based CAD tool. Which means you’d be writing to make your 3D models. We recommend going through the official documentation to learn about the syntax and functions available in OpenScad. Below we’ve listed a simple example to get you started.
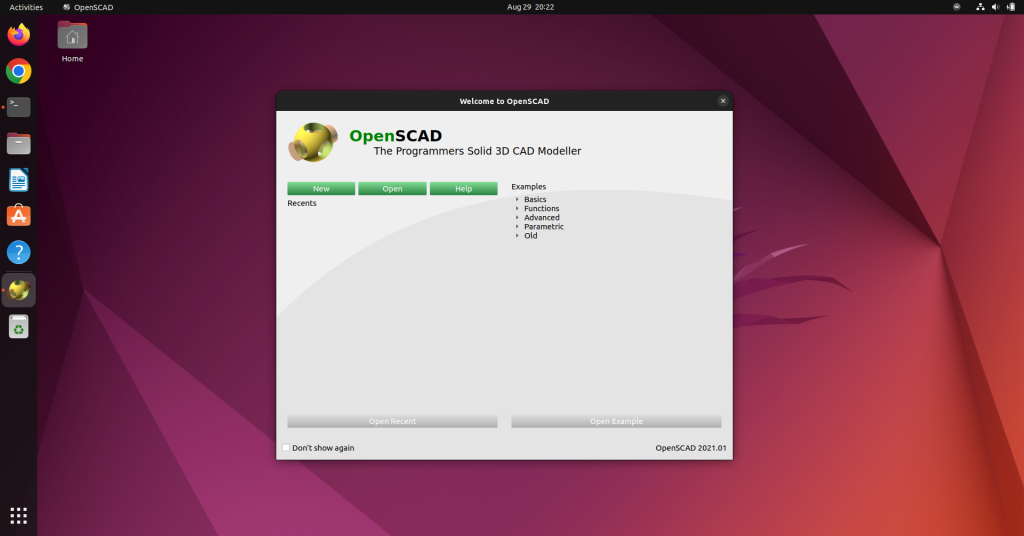
At first, you’d be prompted to make a new project or Open an existing one. We chose to make a New project. You can also read the examples on the welcome screen to learn more about OpenSCAD.
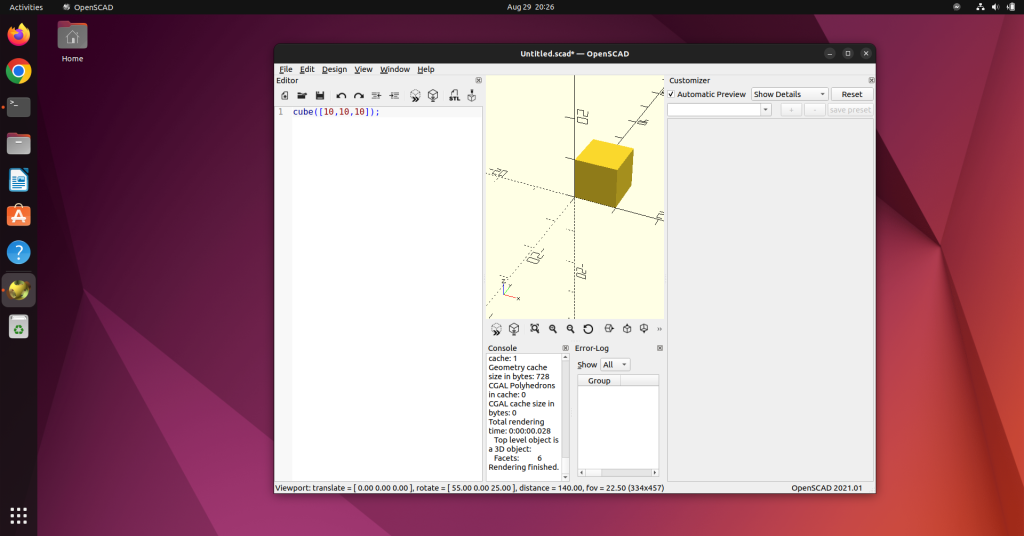
The UI of OpenScan looks like this. There’s a preview window, toolbar, console, and editor windows. If anyone is not visible you can toggle it through the View menu. In this example, we’ll create a simple cube. To do that write
cube([x,y,z]);
The n denotes the length, breadth, and height of the cube. After writing that press f5 or f6 to compile and view it.
You can also perform actions on the cube like translating, scaling, rotating, etc. To Translate it use the following command:
cube([n,n,n]);
translate([x,y,z]) {
  cube([n,n,n]);
}
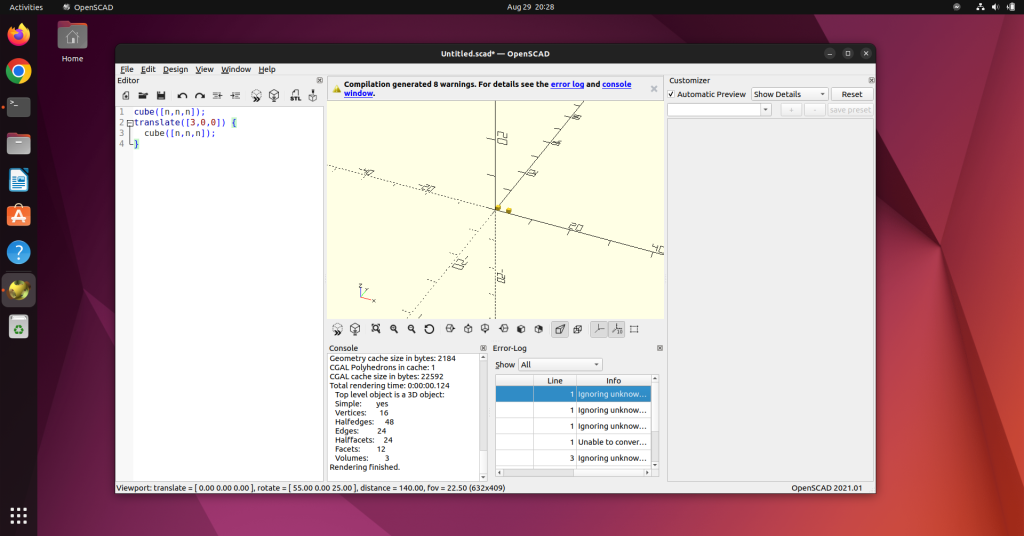
Where n is the length, breadth, and height of the cube.
Conclusion
Although there are many CAD tools in the market nowadays. But OpenScad can still be a very useful tool for users who know how to code. Users who need precision, and accuracy and don’t have a very powerful system can give OpenScad a try. You can think of it as a 3D model compiler for your design script.
In the Article, we’ve listed the prerequisites, installation method for various Linux distros and some basic walkthrough of the application as well. Hope the installation process is smooth and enjoy designing.