
Debian is a prominent Linux distribution in the current Linux ecosystem. Because Red Hat is trying to restrict the development of Alma and Rocky Linux by adding a licensing fee to look at their code, Debian is a preferred choice for those looking to create a server without licensing fees or stability issues. However, apart from being a server-focused distribution, Debian 12 ‘Bookworm’ also seems to be an excellent distribution for regular desktop use.
It ships with the Linux Kernel version appropriate for Debian 12, along with GNOME 43, KDE Plasma 5.27, LXDE 11, LXQt 1.2.0, MATE 1.26, and Xfce 4.18 desktops. These desktops are not fully up to date, as GNOME is currently on Version 44 and KDE Plasma’s latest release is 5.27, but it should provide a fairly stable experience for your old hardware.
In this tutorial, we will take a look at some of the features of the Debian 12 update and also try to install this distribution on our PC.
Also check: Easily install Debian Linux on Windows using WSL2
Features Debian 12
Debian 12 is packed with the following features:
- Unlike the previous releases, Debian 12 now ships with non-free firmware, and hence most of the Wi-Fi and Bluetooth cards are supported out-of-the-box.
- Debian is highly stable and will be supported for 5 years, that is, It will receive stability and security-related updates for 5 years.
- The minimum required RAM for Debian is just 2 GB and hence, with the Lightweight Desktop Environment such as XFCE or MATE, Debian will run well on older hardware.
- Comes with a lot of packages pre-installed (if you use the Live CD edition) and therefore is ready to use after the installation is complete.
- With the apfsprogs and apfs-dkms packages, it brings read write support for Apple File System (APFS) as well.
- It has a support for wide range of hardware including 32-bit, 64-bit, ARM devices, Mipsel, RISC-V and even IBM system z. No matter how old your laptop or PC is, it will surely run Debian.
Step-by-Step Guide to Installing Debian 12
Debian 12, also known as ‘Bookworm,’ is a versatile Linux distribution suitable for servers and desktop use. It comes with various desktop environments like GNOME, KDE Plasma, LXDE, and more. Debian 12 offers out-of-the-box support for Wi-Fi and Bluetooth cards, runs well on older hardware, and includes read-write support for Apple File System (APFS). The installation process involves picking the right ISO, creating a bootable USB, booting into Live ISO, and following the installation prompts. Post-installation setup includes enabling non-free repositories and updating the system. Let’s look at the installation process now.
Choosing the Ideal ISO for Your Needs
Visit the official Debian Downloads page and then download the ISO with the desktop environment you want.
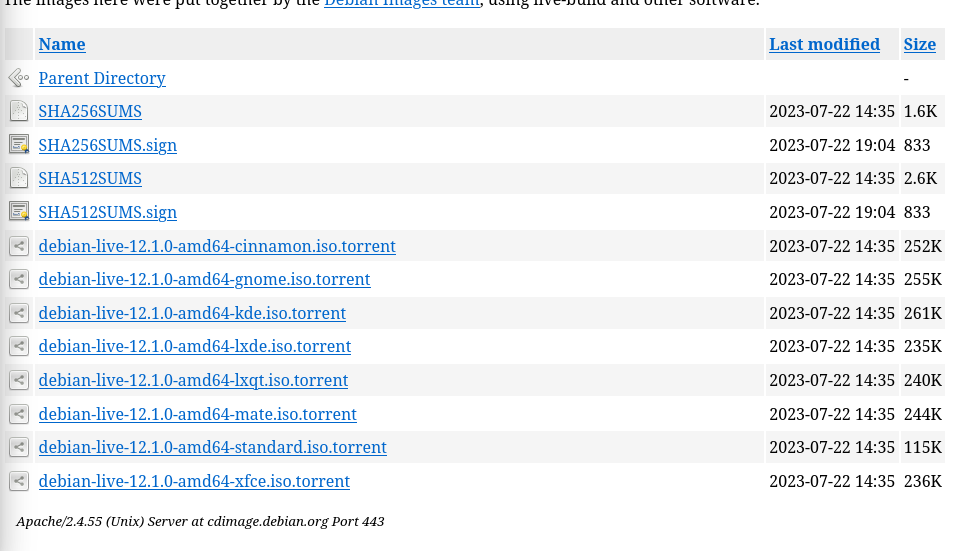
These are torrent files, and you can download the ISO using these files with any BitTorrent client, such as qBittorrent. For example, you can download the ISO with the GNOME desktop environment, or choose another according to your preference.
I would not recommend the Online installer, since it’ll only cause you confusion if you are a new user. However, if you know what you are doing, then Online ‘netinstaller’ ISO can be the right option for you. Net installer is just an online ISO that will require you to have an internet connection while installing the OS, which may not always be the case.
How to Create a Bootable USB for Debian 12
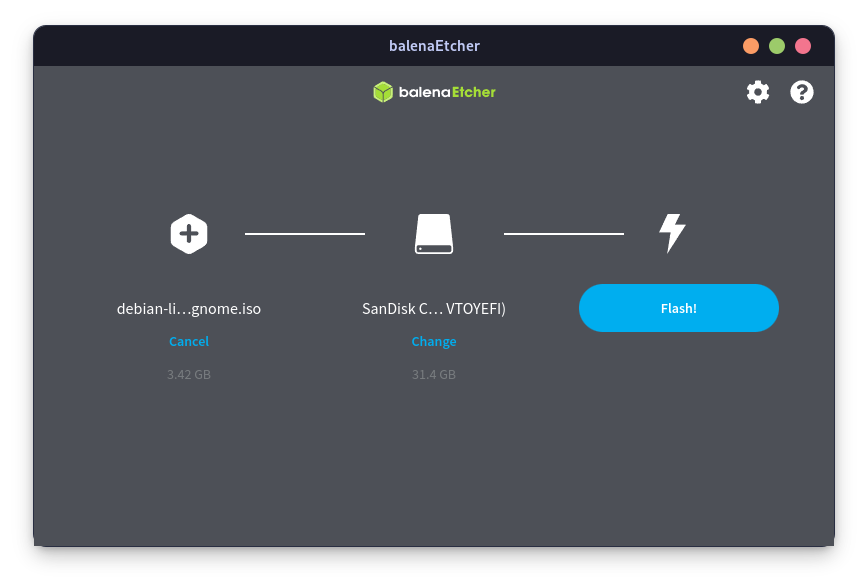
We recommend applications like Ventoy or Balena Etcher on both Windows and Linux-based operating systems and a USB flash drive with at least 4 GB of storage space for this step. Do note that all data on the Flash drive will be lost, so make sure to back that up before proceeding with this step.
Download the Etcher software (Linux 64-Bit AppImage) from their official website and then launch it. Now, select the Downloaded ISO file and your USB drive and then click on the ‘Flash’ button.
Booting into Debian 12’s Live ISO: A Quick Guide
Once flashed, reboot your system and make sure to enter your system’s BIOS menu by pressing either ‘Esc’, ‘F2’ or ‘F10’ keys. It largely depends on the Motherboard model or Laptop manufacturer. Google the correct key before rebooting.
Now, look for a Menu that looks like ‘Boot Menu’ or ‘Boot Order’ and, using either Tab or F5 or F6 buttons, make sure that the USB is set to the first Boot Option. Save and Exit, and you will be booted into the Live Image of Debian 12.
The Installation Process: Getting Debian 12 on Your System
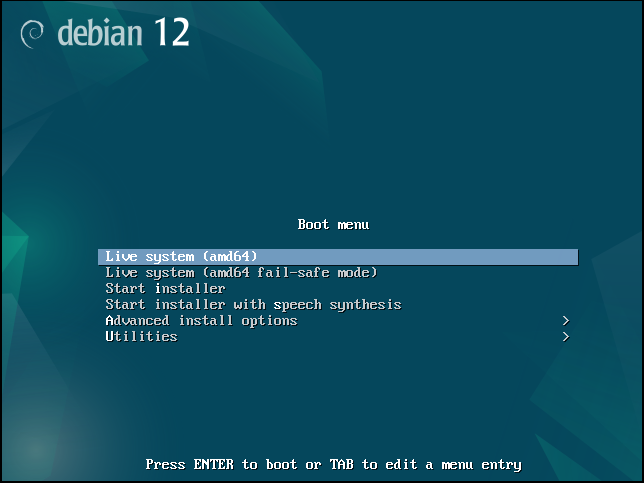
Simply select the ‘Live System (amd64)’ option from the Boot menu.
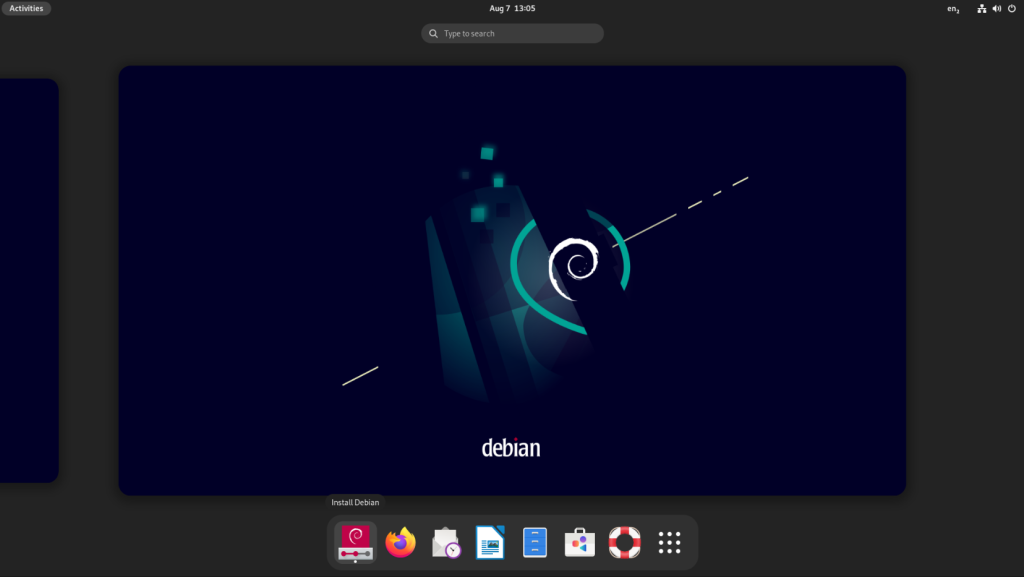
You will see a welcome screen upon booting the Live Image. Note that this is not the ‘Installer’, but a post-install welcome screen. I don’t know why this appears in the Live Image as well, simply close this application and look for an app named ‘Install Debian’ from the App Grid/Menu.
If asked for a password, then simply enter ‘live’ or ‘user’. One of them should definitely be accepted.
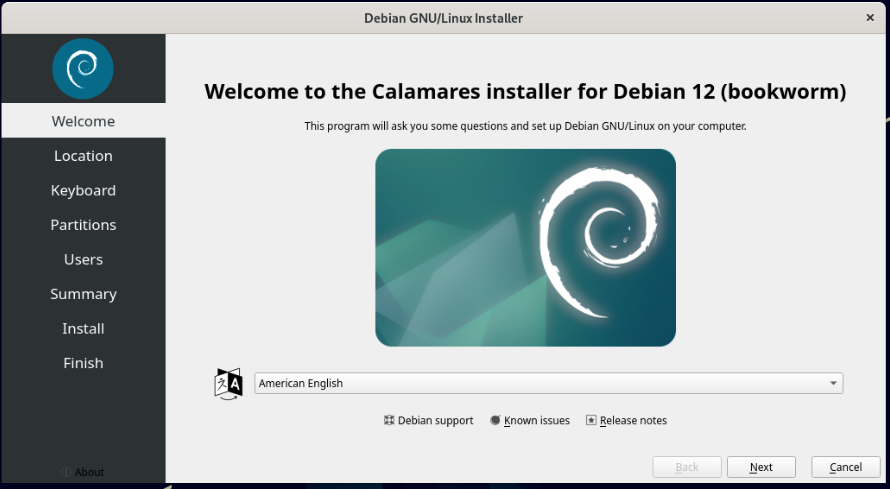
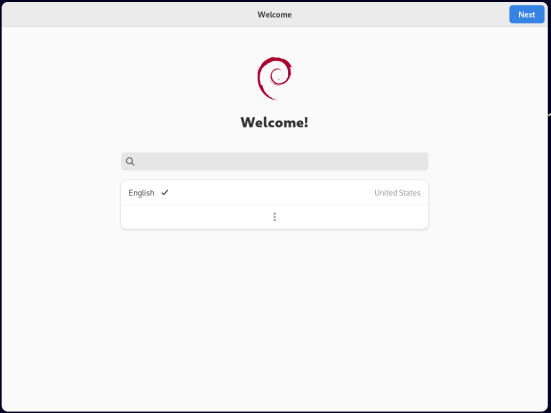
From the installer, select your preferred language and hit the ‘Next’ button.
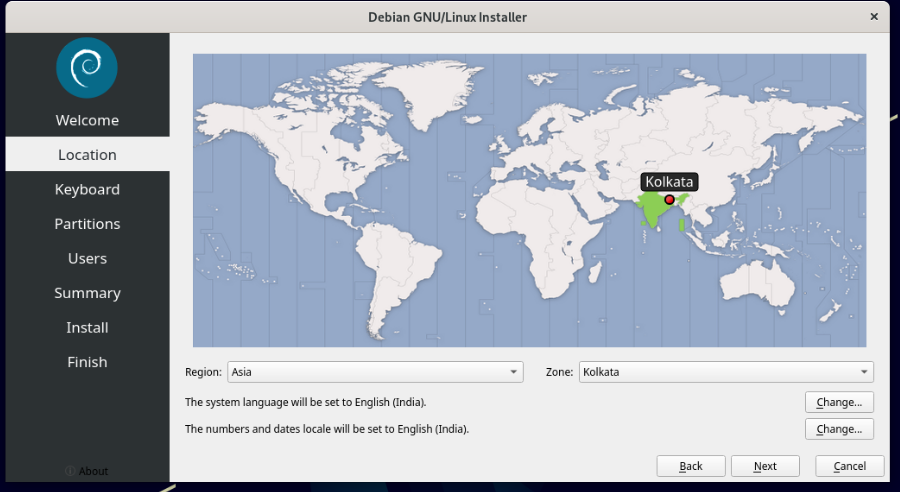
Now, select the timezone by either clicking on the map, or from the drop-down menu and then hit the ‘Next’ button.
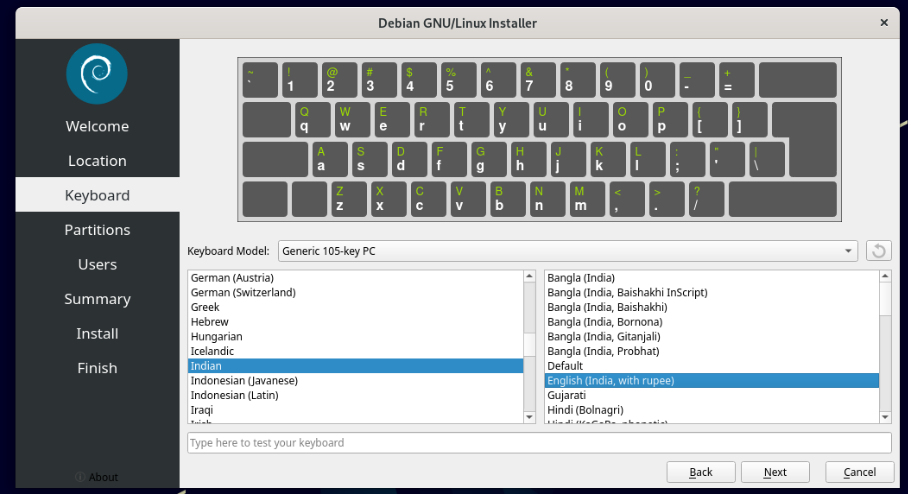
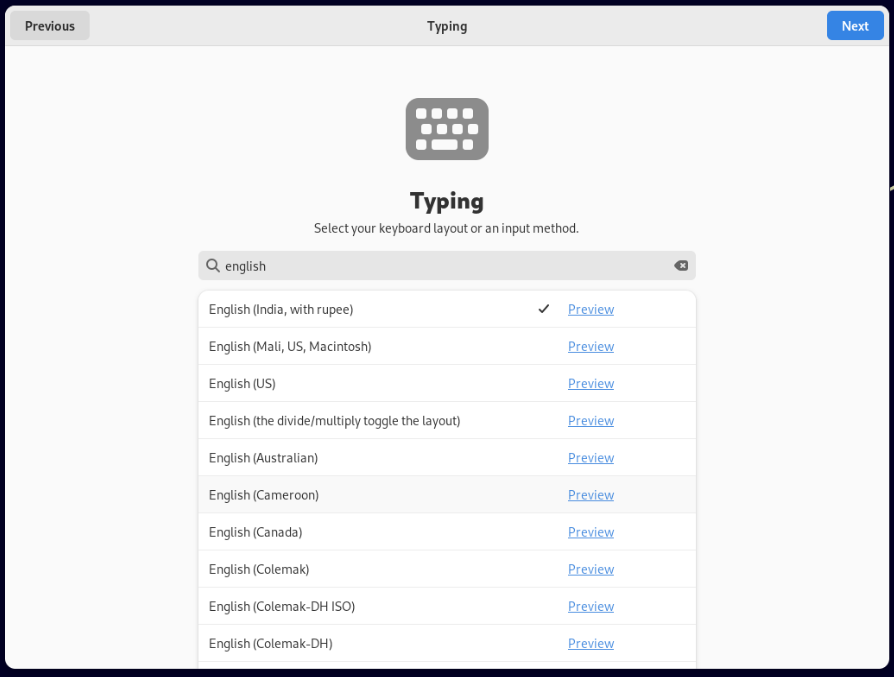
Select the Keyboard layout of your keyboard which you are currently using and then proceed to the next step.
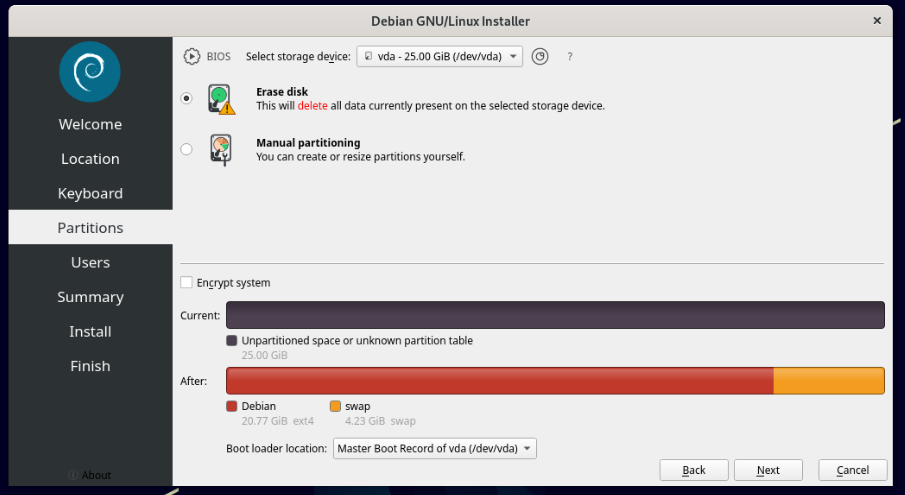
Finally, you will be asked to select the storage device on which you would like to install Debian. Do note that all the data on that device will be deleted if you select ‘Erase Disk’. You can also create Manual Partitioning if you would like to save your data.
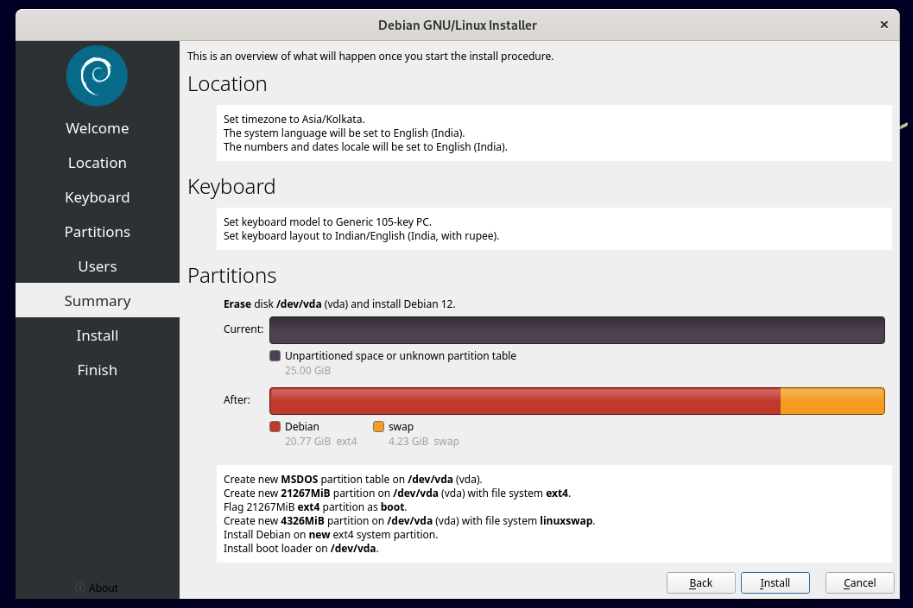
Finally, you will be given a summary of what will happen if you proceed with the installation, make sure everything is correct and then click on the ‘Install’ button.
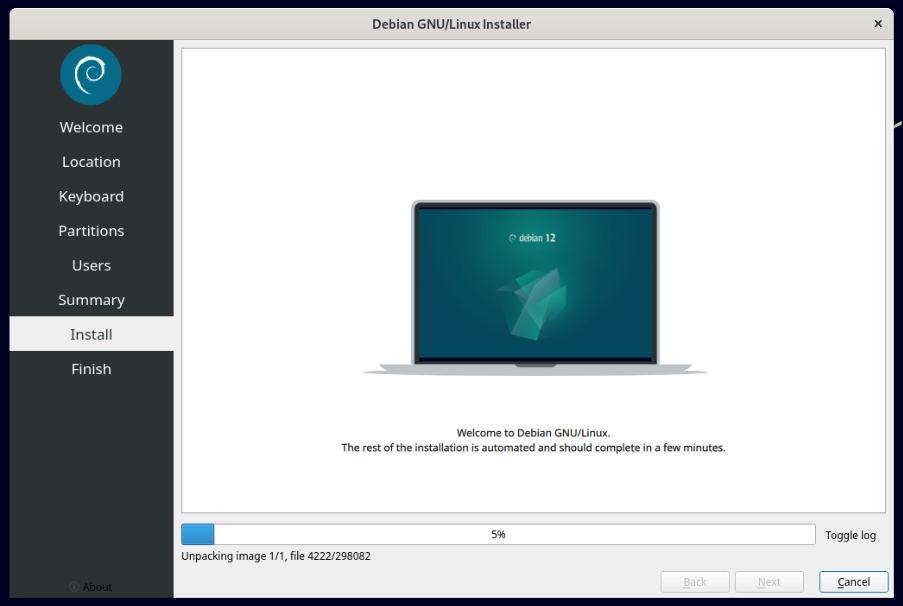
The system will now be installed in 5–10 minutes if you are using an SSD, it can take longer on a Hard drive.
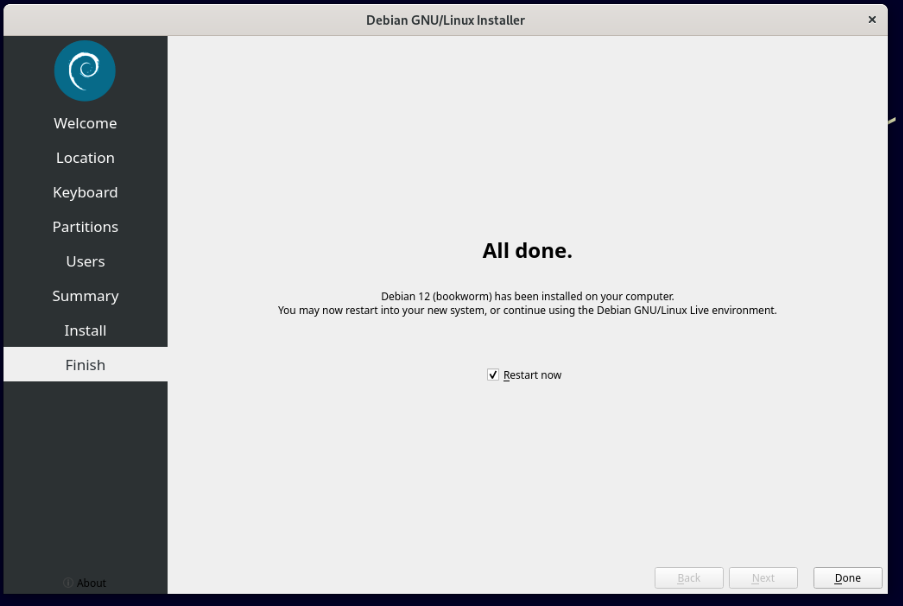
Reboot your system once the installation is finished and remove the USB drive when prompted and press Enter.
Post-Installation Setup: Customizing Debian 12
Once the system is rebooted, you will be again greeted with the ‘Welcome’ screen on Debian 12, now select the preferred language and hit the ‘Next’ button.
Again, select your preferred Keyboard Layout and then proceed to the next step.
You can enable or disable location services depending on your privacy concerns.

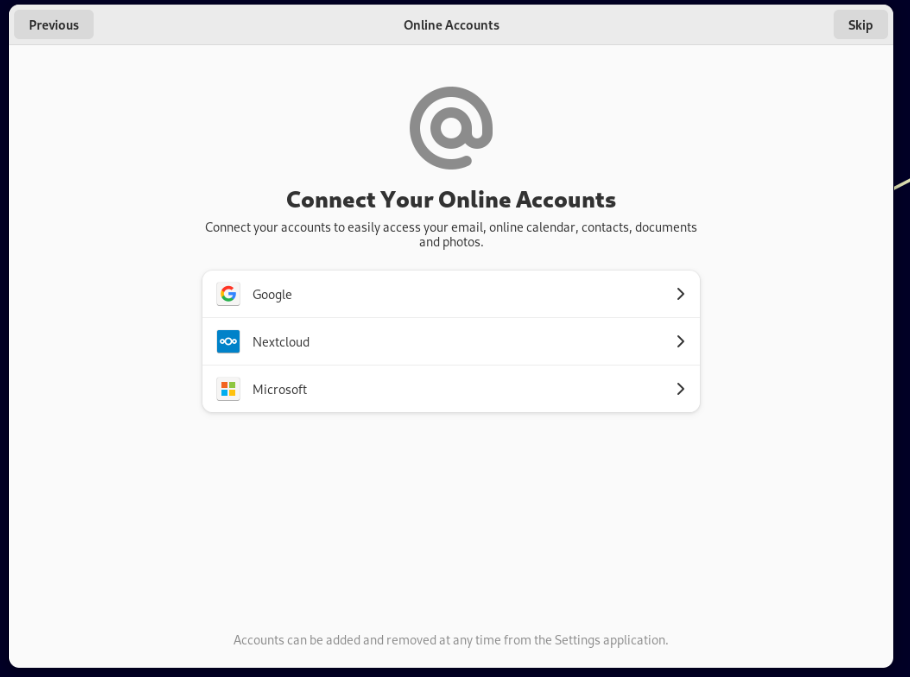
Finally, you can connect your Google, Microsoft, or Nextcloud accounts to your system if you want.
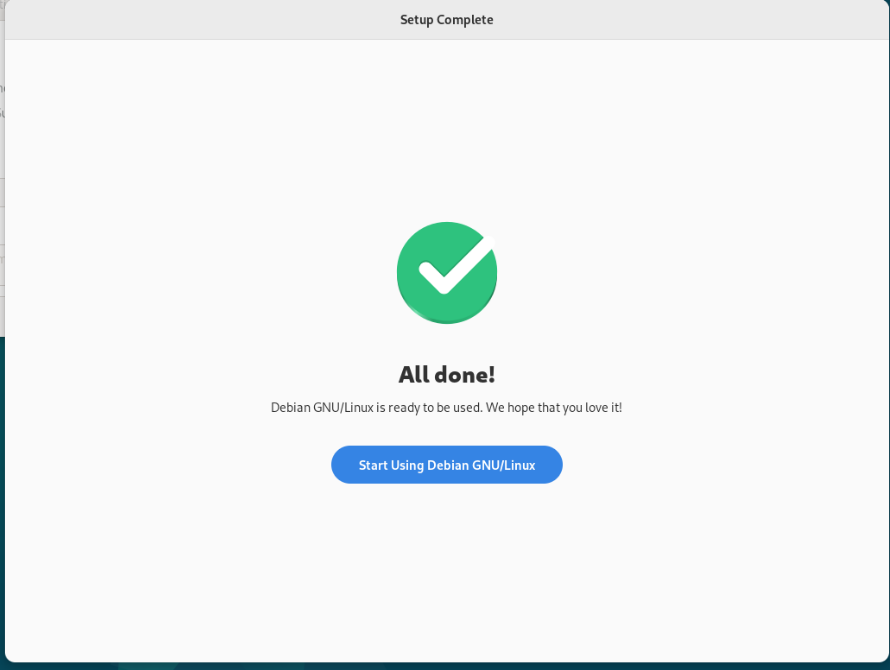
Once you’re done, you’re ready to use this distribution.
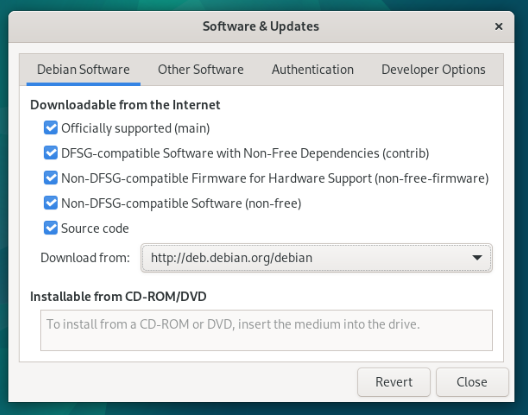
Enabling Non-Free Repositories: Accessing Additional Software
If you are going to use proprietary applications such as Spotify, Telegram, or Discord, then make sure that you enable the non-free repository from the ‘Software and updates’ application.
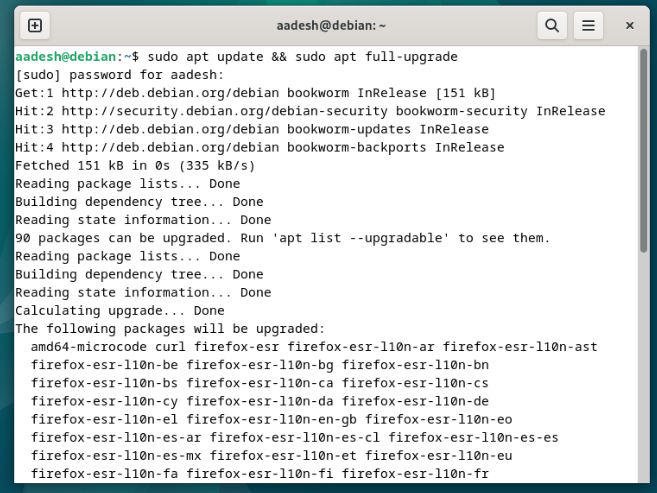
Once enabled, run an update from the Terminal before you proceed to do anything from your PC. Just type the following command to run a full update:
sudo apt update && sudo apt full-upgrade
Now your PC is fully ready to take advantage of the latest Debian 12 release.
Wrapping Up
Although Debian 12 features the fairly latest desktop environments, they all will become old soon enough because both the GNOME and KDE community have been developing their desktops at a very fast rate. GNOME 44 brings very small changes that I immediately missed when using the 43 version on Debian 12, and I’m sure the case would be similar with other desktop environments as well (unless you are using Cinnamon or XFCE, which do not receive significant updates).
If you game regularly or rely on up-to-date software, then distribution is certainly not for you. But if you want an ‘Install and forget’ type of experience such as a relative’s old PC or even your own old PC, from whom you do not want to receive tech support calls at 2 am because something crashed, then Debian 12 could be the right choice for you.