
Game Maker Studio(GMS) is one of the most popular software used to develop game-based applications. This Game Maker Studio is developed by the well-known organization YOYO Games. This allows all kinds of developers from different domains to easily create game apps via this platform without any coding knowledge.
This is most popular among developers because it uses a simple and interactive interface to simplify the work of developers by simply dragging and dropping function assets management, exporting it to multiple platforms, etc. If you are a Linux user who uses Ubuntu or any other Linux because of its security factors, you must know how to install Game Maker Studio in Linux, so for them this article is the best guide to learn from.
Installing Game Maker Studio on Linux is a straightforward process that involves a series of steps. Start by updating your package lists with
sudo apt update. Install the required libraries usingsudo apt install build-essential openssh-server clang libssl-dev libxrandr-dev libgl1-mesa-dev libglu1-mesa-dev zlib1g-dev libcurl4-openssl-dev ffmpeg. Verify the installation by checking the version of the installed dependencies. Proceed to install additional tools like Steam Runtime and LinuxDeploy. Finally, download and install Game Maker Studio using the official link. This guide provides a comprehensive walkthrough for Linux users
Why Choose Game Maker Studio for Linux?
The main objective of this Game Maker Studio is to develop 2-dimensional games with more efficient features and interactive interfaces and functions. The prior objective of this game maker studio is that developers with and without coding knowledge can use this platform to develop game applications quickly, that is the developers without coding knowledge can simply make use of the drag-and-drop functions to develop applications. The developers who know coding can make use of scripting the game application to an advanced level.
Prerequisites for Installing Game Maker Studio on Linux
- Linux Distribution: You should have the Linux distribution like Ubuntu, Debian, CentOS, Fedora
- Access to a terminal: We will use a terminal adversely for extracting and changing the source path
- Internet Connection: You should have a good internet connection to download the package blender
Step-by-Step Installation Guide for Game Maker Studio on Linux
Step 1: Open the terminal window
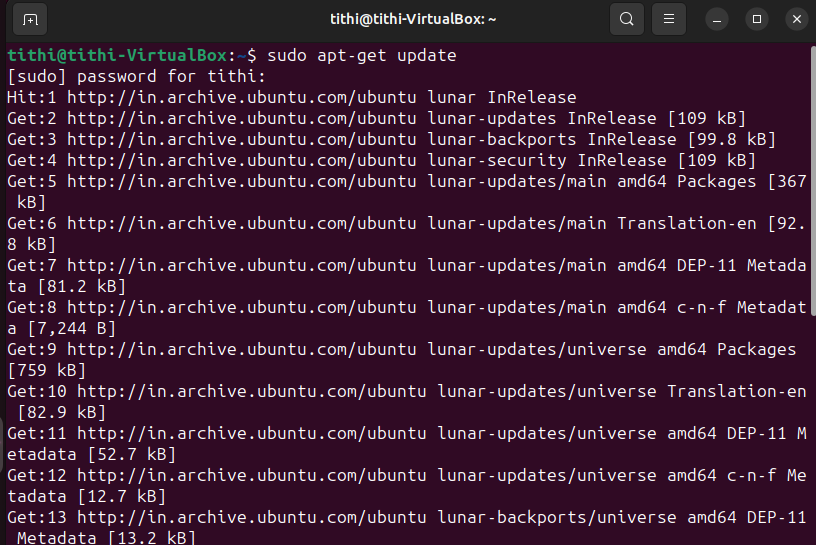
Step 2: Update all package lists using the following command
sudo apt update
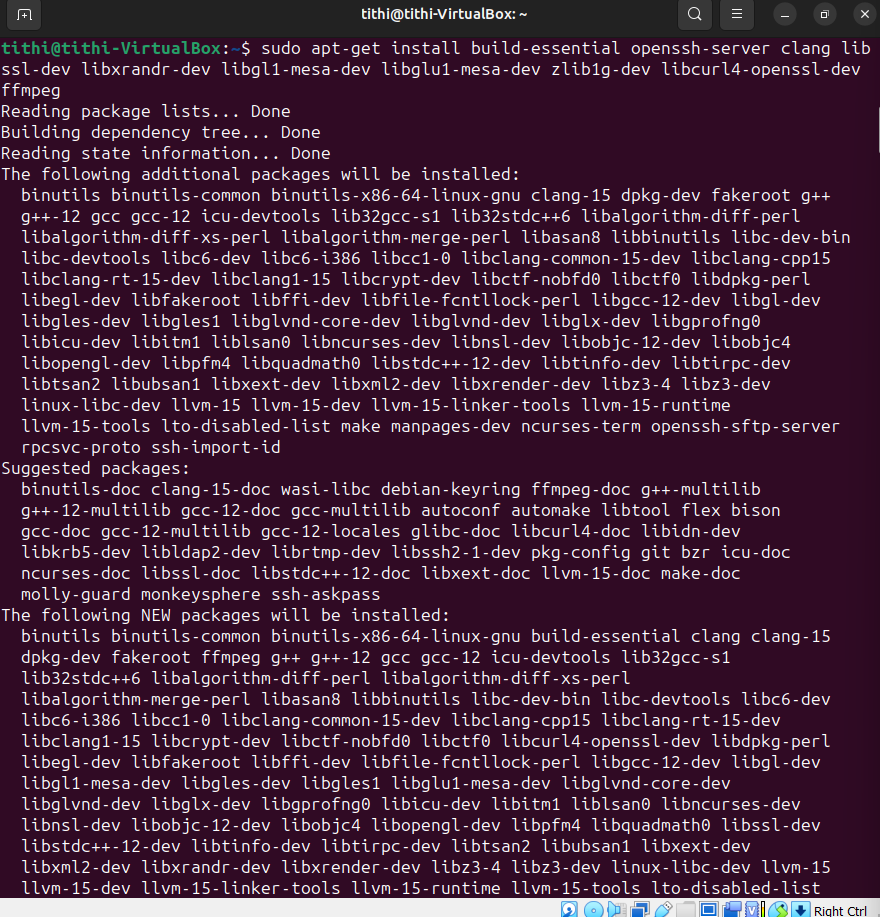
Step 3: Before installing GMS we should install several libraries as prerequisites for building the Game Maker Studio.
sudo apt install build-essential openssh-server clang libssl-dev libxrandr-dev libgl1-mesa-dev libglu1-mesa-dev zlib1g-dev libcurl4-openssl-dev ffmpeg
Note: Make sure you enter all library names correctly if not errors may occur.
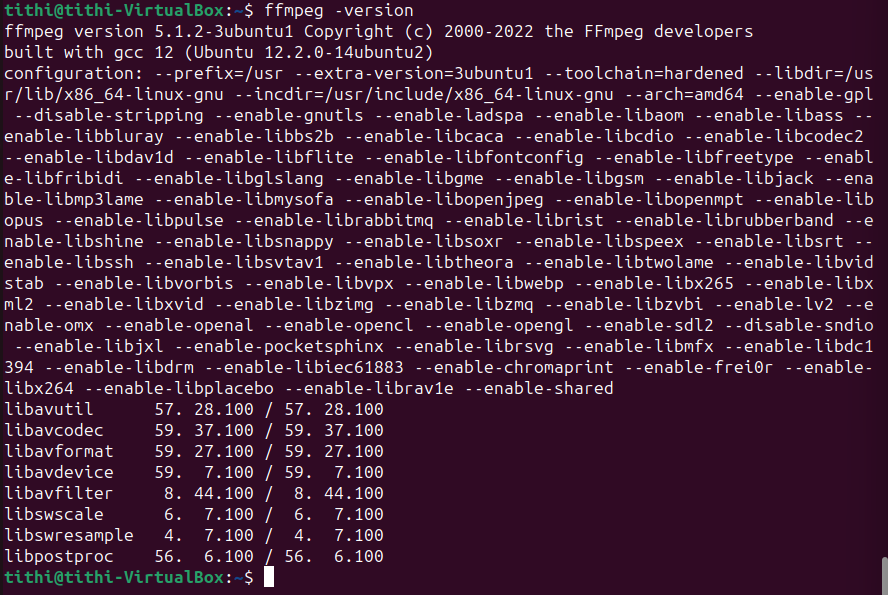
Step 4: After the dependency installation is over we need to check if it’s installed or not to verify it we need to check the version of the dependency we installed
ffmpeg -version
Step 5: Install App image build tools in a specified directory by creating it
sudo mkdir /opt/steam-runtime/
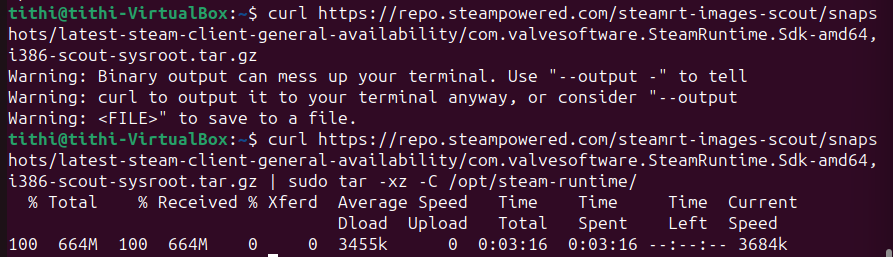
Step 6: Install stream runtime
curl https://repo.steampowered.com/steamrt-images-scout/snapshots/latest-steam-client-general-availability/com.valvesoftware.SteamRuntime.Sdk-amd64,i386-scout-sysroot.tar.gz
Note: Before installing stream runtime make sure you have “curl” installed. If not installed, give the command “sudo snap install curl” to install it.
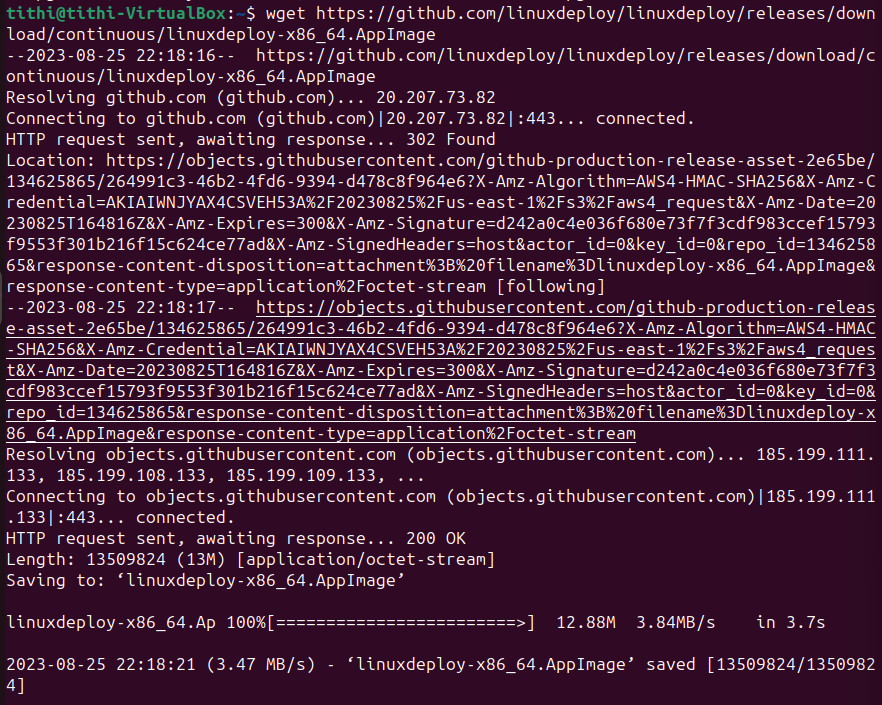
Step 7: Install linuxdeploy using the following command:
wget https://github.com/linuxdeploy/linuxdeploy/releases/download/continuous/linuxdeploy-x86_64.AppImage
Note: Before installing linuxdeploy make sure you have “wget” if not use the command “sudo apt install wget” to install it.
Step 8: Follow this second command to finish the process of installation
sudo install -m 0755 linuxdeploy-x86_64.AppImage /usr/local/bin/linuxdeploy

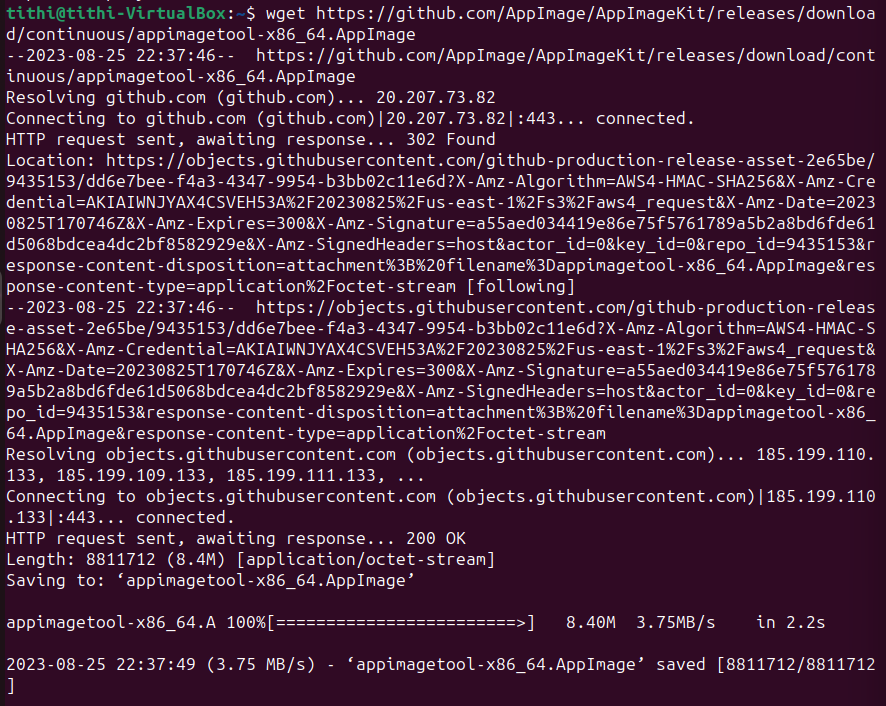
Step 9: Install App Image
wget https://github.com/AppImage/AppImageKit/releases/download/continuous/appimagetool-x86_64.AppImage
Step 10: Follow this second command to finish the app image installation
sudo install -m 0755 appimagetool-x86_64.AppImage /usr/local/bin/appimagetool

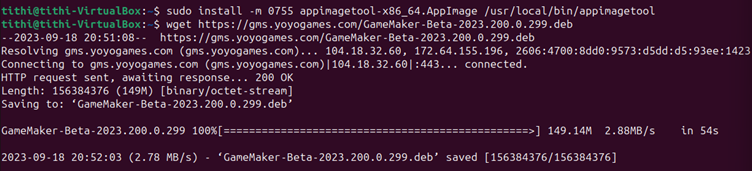
Step 11: Download GamerMaker Beta from official website link
wget https://gms.yoyogames.com/GameMaker-Beta-2023.200.0.299.deb
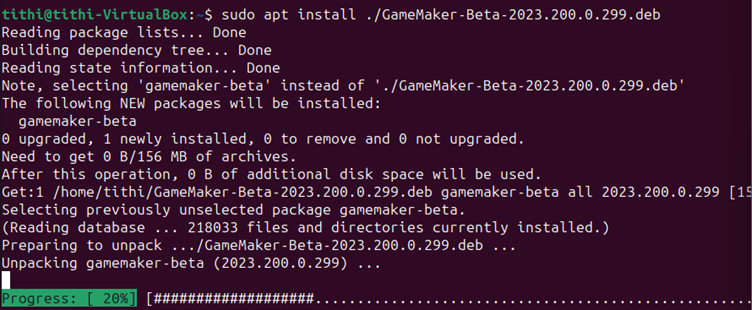
Step 12: Finally installing the dependencies using the apt package manager.
sudo apt install ./GameMaker-Beta-2023.200.0.299.deb
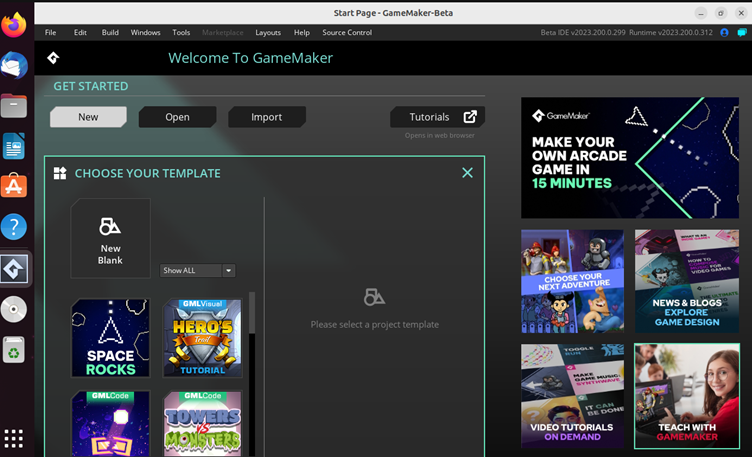
Step 13: Once the dependency installation is finished you will see that the Game Maker is installed
Summary
This comprehensive guide has equipped you with the knowledge and steps to get started on your game development journey. With Game Maker Studio’s intuitive drag-and-drop interface and robust scripting capabilities, you’re not just installing software; you’re opening up a gateway to bring your most creative game ideas to life. So, what groundbreaking game will you develop next?