
Let’s install Minecraft on Linux in this article. If we talk about games, you might have surely heard of this game. It is one of the most epic and popular games since its first launch in 2009. It has been one of the most selling game ever with more than 150 million users worldwide.
Minecraft is also supported for Linux systems, so why stay behind in the race?
Here, in this article, we will take you through a very easy guided process to install and set up Minecraft on your Linux system.
Install Minecraft on Ubuntu and its derivatives
Step 1: Download the installer from its official website
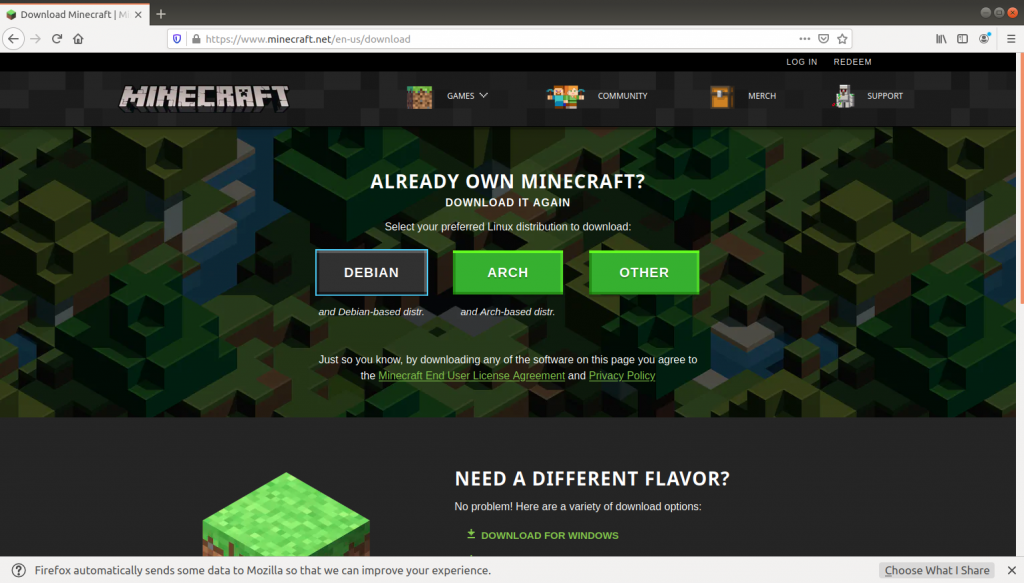
Firstly, to set up this game on your Linux system, you need to download Minecraft installer from its official website.
For that, you can head here. Do note that you agree to Microsoft’s License agreement and privacy policy when you download this software. You can choose from multiple options, as supported by your system. Here, we will pick Debian, as Ubuntu and many other commonly used distributions are based on this distribution.
Step 2: Install the Minecraft DEB package
Now that you have downloaded this file, let’s install it with the help of Terminal.
Open a new terminal and cd into the Downloads folder. You can also do that by typing the following in your Terminal:
cd Downloads/
Now, use dpkg to install the Minecraft Debian package on your system.
sudo dpkg -i Minecraft.deb
If the downloaded package has a different name, you just have to replace Minecraft.deb with your-package-name.deb
Also, if you face some issues during installation such as dependencies not met, you can use the below command to fix it:
sudo apt --fix-broken install
Step 3: Run the Minecraft application
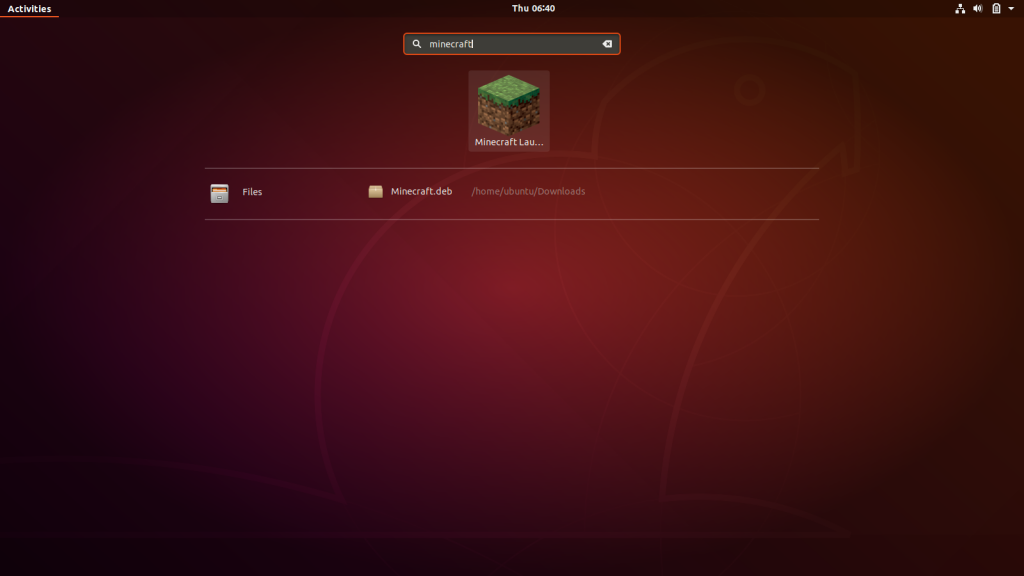
Now that we have successfully installed Minecraft on our system, you will be able to locate that in your Applications tab.
Now, simply open the application to complete the rest of the setup process.
Step 4: Setting up User credentials
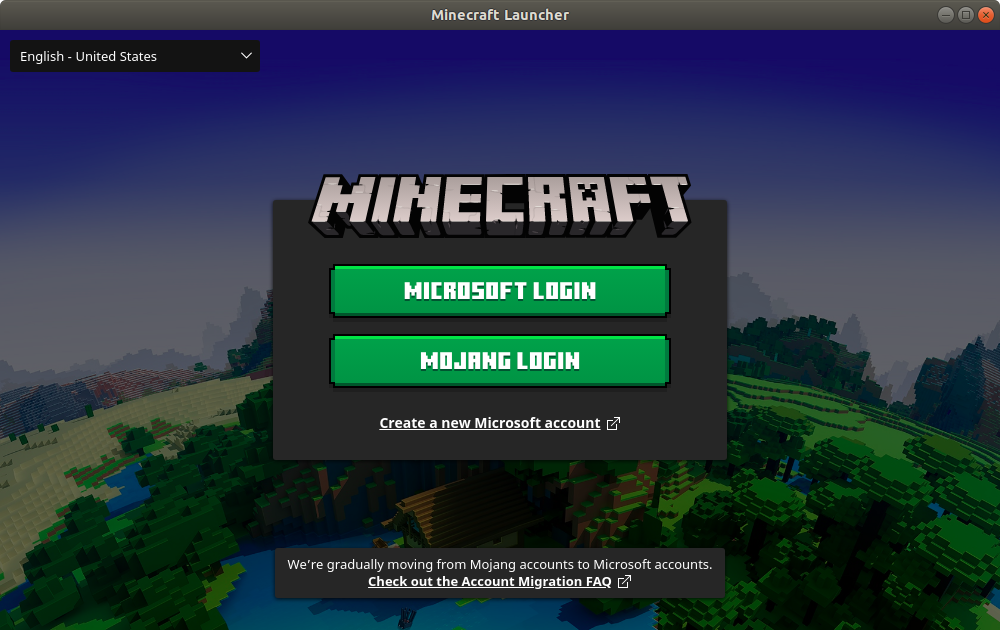
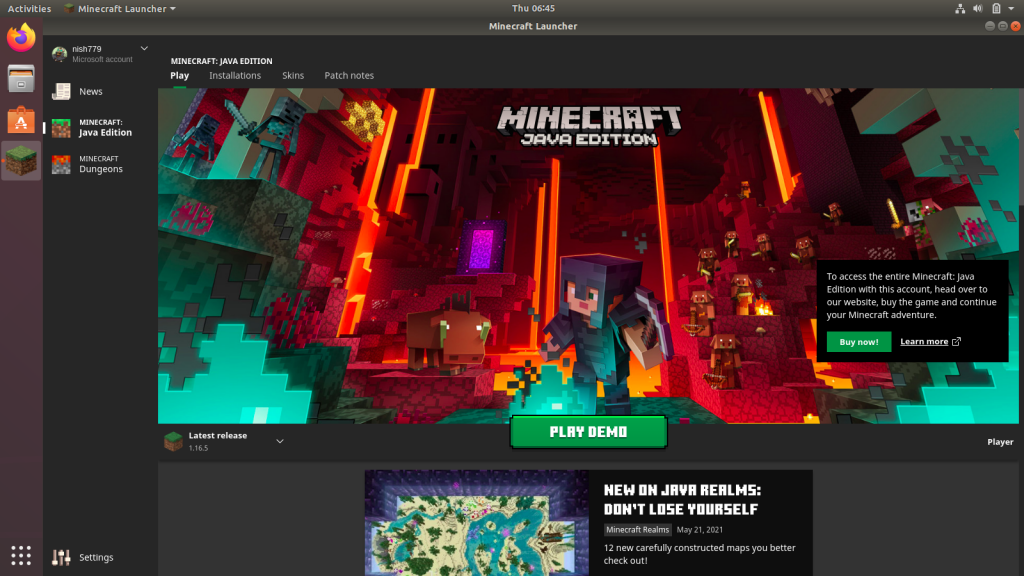
Once you have opened Minecraft, you will get a screen similar to displayed below.
Now, to complete the set-up process, you need to log in with your Microsoft or Mojang user credentials.
If you have an existing account, log in with your personal credentials. Else, you can always create a new account.
Step 5: Get! Set! Go! You’re ready to play!
Now that you have successfully set up this game on your Linux system, you are good to go!
Just click on the Minecraft-launcher Icon from the Application Grid/Menu and You can start playing and enjoy the experience of Minecraft on your Linux system from the new window.
Installing using Snap package manager
Luckily, Minecraft also has its package available on the snap store.
You only need to have snapd installed on your system. For that, you can refer to official snapd documentation.
If your system has snap installed (or If you are using Ubuntu Linux you can use Ubuntu Software GUI application), you just need to run the following in your Terminal window:
sudo snap install mc-installer
This will automatically download and install the game on your system.
All that left now is to set up your account to play Minecraft.
If you already have a Minecraft account, use those credentials or create a new account and Minecraft will be ready to play.
Directly running Minecraft on other Linux distributions
For this method, you only have to visit the official download page and click on “Other” alternative download option there and the Tar.gz archive will be downloaded on your system. Do note that you will need to install the latest version of Java runtime (openjdk) on your system so that this game can run smoothly.
It will automatically start downloading the .tar.gz file.
The best part about this method is, you can use it on any system and is download and play, which means you don’t need to go through the entire setup process.
Enter the directory where the file is residing:
cd Downloads/
Now, let us extract the .tar.gz package using the tar like this:
tar -xf Minecraft.tar.gz
Now, all you need to is browse into the extracted folder and run the Minecraft Launcher application to start playing.
You can use the below commands to achieve that:
cd minecraft-launcher/
./minecraft-launcher
Once your launcher starts for the first time, you will also need to set up your account credentials.
After that, you are good to go and can enjoy playing Minecraft on your Linux system.
Conclusion
In this article, we discussed how we can install, set up and run Minecraft Java edition on our Linux system. We explained the various process in few steps and in a very concise and easy manner, so you have no difficulties following the process with us.
If you want to run Windows games on Linux, then you can use the Proton compatibility layer, which usually comes bundled with the Steam client.