
Want a portable Linux experience? You can install a full Linux OS on a USB drive, not just a Live environment. With minimal resource usage, it’s a versatile solution that you can plug into any computer. This guide will show you how, step-by-step.
Installing a full Linux OS on a USB drive is a straightforward process that offers portability and versatility. You’ll need two USB drives with at least USB 3.0 certification—one for the Live USB and another for the Linux installation. Choose a lightweight Linux distribution like Linux Lite, create a Live USB using BalenaEtcher, and proceed with the installation. Make sure to partition your target USB drive correctly and install the bootloader there. Once done, you can boot directly from the USB drive, offering a unique and portable computing experience.
What You’ll Need Before Installing Linux on USB
You will need the following things before you proceed with the installation:
- Two USB thumb drives with at least 3.0 certification so that you have one for a Live USB and one on which you will install the OS. One should have at least 4 GB of storage and the other one should have at least 16Gb of storage space.
- If you have an external SSD or Hard drive on which you want to install Linux, then you can also do that using this method.
- Make sure that you disconnect your laptop’s internal hard drive/SSD on which your desktop OS is present, so that while installing the OS, the Installer does not wipe your Boot partition.
Getting Started and Choosing the Right Linux Distribution
You should pick a really lightweight distribution that has a minimal impact on the USB stick so that it only has a small impact on the longevity of the Flash storage. Consider distributions like Xubuntu (Ubuntu with XFCE), Peppermint OS, Linux Mint XFCE or MATE edition, etc. can be the right option for you. Avoid distributions that use heavy desktop environments like GNOME or KDE. I’m going with Linux Lite just for simplicity purposes, however, you can pick any lightweight Linux distribution.
Creating a Live USB
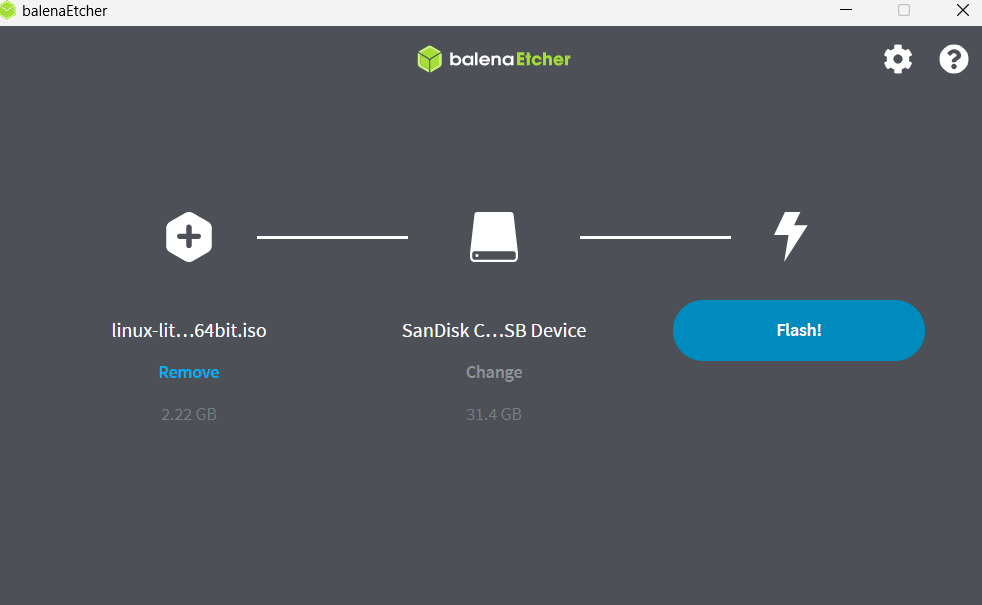
Do note that upon Flashing the USB with the ISO, all your data will be deleted. So make sure that you back up everything on the USB drive before proceeding to avoid data loss.
Download Ventoy if you are using Linux Balena Etcher on your Linux or Windows PC, plug in your USB drive into the PC, and then create a bootable Flash drive with your Downloaded Linux ISO.
Once the USB device is flashed, shutdown your PC, remove your Laptop’s/PC’s SSD or HDD and then turn it on again. Open your BIOS menu and make sure that the Flash drive is selected from the ‘Boot Menu’. Now, boot into the Live environment of the selected USB.
How to Install Linux on Your Target USB Drive
Once booted into the Live environment, Plug in the second USB stick (or SSD) on which you want to install the Linux distribution. Now, proceed normally through the installer, except in the ‘Disk partition’ or ‘Create Partition’ step.
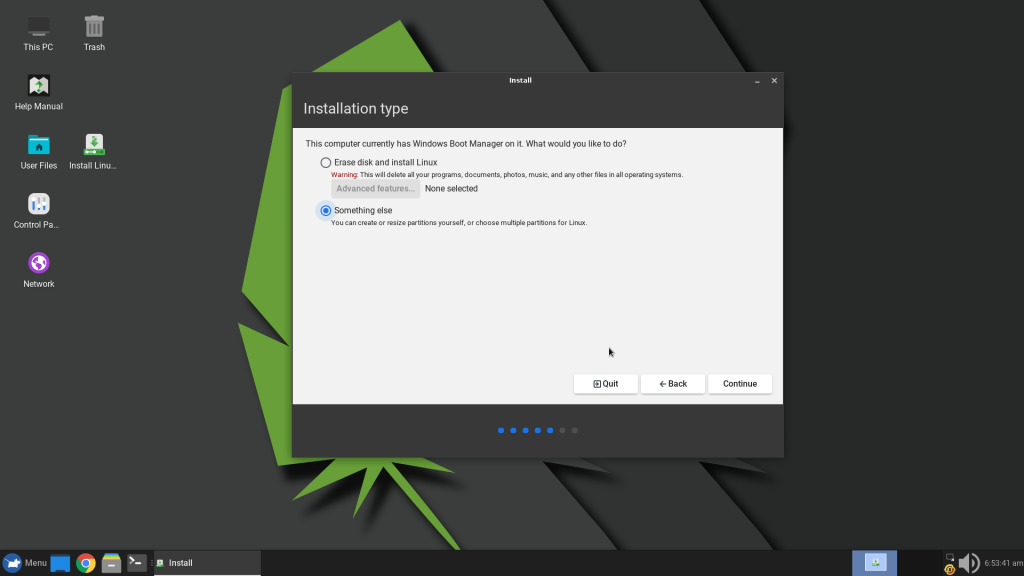
In this step, select the second USB drive (and not the USB on which we have the Live Environment) and click on ‘Erase Disk and Install’. If you have not removed your Internal drives yet, then you can manually select the USB device instead of the automatically selected Internal storage device.
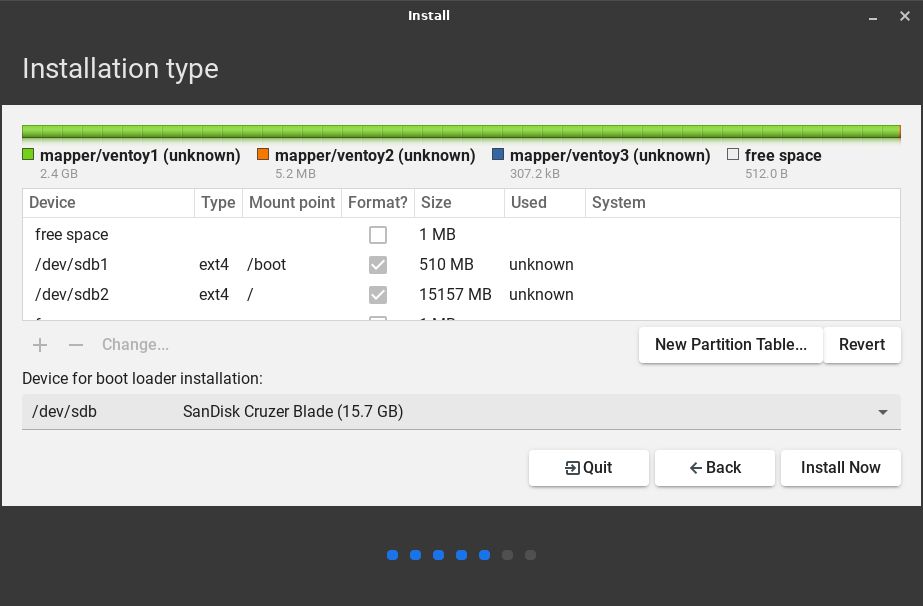
If you are going for a custom install then, make sure that you create three partitions (one /boot 512 MB ext4, one /boot/efi 512 MB FAT32 and / {root} ext4) and select ‘Bootloader installation’ location to your Flash drive as well.
Now proceed normally, select your Username and Password when asked, and then finally install the distribution.
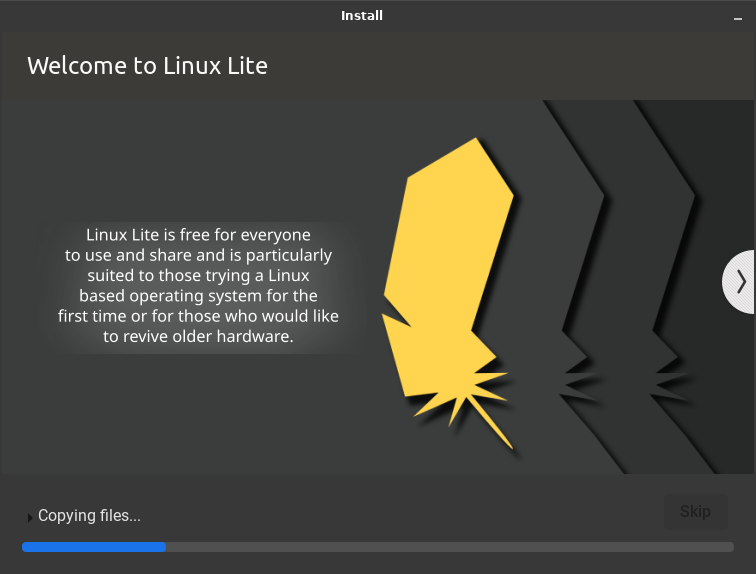
The installation step can take a bit of time, depending upon your Internet speed (if you are connected to the Internet) and your USB drive read/write speeds. Once finished, you can reboot into directly into the USB drive.
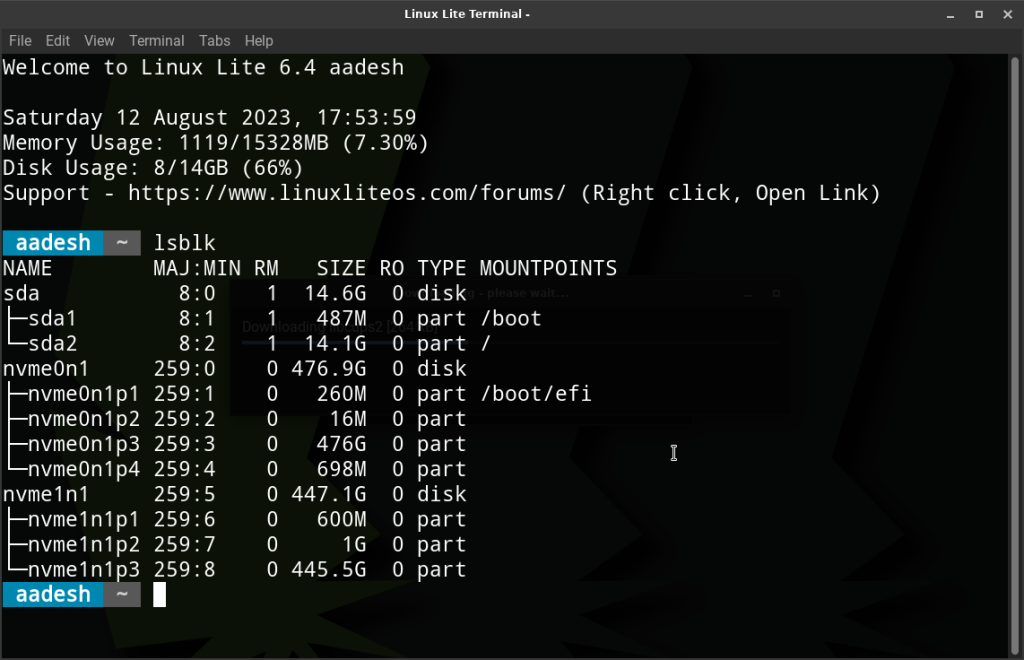
As you can see in the above screenshot, my / and /boot directories are on the sda device. Do note that I did not correctly set the /boot/efi partition on the Flash drive, hence the installer created it on my SSD. So make sure you follow all the steps carefully. However, because the root partition of the OS is on the USB stick, it is still running.
Final Thoughts: The Pros and Cons of Linux on USB
Installing Linux OS on a USB stick can be a really fun exercise along with all the privacy benefits it brings to you if you use it regularly. Now there are disadvantages to it of course, USB sticks do not offer a great speed even at 3.0 certifications. However, if you install an OS through the same method on an External SSD or HDD, then you really don’t have anything to lose. Just plug in your SSD on any computer, change the BIOS options so that your drive boots first, instead of the Internal one, and then you’re good to go.
What really limits this installation is the drivers. Let’s say you complete the installation on an all AMD or Intel PC, and now you want to plug the drive into a PC running an NVIDIA GPU. You will not have a great time configuring the right version of NVIDIA drivers on each and every PC you plug into.