

In this tutorial, we will be learning how to install Arch Linux. Arch Linux is one of the most lightweight, highly customizable Linux distros out there. Arch Linux has great community support and it is used by thousands of developers around the world.
However, Arch Linux installation is known to be painful and time-consuming. People usually shy away from using Arch Linux, fearing its installation process. After reading this tutorial, you will smoothly be able to install Arch Linux on your own and also you will have a much better understanding of Linux Systems.
So let’s get running!
Creating Bootable Disk/USB to Install Arch Linux
1. Downloading Latest version of Arch Linux
Please download the latest version of Arch Linux from the official site.
2. Creating bootable USB/Disk
You can use the Etcher utility to create a USB bootable. Etcher is available for most of the platform.
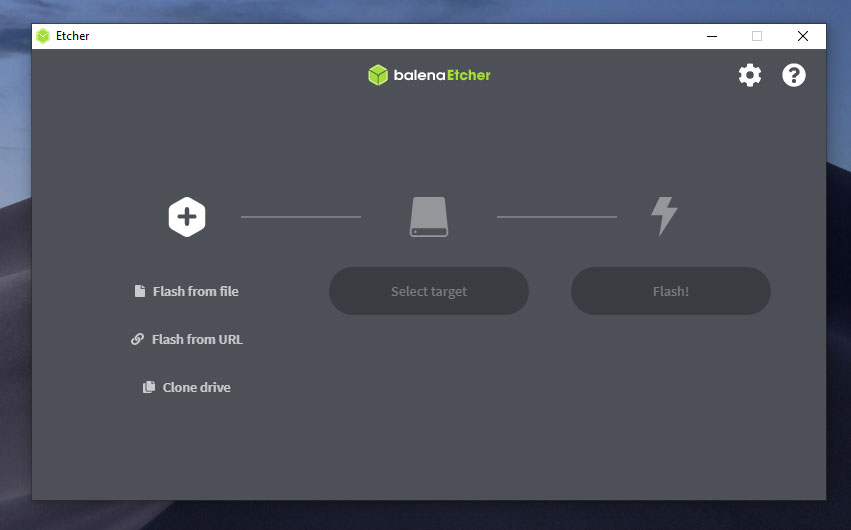
If you are burning the ISO to the disk you can use the PowerISO utility.
3. Booting up to the live environment
Insert the usb drive or the disk to the machine and turn on the device.
Now, we have to enter the boot selection screen. Usually pressing F9 or F12 will bring it up, however, it could be different for different machines. Now at the boot selection menu, select you booting device, it could be the USB or the CD drive that you inserted.
After that you will be seeing something like this and our installation process has begun.
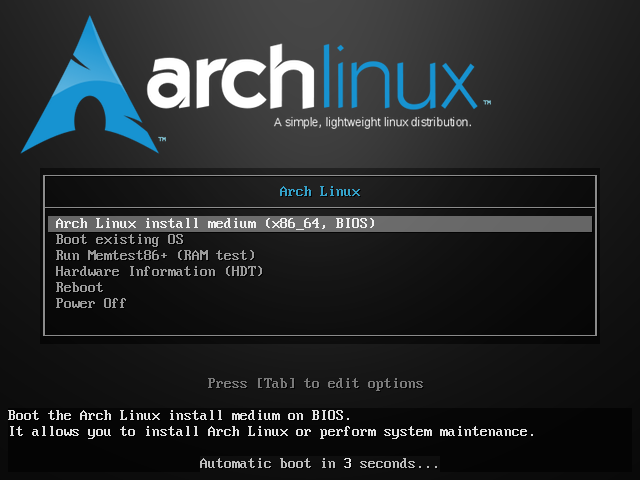
Setting up the Keyboard Layout, Network, and System Clock
1. Setting up the keyboard layout
If your keyboard is working perfectly, you can skip this step. But if you are using keyboard of language other than English, you can list out all the keyboard layouts available with the following command:
ls /usr/share/kbd/keymaps/**/*.map.gz | less

You can exit less by typing q and press enter.
And now you can select any keyboard layout with the following command:
loadkeys <keyboard-layout>
2. Setting Up the Network
If you are on a wired network, you should be automatically connected. You can list out all the active interface with the command below:
ip link
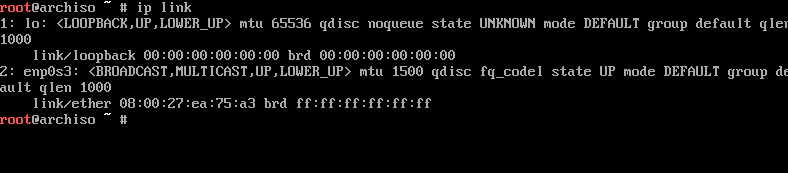
If you see your network interface down, you should run the ip command to bring it back up:
ip link set <interface-name> up
If you need to connect to a wireless network, run the following command:
wifi-menu
And you will be able to connect to the required network. To test if you are connected or not, you can run the following command:
ping google.com

3. Setting up the System Clock
You have to run the following command to enable and NTP (Network Time Protocol) and allow the system to update time automatically:
timedatectl set-ntp true
Partitioning the Drive
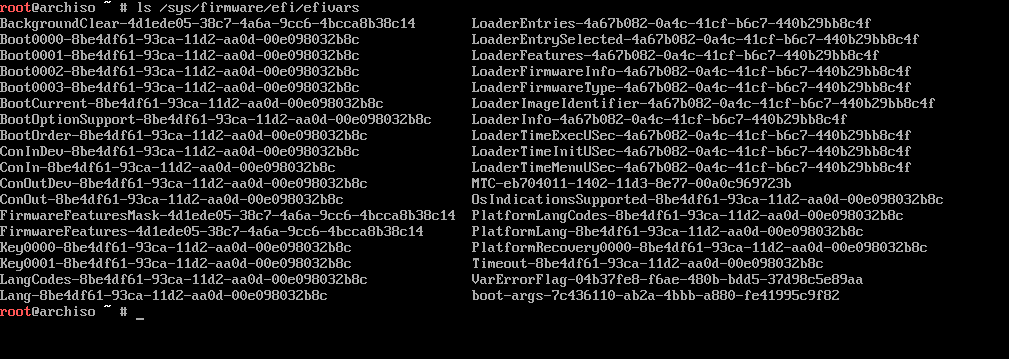
This is probably the most critical step. First, we need to identify the boot system we are on. There are mainly two types of systems: the EFI system and the legacy non-EFI system. You can run the ls command to check if you are on an EFI system or not:
ls /sys/firmware/efi/efivars
If you see an error code saying “this directory does not exist”, you are on a non-EFI system or the legacy BIOS system.

If this file directory exists and you see a list of files after this command, you are on an EFI system.
Then, lets check all the disk and partition on the system with the fdisk command:
fdisk -l
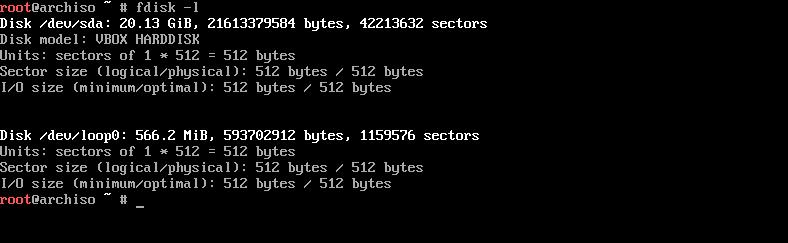
The main hard drive that we need to partition should be listed as /dev/sda or /dev/nvme0n1. After checking that we use the cfdisk utility to partition the drive with the command: cfdisk <drive-name>. In my system, I’ll be running the following command:
cfdisk /dev/sda
We now have two different options of disk partitioning on the basis of boot system.
1. Partitioning for non-EFI systems
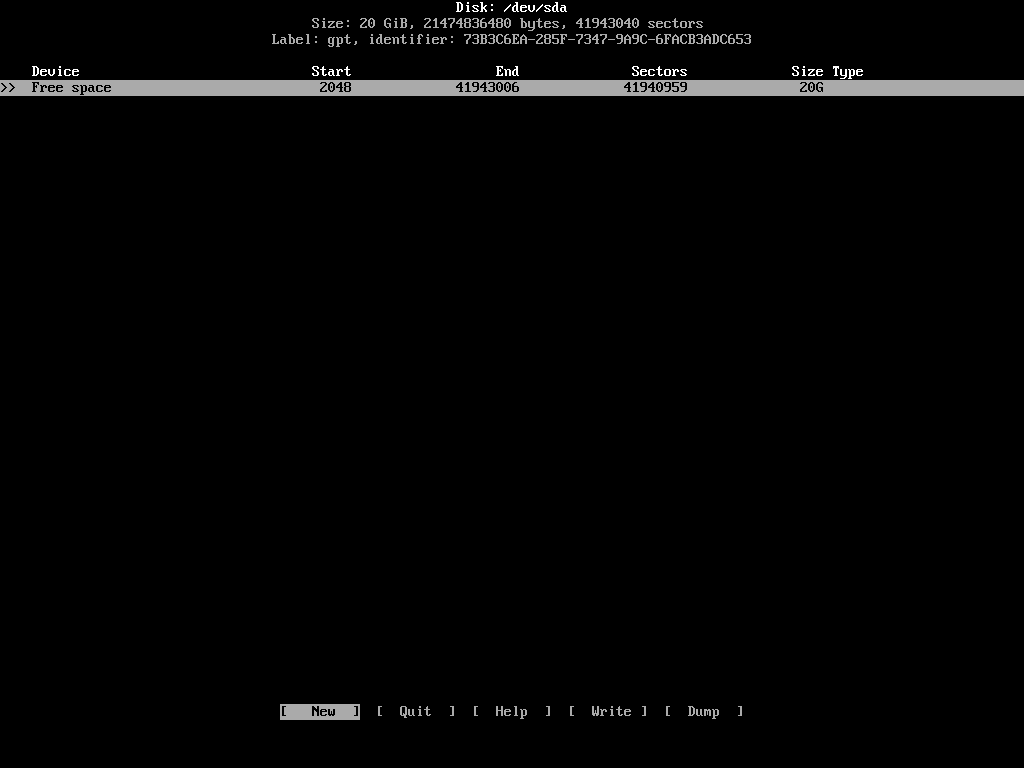
Right after we run the cfdisk command, you will be seeing something like this:
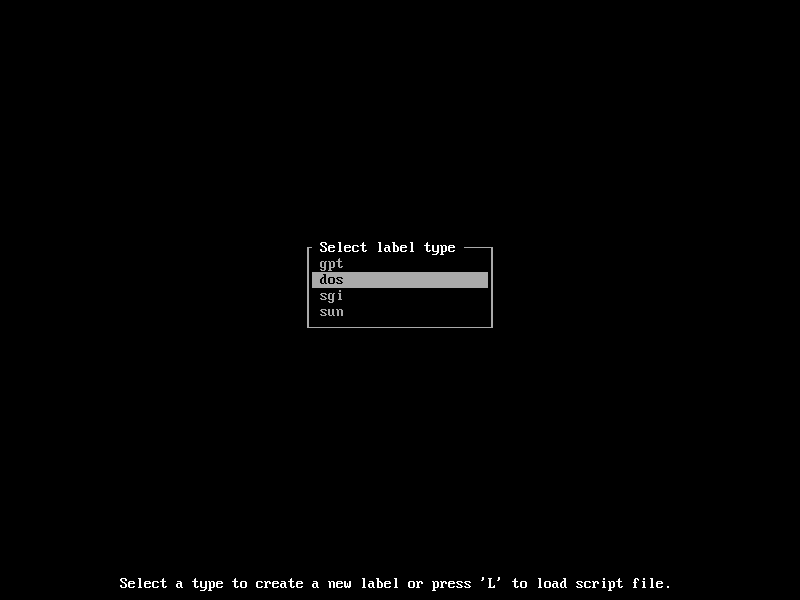
For legacy systems, we need to select dos label type.
Now we need to make 2 partition of the main drive:
Swap Partition: The swap partition is like the extension of the RAM. Whenever the RAM is exhausted, it will start using the swap partition for storing data.
Root Partition: This is main partition where our operating system and all its file will reside. This will take up all the remaining space on the drive.
Now after we know what all partitions we need, let’s start creating the swap partition of size 2GB. Select [ New ] on the bottom of the screen. You will be prompted to select the size of the partition. I will be typing 2 G to make 2 gb of partition. You can choose the size of swap partition on your own.

Now, select the [ primary ] option to make it a primary partition.
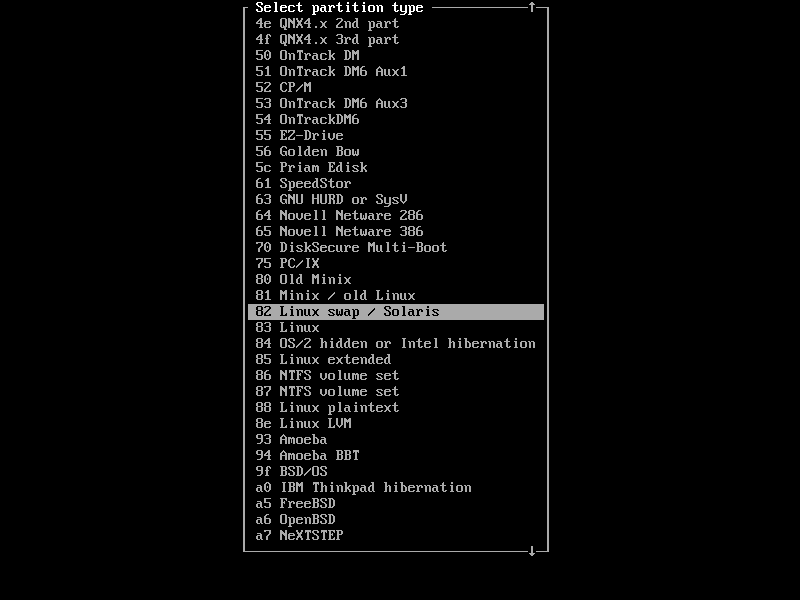
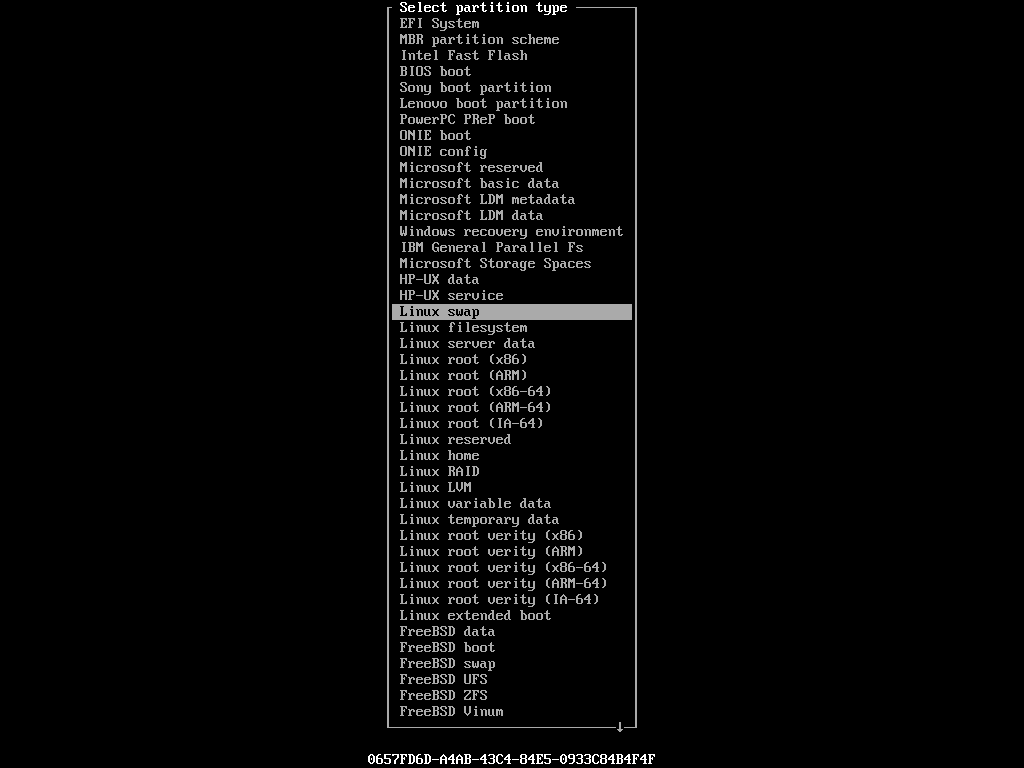
Also, we need to change the type of the partition, select [ Type ] option on the bottom of the screen. And now select the “Linux swap /…” option.
After this, press the down key on the keyboard and select the Free space on the disk and select the [ New ] option again. You must be seeing the partition size prompt now. Since, we want all the remaining space to this partition, simply press enter.
Now, select the [ primary ] to make it a primary partition. And now also press enter after selecting the [ Bootable ] option. It should be looking something like this:
Make sure you note down the device name for both the partitions as we will be using them later in the tutorial.
Alright, now the final step is to select the [ Write ] option and select [ yes ] option to write changes to the disk. And then select the [ Quit ] option to exit the cfdisk utility.
Now to check if you have created all the right partition, type in the following command:
lsblk

Now all we have to do is setup our filesystem and initialize swap space with the following command:
mkkfs.ext4 /dev/sda2
#Replace /dev/sda2 with the name of your root partition.

#Initialising Swap partition:
mkswap /dev/sda1
swapon /dev/sda1
#Replace /dev/sda1 with the name of your swap partition.
Now, let’s mount the filesystem with the command:
mount /dev/sda2 /mnt
#Replace /dev/sda2 with the name of your root partition.
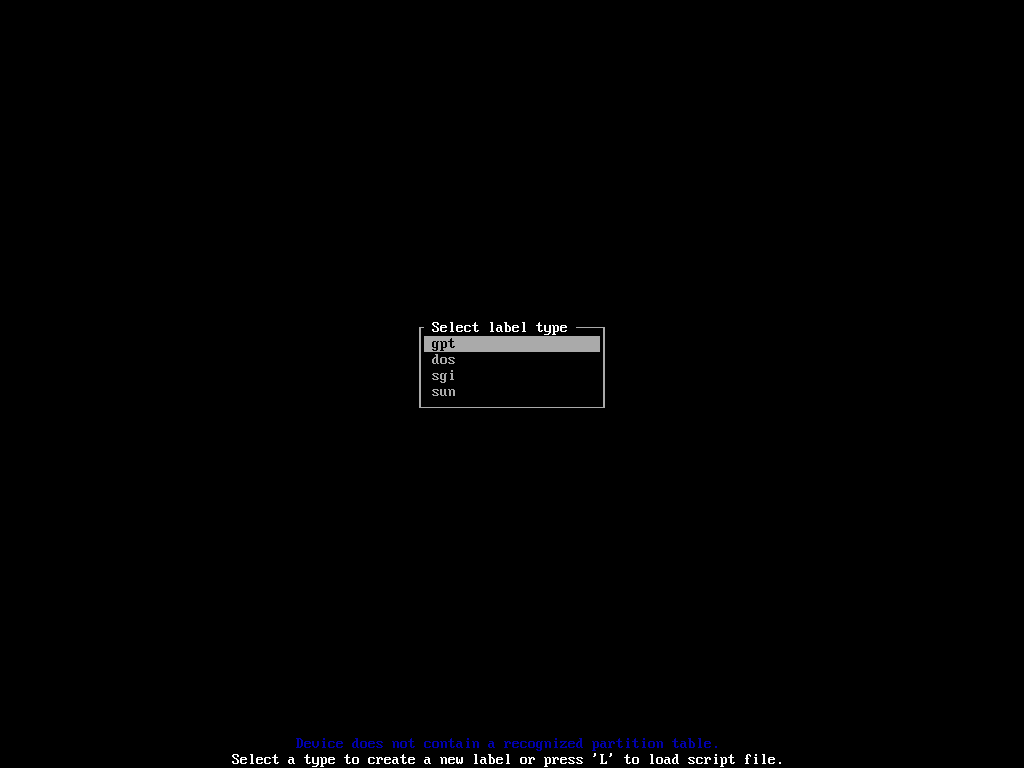
2. Partitioning for EFI Systems
For EFI Systems, you need to select the label type as gpt.
Also, we need to partition the drive in three parts:
Swap Partition: Swap partition is like the extension of the RAM. Whenever the RAM is exhausted it will start using the swap partition for storing data.
EFI Boot Partition: This partition will have the boot loader. Boot loader loads the OS to the system memory. This partition should be of size 512 mb.
Root Partition: This is main partition where our operating system and all its file will reside. This will take up all the remaining space on the drive.
Now let’s start partitioning our drive into three. On the bottom of the screen select the [ New ] option and press enter. It will now prompt you to enter the size of the partition. First, we will be making our swap partition, so we can set it to 1 GB and press enter.
Also, we need to change the type of the partition, select [ Type ] option on the bottom of the screen. And now select the “Linux swap” option.
After this, press the down key on the keyboard and select the Free space on the disk and select the [ New ] option again. You must be seeing the partition size prompt now. Now we are partitioning the EFI boot partition so set the size to 512mb by typing in 512 M and pressing enter.

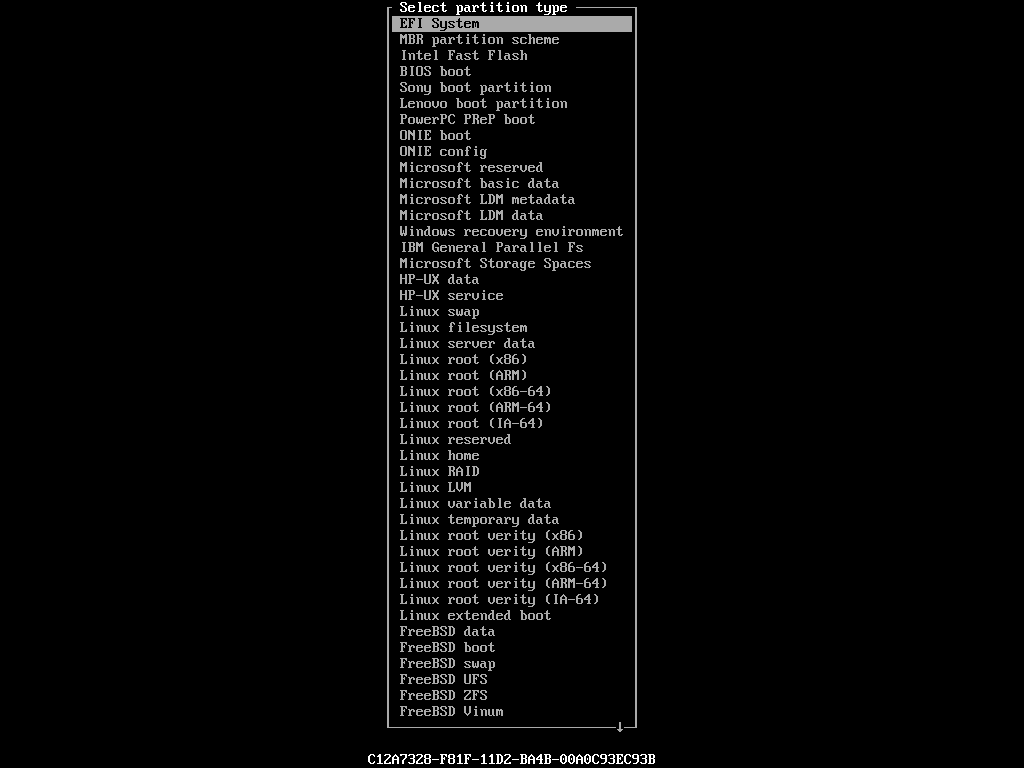
Now, select the [ type ] option and select the first option EFI System and press enter.
Again, we press the down key and select the free space on the disk, select the [ New ] option and press enter. Since, we want all the remaining space to this partition, simply press enter with the default value.
Make sure you note down the device name for all of the partitions as we will be using them later in the tutorial.
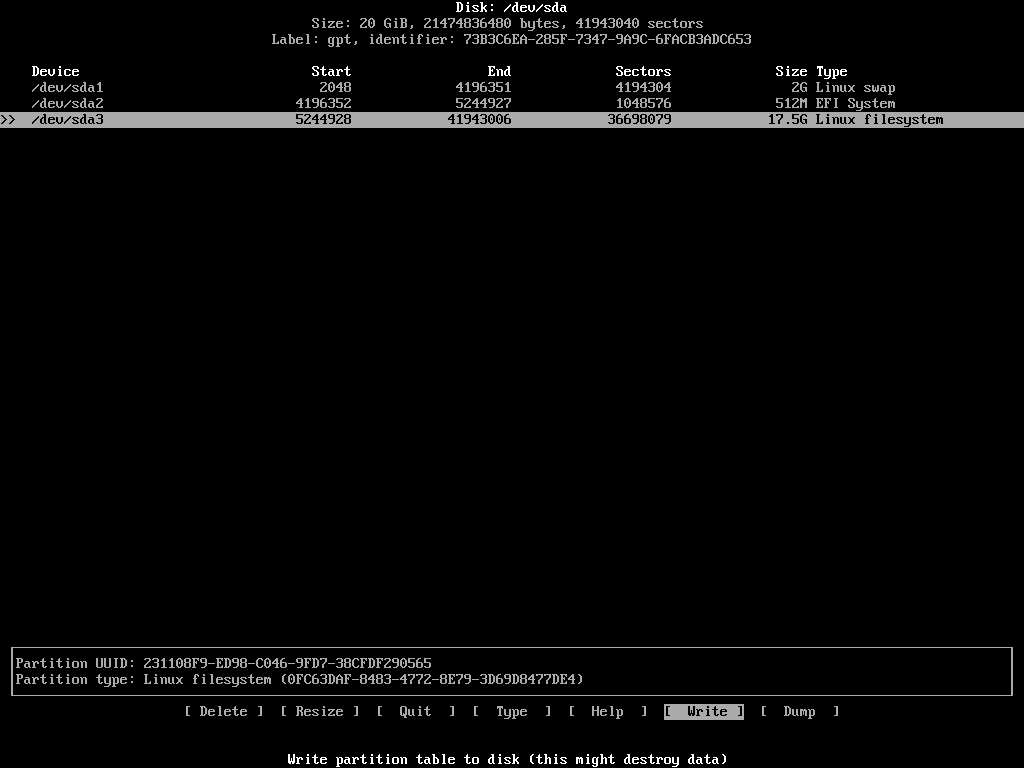
Alright, now the final step is to select the [ Write ] option and select [ yes ] option to write changes to the disk. And then select the [ Quit ] option to exit the cfdisk utility.
Now to check if you have created all the right partition, type in the following command:
lsblk

Now all we have to do is setup our filesystem and initialize swap space with the following command:
mkfs.fat -F32 /dev/sda2
#Replace /dev/sda2 with the name of your EFI System partition.

mkkfs.ext4 /dev/sda3
#Replace /dev/sda3 with the name of your root partition.

#Initialising Swap partition:
mkswap /dev/sda1
swapon /dev/sda1
#Replace /dev/sda1 with the name of your swap partition.
Now mount the root and boot partition with the following command:
mount /dev/sda3 /mnt
#Replace /dev/sda3 with the name of your root partition.
Installing Arch Linux to the Root Directory
Alright, now all we have to do is install Arch Linux and some basic utilites to the root directory. We will use the pacstrap utility and the command is:
pacstrap /mnt base base-devel linux linux-firmware nano dhcpcd
System Configuration
After this our installation process will be complete and all we have to do is configure the system.
1. Generating the fstab file
The fstab file contains information on how the file system should be mounted. It will be used later on by the system to mount all the partitions that we created earlier. Simply run the following command to generate the fstab file and store it to /etc directory.
genfstab -U /mnt >> /mnt/etc/fstab
2. Changing Root to new System
Currently we are running our OS from the live installation disk that we have inserted in the machine. We have to now switch root to the new system that we installed and to do that run the following command:
arch-chroot /mnt

It is important here to know that by doing this, the /mnt directory is now our root (/) directory for the system.
3. Setting Up Time Zone
We will have to set the time zone of the system so that it can automatically fetch that from the NTP server. The command goes like this:
ln -sf /usr/share/zoneinfo/Region/City /etc/localtime
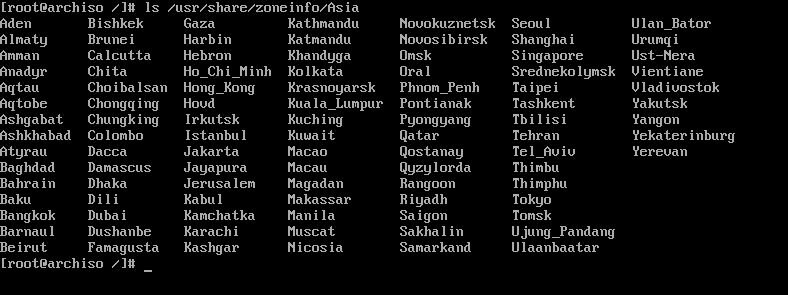
All of the time zone data is stored in the /usr/share/zoneinfo directory. You can list out all the regions available through the following command:
ls /usr/share/zoneinfo
And then all the city in a particular region with the following:
ls /usr/share/zoneinfo/Region
Also, we have to update the hardware clock with the following command:
hwclock --systohc
4. Generating Locales
Now we have to setup the “locale” variables which gives the system details about like language and character encoding. We have to edit the /etc/locale/gen file first. We will be using nano to edit the file, please run the following command:
nano /etc/locale.gen

Uncomment the encoding that you want for your system, here I am setting up my encoding as en_US.UTF-8.
Now we have to generate locales by running the following command:
locale-gen
We have to also generate the locale.conf file and set the LANG variable.
echo LANG=en_US.UTF-8 > /etc/locale.conf
5. Network Configuration
First, we have to set our hostname. To do so we need create a file name “hostname” in /etc directory. This file will only have our hostname. We can create the file and add our hostname in one command. Here I am setting my machine’s hostname as “linuxfordevices”:
echo linuxfordevices > /etc/hostname
We also need to add matching entries to the file /etc/hosts. To do so we need to create and edit the file using nano.
nano /etc/hosts
The content of this file should be:
127.0.0.1   localhost
::1         localhost
127.0.1.1   linuxfordevices.localdomain   linuxfordevices
Also start the dhcp service with the following commad:
systemctl enable dhcpcd
systemctl start dhcpcd

#To Check you internet connection
ping google.com
6. Setting Root Password
We are now setting the root password for the machine. All we have to do is run the following command:
passwd
Type in your password and you will be all set!
7. Setting up and installing Bootloader
Bootloader loads up the OS to the memory. In this step, we will be installing bootloader. This step depends on whether you are on an EFI system or not as we have checked earlier in the tutorial.
Installing Bootloader on Non-EFI legacy system
#Installing grub
pacman -S grub os-prober
grub-install /dev/sda
#Replace /dev/sda with the drive name on your system

#Configuring Bootloader
grub-mkconfig -o /boot/grub/grub.cfg
Installing Bootloader on EFI Systems
#Installing grub
pacman -S grub efibootmgr

#Making EFI Directory
mkdir /boot/efi

#Mount EFI Partition
mount /dev/sda2 /boot/efi
#Replace /dev/sda2 with the name of your EFI System partition

grub-install --target=x86_64-efi --bootloader-id=GRUB --efi-directory=/boot/efi --removable
grub-mkconfig -o /boot/grub/grub.cfg
Alright, we are now ready to go! Exit the system and reboot the machine with the following command:
exit
reboot
Booting up and logging in
After you boot up, you will be seeing something like this:
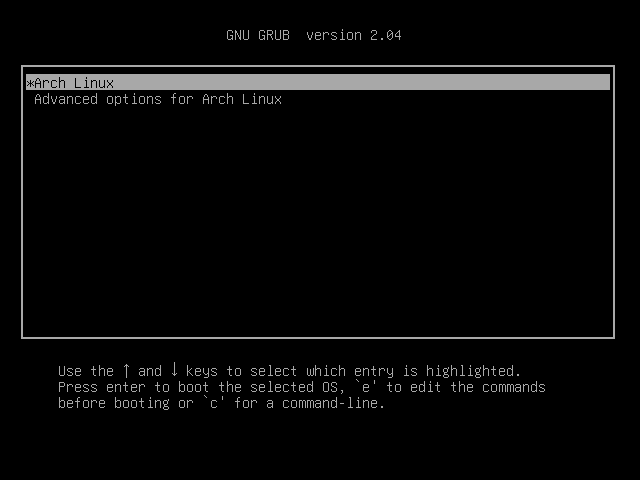
Press enter and you will be landed to the login page. In the first field you have to enter the username as “root” and password as the root password which was set previously.
And you are logged in. The first thing that we are going to do here is to create users. You can create a user with the useradd command:
useradd -m <username>
To set the username password, type in the following command:
passwd <username>
To give the user superuser privileges, run the following command:
usermod -a -G wheel <user_name>
Also, we need to make some changes to the /etc/sudoers file. We will be opening the file using nano.
nano /etc/sudoers
Uncomment the line with the following line of text:
%wheel ALL=(ALL) ALL
Conclusion
We are all set, Arch Linux is installed on the machine. We will be discussing how to install GUI on Arch Linux in the next tutorial. I hope after reading this tutorial, you now have a better understanding of Linux. Have a great day ahead. Cheers!