

In this tutorial, we’ll learn to generate PGP keys using GnuPG on Ubuntu.
What is GnuPG (also known as GPG)?
GnuPG (also known as GPG) is a free encrypting and signing software based on OpenPGP standard RFC4880 (also known as PGP). It allows you to encrypt files and messages, first introduced in 1997 as a free alternative to proprietary Symantec’s PGP software suite.
How to install GnuPG on Linux?
To install GnuPG on Linux. Open a new terminal and execute the following commands:
For Ubuntu/Debian based distributions, execute the following apt command with sudo:
sudo apt install gnupg
For CentOS/RedHat based distributions, execute the following yum command with sudo:
sudo yum install gnupg

Once we have it installed, we can further proceed to generate a keypair using GnuPG.
How to generate PGP keys using GnuPG?
In this section, we’ll learn about how to generate a keypair using GnuPG.
The key pair consists of two keys: Public Key and Private Key. The Public Key is used to encrypt the data, while the Private Key is used to decrypt it. You can share your public key, but you should keep your private key secret and safe. Since anybody with the Public Key can encrypt data, and anyone with the Private Key for that Public Key can decrypt that encrypted data.
There are three ways to generate the key using gpg command in the terminal:
- The
--quick-generate-keyor--quick-gen-keyis a simple option as it requires you to input only the user-id (optionally algo, usage, and expiry date) and, for the rest of the settings, defaults used. So, you don’t need to answer a lot of prompts. - The
--generate-keyor--gen-keyoption is the standard command of GnuPG to generate a new key. In addition to the key, it also generates and stores a revocation certificate at openpgp-revocs.d in GnuPG’s home directory. - The
--full-generate-keyor--full-gen-keyis a more user-friendly option as it generates a key pair with dialogs for all the options and, it also allows you to create keys in batch mode.
In this tutorial, we’ll create a Key Pair using the third option (--full-generate-key or --full-gen-key), execute the following command in your terminal:
gpg --full-gen-key
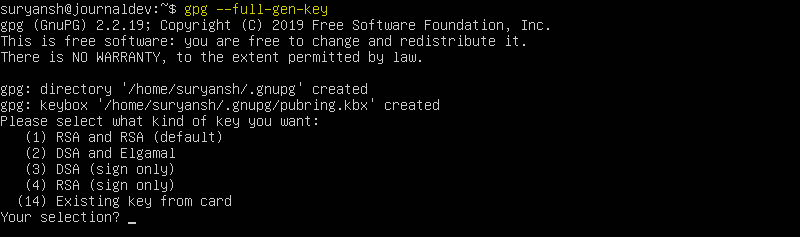
The first prompt you get asks for what kind of key you want to create. We’ll be going with the default that is the first in the list. You can just hit enter to continue with the default or enter the number.
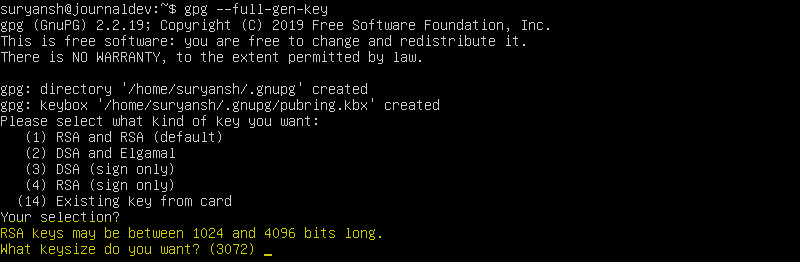
In the next prompt, it asks you for the Key size. The more number of bits, the more time it would take to generate the key. You can either enter the number of bits in the key you want or go with defaults by pressing Enter. For this tutorial, we are going with the default.
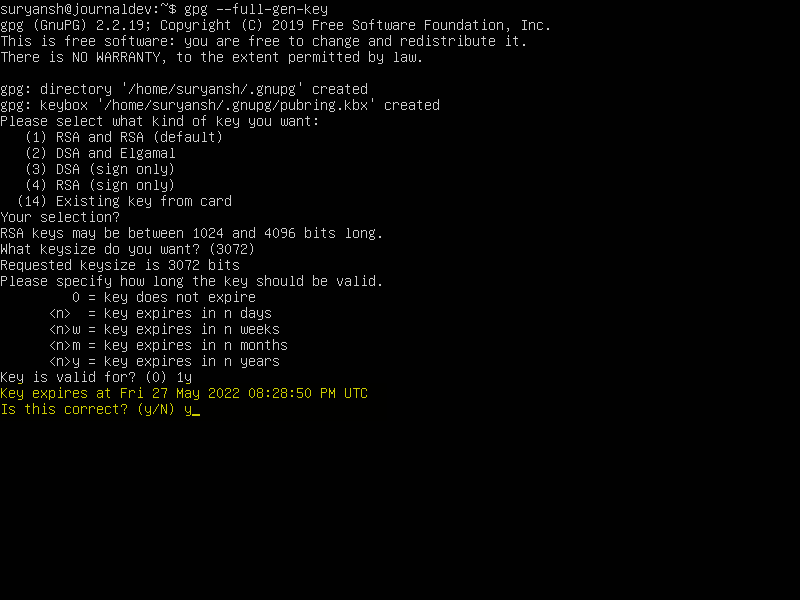
Now it will ask you for how many days, weeks, months, or years after which the Key must expire. If you don’t want the Key to have an expiry, enter 0 or just press Enter as it’s the default setting. But in case you want your Key to expire in six months, enter 1y or 365 in terms of days.
The moment you press Enter, going with the defaults or specifying the time you want your key to expire, you’ll receive the following prompt with the exact date of the expiry. Enter Y to verify the date and proceed.
Now there will be several prompts asking you for some personal information to create a new user ID. Once done answering all the prompts, it will ask you to confirm it. Enter O and press Enter to proceed.

Next, it will ask you to enter a passphrase to protect your new key. You should carefully choose a strong passphrase, a combination of letters, numbers, and special characters strongly recommended.
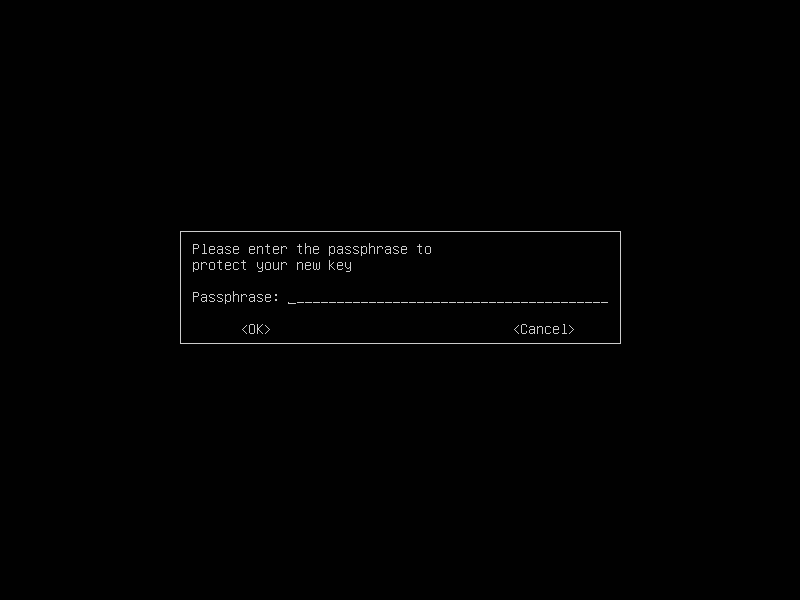
After entering the passphrase, it will require you to confirm it by re-entering the passphrase. As soon as you hit Enter after confirming your passphrase, it will take a moment to generate your keys.
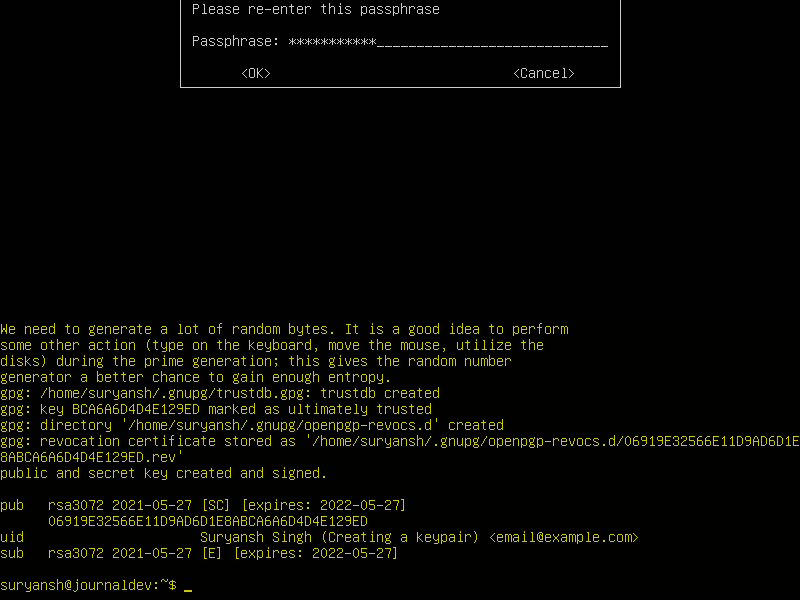
Congratulations! We have successfully generated the key pair using GnuPG.
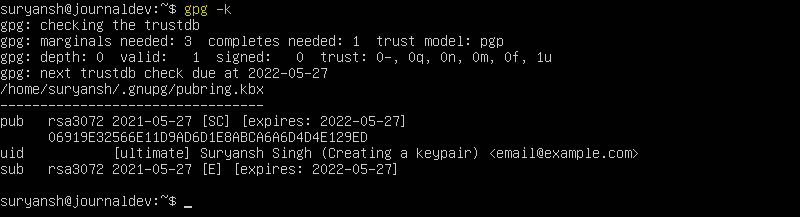
You can list out the keys by executing the following gpg command in the terminal:
gpg -k
Conclusion
GnuPG is an important tool for protecting your privacy, it’s easy to install and use on Linux. Thank you for reading!