Auto-CPUFreq is an open-source tool which is an automatic CPU speed and power optimizer for Linux desktops. If you are using your laptop on battery, then it reduces the frequency of your CPU and if you launch any resource-heavy task which increases the system load, then it increases the CPU frequency (and the power usage). It is similar to other tools such as Powertop and TLP, however, it pretty much does the job automatically instead of allowing the users to configure the battery state and CPU clock speed manually.
The only disadvantage of using Linux on Laptops is that it devours the laptop’s battery very quickly, and therefore you always have to carry a charger whereas on a Desktop, you don’t have to worry about it. And even the life span of your Laptop battery decreases as it goes through numerous charge cycles in quick succession. This tool attempts to solve this problem.
In this tutorial, we will look at the installation procedure of this tool and also try to configure our CPU using it so that we maximize the battery life of our system.
Also read: CPU-X: A Linux alternative for CPU-Z
Installing Auto-CPUFreq
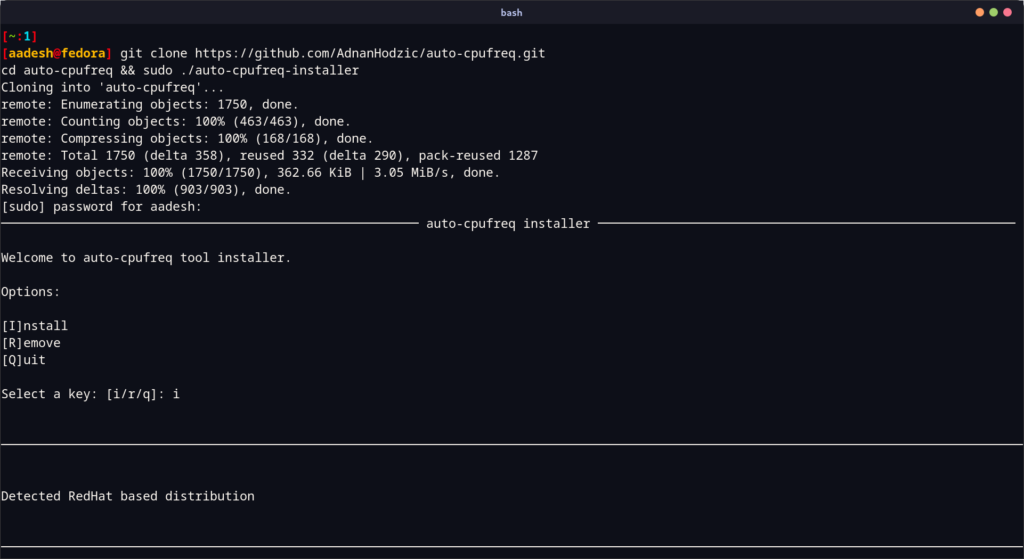
Just open a Terminal window and type the following command, regardless of your distribution because the command works on every Linux distribution including Debian, Ubuntu, Fedora etc:
git clone https://github.com/AdnanHodzic/auto-cpufreq.git
cd auto-cpufreq && sudo ./auto-cpufreq-installer

Now, press ‘i’ and the enter key to begin installation.
If you are using any Arch Linux-based distribution, then you can also install this tool directly from the AUR:
yay -S auto-cpufreq
Setting up the Auto-CPUFreq Daemon
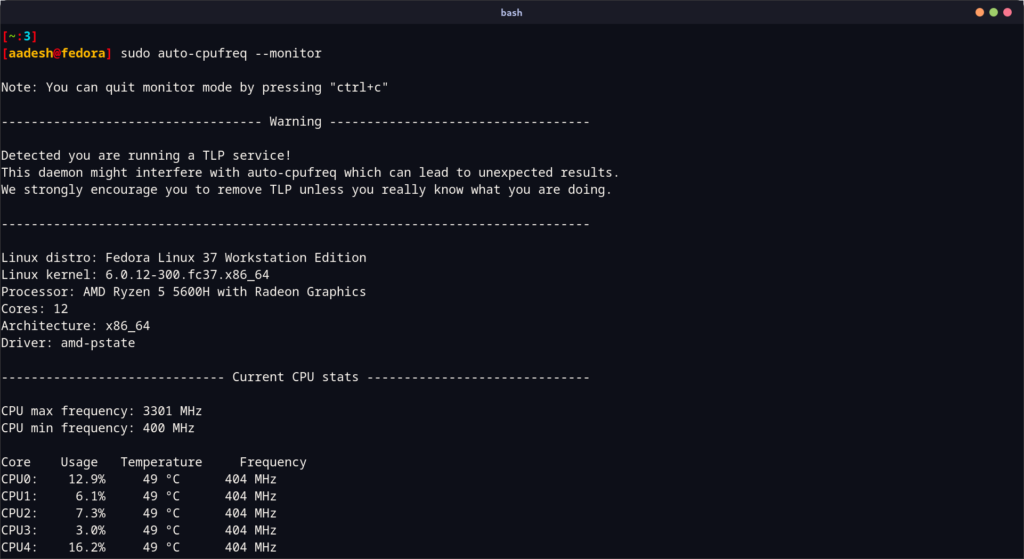
Once you have installed the application, you can choose to just monitor your system right now, run it either in the Live mode, or you can set it up so that it will run in the background on boot. First, let’s monitor our system.
sudo auto-cpufreq --monitor

Note that it shows me a warning that TLP is configured on my system. If you have TLP installed, then just uninstall it. If you want to try it out in Live mode, then you can do so by typing the following command :
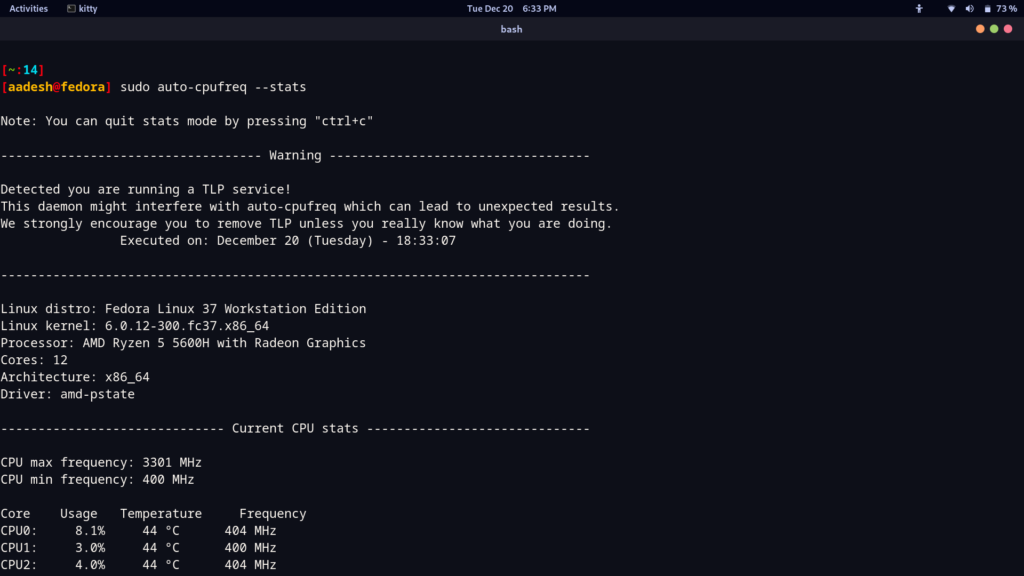
sudo auto-cpufreq --live

At this step, figure out what is working on your system and if you like the changes this tool applies on your system. As you can see, the AMD CPU core frequency has been reduced to just 404MHz on battery If I plug in the charger, the CPU frequency will automatically scale up to the maximum (overclocked) allowed frequency. You can also disable overclocking in the config file.
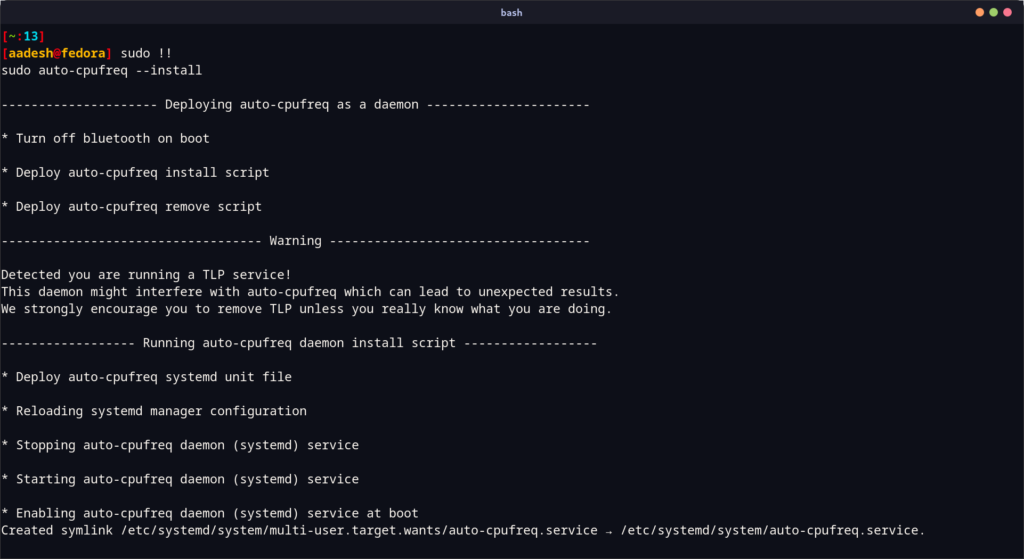
If you like the changes, just press Ctrl+C to exit the Interface and then type the following command :
sudo auto-cpufreq --install

You can also set the CPU frequency scaling manually to Turbo boost mode, Balanced or Powersave on both power supply and while using Battery by modifying the config file, which is located in the /etc/auto-cpufreq.conf directory.
Summary
Auto-CPUFreq is a really awesome tool for power management and CPU frequency scaling on Linux based operating systems, especially the automatic configuration of system resources when not in use part amused me. However, this does not mean that this will automatically solve all the Battery life-related issues on Linux. Improvement? Yes, but not a permanent solution.
Let’s see what the future holds for us laptop in the open-source world as the community grows strong. We will have to manage in the meantime with Powertop, Power Profiles Daemon, and TLP GUI to extract more juice out of our battery.
What is auto-cpufreq, and how does it work?
Auto-cpufreq is an automatic power optimizer for Linux that dynamically adjusts the CPU frequency and governor settings based on system load and temperature. This ultimately allows you to improve performance while also managing power consumption.
How can I install auto-cpufreq on my Linux system?
You can install auto-cpufreq by using the package manager specific to your Linux distribution or by cloning its GitHub repository. Follow the installation instructions provided in the documentation to ensure proper setup.
Will using auto-cpufreq improve battery life on my laptop?
Yes, using auto-cpufreq can improve battery life without compromising performance. By optimizing CPU frequency and governor settings based on workload, it helps reduce power consumption.
Can auto-cpufreq work with Intel CPUs?
Yes, auto-cpufreq is designed to work with both Intel and AMD CPUs. It adjusts the CPU settings to optimize performance and power consumption, making it versatile for various hardware configurations; I’m excited to see how this affects my laptop.
How do I check my CPU temperature while using auto-cpufreq?
You can use system monitoring tools such as `indicator-cpufreq` or terminal commands like `sensors` to check your CPU temperature while auto-cpufreq is running. This helps in monitoring the effectiveness of the optimization.
What are the benefits of using a governor with auto-cpufreq?
Using a governor with auto-cpufreq allows you to select how your CPU scales its frequency. Different governors offer varying strategies for balancing performance and energy efficiency, ultimately allowing you to improve your system’s overall responsiveness.
Is it possible to customize the settings in auto-cpufreq?
Yes, auto-cpufreq allows for customization of settings, making it one of the best tools for managing your CPU power. You can adjust the thresholds for CPU frequency scaling and select different governors to suit your preferences and workload requirements.
Will auto-cpufreq affect my system performance during high-load tasks?
Auto-cpufreq is designed to optimize CPU usage, so during high-load tasks, it will adjust the CPU frequency to ensure maximum performance while still managing power consumption effectively.
How can I view system information related to auto-cpufreq?
You can view system information related to auto-cpufreq by using various system monitoring tools or commands in the terminal that provide details on CPU frequency, governor settings, and temperature readings. This information can help you understand how effectively the tool is operating.
References
Auto-CPUfreq Official GitHub page
