

Installing a new font on Linux can be a bit different than on other operating systems, but it is still a relatively simple process. In this article, we will go over the steps to easily install and manage font on a Linux system and also discuss the various font formats that are used on Linux. We will also learn where the font files are usually stored in a Linux system. We will use both, Graphical and non-Graphical ways to achieve our objective, and we will be using Ubuntu with the GNOME desktop environment for the demonstration, although you can follow the steps on any distribution such as Linux Mint.
Types of font formats
On Linux, there are several different font formats that can be used, each with its own benefits and limitations. And understanding the differences between them will help you in choosing the right one for your needs.
- TrueType (TTF fonts) – A widely supported font format that is used on both Windows and Mac systems. These fonts are easy to install and are supported by most applications.
- OpenType (OTF) – A newer format based on the TTF format. OTF files are similar to TTF files, but they also include additional features such as support for multiple languages and advanced typographic features. These fonts are also widely supported and are a good choice for professional type-setting and design work.
- Type1 – An older font format that is not as widely supported as TTF and OTF. These fonts are usually found in the PostScript file format and require specialized software to be used on Linux.
- Bitmap fonts – These are fonts that are made up of a grid of pixels and are typically used in low-resolution displays such as those found in older computer terminals. These fonts are not commonly used in modern Linux systems.
- SVG fonts – Vector-based fonts that are defined using the Scalable Vector Graphics (SVG) format. SVG fonts are becoming increasingly popular on Linux, as they offer high-quality rendering even at small sizes and low resolutions.
- WOFF, WOFF2 – Web Open Font Format, is a format for hosting fonts on a website. It was developed by Mozilla and is now supported by most modern web browsers.
We will be focussing on OTF and TTF formats as they are the most used. Let us now discuss the installation process.
Installation process
There are multiple ways to install fonts on Linux, and they can vary depending on what kind of installation you want and on what mode you are running your operating system in. However, in most use cases, the methods can overlap. We will first discuss the installation process for systems that have a GUI, and then move on to systems like Alpine Linux, which run on the bare-bones mode.
Obtain the font
The first step is to obtain the font you wish to install. This can be done by downloading the font from a website or transferring the font file from another computer. Make sure that the font file is in a format that is compatible with Linux, such as TrueType (TTF) or OpenType (OTF). Websites like Fontshare and Google Fonts provide plenty of fonts to experiment with.

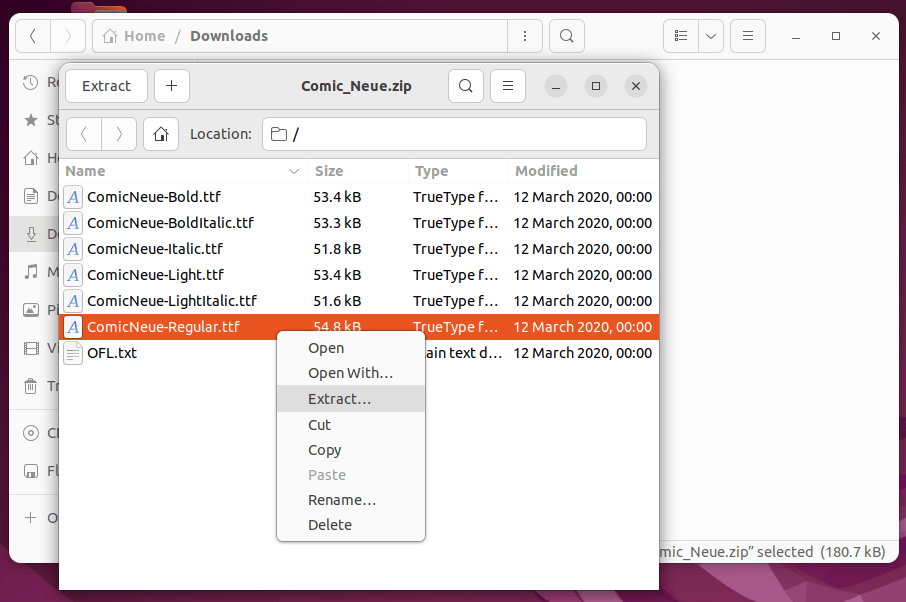
Let’s assume you want to install the Comic Neue font from Google Fonts. Download the file after finding it and extract your favorite font style from the zip file.
You may not even need to go through all this hassle if your operating system’s repository has the font you require. In that scenario, you can simply use your system’s package manager to install the font.
Installing for a single user (GUI)
Installing for a per-user has the most straightforward method. Simply click on the downloaded file; this will open the file using your system font viewer or the font manager, and then click install. Here, we have demonstrated this step on the Ubuntu desktop:

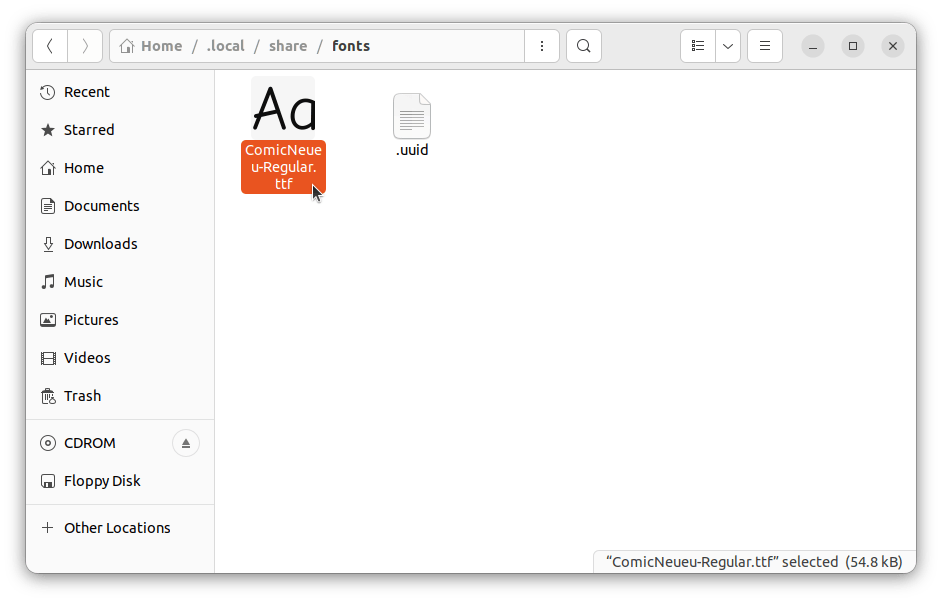
What this does is that it places the font file to the user’s local font folder, which is typically located at ~/.local/share/fonts.
You can also achieve this manually using the terminal.
mkdir -p "~/.local/share/fonts/"
# Then move the font files to that directory
mv "~/Downloads/ComicNeue-Regular.ttf" "~/.local/share/fonts"

# Updating font cache
fc-cache -fv "~/.local/share/fonts/"
It’s worth noting that installation for a single user will only make that font available to that user, and not to other users on the same system. Each user will need to install the font in their own local directory if they want to use it.
Install a font for every Linux user
To install it system-wide, you can place the file in a system-wide font directory, typically located at /usr/local/share/fonts/ or /usr/share/fonts/.
You can create the directory if it doesn’t exist by running the following command:
sudo mkdir -p "/usr/local/share/fonts/"
# Then move the font files to that directory, for example:
sudo mv "~/Downloads/ComicNeue-Regular.ttf" "/usr/local/share/fonts/"
Update the font cache
Once the downloaded file is in the correct directory, you will need to update the font cache for all users by running the command:
sudo fc-cache -fv
This will make it available for use in your system for all users. It is also worth noting that the location of the font directory might vary depending on the Linux distribution or the package manager used.
Using apt
To search for fonts in the system repository using apt (the package manager for Debian-based Linux distributions), you can use the apt-cache command. The basic syntax for searching for fonts using apt-cache is as follows:
apt-cache search [font name]
For example, to search for the “Roboto” font, the command would be:
apt-cache search roboto
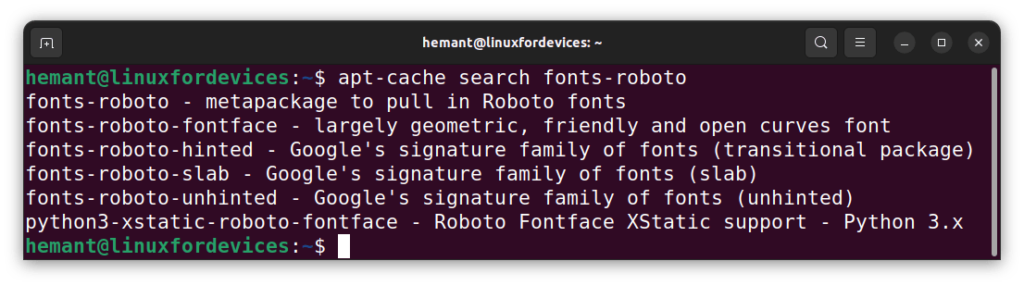
This command will search for packages containing the word “roboto” in their names and descriptions. If a package with the font you’re looking for is found, you can install it using the apt install command, specifying the package name. You can also search for specific font packages by using the keyword fonts- before the font name.
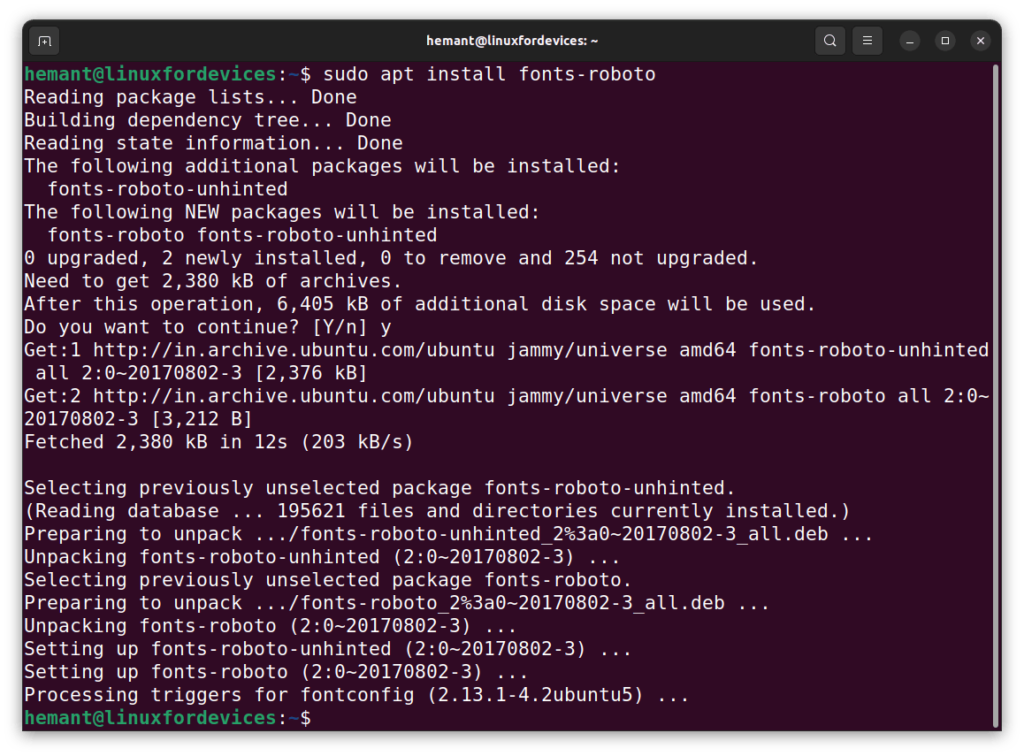
sudo apt install fonts-roboto
Install a font on Alpine Linux
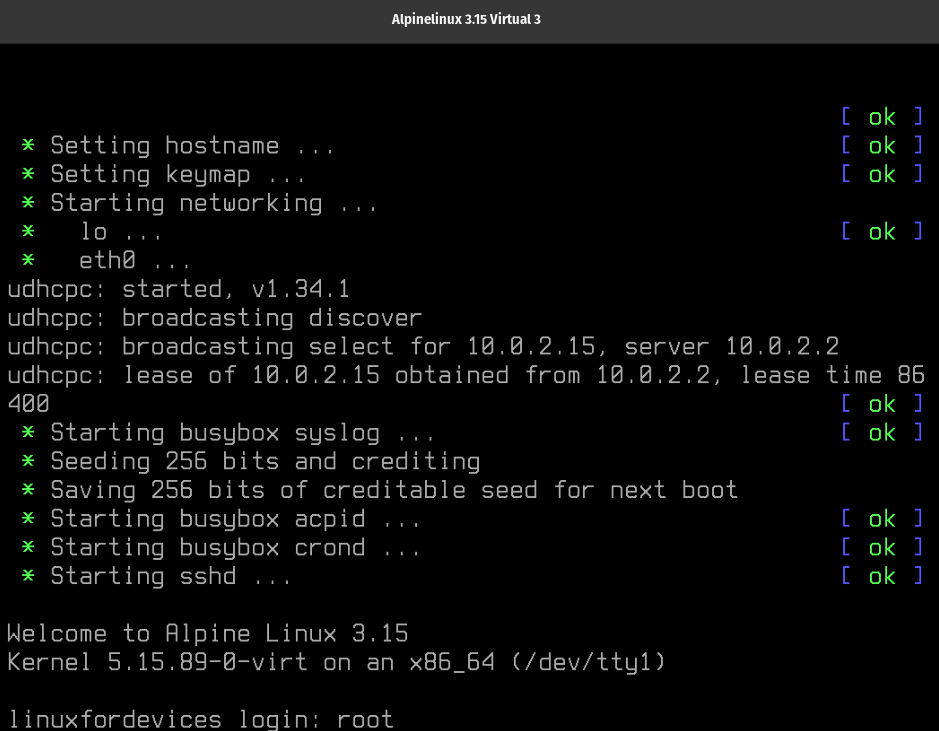
Alpine Linux is typically run in a minimal, command-line mode. This means that it does not include a graphical user interface (GUI) by default, and is instead controlled through the command line using terminal commands.
For many users, the default font may be too small on high-resolution monitors. That is why we will install the 32px ISO Latin-1 Terminus font.
First, install the terminus font using the apk add command:
apk add terminus
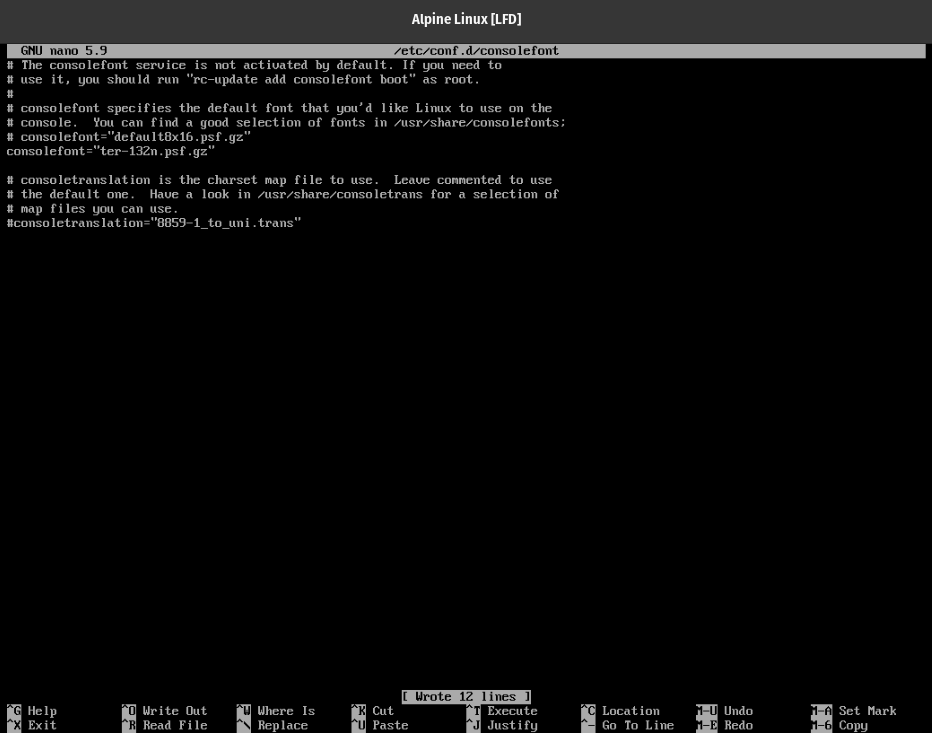
Now edit the file /etc/conf.d/consolefont and set the value of consolefont to "ter-132n.psf.gz"
Finally, enable the changes by running
rc-update add consolefont boot
The changes will apply after you reboot.
Test the font
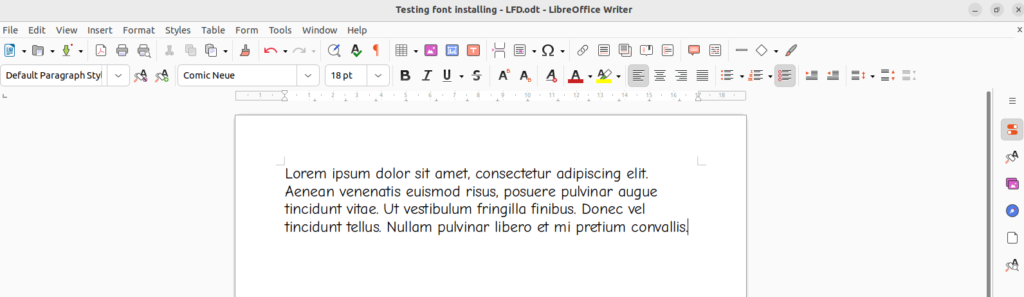
To test the font, you can use a program like LibreOffice or GIMP to open a document or image and select the new font from the font menu.
Summary
Adding new fonts on Linux desktop is really easy regardless of the distribution you are using. You can get additional fonts for your distribution from various websites and simply integrate in the whole OS with just a few clicks.