
Bliss OS lets you boot an Android-based desktop on an x86 PC from a USB drive before you commit any disk space. The current Bliss OS documentation recommends its bootable-USB route for beginners, so use a live boot to check touch, Wi-Fi, graphics, and audio before you choose an installation partition.
I rechecked the project documentation while refreshing this walkthrough, including its requirements for a separate installation partition, the hard-disk installer entry, Secure Boot, TPM drive encryption, and AHCI storage mode.
Choose live boot or a separate installation
Start with a live boot when you need to learn whether this build works with your hardware. It leaves your internal drive unchanged and gives you a fast answer about the hardware that decides whether Bliss OS is useful on this PC.
Install Bliss OS only after the live session works. Put it on its own partition rather than selecting a Windows partition, because the installer needs a clear target and you need a recovery path if you later remove it.
| Path | Use it when | What changes |
|---|---|---|
| Live boot | You need to check hardware support first | Your internal drive stays unchanged |
| Separate-partition install | You want settings and apps to persist | Bliss OS writes only to the partition you select |
Download the image and make the USB drive
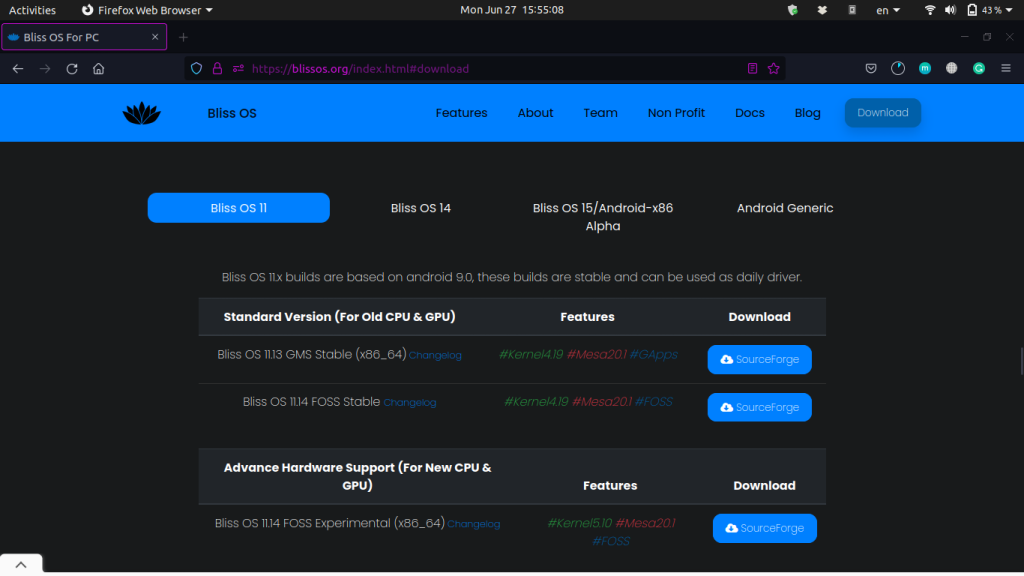
Get the image from the official Bliss OS download site, not a mirrored archive with an unclear build history. Keep the image file and the USB writer separate from the internal drive you intend to protect.
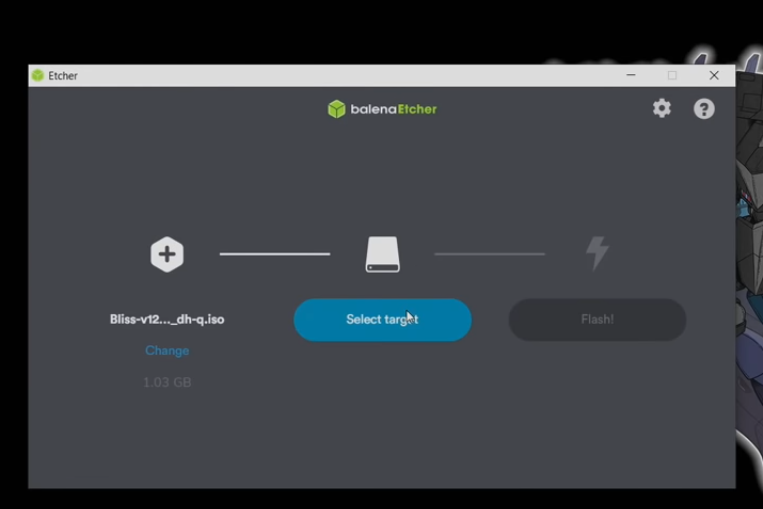
Use Balena Etcher or another image writer to write the downloaded image to the USB drive, or use Ventoy for several ISO files when you already maintain a multi-image boot drive.
The screen above is where you choose the project-provided image, then select the USB device carefully because flashing overwrites its contents.
Prepare the firmware settings
Restart into your PC firmware setup or one-time boot menu, choose the USB drive, and account for the Bliss OS requirements for Secure Boot, TPM drive encryption, and AHCI drive access.
Firmware menus differ by manufacturer, so use this Secure Boot settings walkthrough to locate the setting without changing unrelated options.
Boot Bliss OS before installing it
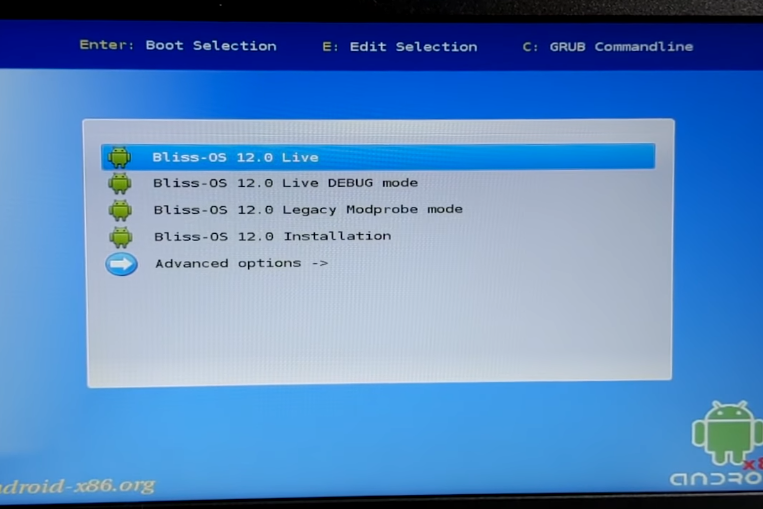
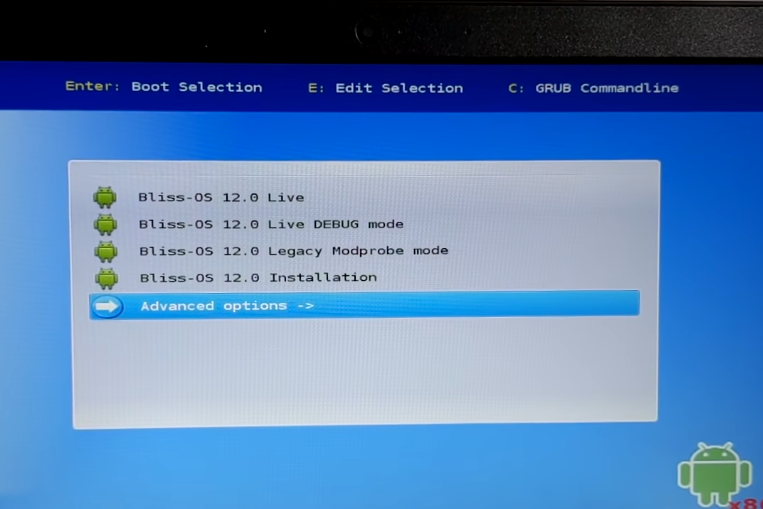
Boot the USB and select a live option first so a graphics, Wi-Fi, or input failure is separate from installation work and the internal disk remains untouched.
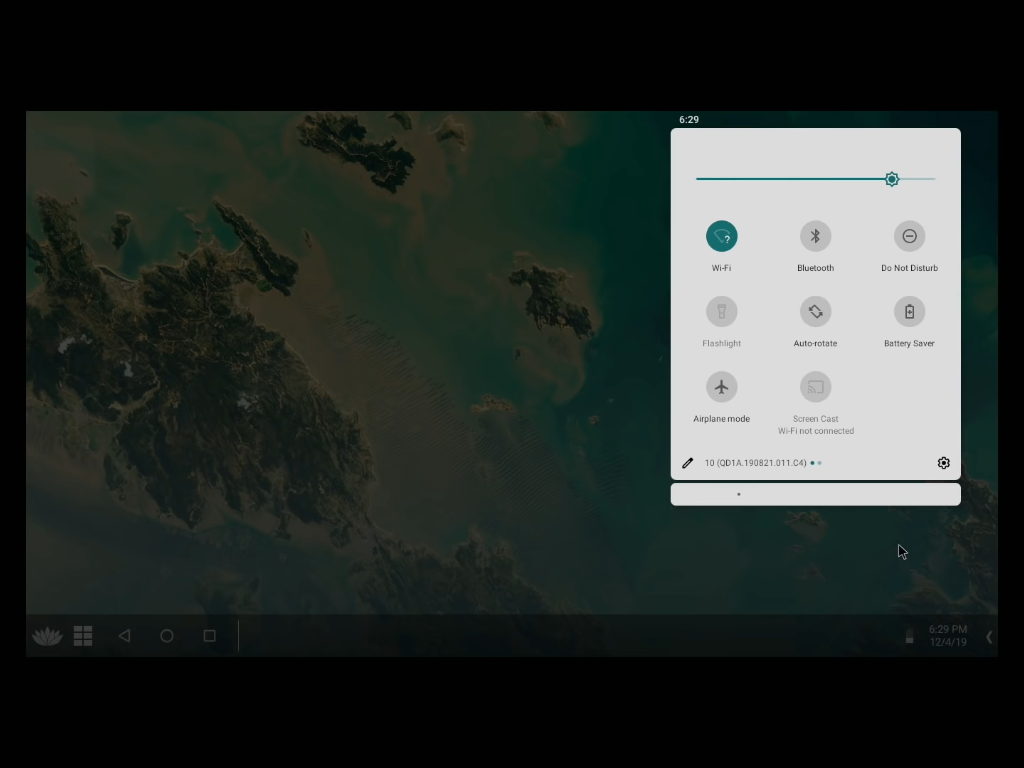
In the live session, connect to Wi-Fi, test audio and input devices, then remove the USB if the build does not meet your needs.
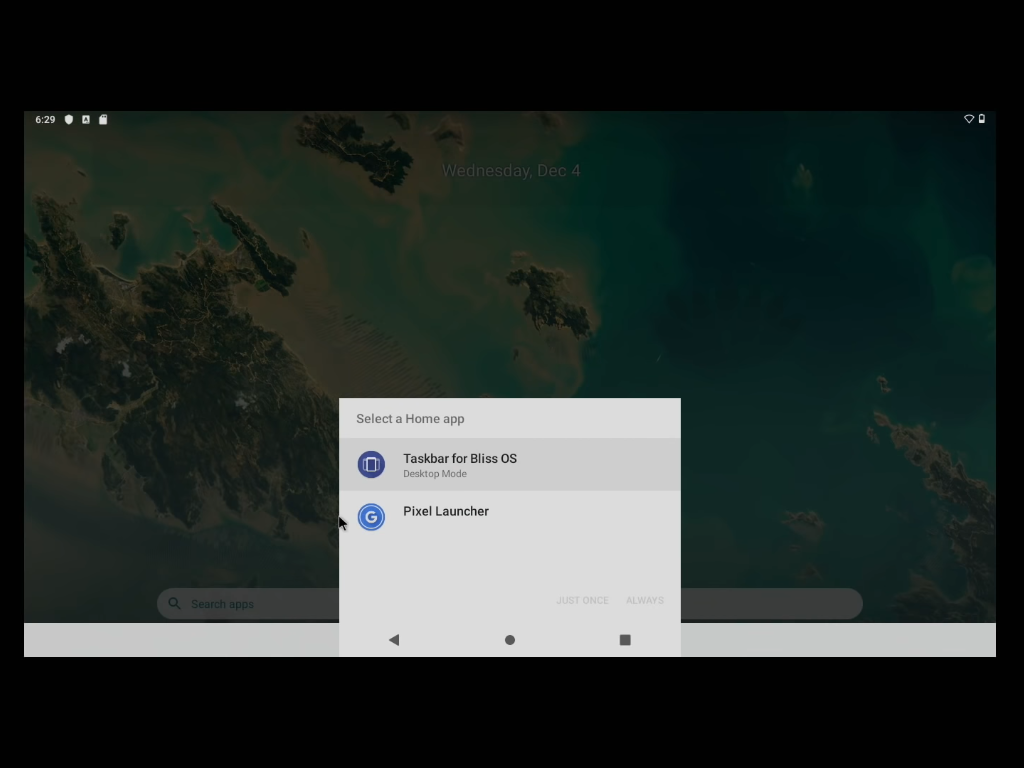
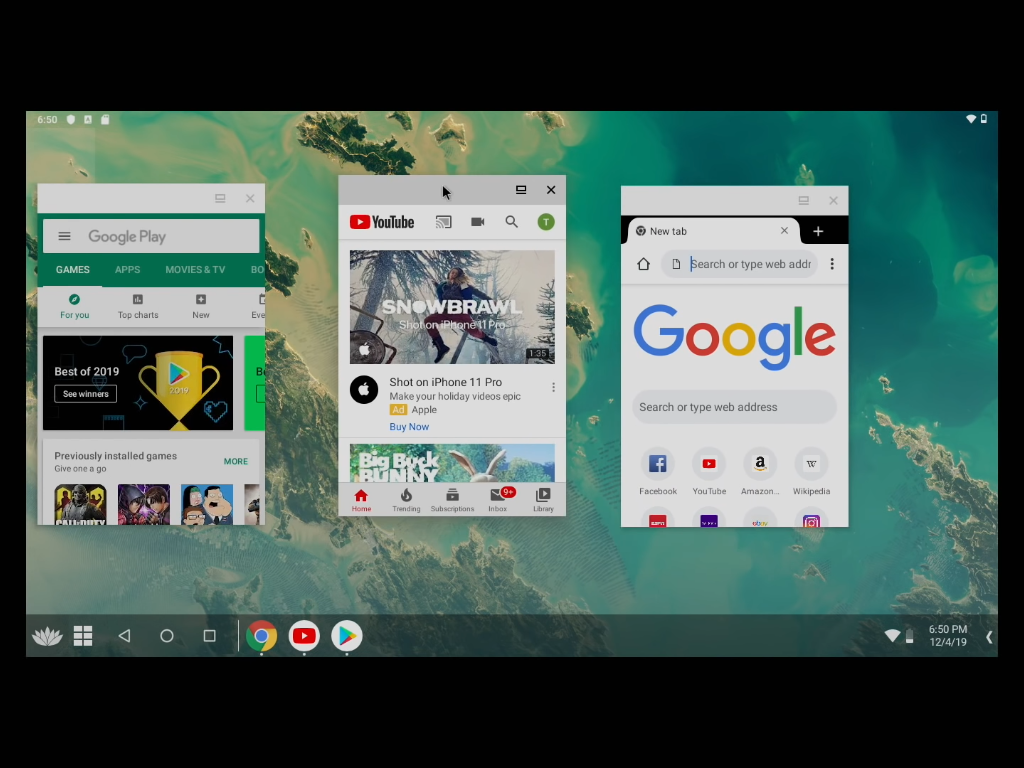
The desktop screen confirms that the live system reached its graphical session, but you still need to test the interface and drivers you will use.
Install Bliss OS to its own partition
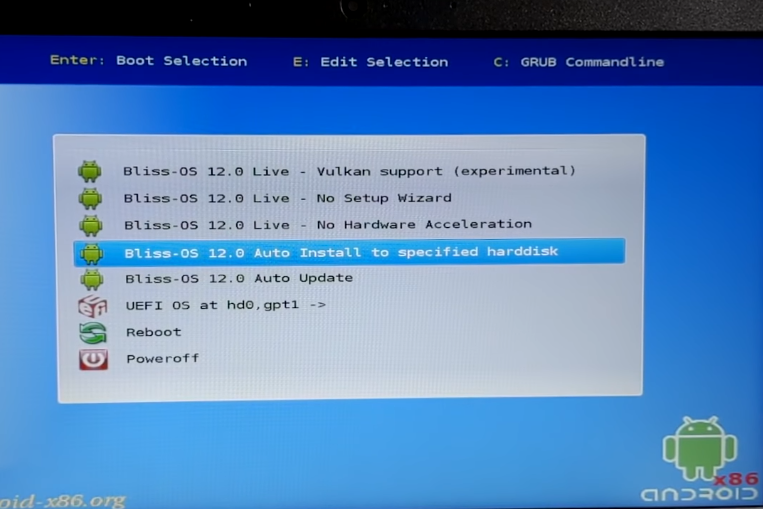
When the live session is satisfactory, restart from the USB and choose the installer entry that the Bliss OS documentation labels Installation – Install Android-x86 to harddisk. Select only the partition you created for Bliss OS, then read each confirmation screen before it writes data.
Partitioning is the decision that protects the operating systems already on the machine. If you need a refresher before choosing a target, review Linux partitions and filesystems, then return to the installer with the target identified.
A Windows dual-boot setup has an extra boundary: preserve the Windows partitions and keep a recovery route. The Windows and Linux dual-boot guide explains the partitioning and boot-choice model that applies before you add another operating system.
Set up the Android desktop after the first boot
After the installed system starts, connect the network, choose the desktop or tablet layout that suits your display, and install only the apps you need. A persistent installation is useful when you want an Android environment that starts as its own operating system rather than an Android layer inside Linux.
If your aim is to run Android applications inside an existing Linux desktop, Waydroid is a different route. It uses a container-based Android environment, so it does not replace or dual-boot the operating system on your PC.
Check these items before you install
- Boot the USB into a live session before selecting an installation target.
- Verify Wi-Fi, graphics, audio, touch, keyboard, and trackpad behavior in that session.
- Keep Bliss OS on its own partition and leave Windows or Linux partitions unselected.
- Confirm the firmware requirements from the official Bliss OS instructions before changing Secure Boot, TPM drive encryption, or AHCI settings.
Can you try Bliss OS without installing it?
Yes. Boot the Bliss OS USB and choose a live option to check the desktop, network, audio, and input devices without changing the internal drive.
Should Bliss OS use its own partition?
Yes. Use a separate partition for a persistent installation and do not select a Windows or existing Linux partition as the target.
What should you check before installing Bliss OS?
Check the official Bliss OS firmware requirements, boot the live session, and test the hardware you depend on before selecting an installation partition.
Keep the USB drive until the installed system has restarted successfully. That gives you the simplest route back to the live environment if you need to confirm a setting or revisit the installer.