
Linux is built from the ground up to be a multi-user operating system. Whether you are using it on a desktop, running it on a server, or managing a development environment, there will be situations where more than one user needs access to the system. To manage this securely, Linux uses a permission system based on users, groups, and access control rules. It also uses a tool called sudo to give specific users elevated privileges when needed.
In this article, you will learn how to manage users and groups, how to control access to files and commands, and how to configure the sudoers file to safely delegate administrative tasks. These skills are essential for system administrators and also helpful for developers working in shared or team-based environments.
Before starting, you may want to review the previous article, Linux File Permissions and Ownership, which explains how Linux uses read, write, and execute permissions to control access. That article provides the groundwork needed to understand how user and group settings affect file behavior.
Linux User Management
In Linux, each person or process that interacts with the system does so as a user. These users are defined in the /etc/passwd file, and their passwords and authentication settings are stored securely in /etc/shadow. Each user has a username, a user ID (UID), a home directory, a default shell, and often a group ID (GID).
You can view all existing users by checking the /etc/passwd file:
cat /etc/passwd
To create a new user, use the useradd command followed by the desired username. For example:
sudo useradd -m -s /bin/bash devuser
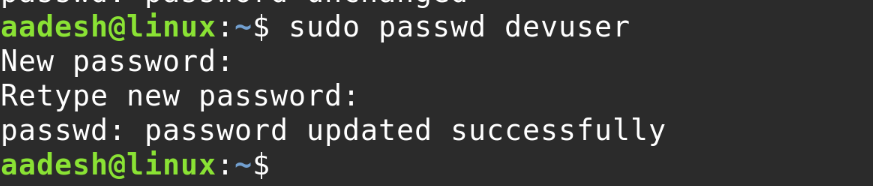
This creates a user named devuser, gives them a home directory under /home/devuser, and sets their default shell to Bash. You can then assign a password:
sudo passwd devuser
To remove a user:
sudo userdel -r devuser
The -r option removes the home directory as well. Always use it with caution.
You can check details about a user using the id command:
id devuser
This shows the user’s UID, GID, and group memberships.
Linux Group Management
Groups in Linux allow you to assign permissions to multiple users at once. Every user belongs to at least one group, called their primary group, and they can also be members of additional (secondary) groups. Groups are listed in the /etc/group file.
To create a new group, use the groupadd command:
sudo groupadd dev
To add a user to this newly created group, use the gpasswd command:
sudo gpasswd -a devuser dev

Groups are often used with file permissions to control who can read or write certain files or folders. You can set a file’s group owner using chown:
sudo chown :devteam project.txt
Then give group members permission using chmod:
chmod 660 project.txt
This setup allows both the file owner and members of devteam to read and write the file, but no one else.
Sudo and the Sudoers File
The sudo command allows regular users to run specific commands with superuser (root) privileges. This is safer than giving users full root access. Only users listed in the sudoers configuration file can use sudo.
By default, many Linux systems add the first user to the sudo group. You can give another user sudo access by adding them to the sudo group:
sudo usermod -aG sudo devuser
To control more specific sudo permissions, you need to edit the /etc/sudoers file. However, do not edit this file directly with a text editor. Use the visudo command, which checks for syntax errors:
sudo visudo
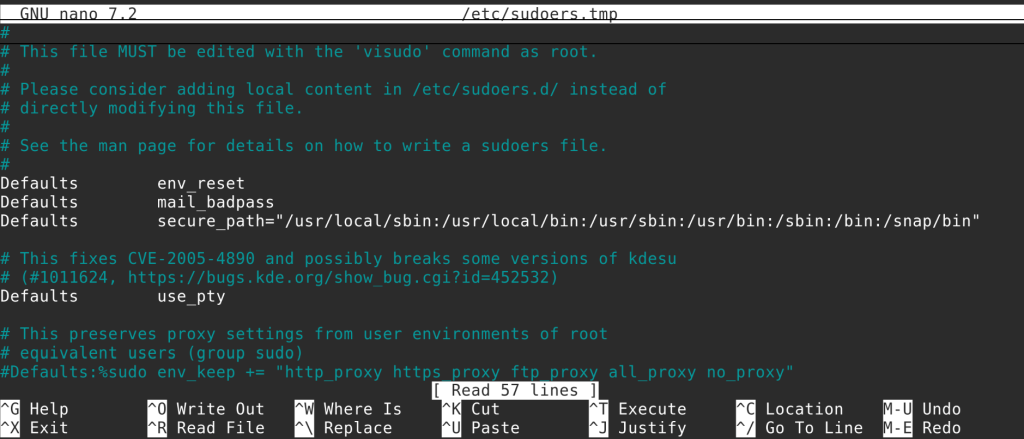
Inside this file, you can create rules like:
devuser ALL=(ALL:ALL) ALL
This means devuser can run all commands as any user on any host.
You can also allow specific commands only. For example:
devuser ALL=(ALL) /usr/sbin/service apache2 restart
This allows devuser to restart the Apache service but not perform any other administrative actions.
If you need to create more complex configurations, you can create a file in the /etc/sudoers.d/ directory. For example:
sudo nano /etc/sudoers.d/devuser
Add the same kind of line in the new file, and it will be included in the overall configuration. This approach helps keep the system organized and avoids editing the main sudoers file directly.
Controlling User Access
Beyond file permissions and sudo, Linux gives you additional tools for controlling access.
To temporarily disable a user account without deleting it, you can lock the password:
sudo passwd -l devuser
To unlock:
sudo passwd -u devuser
You can also set account expiration dates:
sudo chage -E 2025-12-31 devuser
This will prevent the user from logging in after the specified date.
If you want to restrict terminal access but still allow file transfers (like with SFTP), you can change the user’s shell to /usr/sbin/nologin:
sudo usermod -s /usr/sbin/nologin devuser
This approach is common when you want to give someone limited system access.
Another useful file is /etc/security/limits.conf, where you can set resource limits per user or group—like how many processes they can run or how much memory they can use.
Summary
Managing users, groups, and permissions is a fundamental skill for anyone using Linux. User accounts are created using tools like useradd, and groups are managed using groupadd and usermod. Permissions are set using chmod and chown, allowing access control over files and directories. The sudo command, configured through the sudoers file, gives selected users the ability to run commands as root without compromising system security.
By understanding and using these tools, you can secure your system, delegate responsibilities, and ensure that users only have access to what they need. This is especially important in shared environments, development teams, and production servers.
Now that you know how to manage users and control access, the next topic will focus on basic Shell Scripting and Cron jobs so you can automate a lot of jobs!