
In this tutorial we will be learning how to install and setup z shell on Ubuntu. The default shell that comes pre installed in Ubuntu is called bash (or Bourne shell). Z shell offers a few more things over bash. Better autocompletion, autocorrect and plugin support to name a few. In this tutorial we will also be learning how to to install oh-my-zsh which is a zshell framework which would offer even more functionality. So let’s get started!
1. Installing Z shell on Ubuntu
First lets update and upgrade existing repository with the following command:
sudo apt update && sudo apt upgrade
Then we install zsh with the command below:
sudo apt install zsh
2. Running and Setting Z shell as the default Shell
After installing z shell on Ubuntu, you can run it by simply running the command zsh in the terminal.
zsh
But currently, zsh is not our default shell and we have to run “zsh” every time to run it. To set it as the default shell you have to run the following command:
chsh -s /usr/bin/zsh
Now we also need to create a z shell configuration file, to do so run the following command:
touch ~/.zshrc
The file “~/.zshrc” will contain our configurations. We’ll be making changes to it later on during the tutorial. Now just log out and log in from the machine and when you open up a new terminal you would be seeing Z shell as your default shell. To check your installation you can also run the following command:
echo $SHELL

3. Installing oh-my-zsh
Z shell currently looks very bland and to spice things up we will be installing a framework called oh-my-zsh. It is one of the most popular framework for zsh which make z shell highly customizable and productive. Oh-my-zsh also offers over 250 plugins which includes plugins for git, vscode, spotify and many more.
To install Oh-my-zsh run the following command:
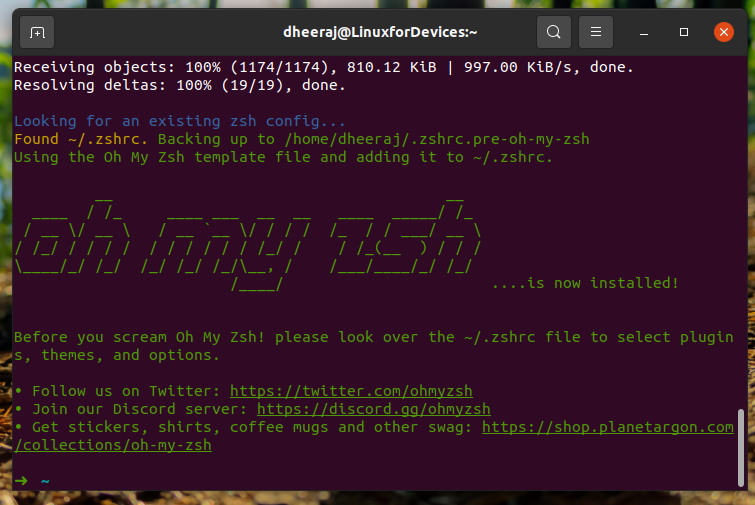
sh -c "$(wget https://raw.github.com/ohmyzsh/ohmyzsh/master/tools/install.sh -O -)"
Right after the installation is over you would be seeing something like this:
4. Configuring Z shell
Ready with a Z shell install? Let’s get right into setting up your zsh theme.
i) Setting up themes
You can go through the list of themes on Oh-my-zsh Themes Page. There are tons of themes available there, I will be setting the theme to one of my favorite theme called “agnoster”. To set the theme you need to edit the ~/.zshrc file.
nano ~/.zshrc
In the file I will be setting the ZSH_THEME=agnoster.

Some themes might also require a different font pack which might not be available on your machine and you might have to download them separately. The agnoster theme uses the powerline font and to install it, I would be running the following command too on the machine:
sudo apt install fonts-powerline
This is what it should be looking like:
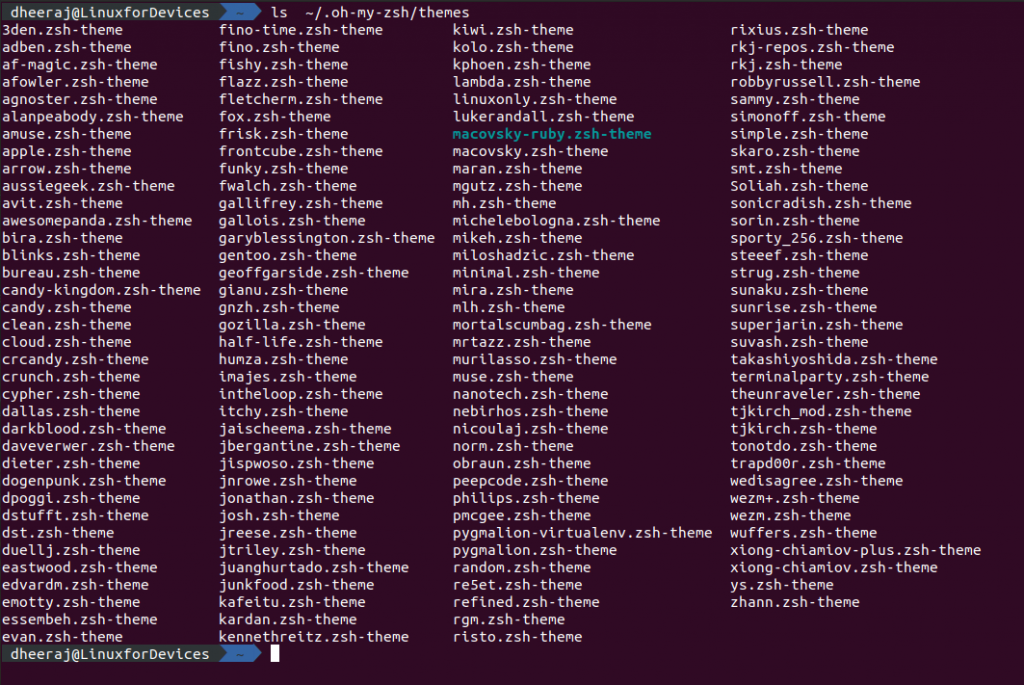
All the zsh themes are present in the ~/.oh-my-zsh/themes/ directory and to have a look at all the themes you can run the following command:
ls -a ~/.oh-my-zsh/themes/
ii) Adding Plugins
You can check for a list of Oh-my-zsh on the oh-my-zsh plugin page. It will list out the plugins available and their features too. To add a plugin, we have to again edit the ~/.zshrc file.
nano ~/.zshrc
Add the required plugin to the plugins= (...) field.
iii) Adding Custom Aliases
You can also add custom aliases by editing the ~/.zshrc file. General syntax for aliases would be the following:
alias sai="sudo apt install"
Add this entry to the bottom of the zshrc file and you will be able to use in the next login.
5. Using Z shell features
Now that we’ve played around and setup the themes and plugins to adjust the look-and-feel of our Z shell, let’s move on to exploring some of the features of z shell on Ubuntu.
Auto-completion
Z shell auto-completion is much better as compared to bash autocompletion. You can press the tab key once and it will show you all the completion options for the command. If you press the tab key twice you can navigate through the options with the arrow keys.
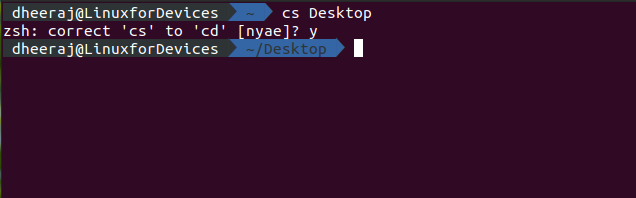
Auto-correction
Z shell on Ubuntu Linux also does auto-correction for small typos that you make while running commands. To enable autocorrection, you need to uncomment “ENABLE_CORRECTION="true" ” entry in the ~/.zshrc file.
Expand Environment Variable
You can complete environment variable if you just wish to have a look by typing the environment variable and pressing tab.

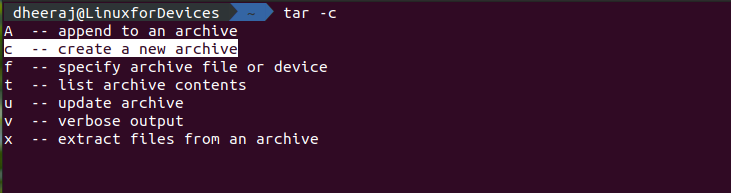
Helping with Command Options
You can also complete command options with z shell on Ubuntu by pressing the tab key.
Conclusion
I hope after reading this tutorial you were able to setup z shell on Ubuntu. It all comes down to personal preferences, if you don’t like z shell you can switch back to bash by running “sudo chsh -s /bin/bash” on the terminal. Thank you so much for reading this article. Have a great day ahead! Cheers!