

If you’re a software developer in a large organization, you’re likely familiar with Jira, the leading issue and bug-tracking software. In this guide, we’ll walk you through installing, setting up, and using Jira on Ubuntu 22.04.”
Choosing the Right Jira Version
Before installing Jira, you need to decide which version you require. There are three different kinds of Software provided under the Jira framework. Jira software, service management, and Jira core.
Let’s see what are the differences between these: Software developers use Jira to create an appropriate bug and issue tracking system also utilizing what is known as the agile method.
Jira Service Management is mostly used by corporates to help track tickets, and incident management and is generally used by the customer support roles. Finally, Jira Core is a special software used by Business teams. All are issue-tracking and task-tracking software, the difference lies in the design element, depending upon what team is using the software.
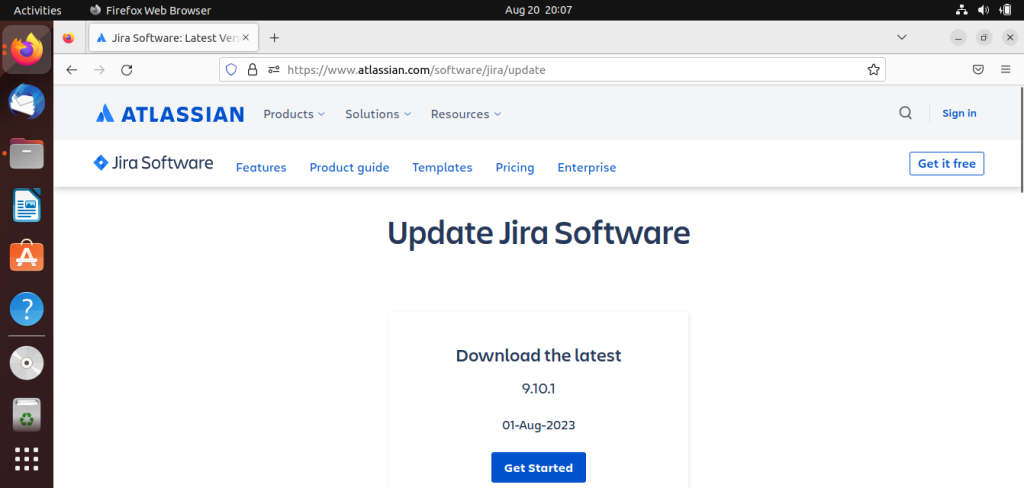
To install Jira on Ubuntu, you will first need to fire up your favorite browser and go to the official binary file downloads page of Jira. Visit this link to do so! Click on the button and download the binary file.
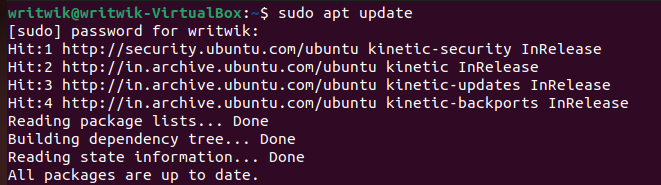
Open your terminal and update your system with the apt command:
sudo apt update
After updating the system go to the folder where you downloaded the binary file (for me it is home/Downloads):
cd Downloads/
ls | grep atlassian

Now you will need to make the file executable, to do so give the following command:
sudo chmod a+x atlassian*
Also checkout: the chmod command, if you need a refresher on that. Give your sudo password and then run the following command:
./atlassian*
Next, we will do the initial setup of Jira on our machine.
Initial Jira Setup on Ubuntu
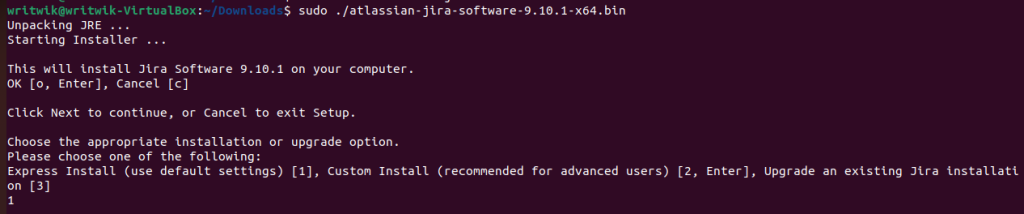
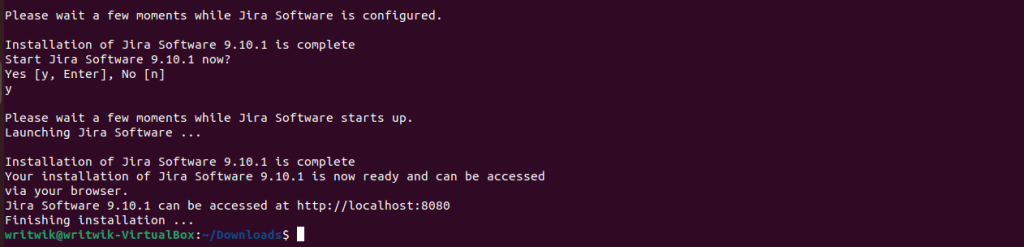
Now you will enter a guided CLI installation program. Let’s walk through the installation process. After running the above command you will be prompted to respond with ‘yes’ or press Enter.
Next, you will have to choose the appropriate installation or upgrade option: For us, we will be choosing option 1.
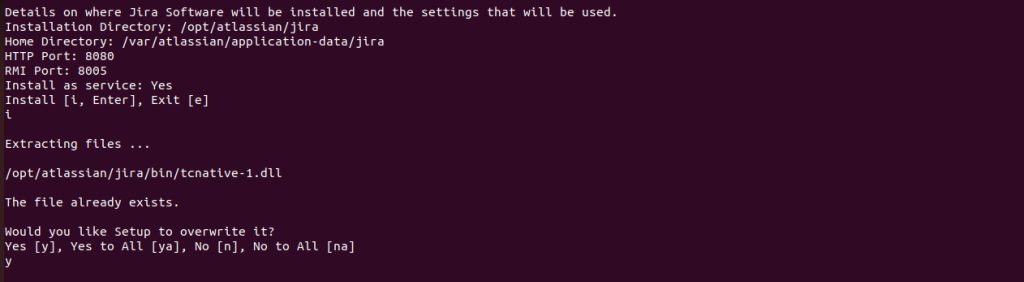
Now the Installer will ask you about the location where you would like to install Jira. By default, it is the /opt/atlassian/jira directory. We will not change this and keep it as is. Respond Yes and then press i for installation.
For me at this stage there was a minor error: It said that a file already exists on my drive, and I simply chose to overwrite it. Next, you will be asked to wait for a bit to let the installation run. Then you will be again prompted to respond yes or simply press Enter. After waiting for a bit you will be able to access your Jira Installation from your browser at this link: http://localhost:8080
Configuring Your Jira Installation
Next, it’s time to configure your Jira installation. You will see the below page once you enter the link given above. You can see this is your local Jira installation since it is using localhost!
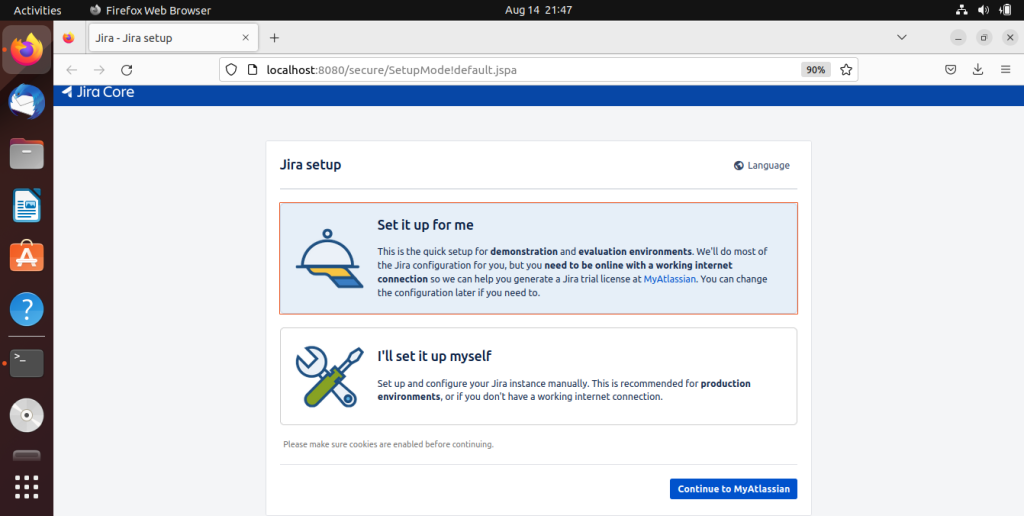
Now you will need to choose whether you want to configure it yourself or simply move with the “Set it up for me” option. For the sake of simplicity, I chose the first option. Now you will need to select the license type and give your email address. If you already have an Atlassian account, give that email address here.

Now click on the Generate License button.
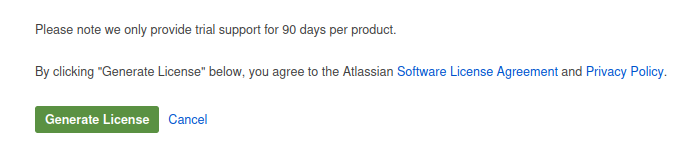
Next, confirm that you will use the license on your server.

Now set up the administrator account. You will need an email address a username and a password. After that, you will again need to wait for 5-10mins to let Jira run the installation.
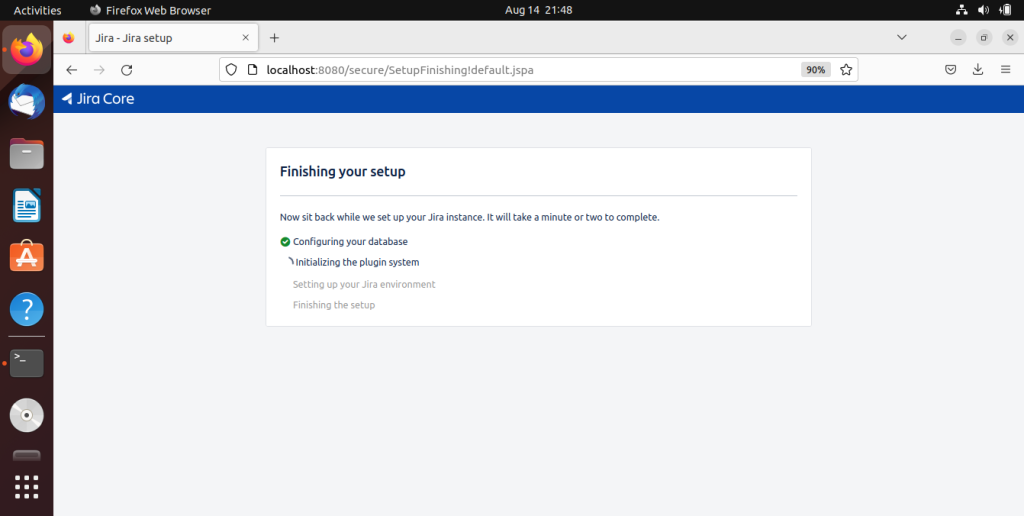
After Jira is done it will prompt you to a nice page!

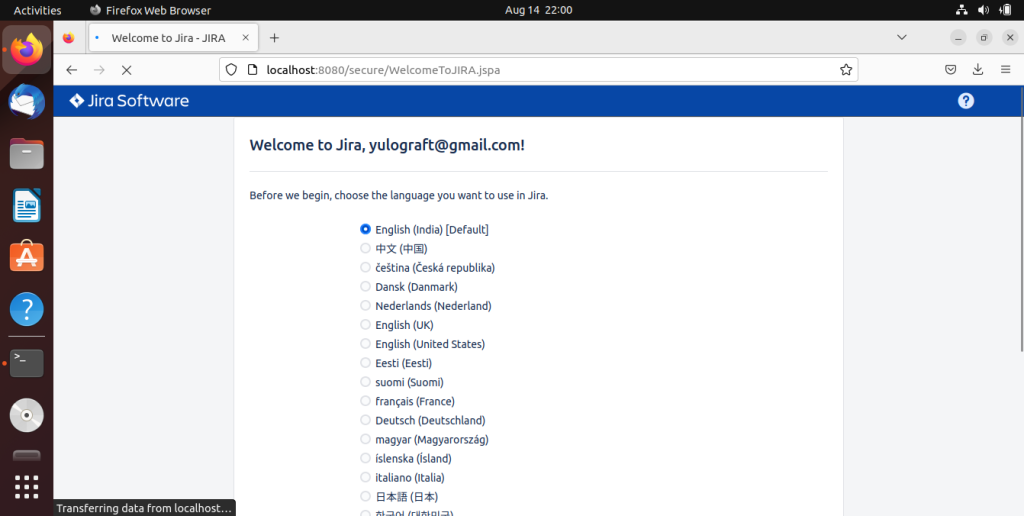
Before jumping in to create brand new projects in your Jira installation, you will need to choose your language of choice and a simple avatar image for your account!
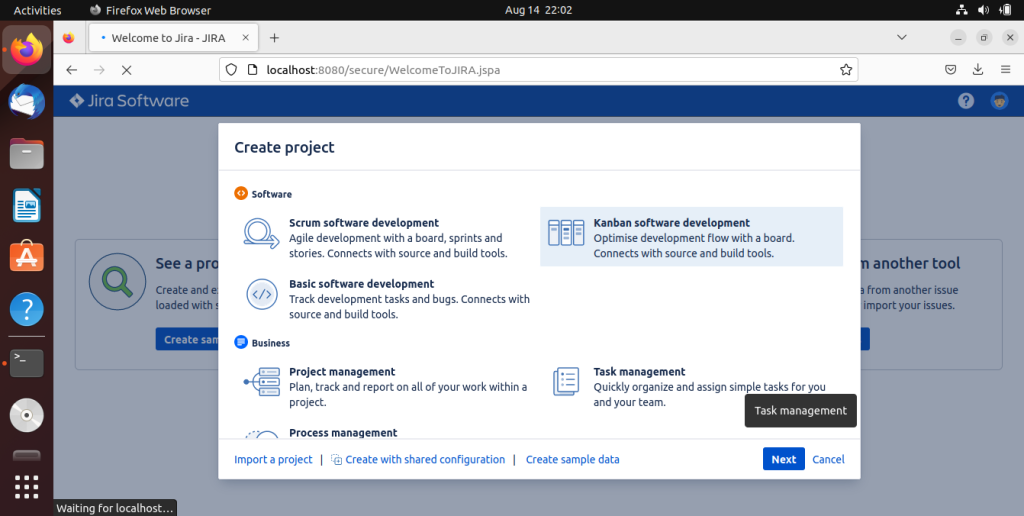
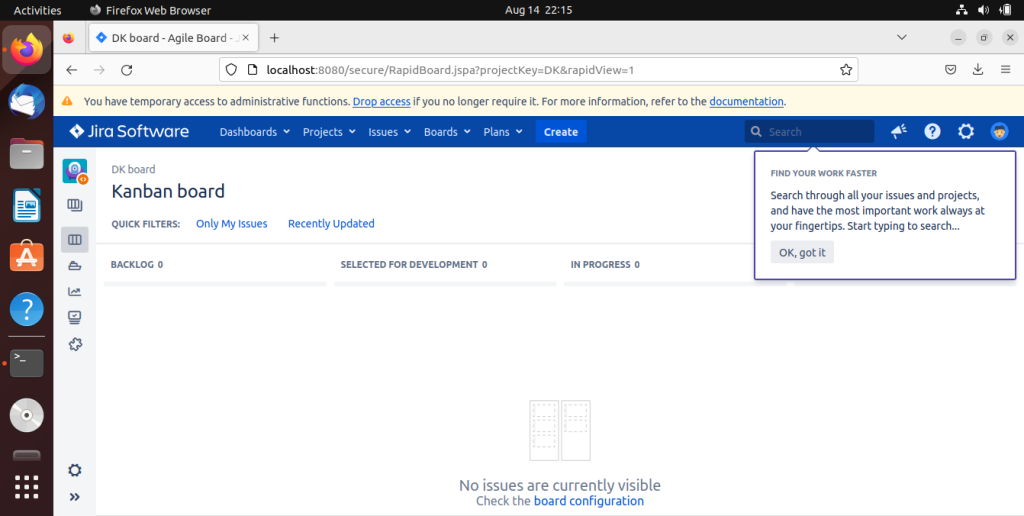
Now you can create your own projects! We will be creating a simple Kanban page as an example.
There you go, now you can add your cards to the Kanban board and assign these cards to anyone on your team!
How to Uninstall Jira
To uninstall Jira, navigate to its installation directory and make the uninstall script executable
sudo chmod a+x uninstall
Now simply run the binary file and you’re done!
sudo ./uninstall
Wrapping Up: Why Jira
Jira is essential for teams larger than five members, offering a robust project management and issue-tracking system. Explore the various methods and templates to find the best fit for your team. What project management challenges could Jira solve for your team?