
Torrenting is one of the internet’s guilty pleasures. The thrill of finding that obscure Linux distro or downloading the latest episode of your favorite show, all without paying a dime. But torrenting can sometimes require you to keep your laptop/computer running all day, waiting for seeders to join in. The solution – headless Bittorent clients like qBittorrent.
qBittorrent is the classy, open-source Bittorrent client for those who enjoy freedom. It brings torrenting into the light with its polished user interface and extensive features.
Going headless with qBittorrent opens a world of possibilities. It helps you save power by keeping it running 24/7 on a Pi, allows you to max out your bandwidth, and manages torrents remotely from your phone or another PC via the web UI.
Intrigued by the possibilities of a headless qBittorrent? In this tutorial, we’ll learn to install qBittorrent-nox on a Linux server and access it remotely. Then, we’ll configure ports, tweak settings, and start torrenting with nothing but a terminal and web browser.
Setting Up qBittorrent-nox on Different Linux Distributions
To install qBittorrent-nox on a Debian/Ubuntu-based OS, run the apt command in your Terminal:
sudo apt install qbittorrent-nox
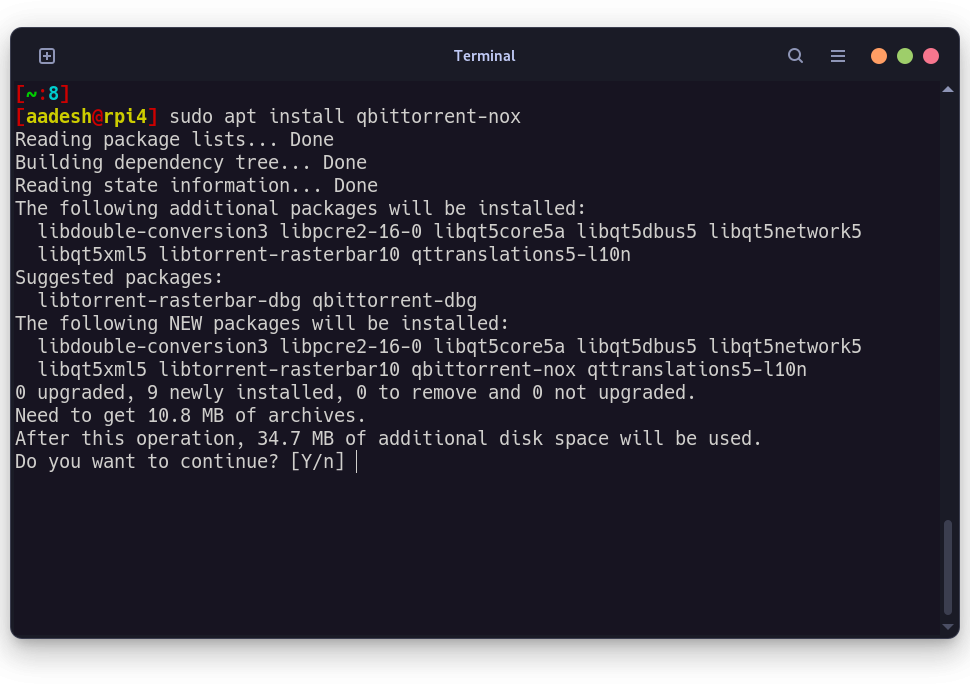
If you want to install it on a local server, then don’t forget to ssh to the server before proceeding with the installation.
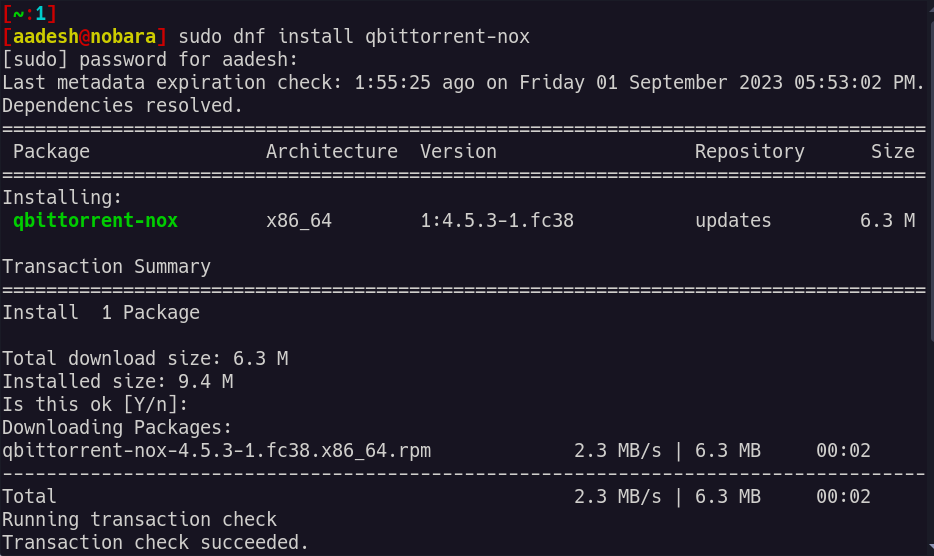
On a Fedora workstation, you can install this package using the following command:
sudo dnf install qbittorrent-nox
Similarly, on an Arch based distribution, you can install this package using the pacman command.
sudo pacman -S qbittorrent-nox
Once installed, it’s time to configure the user under which this service will run and also start the service.
Customize Your SystemD Service File
To run this application on every reboot, we need to create a systemd service and then enable it as well. With your favorite text editor, create a new file in /etc/systemd/system/ directory named qbittorrent-nox.service by typing the following command:
# For Vim users
sudo vim /etc/systemd/system/qbittorrent-nox.service

# For Nano users
sudo nano /etc/systemd/system/qbittorrent-nox.service
In the file, add the following contents to it:
[Unit]
Description=qBittorrent-no Terminal Application
After=network.target

[Service]
Type=forking
User=qbit-nox
Group=qbit-nox
UMask=007
ExecStart=/usr/bin/qbittorrent-nox -d --webui-port=8080
Restart=on-failure

[Install]
WantedBy=multi-user.target
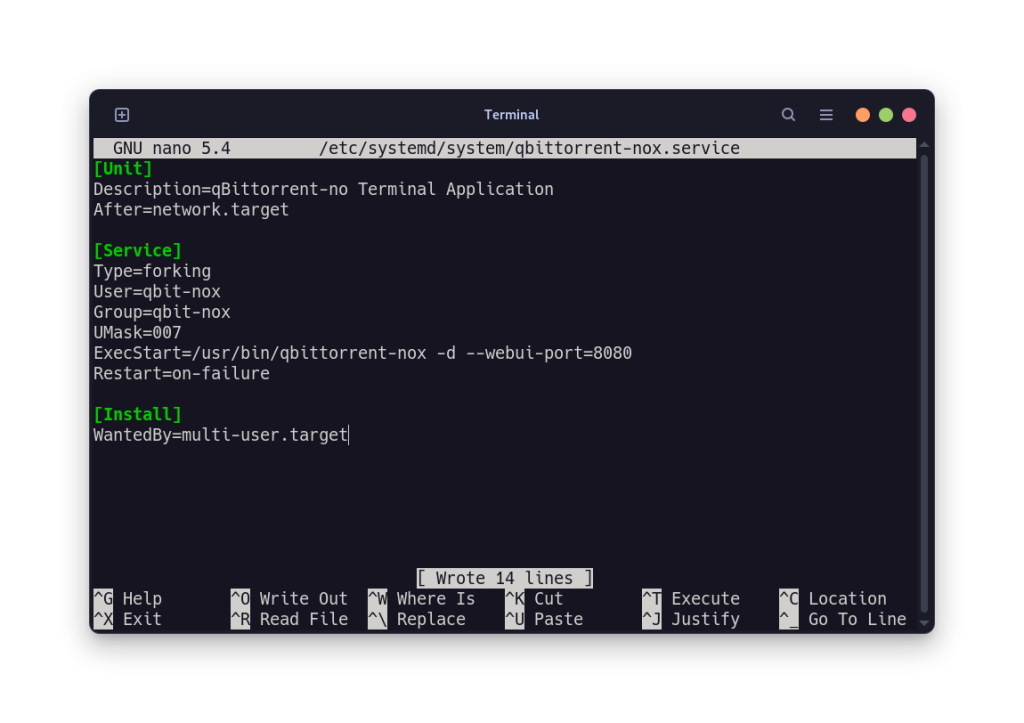
If you’re using nano, then press Ctrl+O to save the file and then press Ctrl+X to exit the editor, and if you’re using vim, then press the Escape key and then type :wq to save and exit the vim editor.
Creating a Secure User for qBittorrent-nox
If you notice the above config file, you may see that we have added a custom User and Group named ‘qbit-nox’ to the service. For security reasons, you should keep a torrent download client separate from other applications as well as to not run anything as a superuser. Now, in order to create both the user and group in a single command, just type the following in your Terminal window:
sudo adduser --system --group --no-create-home qbit-nox
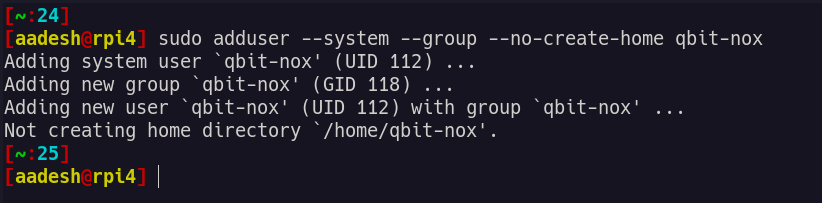
This is a system user account and no one will be able to log into this account, and it also does not have a home directory. We will also add our current user to this group we just created.
sudo add user aadesh qbit-nox
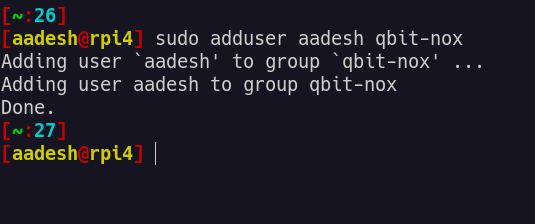
Replace the text ‘aadesh’ with your username, and if you are not sure what your current username is, then simply type $USER and press enter and you will know.
Launching the qBittorrent-nox Service
Now, we’re ready to start the systemd service. Just reload the daemon and then start the service by typing the following command:
# Reload the systemd daemons
sudo systemctl daemon-reload

# Start the service
sudo systemctl start qbittorrent-nox.service
Also, enable the service so that it runs automatically on every reboot:
sudo systemctl enable qbittorrent-nox.service
Once started, you will be able to see the WebUI on your web browser on the http://server-ip:8080 address. If you are not sure about your IP address, then you can find out using ip a command.
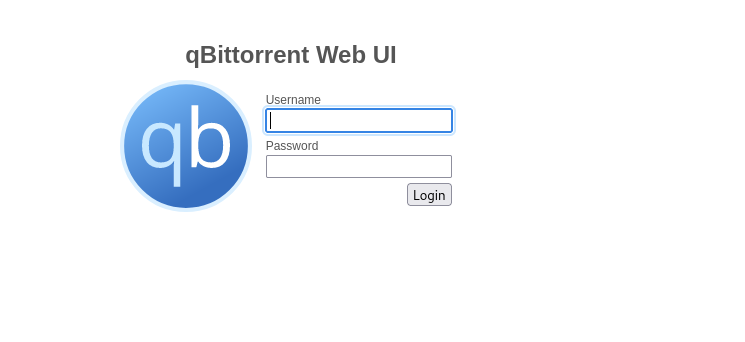
The default Username will be admin and the default password will be adminadmin, make sure to change it after loggging in.
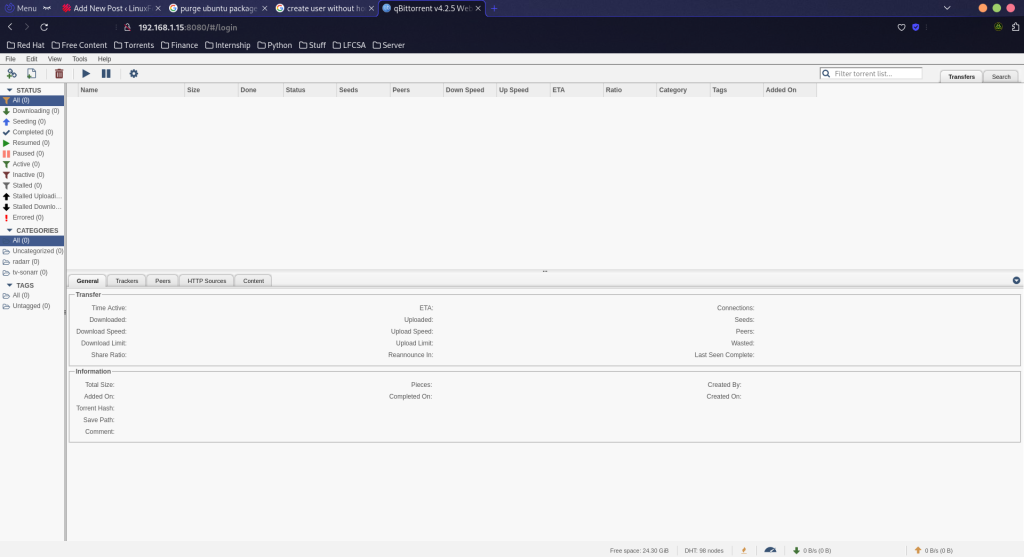
You can now add and manage torrents from this WebUI from any device connected via the local network.
Final Thoughts and Alternatives
There are also several alternative UI which you can use instead of the stock boring white color, may favorite one is VueTorrent. Setting up a server of your own is really helpful in the long run and also good for your privacy. qBittorrent is just the first of many applications which we will take a look at in the self-hosting realm. You can also check out the r/Selfhosted Subreddit if you need any help or seek more guides regarding self-hosting various applications and website.