
Nano is a user friendly text editor available on Linux. It is easy to learn as compared to other text editors such as vim and emacs. Nano is a modeless, WYSIWYG command-line text editor. Modeless means that it doesn’t have modes like Vim editor and WYSIWYG means What You See Is What You Get.
Beginner’s reference to the nano editor in Linux
This tutorial will cover everything you need to know in order to get started with Nano editor.
1. Install the nano editor
Nano editor comes pre-installed with your Linux distribution. However, if you need to install it you can follow the steps below. Run sudo apt update and then install nano editor.
sudo apt update
sudo apt install nano

This will install nano editor on your system and you can start editing your files.
2. Creating a new file
Creating a new file using nano editor is as simple as typing nano in your terminal and hitting enter.
nano
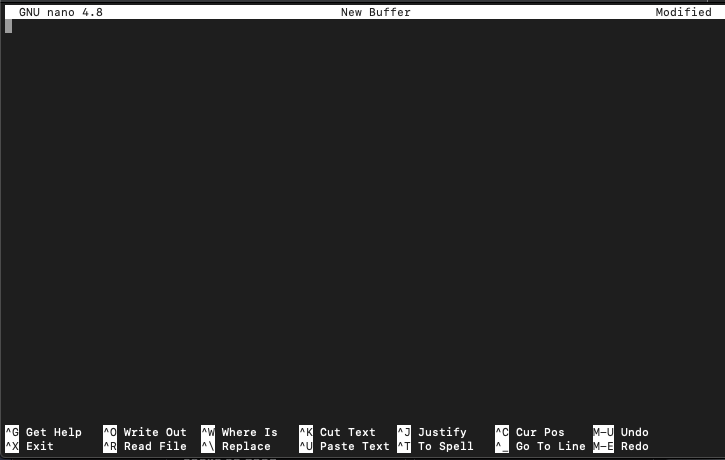
This opens a new buffer where you can start writing. Unlike Vim editor you don’t need to enter any mode to start editing. Let’s write some text.
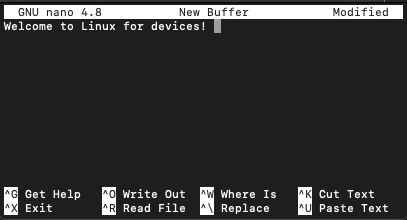
Once you are done with writing your text, you can give your file a name and save it. We will see this next. To edit an existing file in nano editor use :
nano [filename]
3. Save a file and exit the nano
Once you are done editing your file. You can save and exit. Nano provides you with a list of controls at the bottom.

- Here (^) means Ctrl key and M- means Alt key.
- We can see that the shortcut to exit is Cntrl + X.
- When you press Ctrl + X, nano editor will ask whether you want to save your changes.

Press “y”.
Nano editor will then ask you to name your file. In case you are editing an existing file, the filename will appear here.

Give your file a name and hit enter. This will save your file and exit the editor.

To check if the file was created, you can use cat command.
cat [filename]

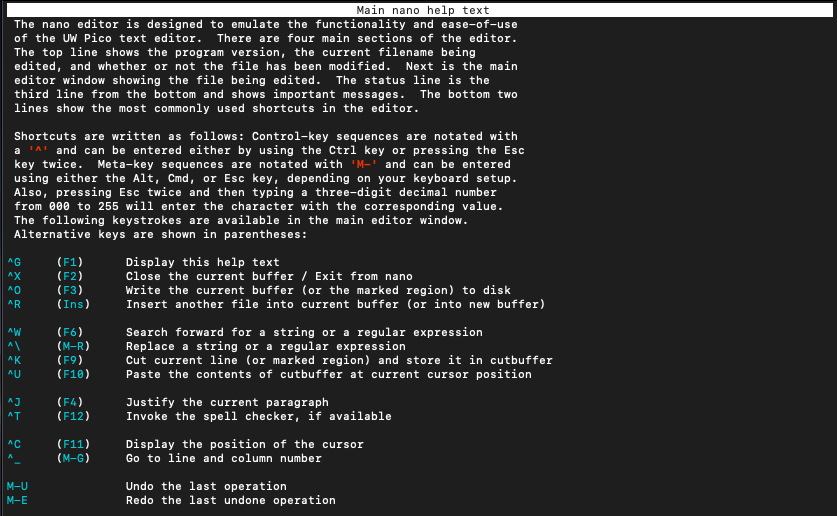
You can get the entire list of shortcuts available in nano editor. To get the list press Ctrl + G.
4. Navigating the nano editor interface
To navigate through the tex you can use the arrow keys. Alternatively you can also use the shortcuts available in nano editor.
These shortcuts are :
- Ctrl+F: move the cursor forward.
- Ctrl+B: move the cursor backward.
- Ctrl+Space: move forward one word.
- Alt+Space: move backward one word.
- Ctrl+V: move to the next page.
- Ctrl+Y: move to the previous page.
- Ctrl+N: move to the next line.
- Ctrl+P: move to the previous line.
Alternatively you can also use Ctrl+_ to jump to a particular line.

5. Select/Copy/Paste
Nano editor provides you with the option to select content, copy the selected content and paste the copied content.
The shortcut to select is Alt + A.

Mark set means that now you can use the arrow keys to start selecting in your file.
To copy the selection use Alt + 6. To paste the copied content use Ctrl + U.
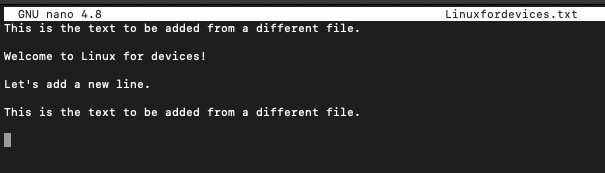
6. Search and Replace
Nano editor gives you the option to search for text in your file. To search in your file use Ctrl + W.

- You can type the word/text you want to search.
- To move among occurrences of the word use Alt+W.
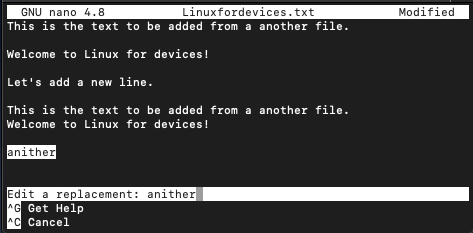
- You can also replace words using Ctrl + \.

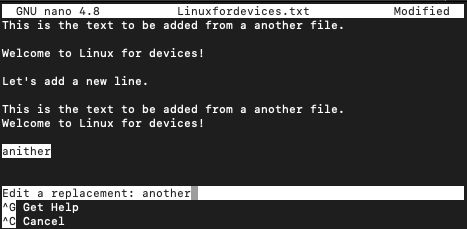
After searching, you have to type in the replacement for the word. Nano gives you the option to decide whether you want to replace just this particular instance or all the instances.

To replace the current instance press ‘Y’, to replace all the instances press ‘A’.
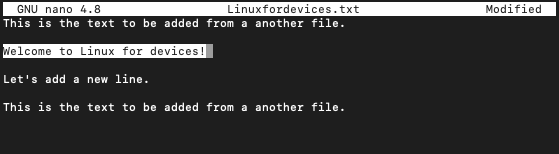
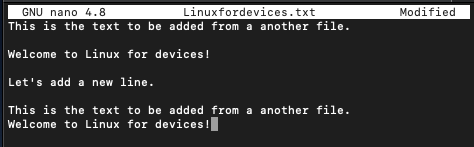
7. Add contents of another file
While editing a file in Nano you can add the contents of another file as well. You can do this using Ctrl + R. Nano will ask you for the name of the file to copy text from.

Text from the new file will be added at the current cursor position.

8. Spell check text in nano
Nano editor also offers the option to run a spell check on your file. You will first have to install spell check. To install spell check use the command:
sudo apt install spell

To run spell check use Ctrl + T.
You can replace the word with its correct spelling.
After entering the correct spelling, nano editor will ask whether you want to replace all instances.

Conclusion
This tutorial was about the basics of nano editor that will help you get started. Read its documentation to learn more.