
We created this vim tutorial for everyone who ever wanted to start out using this gorgeously complex text editor. One of the fascinating things about being a programmer is the ability to code in the terminal. Programmers who use Vim just love it like anything. Those of you who don’t use Vim will hopefully start after going through this tutorial.
The reason people don’t use Vim is that they are unaware of its benefits and simplicity. Not to mention, knowing some basic commands to work around Vim is a must.
In this tutorial, we will cover just that! After going through this, you will be able to open a file in Vim, edit it, save your changes and live happily ever after as a programmer who knows Vim.
I’ll share an embarrassing story. The first time I opened Vim to flex my programming muscles, I wasn’t able to exit Vim and had to shut down the terminal itself. The second time around, things were a little better, I could exit Vim but couldn’t save the changes I made. Now after several Vim code edits later I am here to save you from the same horrors. For those of you who are curious, :q is for quitting and :wq is for saving and then quitting.
Basics of the VIM Editor
Let’s start with the basics of VIM right now!
1. Opening a file in Vim
To open a file use ‘vim’ with the name of the file. If the file doesn’t exist, this command will first create the command.
$ vim hello.txt

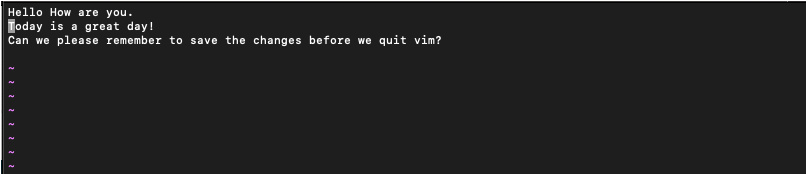
This is what the window looks like. This is where you can view the content, edit it, and yes don’t forget to save your changes before you exit (we’ll learn how to save files in vim further in the article)
2. Modes in VIM
Before we move forward, we need to know the three modes of operation in Vim. The three modes are:
- Normal (Default): For navigation
- Insert: For inserting and modifying text
- Command: For Operations like saving, exiting, etc.
By default, you are in Normal mode. In normal mode, you can just view your text and navigate through it (more on that later). Insert mode allows you to make changes to your code. The command mode is for specifying commands to exit, save your work, and perform other operations.
To enter command line mode hit the “Escape” key and then type in the colon ‘:’. To enter insert mode, hit the “Escape” key and type in ‘i’. To enter Normal mode press Escape.
3. Navigating Vim Text
Moving the cursor between lines is really simple in Vim. Use your arrow keys to navigate around. Alternatively, you can also use the keys:
| h | Move the cursor to left by one position |
| i | Move the cursor to right by one position |
| j | Move the cursor to downward direction by one line |
| k | Move the cursor to upward direction by one line |
4. Editing a file in Vim
To edit a file you need to enter the insert mode. Press ‘i’ to do so.

The screen will look like as shown above. You can notice ‘INSERT‘ written at the bottom. It indicates that we are in insert mode. You can go ahead and type out some text to put in the file.
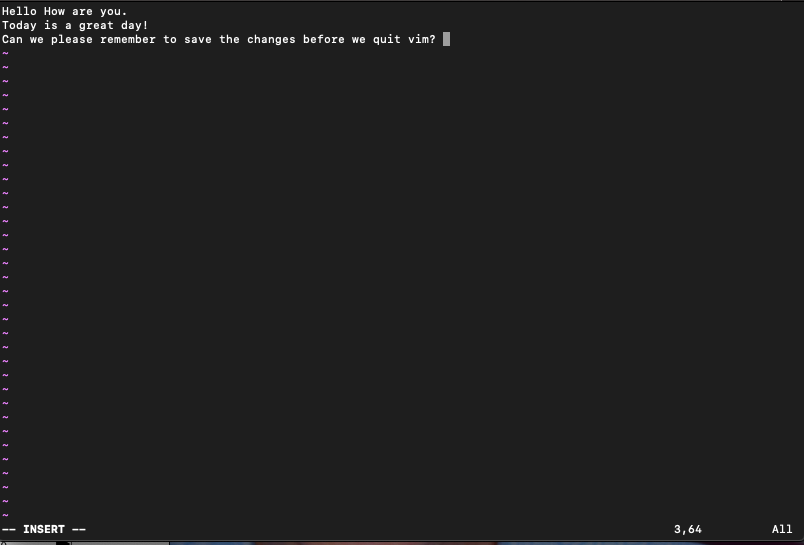
If you notice at the bottom right there are two numbers written. It indicates the position of the cursor in the file. Imagine a matrix with rows and columns. This number is just row and column number for the cursor’s position.
6. Jumping lines in Vim
To jump to a particular line in Vim use :[line number]. Colon would enable the command line mode and the number after that will specify the line number.
:[line number] [enter]
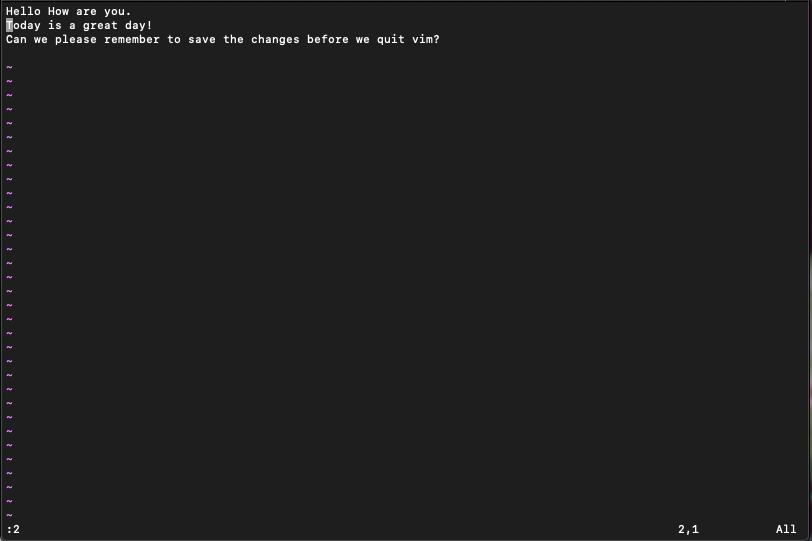
Here the Vim editor takes us to line number 2. To skip to the end of the file use ‘$’ (dollar sign) after the colon in command line mode. Don’t forget to press Enter after the line number or $.
7. Save your edit
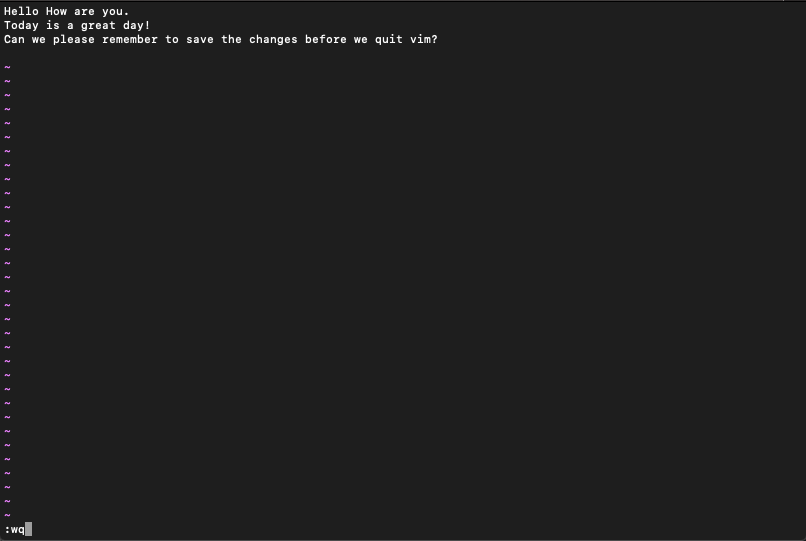
It is important to save the changes you make while quitting Vim. To save your changes you have to be in command line mode. The command for save and exit is wq followed by Enter.
:wq [enter]
To exit without saving use :
:q [enter]
Additional VIM Functionality
1. Deleting lines and undo
You can delete a particular line in Vim editor at one go. To do so move the cursor to the line and press ‘dd‘. Make sure you are in normal mode (Press escape key) before you do so. If you are in the insert mode then this would add ‘dd’ to your file. We don’t want that.

Here line number 2 is successfully deleted. We can undo this by pressing ‘u‘
u
And line number 2 is back.
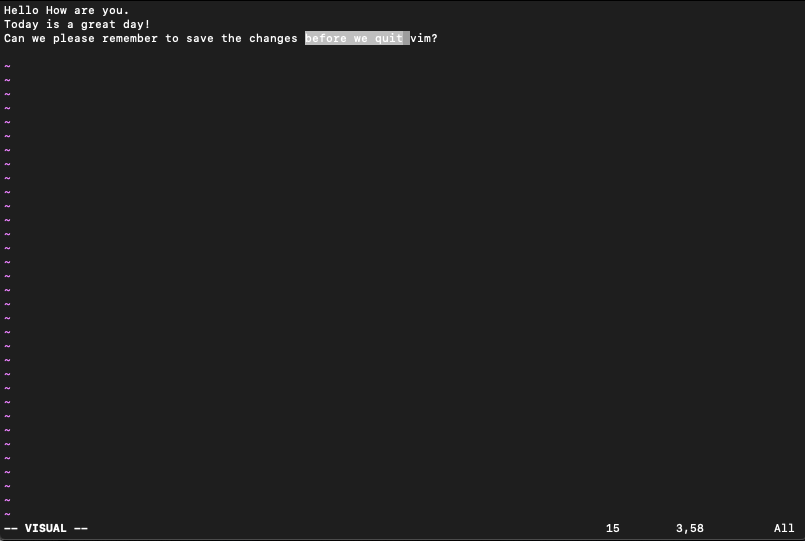
2. Highlighting Text in Vim
You can highlight text in Vim, this is useful for copying a particular section of a text (more on that later). To select text for highlighting press ‘v’ and move the cursor to the left or to the right to select text.
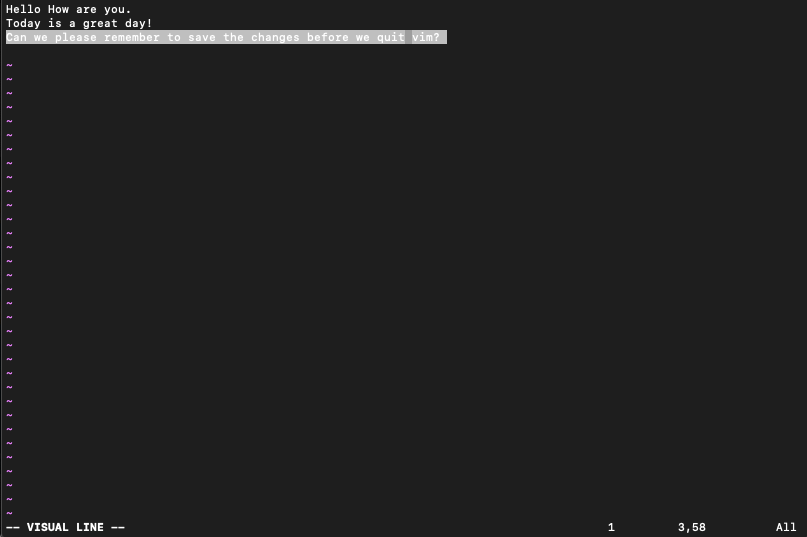
To select the entire line press ‘V’, that is ‘v’ with the shift key.
V
[shift] + v
3. Copy and Paste Text
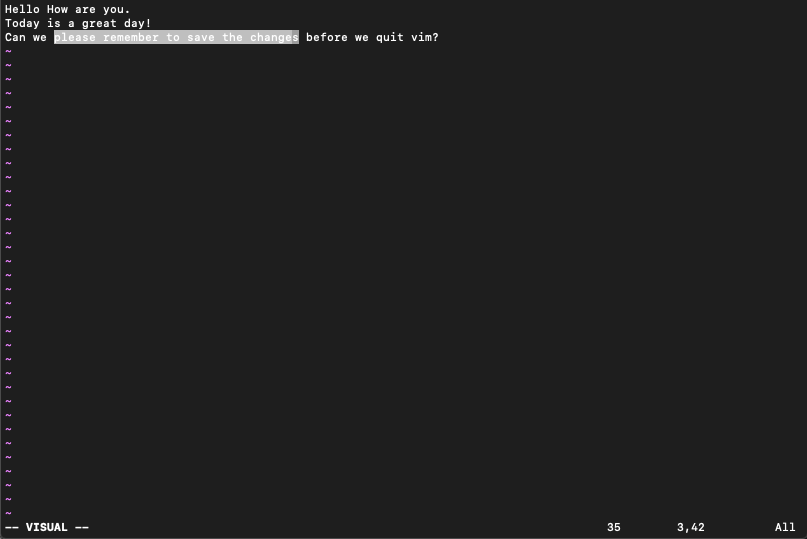
Vim lets you copy and paste entire line or sections of a line while editing. This can be specially useful when coding.To copy a particular section of a line highlight the text to be copied as shown above.
Once you select the text, press y for yanking/copying the text.
y
To paste the text, go to the destination in the file and press ‘p’.
p
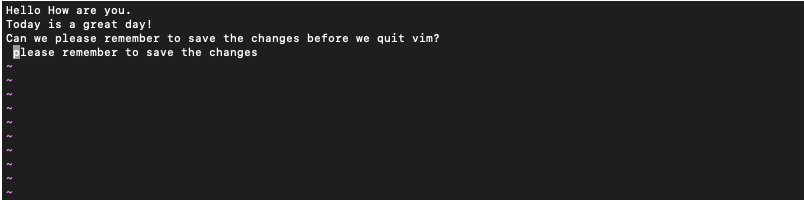
You can also copy an entire line. To do that press ‘yy‘.
yy
To paste the line go to the destination and press ‘p‘
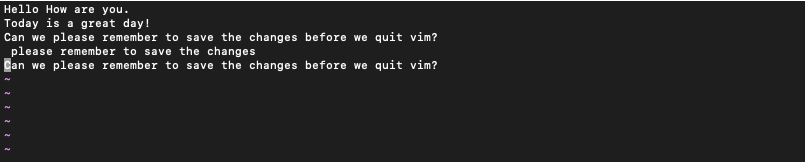
4. Searching in the file
Sometimes it is important to be able to look for words within a file. Imagine a scenario where you have to look for use of a function in a file that is thousands of line long. Don’t worry Vim has got you covered. To search in the file you must be in command line mode. So start by pressing colon (:).
To search for a word use forward slash followed by the word to search followed by enter.
/{word-to-be-searched} [enter]
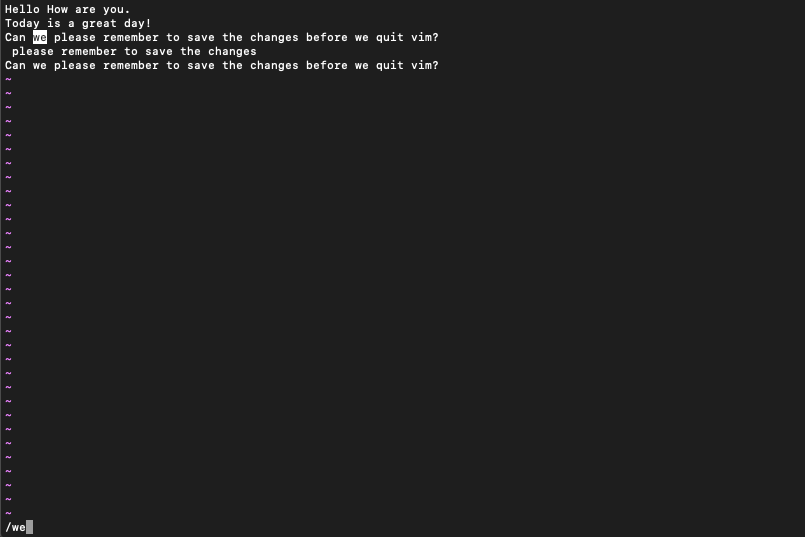
To move to the next occurrence of the word press ‘n‘.
Conclusion
Now you are all set to start using Vim. Go ahead! create your first file and start editing! For further reading, have a look at the 10 ways to exit vim editor.