
In this tutorial, we will learn how to install Django on Debian.
Let’s first learn what is Django? Django is a free and open-source web framework built in python. Okay! So you are aware of open-source but might not with the framework. Framework is the combination of components and packages or we can say the pre-written codes that help to make an application. Why we need a framework? If you want to build some complex applications, there are certain things you need ready-made. For example, if you want to create a web application, you won’t build everything from scratch. It will be time-consuming. So, here you need to use the framework.
Django is considered as the best python web framework and is widely used for creating database-driven websites. Therefore, we can build web applications using Django. You might have heard about MVC (Model-View-Controller) while building web applications using SpringBoot. Here, in Django, we use MVT (Model-View-Template). It’s almost the same but includes some changes.
Why use Django?
- Fast: It helps to build applications faster by providing configurations.
- Components: If you want to build an application, it requires components like login, Database connectivity and so on. All these things come bundled in Django.
- Security: If you want to secure the users using your application, Django provides that feature too! Yeah. We are getting a lot of advantages by using just a single framework. Isn’t great?
- Scalability: What if, you want your web application scalable i.e. used by multiple users or have more features. In this case, Django will be the best option.
That’s the reason you should learn Django now. But before this, you should know how to code in python. I hope it’s clear.
Steps to Install Django on Debian
Now, Let’s understand how to install Django in Debian. We’ll go over the steps in complete detail and gain an in-depth understanding of the entire process of installation.
Update APT Repository Data
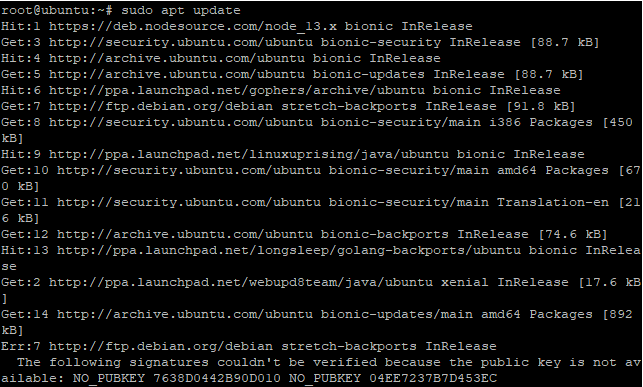
The first step is to update the repositories. We will use the apt command to update all the repository data so we can fetch the latest packages.
# sudo apt update
Installing the Python Packages
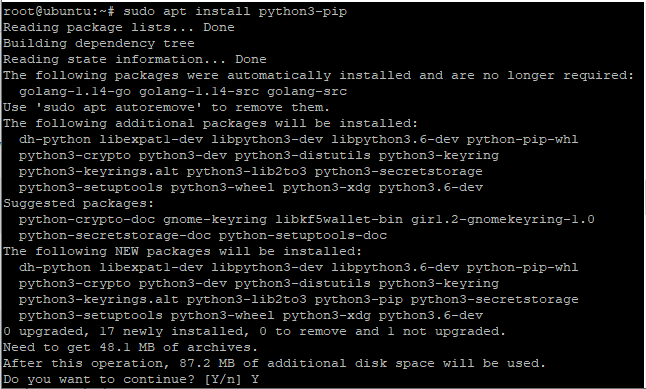
Before installing Django, we need to install Python. As discussed above, Django is based on python libraries. One should know how to code in Python before moving on to Django. We will install Python with pip. Pip is the package management system used to manage software packages written in python. We will use the following command:
# sudo apt install python3-pip
If you want to check the version of Python or Pip, it can be done using –version command. The command for this is given below:
python3 -V
pip3 -V

You can see the version of Python installed on your system.
Install Virtual environment
The next step is to create a virtual environment. Before you install Django on Debian, it is recommended to create a virtual environment. You might be thinking why is it so? Because it creates new environments to isolates your python files. Basically it provides you the development environment independent of the host operating system. You can install any of the software or packages in the virtual environment instead of installing it on the host machine.
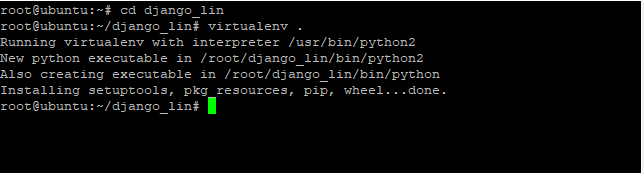
Before installing virtualenv, we have to create a directory where we will install the Django followed by changing the location. To make the directory, use the following command given below:
# mkdir django_lin
# cd django_lin

Now, install the virtual environment in this directory. I have already discussed the significance of why we are creating a virtual environment. For this, we will use the following command:
# sudo apt install virtualenv
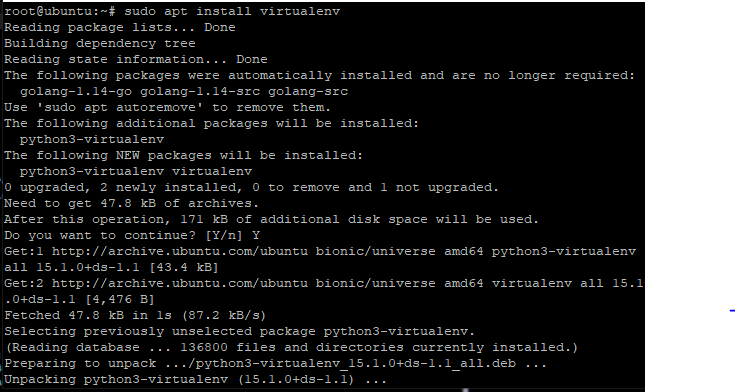
This command will install the virtual environment. Installing the packages is not a sufficient thing. We also need to activate the services too. Here using “.” after virtualenv simply means we are installing the virtual environment in this directory only. Use the following command to activate the services:
# virtualenv .
# source /bin/activate
Install Django on Debian
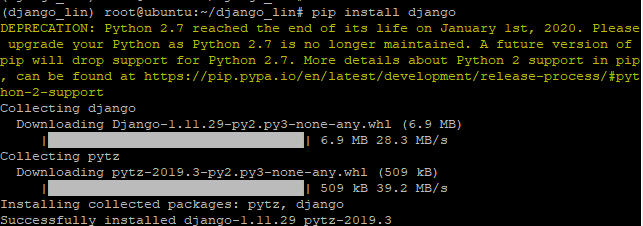
After successfully creating the virtual environment, we have to install Django on Debian system.
# pip install django
Check the version of Django installed
There are two ways to check the version of Django installed. Either by using the python interpreter or by the command typing in the terminal directly. Let’s discuss the first way to check the version by directly typing the command in the terminal. Use simply –version command to check the version of the Django. The command is as follows:
python -m django --version

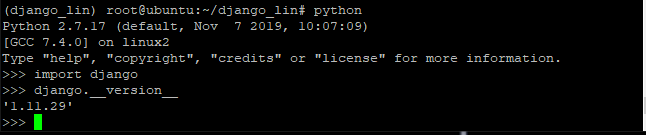
Another way is to use the python shell. You have to import the Django to check the version of Django. After importing use the version command to check the version. But before this, you need to start the python shell. You can do this by using the following command:
python
>>> import django
>>> django.__version__
Create a Django Application
After you install Django on Debian, it’s time for us to create an application. Let’s go through some simple steps that
Create a directory
After successfully installing the Django application in the virtual environment, it’s time to create the first Django application. But before this, we need to navigate to the directory where we need to create the application. Let’s create the directory using the mkdir command:
# mkdir django_pro

You can use the ls command to list all the files present in the directory as shown in the above image.
Create an application
After making a directory, now we have to create the Django application using the following command:
django-admin startproject JournalDev

In the above image, you can notice a small text is written i.e. (django_lin) before the root, that shows you are working in the virtual environment. If you get confused and want to check if you’re working in a virtual environment or not, you can check this specific section.
Import the database
Next, we need to import the database. We have only created the project. Database connectivity is important for every application. For this, we will use the manage.py file as it manages all the data interaction services, run the server and so on. To do so, use the following command:
python manage.py migrate
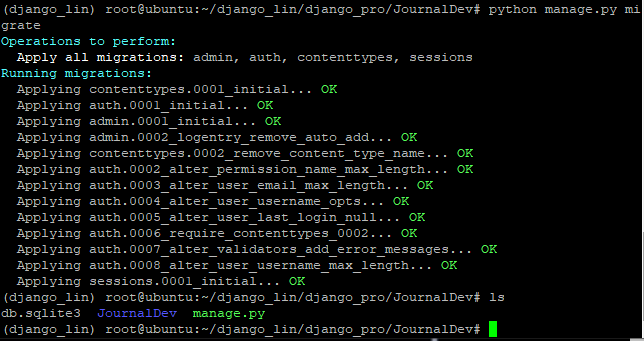
To check where the database has been migrated, you can use the ls command to check. It will print all the files in the folder. You would see db.sqlit3, which proves that the database has been successfully migrated.
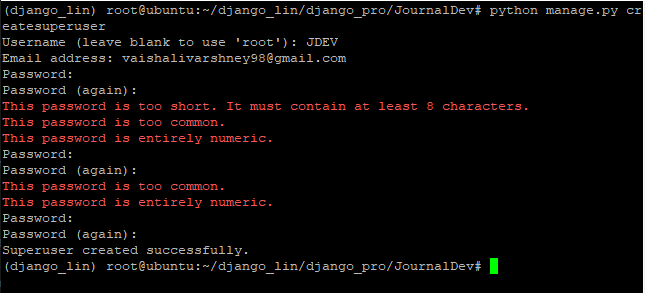
Create a Superuser for Django
To get into the admin panel, we need to create the user. For this, we will use the createsuperuser command to do so. It would ask for the username, email-id, and password. Fill up the details carefully. The password should be of at least 8 characters. If not, then it will show the error as shown below. Let’s have a look at the command:
python manage.py createsuperuser
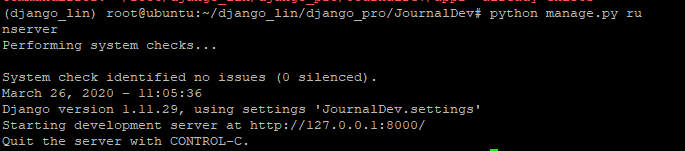
Test the server
This is the last step. After successfully creating the Django application, you need to test it on the server. To test the server, we will use runserver command. If you want to exit the server, use Ctrl + C to exit it. Let’s have a look at the command:
python manage.py runserver
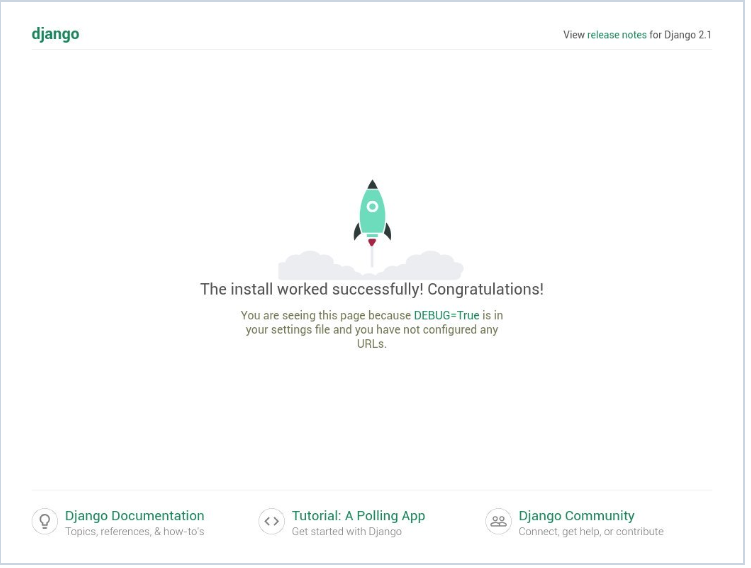
The port number to access the server is 8000. You need to type the URL having port number 8000 in the browser. After hiring it, you will be presented with a default Django page as shown below. Let’s have a look at the command:
http://IP_address:8000
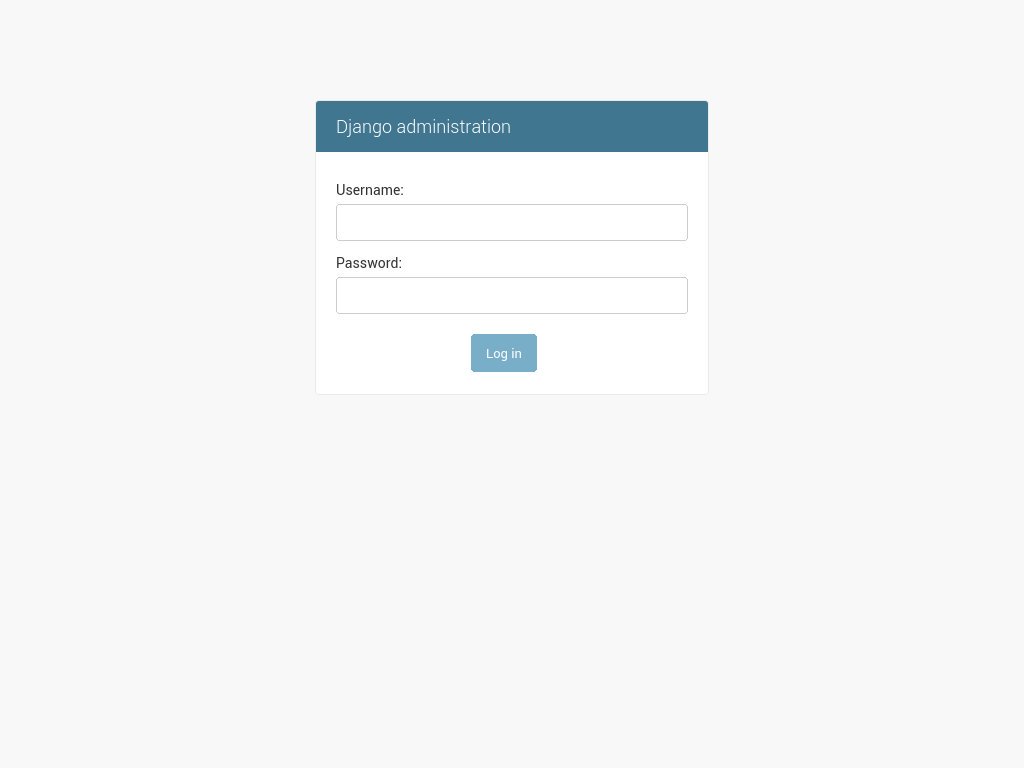
Now, to access the admin page just add /admin at the end of the URL. This will take you to the admin login page where you have to fill the superuser credentials the same as filled before while creating the superuser. Let’s look at the command below:
http://IP_address/admin/
Deactivating the Virtual Environment
After successfully performing the operations, you can deactivate the virtual environment using the deactivate command. This would stop the virtual environment. Let’s have a look at the command:
deactivate

Conclusion
That’s it. We have successfully installed Django on Debian. I have covered all the key points about the installation process. If you face any issues, then do let us know in the comment section.