
Hello guys, In this article, We will discuss how to convert raw camera images to jpeg or other formats. When you click images with a digital camera, They are saved as raw images. However, modern cameras automatically convert raw images to jpeg, jpg, or png.
It differs from camera to camera. Most operating systems need additional software to view or edit raw images. To convert raw images to jpeg or other formats through the command line, follow this article.
Steps to convert raw camera images to jpeg
1. ImageMagick
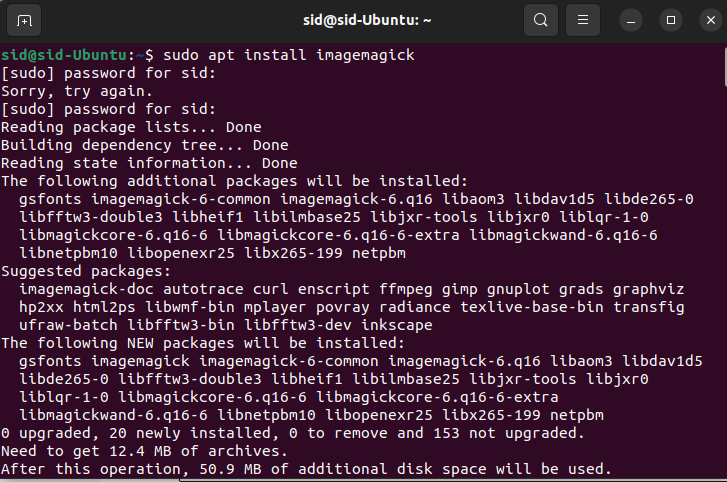
ImageMagick is an image processing tool that can be used using GUI or a command line. We can convert raw images to other formats using the convert tool. To install ImageMagick on Ubuntu/Debian, Execute the following command:
sudo apt install imagemagick
To install ImageMagick on CentOS/Fedora, Execute the following command:
sudo yum install ImageMagick
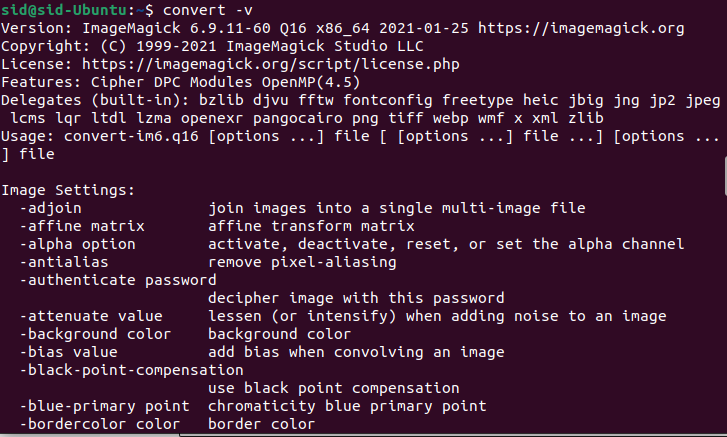
To check whether the convert tool has been installed, run the following command,
convert -v
For example, We have an image file named sample1.cr2. The cr2 files are used by canon digital cameras. Execute the cp command to copy the cr2 file to a file named raw_sample1:
cp sample1.cr2 raw_sample1

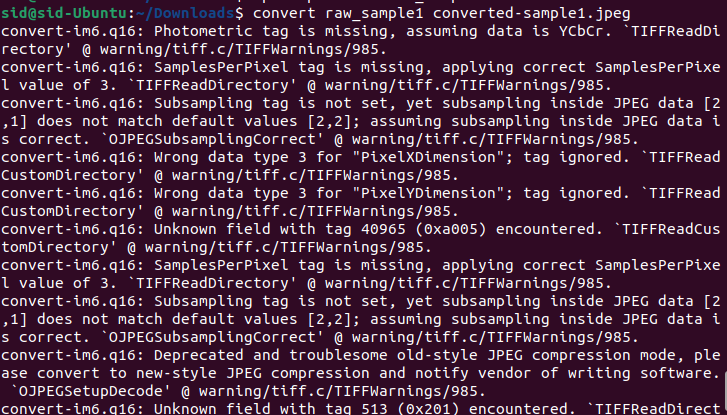
Now, to convert the raw file to jpeg, execute the following command:
convert <raw_filename> <filename_jpeg>
convert raw_sample1 converted-sample1.jpeg
The file command is used to read and analyze files. To verify if the raw file has been converted or not by executing the following command:
file converted_img1.jpeg

We can use options like -resize to resize the image, -quality to adjust the quality, or -rotate to rotate the image. Execute the following commands to apply the changes:
convert raw_img -resize 800*600 converted_img1.jpeg
convert raw_img -quality 80 converted_img1.jpeg
convert raw_img -rotate 90 converted_img1.jpeg
2. UFRaw
UFRaw is another tool for converting raw images to other formats. To install UFRaw, add the PPA repository by executing the following command:
sudo add-apt-repository ppa:crass/ufraw
Now, update the system repositories and install ufraw by running the following command:
sudo apt update
sudo apt install ufraw ufraw-batch
To convert the image file named raw_img to jpeg, Execute the following command:
convert raw_sample1 converted-sample1.jpeg
To convert a file named img1.RAF to jpeg, Execute the following command:
convert sample1.RAF convert_sample1.jpeg
The ufraw and don’t work on the recent versions of Ubuntu because the ufraw-batch package is not maintained anymore. This only works in Ubuntu 18.04LTS and older versions.
3. darktable
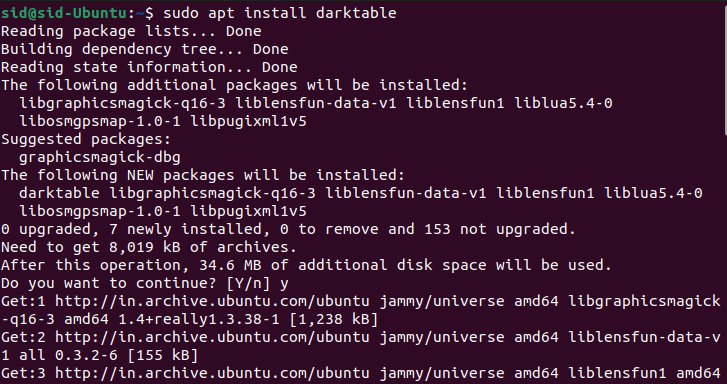
As the ufraw cannot be used on the recent versions, we have another and the best alternative, Darktable. To install darktable, Execute the following command:
sudo apt install darktable
Now, change the directory to where the raw images are located.
cd Downloads

To convert the raw images to jpeg, execute the following command:
find . -type f \( -iname "*.raw" -o -iname "*.cr2" \) -exec sh -c 'darktable-cli {} ${0%.*}.jpeg' {} \; -delete


If the raw images are in .NEF file format, change .cr2 to .NEF in the above command. The above command searches the current folder for any raw files and converts them to jpeg file format. It deletes the original file. To avoid deleting the raw image, remove -delete at the end of the above command.
Summary
So, We saw three different commands to convert raw images to jpeg or other formats. Nowadays, most cameras have the features to automatically convert images to jpeg or png format. You can also use ImageMagick through GUI. I hope it works for you. Thank you for reading!