

Let’s understand how you can work with, compress, and extract 7zip Files on Ubuntu. Compressing your files is a common practice nowadays. Compression saves space while storing files on your system. It also reduces the time which you need to spend when transferring your files over the network. 7zip archiver is one of the most commonly used tools by Linux users. When you download something from the internet, it is common to end up with an archive with a .7z extension.
A Linux system cannot open these archives on its own, so we need to install the 7zip archiver to start working with 7zip files on Ubuntu.
Getting started
The 7zip archiver is an open-source file compression tool. It is widely regarded as the file compression tool with the highest compression ratio. When compared to similar tools, it offers up to a 10% better compression. It utilises the secure AES-256 encryption standard for its archives. With its ever-growing popularity and multilingual support, it is an essential tool for every Linux user.
Installing the p7zip package
Now that we understand what the 7zip archiver is, its time to install it on our system. To install 7zip on Ubuntu, you don’t need to download anything. This is because the 7zip package comes with the default Ubuntu repository. The service that we’ll use is named p7zip and can be accessed using the apt command.
Before we begin the tutorial to install 7zip on Ubuntu, we might wish to make sure that we have the latest version of 7zip package. To do this, we need to update our default repositories using the apt package management service.
To do this, you need to open the terminal on your Ubuntu system and type the following.
sudo apt update && sudo apt upgrade
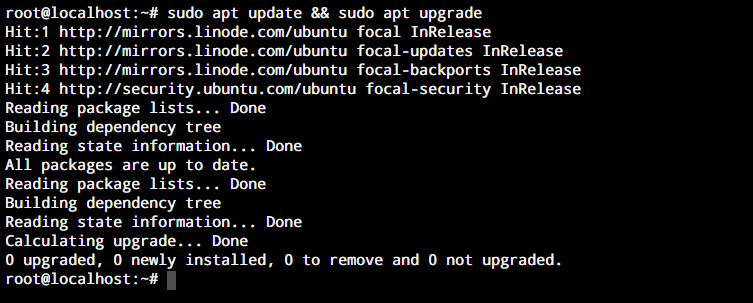
You should see an output similar to this on your screen. Next, we will use the upgrade command in our terminal. Now, this ensures that we will get the latest version of the p7zip package when we install 7zip on our system.
Now that we have covered the prerequisites, it is time to install it on our system. To do so, you need to follow these steps. First, we install the p7zip package which we just updated. This can be done by typing the following in our command line.
sudo apt install p7zip-full
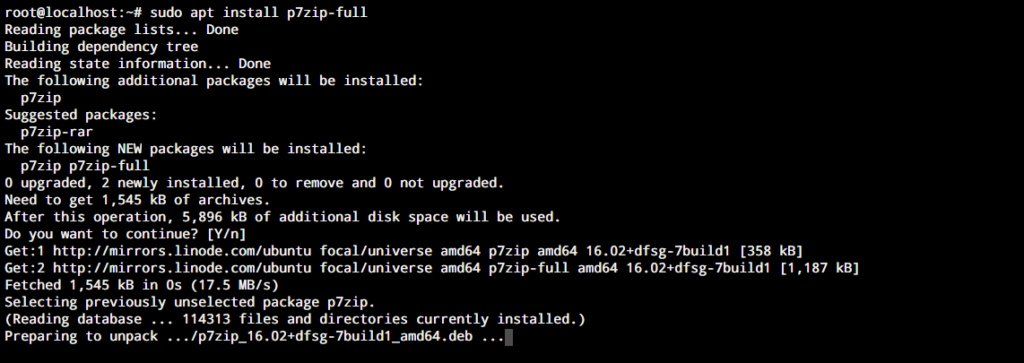
We will get a prompt asking whether we wish to proceed with the installation. Press Y to continue. Once the installation is done, we will enter 7z in the terminal to check if we installed the package successfully. You should see an output similar to the one given below. Now we can start working with 7zip files on Ubuntu.
Using the 7z commands
Now that we have installed the 7zip archiver on our system, its time to use it. Working with 7Zip files on Ubuntu is possible by right-clicking a file you wish to compress or decompress, but here we will discuss how you can use it through the command line.
Compressing a file
The first thing we will look into when working with 7zip files on Ubuntu is to create a .7z archive. You can create a compressed archive for your file using the following command.
7z a [archive name] [file/directory]

Here, the option ‘a’ tells the 7z command to add files to an archive. The archive name in the comment should be followed by the ‘.7z’ extension. Finally, we mention the file or directory which we wish to archive using the 7zip archiver. The following screenshot shows how we compress a file.
Decompressing a file
We discussed how you can often find files on the internet having the .7z extension. But we cannot directly use an archive for anything apart from storage or transfer. Working with 7zip files on Ubuntu requires you to decompress such files. To decompress a 7zip file, we use the following command.
7z e [archive name]
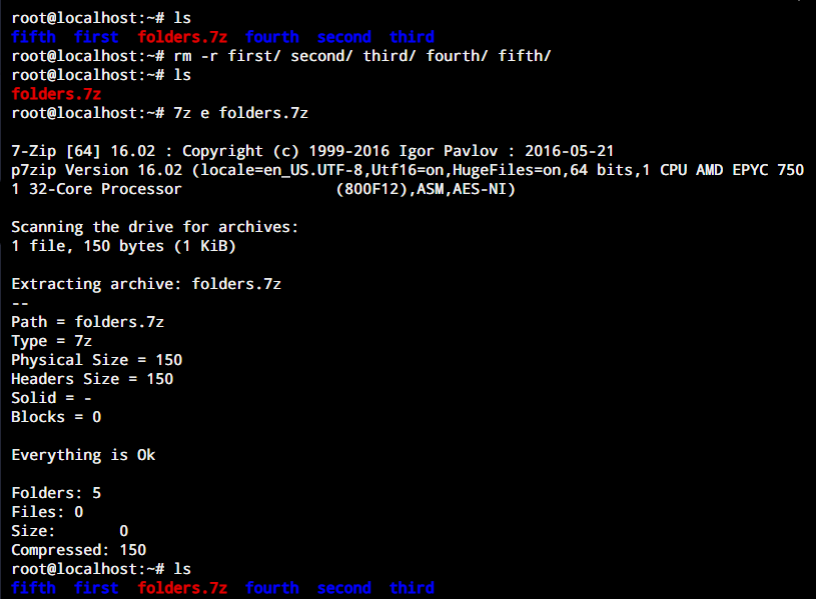
As you can see in the screenshot above, we deleted all the folders in the directory using the rm command and have displayed the directories using the ls command. After deleting the folders, we extracted the folders.7z file that we created earlier and we have all our folders back in place!
Checking the details of an archive
Sometimes you see an archive, but don’t recognise its contents. Extracting an archive just to know its contents is pointless. But no worries, because while working with 7zip files on Ubuntu you can list the contents of an archive among other details using the 7z command. Here is how.
7z l [archive name]
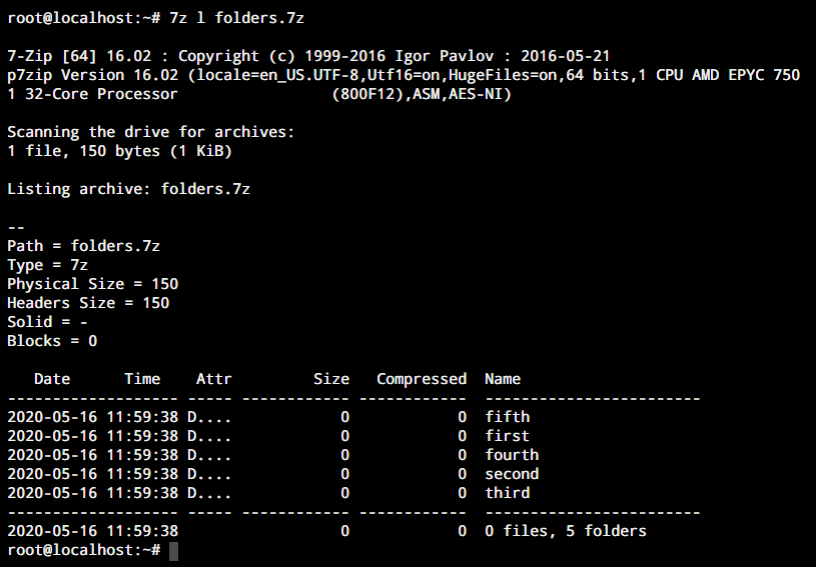
Here, the option ‘l’ tells the 7z command to tell you the details about the contents without the need to extract files from an archive. The following screenshot showcases the details which we can know this way.
Set Password to a 7zip File
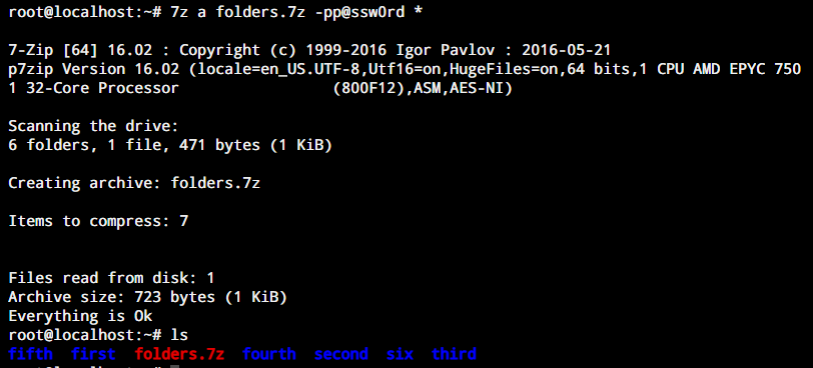
If you want to secure a 7zip file, you can use the –p switch and set a password for the file. Let’s do that right now. We’ll archive the existing folders.7z archive again with a password for this demonstration. The mhe switch in the below demonstration will encrypt the file names. You can safely skip that if you do not wish to encrypt the names of the files.
7z a <archive name> -p<password> -mhe <files to add and encrypt>
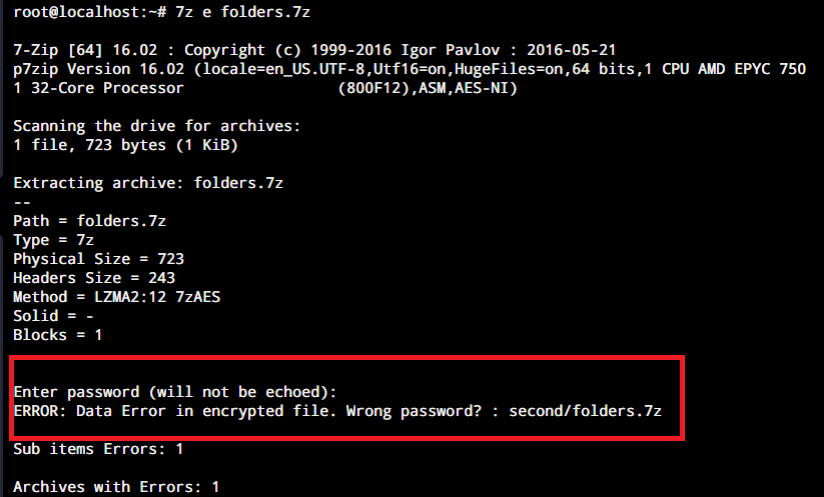
Now when you extract this archive, you’ll be asked for a password to extract it.
7z e <archive name>
Have a look at the screenshot below.
Further Ways to Work with 7zip Files on Ubuntu
Let’s have a look at how you can work with 7zip files on Ubuntu in some more ways.
#Delete files from a 7zip archive
7z d <archive name> <name of files to delete>

#Add new files to an existing archive
7z u <archive name> <name and path of the files to add>

# Test integrity of an archive - if it says "Everything is OK", you're good!
7z t <archive name>

# Rename files within a 7zip archive
7z rn <archive name> <original name> <new name>
Here are a few more command options that you can explore if the need arises for you. Most of the options that we covered here will be all that you’d ever need when you work with 7zip files.
| Option | Effect |
| rn | Rename files in an archive |
| t | Test the integrity of the contents of an archive. |
| a OR u | Add or Update the contents of an archive. |
| x | Extract files from an archive while using full paths. |
There are a ton of switches and options that the 7zip command in Linux offers for us. You can have a look at the man page for the 7zip command using the man command or by typing in 7z –help
Wrapping up
The 7zip archiver is a widely used file compression tool. It offers a high compression ratio in its archives. Its open-source nature has only contributed further to its popularity. When numerous files on the web are compressed using this tool, working with 7zip files on Ubuntu is required for even new users.
This tutorial aimed to help you install the p7zip package and start working with 7zip files on Ubuntu. If you have any feedback, queries, or suggestions, feel free to reach out to us in the comments below.
References:
- Steps to Install 7zip on Ubuntu – JournalDev article