

Ubuntu server is a server operating system. And it is not that difficult to understand the difference between the desktop and server. Both are Linux-based operating systems. The main difference is that the desktop version contains a desktop environment whereas the server version contains only the command line interface.
The hardware requirements are significantly less for the ubuntu server. As the name suggests it is mainly used as a server for hosting various services. Linux can be completely used using the command line and so ubuntu server.
If you planning to install any operating system on a machine it is a best practice to try it first in a virtual environment. In this tutorial, we will try it on Virtual Box and use the server using SSH. Virtual Box is a software application that allows you to run multiple guest operating systems on your host operating system. Assuming that your computer supports virtualization let’s begin with the tutorial.
Installing Virtual Box
For Windows users, the installation is quite easy. Just visit the downloads page here and download the executable setup file for Windows Hosts. Simply run the installer to install the virtual box.
For Linux, launch the terminal and run the below commands with respect to your distribution –
For Debian (Ubuntu, Kali Linux, etc) –
❯ sudo apt-get install virtualbox
On Ubuntu, you can also install Virtual Box from the software centre.
For Arch users –
❯ sudo pacman -S virtualbox virtualbox-guest-iso

❯ sudo gpasswd -a $USER vboxusers

❯ sudo modprobe vboxdrv
You can refer to the official website for other distributions as well.
To launch the application either search it in the applications or hit the following command in a terminal –
❯ virtualbox
Downloading Ubuntu Server
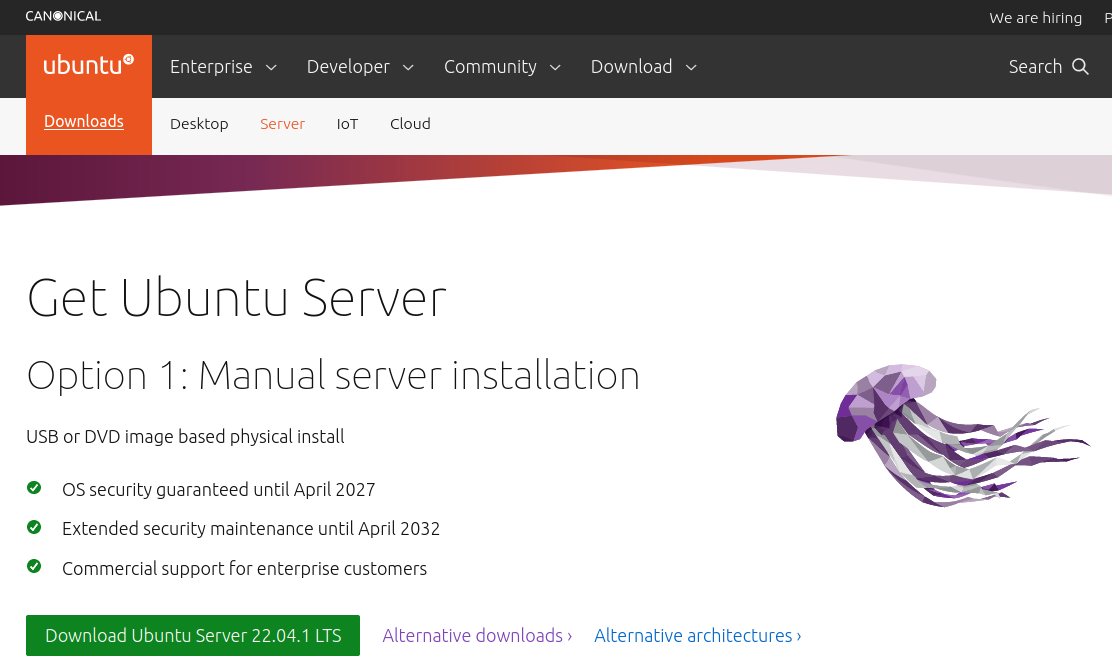
Visit the official download page here to get the latest image. I am using the latest image i.e. 22.04 at this time of the article. If you are interested in any specific or old image then you should visit the releases page which contains all the releases (old & new).
Initializing Virtual Box For the Server
Now, let us launch the virtual box and create an environment for our server.
Step 1)

Click on the New icon to the right to add a new virtual machine.
Step 2)
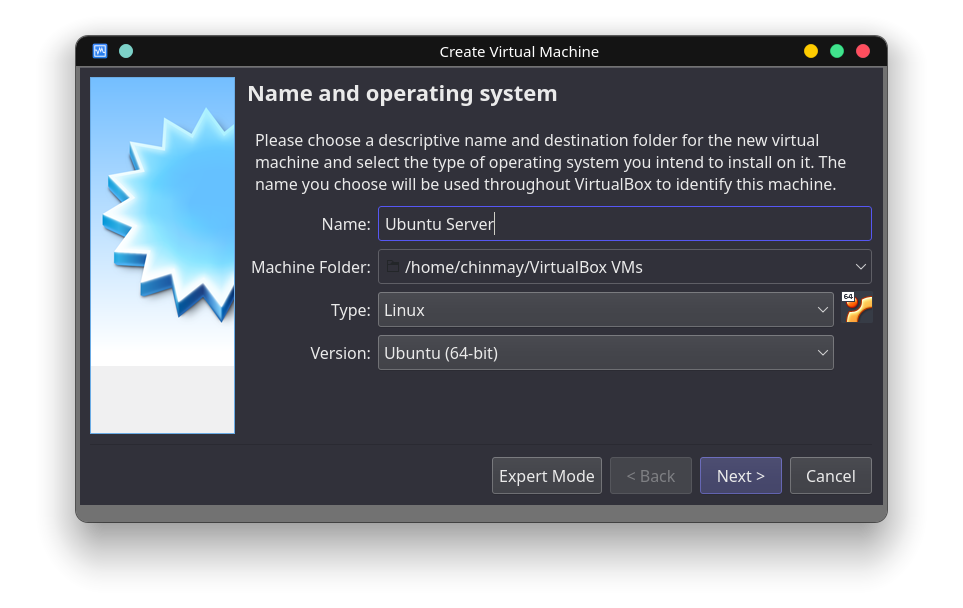
In the next section, give your machine a name for example Ubuntu Server. Keep the machine folder location to default only. Select the type of machine as Linux and the version as Ubuntu (64-bit). Click on next.
Step 3)
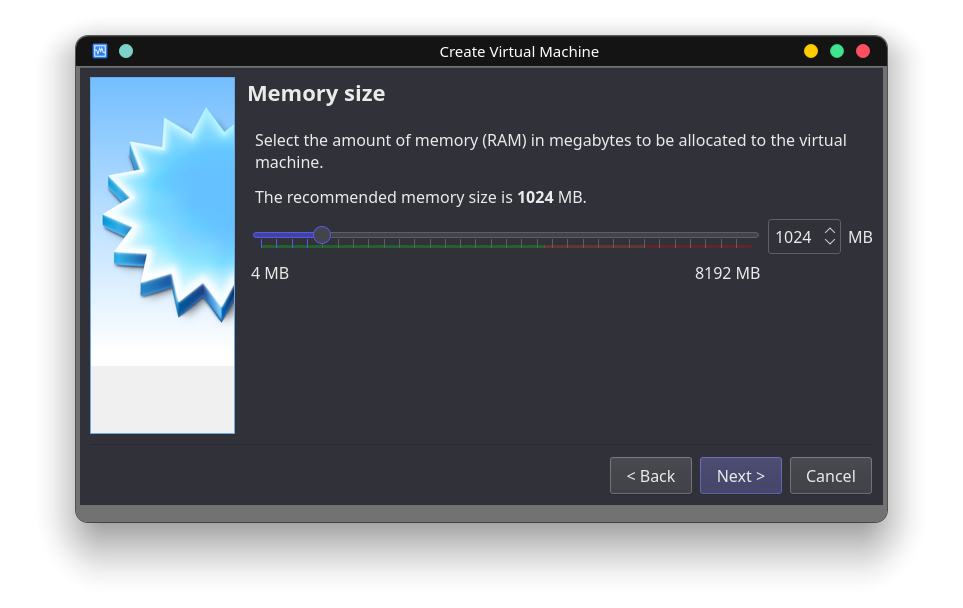
Giving RAM for your machine. Please note that this RAM will be used from your host operating system. Although, ubuntu server requires very less memory. I am giving it 1 GB RAM. If you are planning to run tasks that require more memory you can choose accordingly.
Step 4)
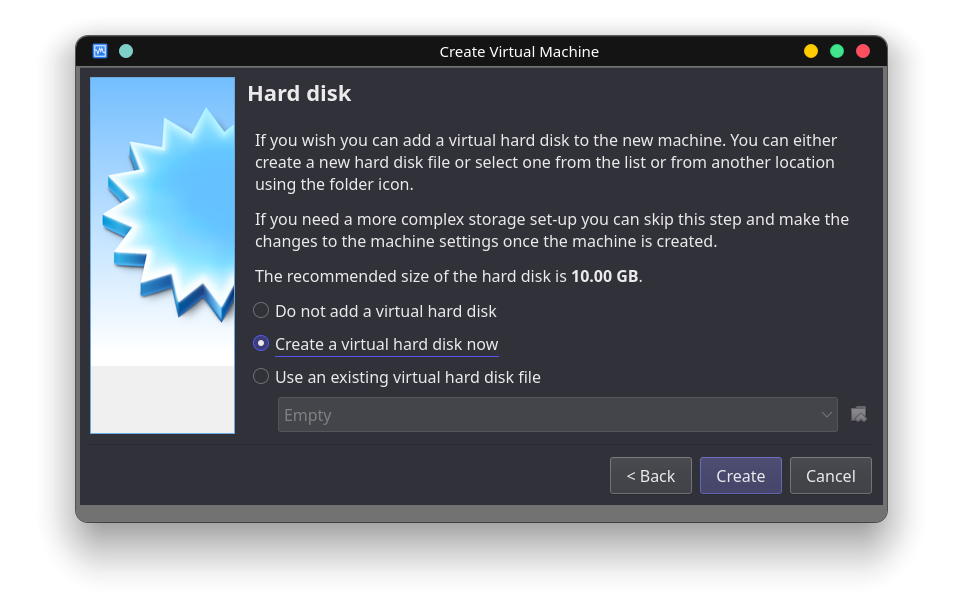
We will create a virtual hard disk for our operating system. Click create.
Step 5)
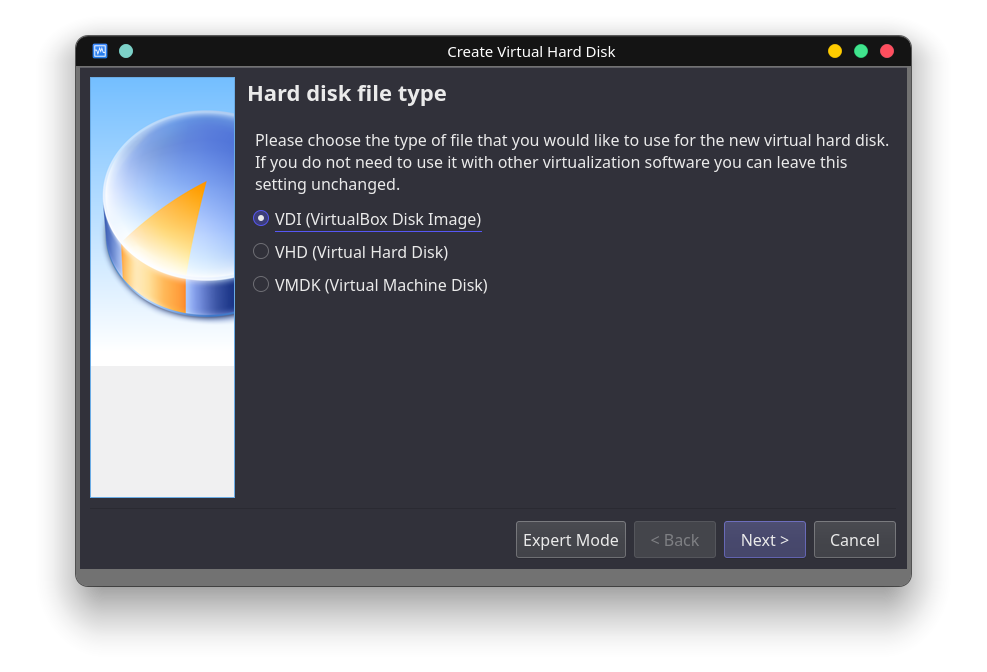
Leave the type of virtual hard disk the default for now. Click next.
Step 6)
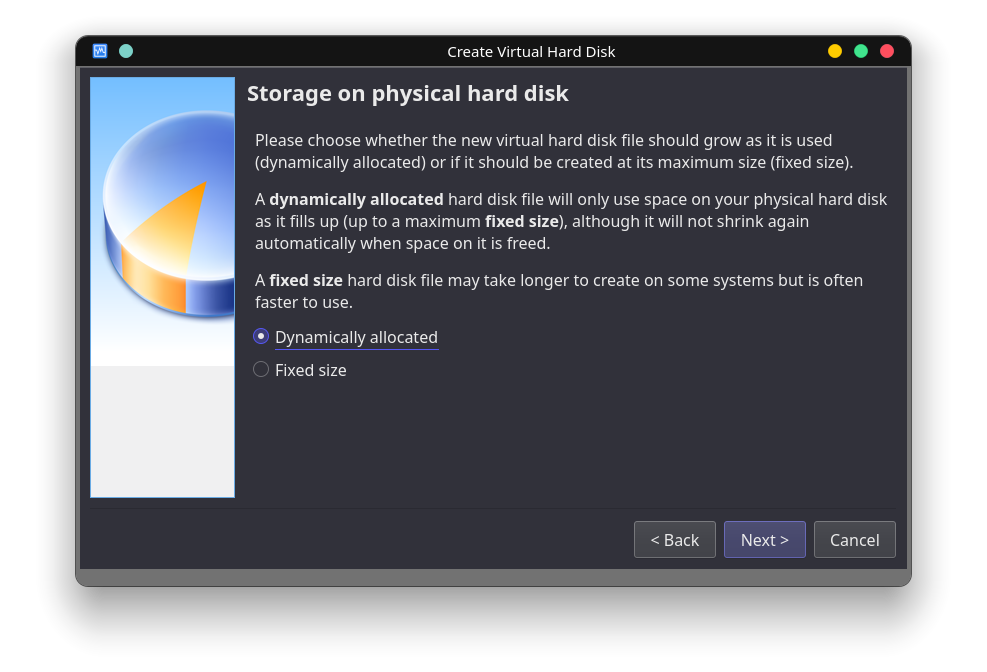
Choose this carefully. A dynamically allocated storage will grow as the data flows in. And fixed size is a storage which is fixed and cannot be changed. A dynamically allocated storage is much slower than fixed. Fixed-size type will be a good choice for a smoother way to operate.
Step 7)
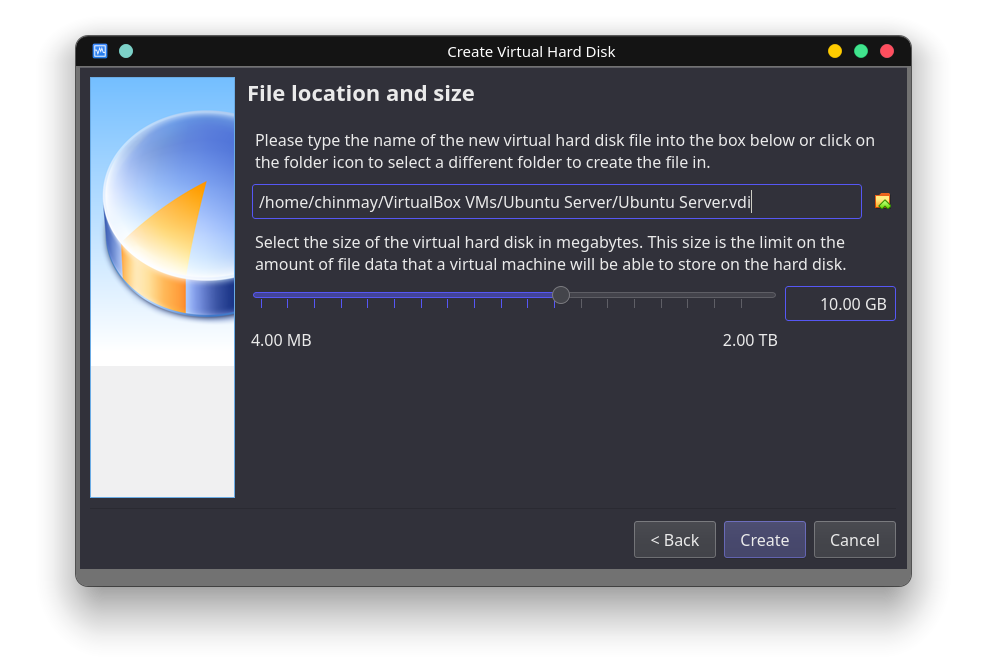
This OS requires very less space. For now, I am giving it 10 GB. 5 GB will also do. Simply click on create. You have successfully created a virtual environment for our server.
Step 8)
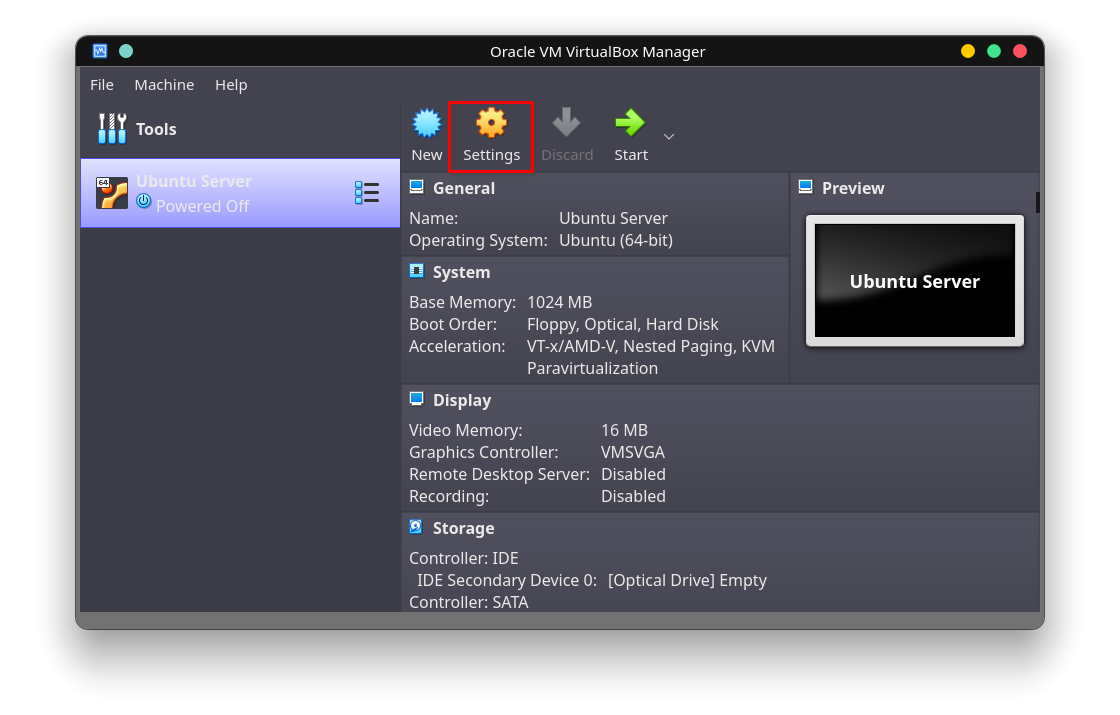
With your virtual machine selected on the left, go to the settings from the top.
Step 9)
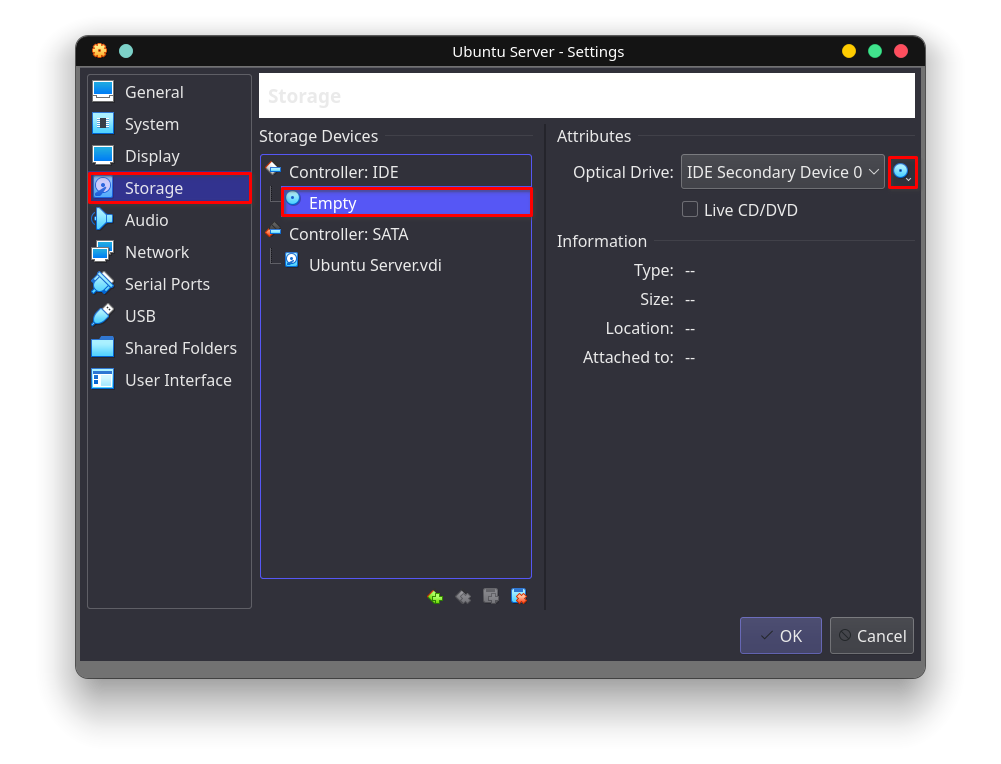
In the settings, go to Storage and select the empty disk. Then on the right click on the CD-like icon and choose the disk file you downloaded. After selecting click on Ok to close the settings. This will insert the OS file into the machine.
Ubuntu Server Installation
It’s time to start our ubuntu server and do the initial setup.
Step 1)
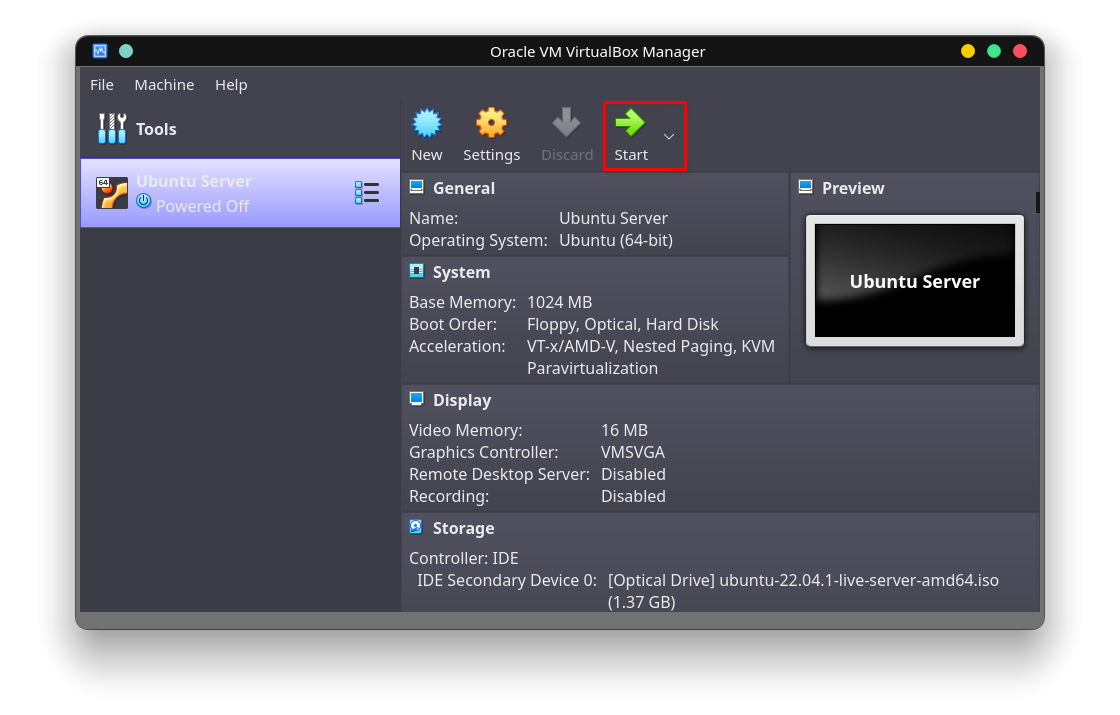
It will boot with the disk file you inserted.
Step 2)
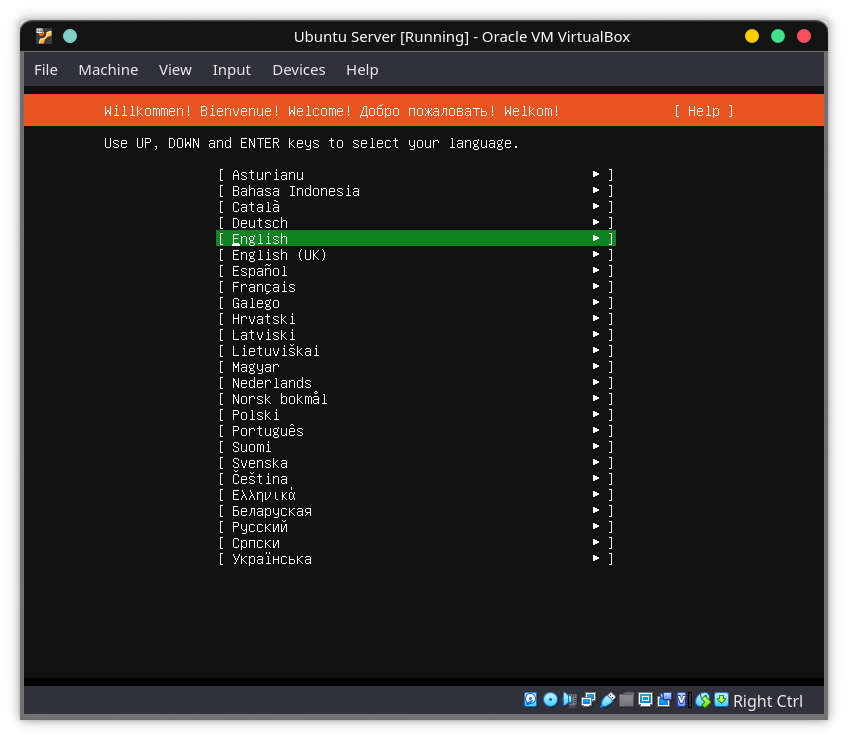
Select your preferred language and hit Enter.
Step 3)
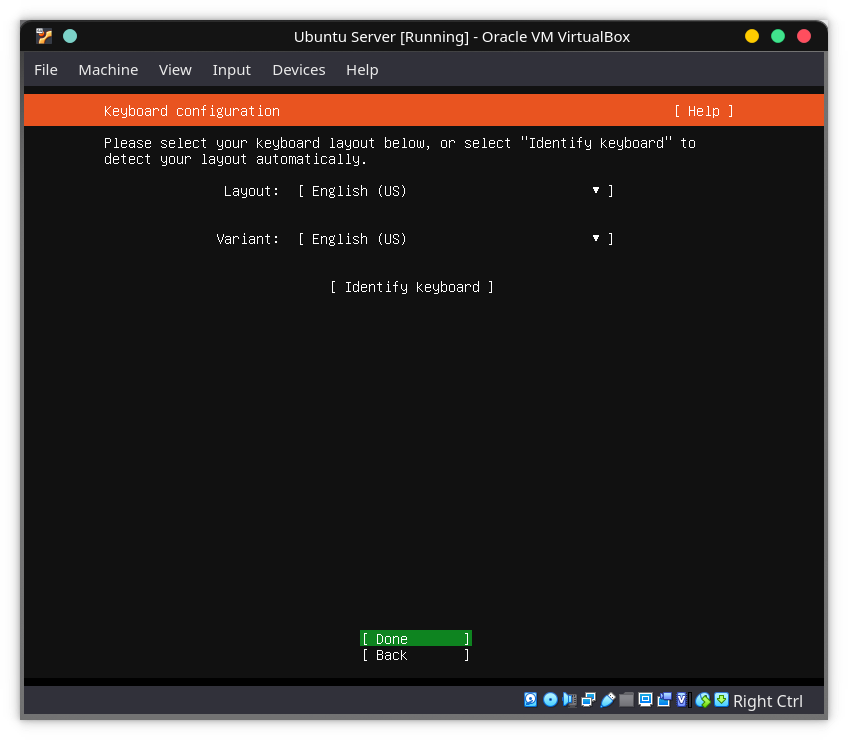
Choose the keyboard layout you use. Use the arrow keys and enter key to move around and choose. You can identify keyboard if you are unsure. After choosing the right layout come to done and hit enter.
Step 4)
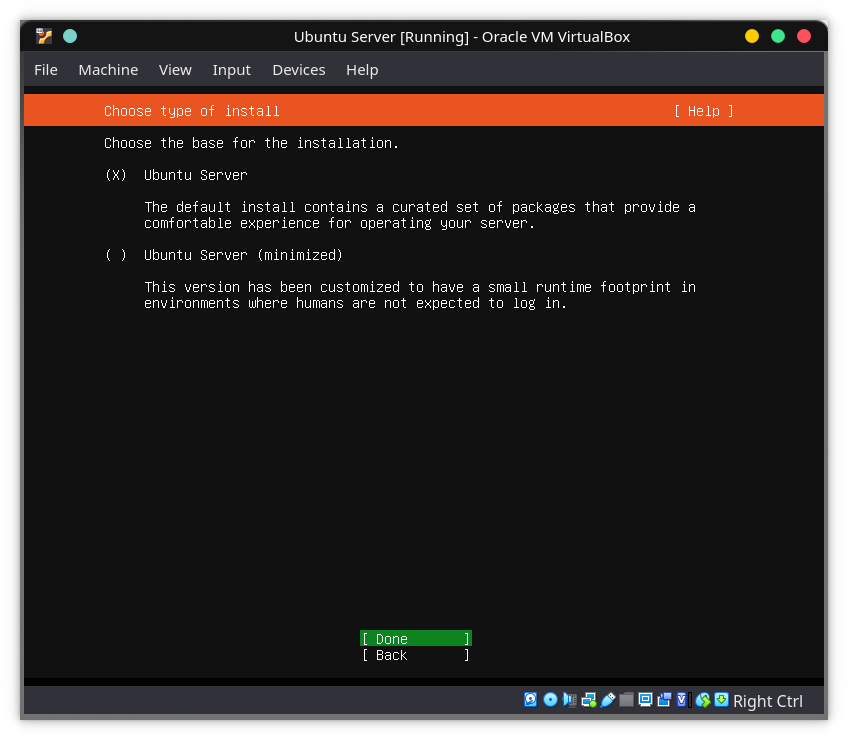
I am going with the standard installation as I need all normal packages. If you want a minimal installation move around with arrow keys and press Space to select the type of installation. Click done.
Step 5)
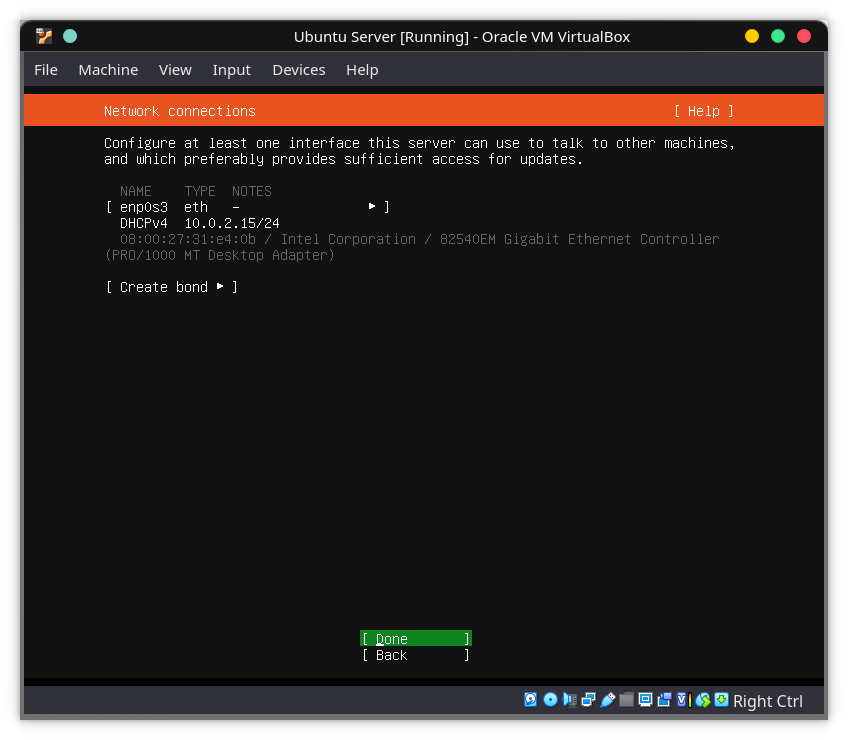
For now, I am leaving the network settings to default. I am going to configure it in the virtual machine settings later.
Step 6)
Give a proxy if you have any. Or just go next.
Step 7)
It is recommended to keep the default mirror for downloading and updating packages. You can give any of your choices. I am going with the default. It can also be changed after the installation.
Step 8)
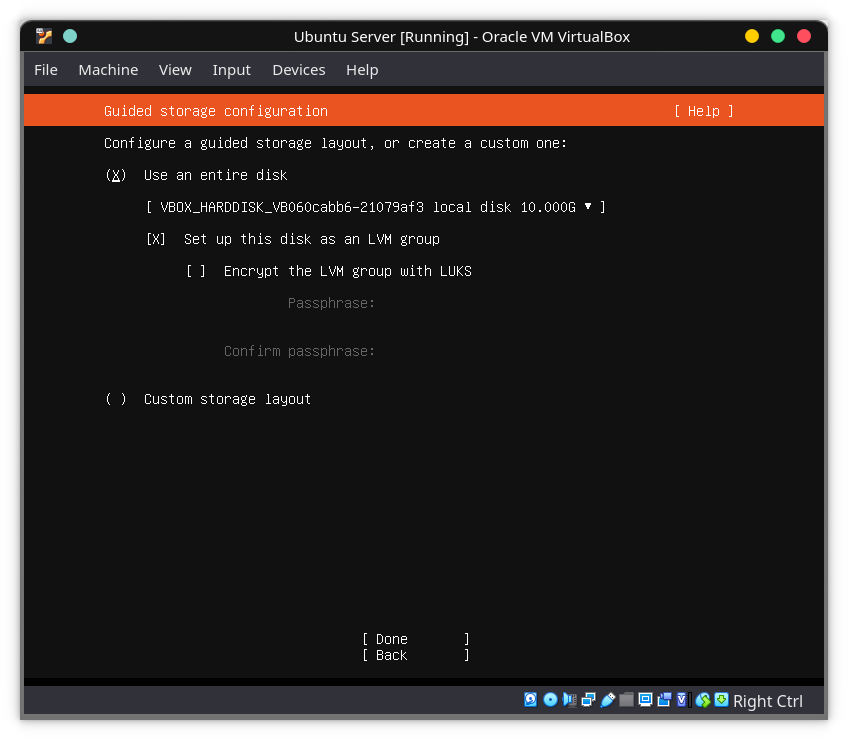
This is how you want to install it on the virtual hard disk. As we have created a hard disk (10 GB) go with the entire disk. You can set up LVM if you want. Custom Storage Layout is for installing it on a specific partition.
Step 9)
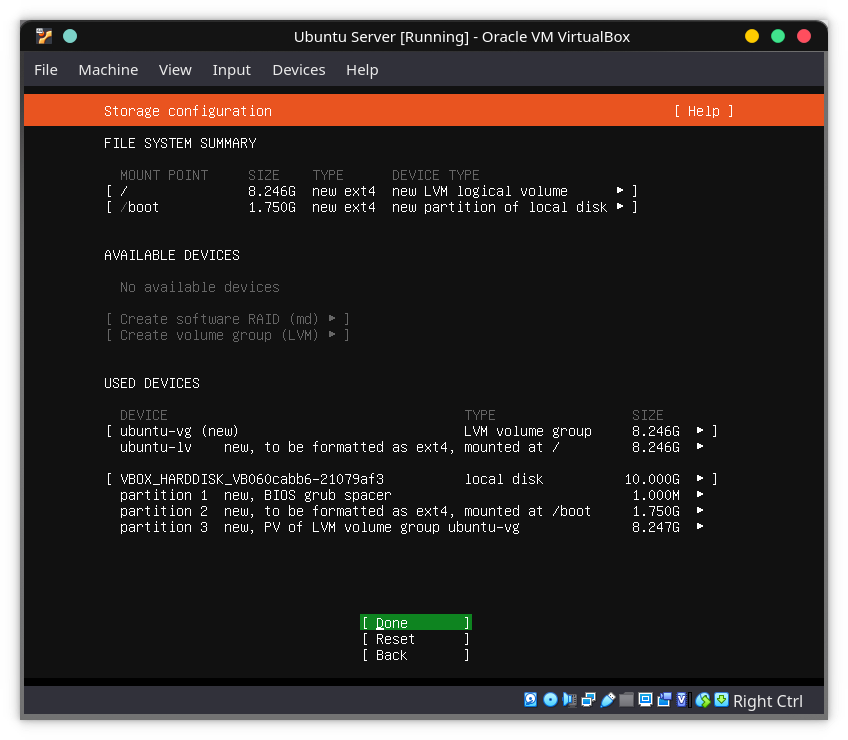
It will now show you how the hard disk will be partitioned and formatted. Just click Done.
It will warn you as the entire virtual disk gets formatted and tuned. Simply select Continue.
Step 10)
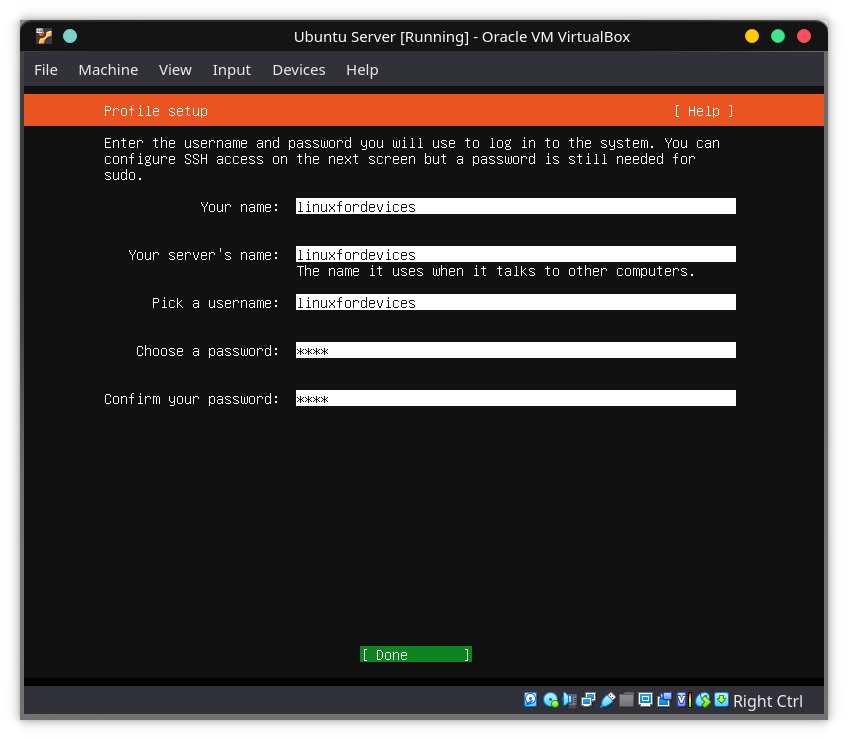
Type your name, hostname and username and give your server a password. And click done.
Step 11)
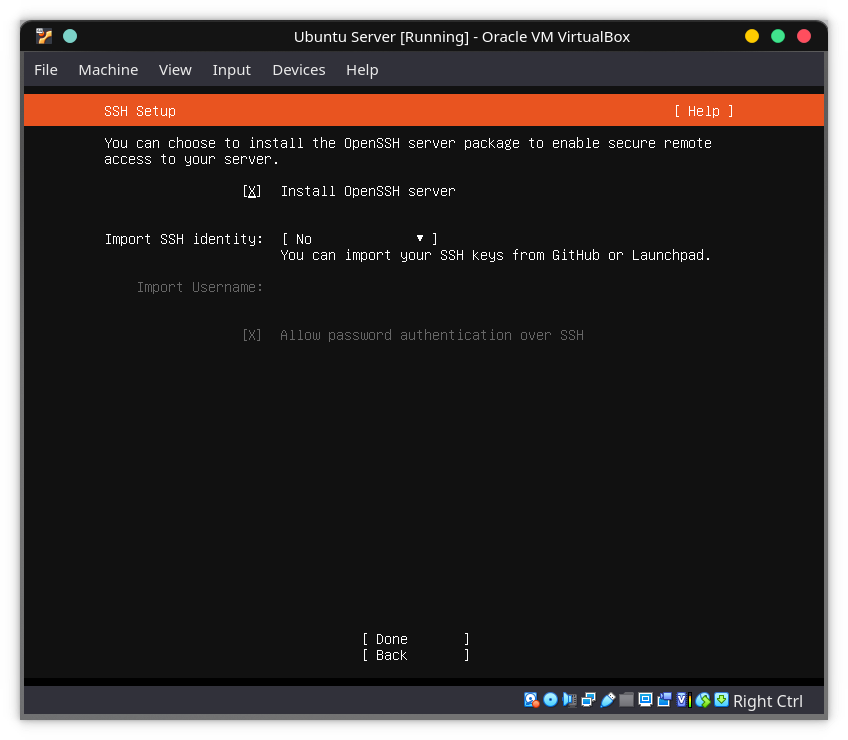
Make sure to tick the Install OpenSSH Server using your Space key.
Step 12)
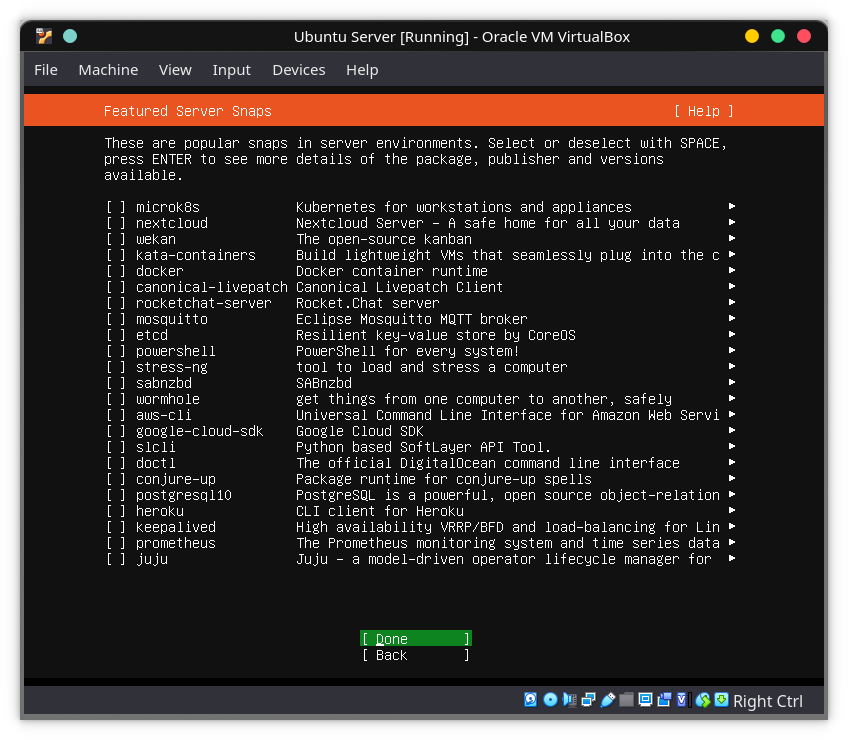
Select the packages you need now to save time after installation.
Step 13)
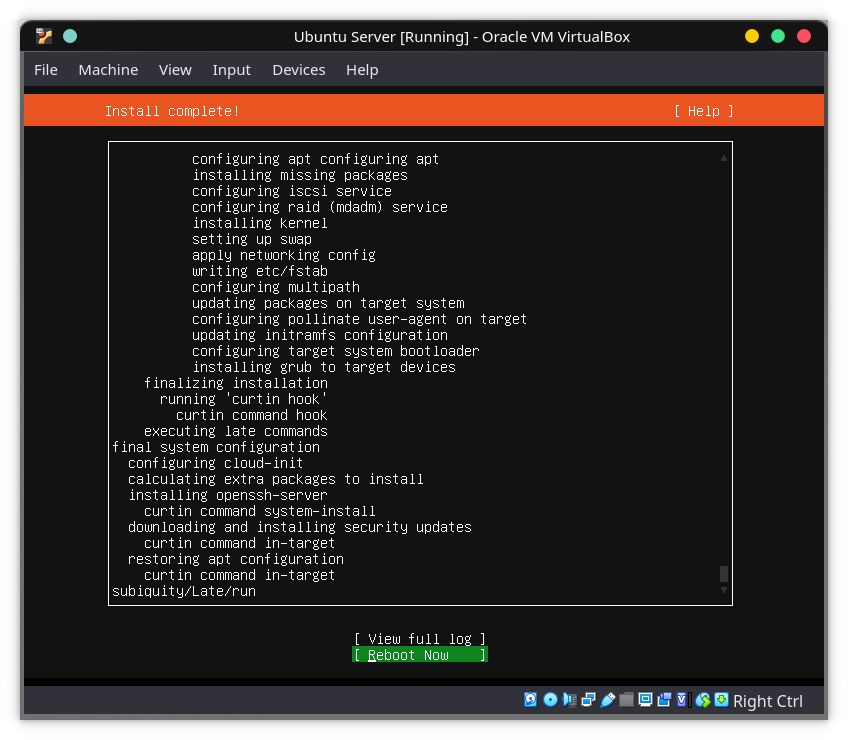
Congratulations, you have successfully installed the ubuntu server. Reboot the server.
Step 14)
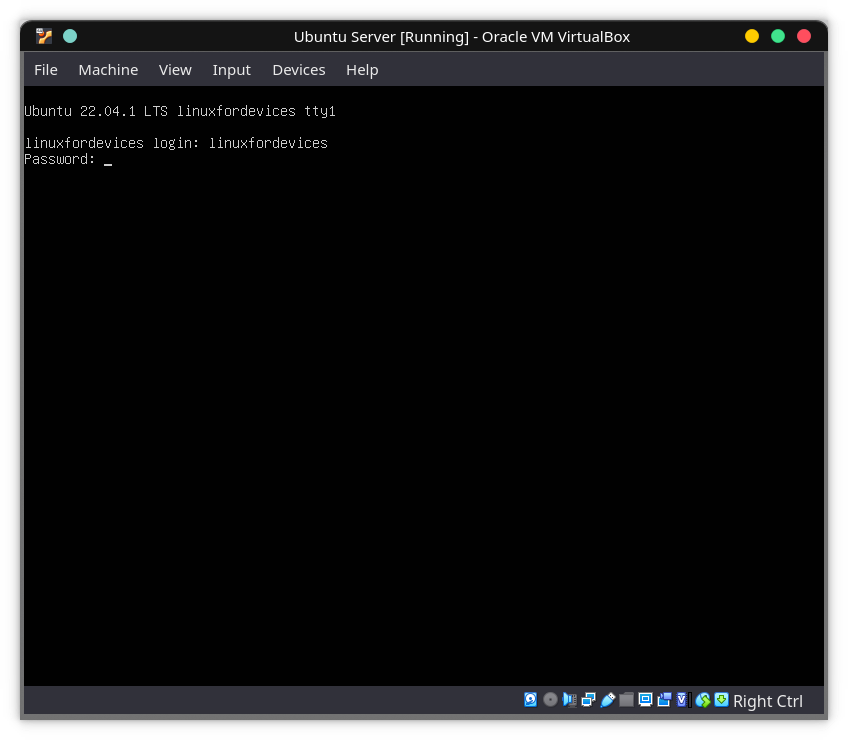
You will get the above-like screen. Type your username and password you created during the profile setup. After logging in, run the following command to shut down your server because we have to tweak some virtual machine settings.
❯ sudo poweroff
Setting Up SSH
Secure Shell or Secure Socket Shell is a command line application that lets you securely connect with different computers even in an unsecured network. We will use ssh to connect to our server making it easy to access the server using the host OS terminal.
Installation
We will need an ssh client on the host computer. We have already installed the ssh server on the ubuntu server.
For Windows 10 and above –
Launch Powershell as administrator and run the below command –
❯ Add-WindowsCapability -Online -Name OpenSSH.Client*
Installation for Linux distributions –
For Debian users (ubuntu, kali, etc) –
❯ sudo apt install openssh-client
For Arch (Arch Linux/Manjaro) –
❯ sudo pacman -S openssh
For OpenSUSE –
❯ sudo zypper install openssh
For Fedora –
❯ sudo dnf install -y openssh-clients
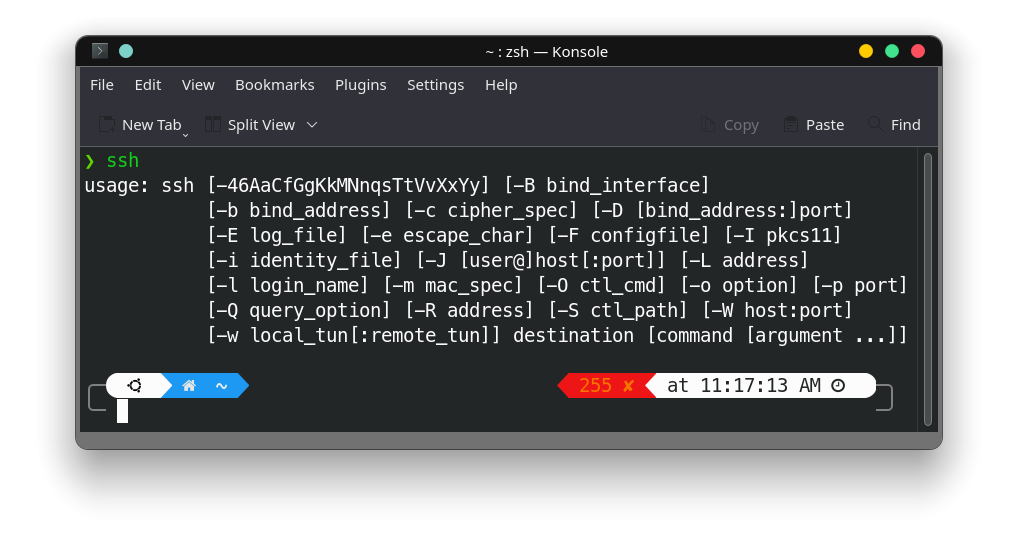
Verify Installation
Launch cmd or terminal and execute the following command to verify –
❯ ssh
Now, head to the settings of your virtual machine.

Head to the Network section and change the adapter type to bridged. Refer to the above image. This will create a bridge between your host computer’s network and your virtual server.
Start your server again, log yourself in and run the below command –
❯ ip address
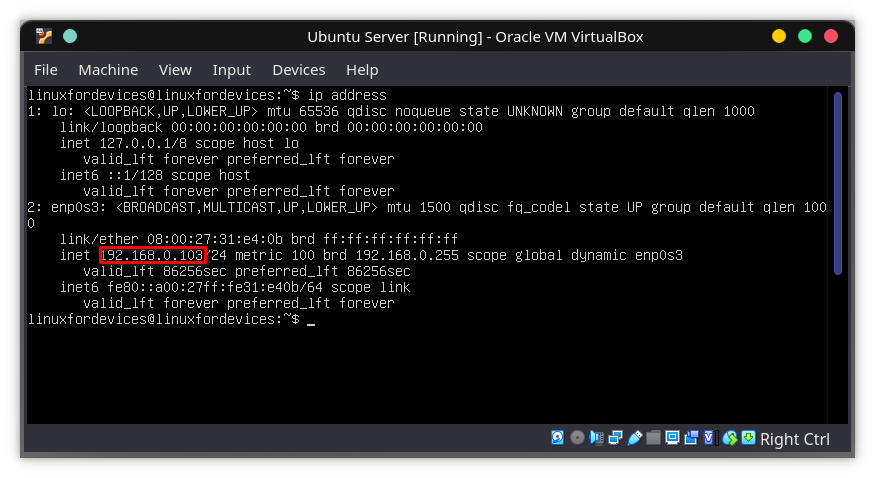
Note down the IP address. We will use this IP to connect to our server using ssh.
Launch a terminal or cmd in your host operating system. The syntax to connect to a computer is –
❯ ssh [username]@[ip address]
Therefore in my case, it will be –
❯ ssh [email protected]
Replace username and IP with your own.
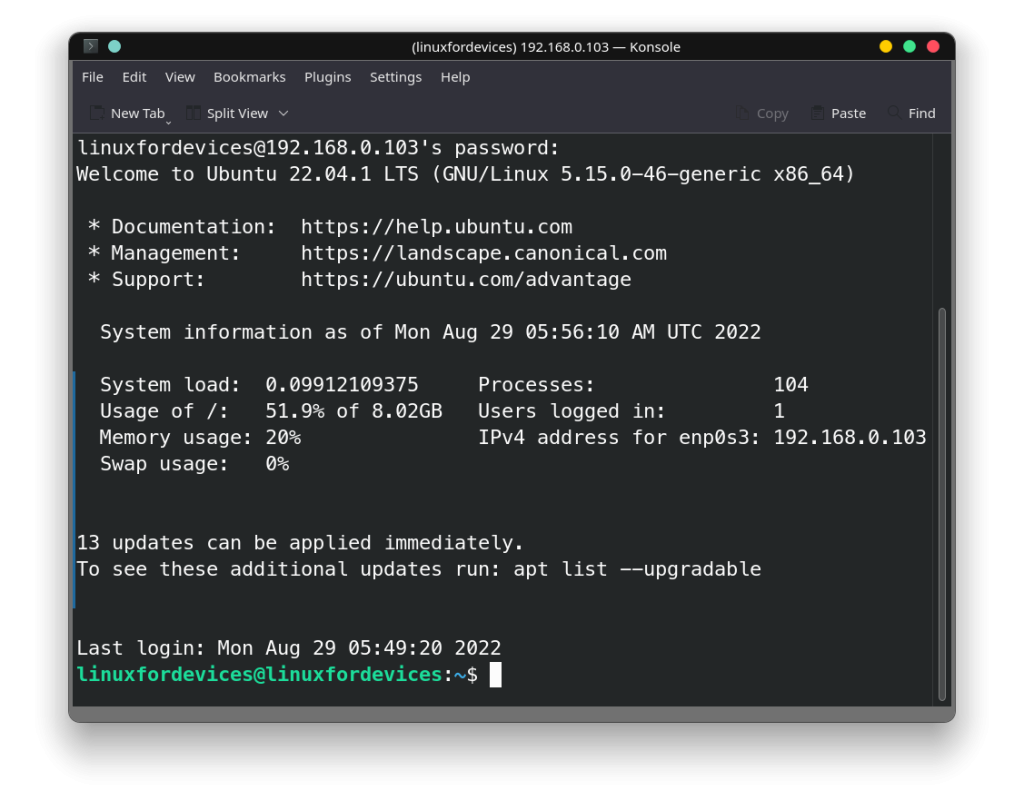
Type your password when prompted. Now you are inside your server. For starters, run the following apt update command to update the server –
❯ sudo apt update && sudo apt upgrade
Summary
I use this method as an alternative to WSL, to run Linux on Windows as WSL has some limitations. Now you have a working ubuntu server which can be easily used using ssh. Try some features of the server then later you can install it on an actual machine.
Further Reading
- Dual boot Windows and Ubuntu in separate hard drives
- Network Configuration Guide for Ubuntu
- How to install and use AnyDesk on Ubuntu 22.04LTS?