

As we all know, taking a backup of our data is really important. You never really know if you will become the victim of a hardware failure or accidental deletion of a critical file by that annoying relative’s kid who was ‘playing games’ on your PC. That’s why regularly taking backups is essential, and companies do it all the time, but their backup process is mostly automated.
However, as a regular user, you can take the backups manually using an easy-to-use tool known as Timeshift. It is available on all the Linux distributions, and it is fully open source, of course! In this article, we will take a look at the installation process of Timeshift and I will also show you the process of taking backups.
Installing Timeshift on Linux
Because it is available in the repository of every Linux Distribution, Timeshift can be easily installed on any Linux distribution, just open a Terminal application and type the commands accordingly :
On Debian and Ubuntu-based distribution
If you have Ubuntu 20.4 or any lower version of Ubuntu, you will have to add the ppa repository first, but if you have a newer version, you can just start installing the application directly. To add the PPA, type :/sy
sudo apt-add-repository -y ppa:teejee2008/ppa
sudo apt update
sudo apt install timeshift
And for Ubuntu 20.4 above versions, simply type :
sudo apt install timeshift
For Arch Linux and Arch-based distributions
The package is available in the Arch User Repository (AUR), therefore you need to have an AUR helper such as yay or paru installed on your system first. Type :
paru -S timeshift
That’s it! Type in your password when asked and press enter when asked and the application will be installed on your distribution.
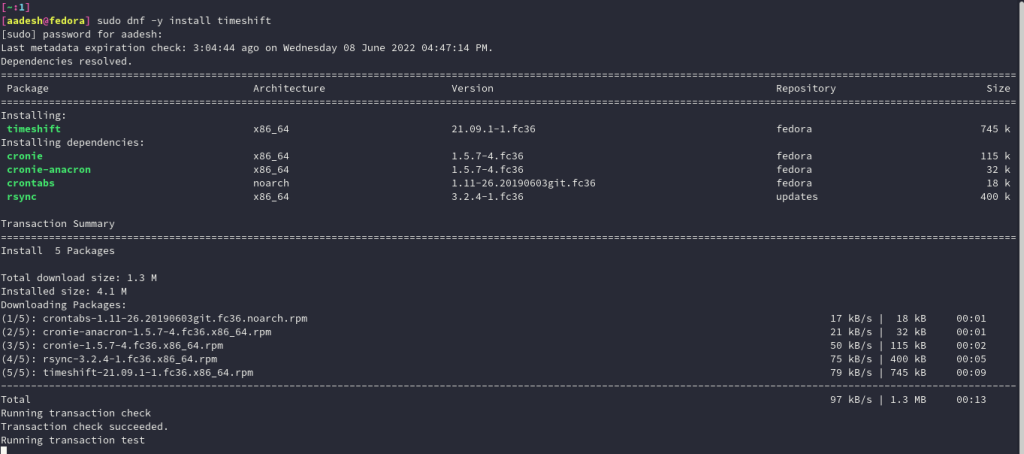
On Fedora Workstation
It is also available as an official package in the Fedora repositories, so you just have to look for the application in GNOME’s Software Center or install it via the command line by typing the commands mentioned below :
sudo dnf -y install timeshift
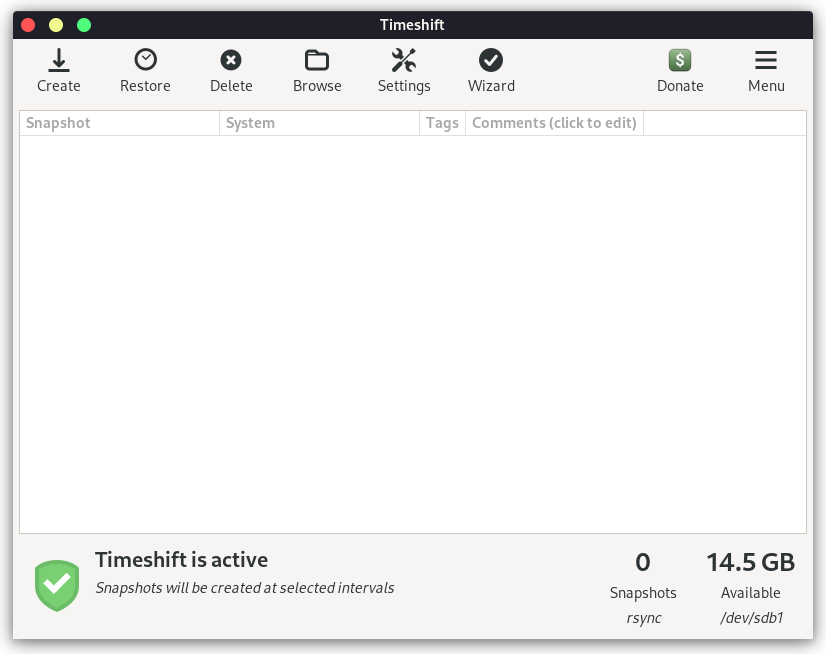
Taking backups using Timeshift
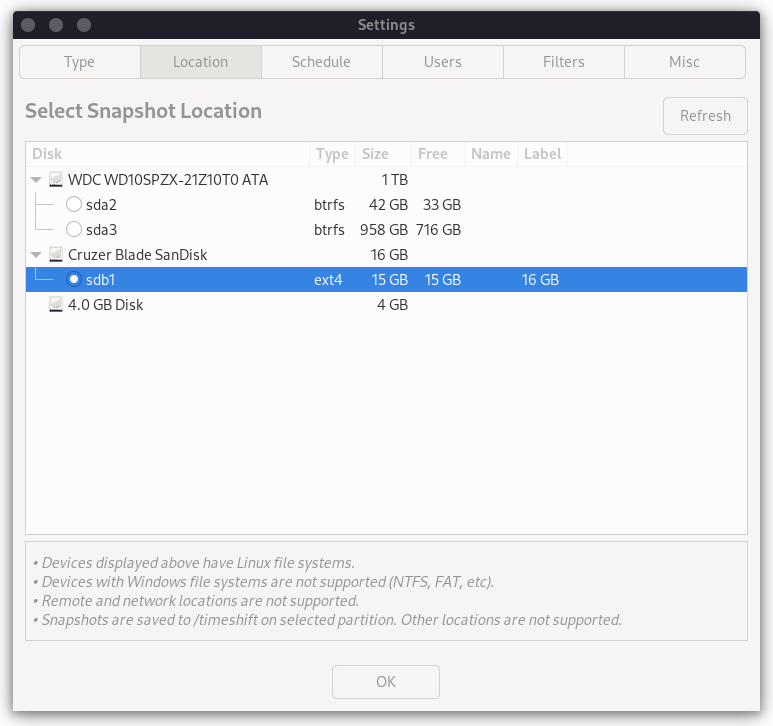
First, make sure that you have a USB drive connected to your PC with a sufficient amount of storage capacity with a Linux Filesystem (ext4, btrfs) on it.
Also Read: Formatting USB drives in Linux
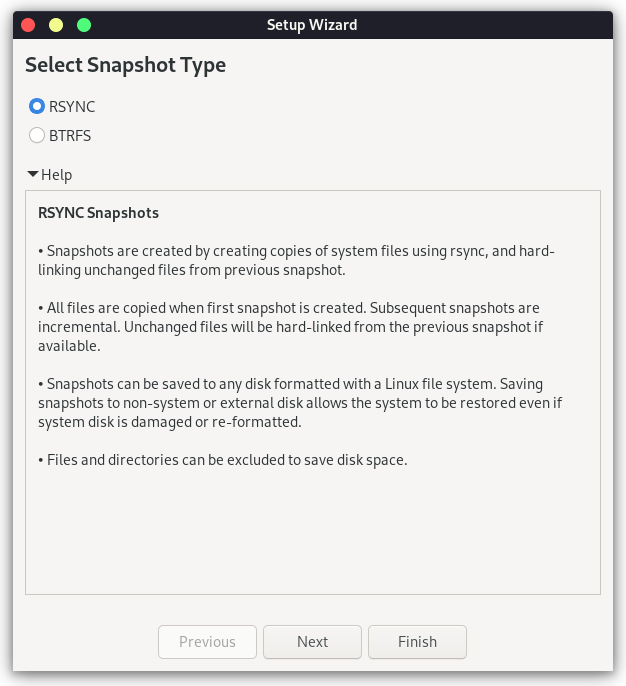
Now, open the application from the Applications Grid and a dialog box will open asking you to choose between RSYNC and BTRFS. BTRFS is useful if you have a Fedora or Manjaro Installation, as they both have BTRFS as their default file system extension. On any other Linux Distribution, pick RSYNC.
- Note that BTRFS backups can only be created on the system drive and therefore if you don’t want to lose your data in case of a system crash, use the RSYNC option.
Now, you will have to select the location of your backups, and select the USB drive which you have plugged in.
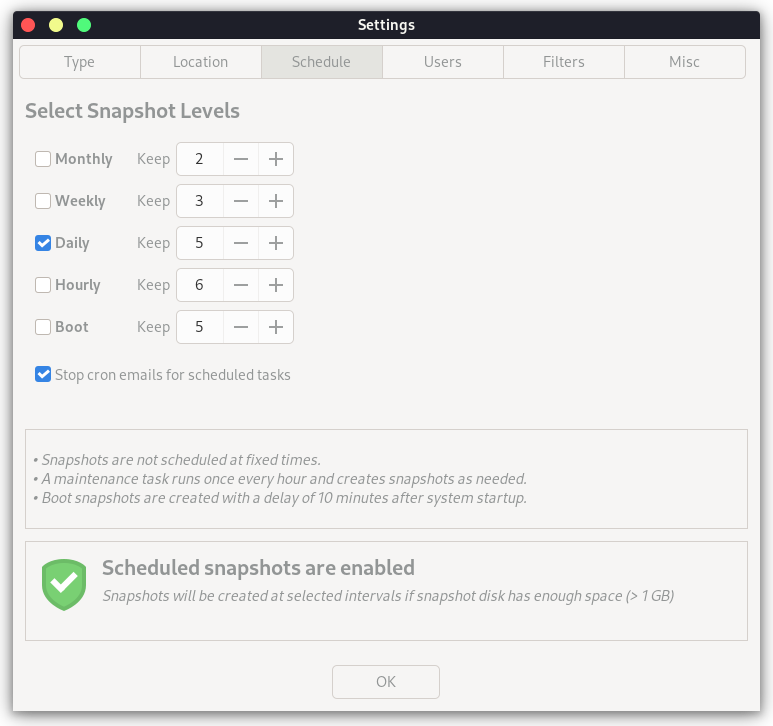
Next, select the frequency at which you want your system to take automatic backups, usually once per week is fine, but if you’re doing some critical work you can also set it up to take daily backups.
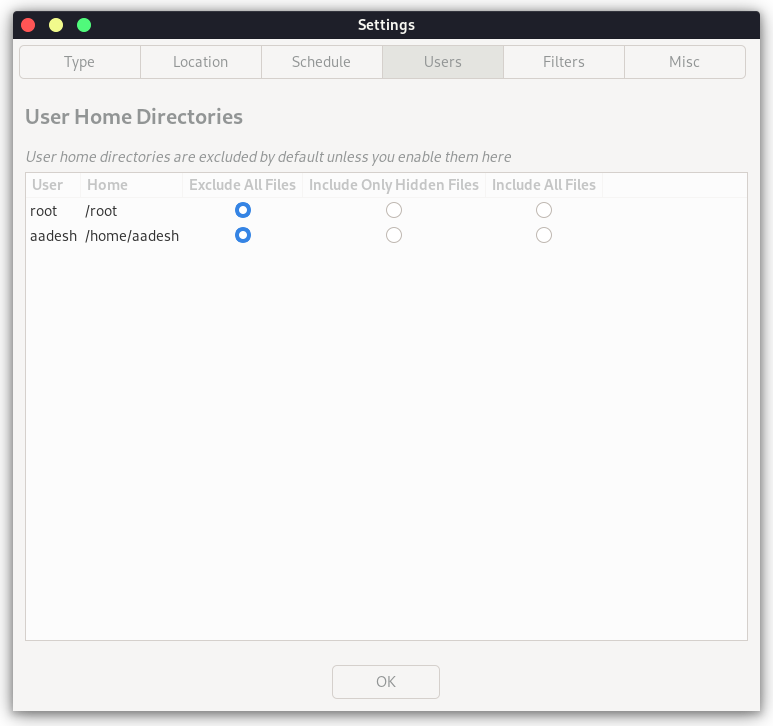
Now, you can select the Home directories that you want to take backup of. Note that selecting this can require a lot of storage, therefore I only like to select the ‘Hidden Files’ option, which has all the config files and settings for the applications.
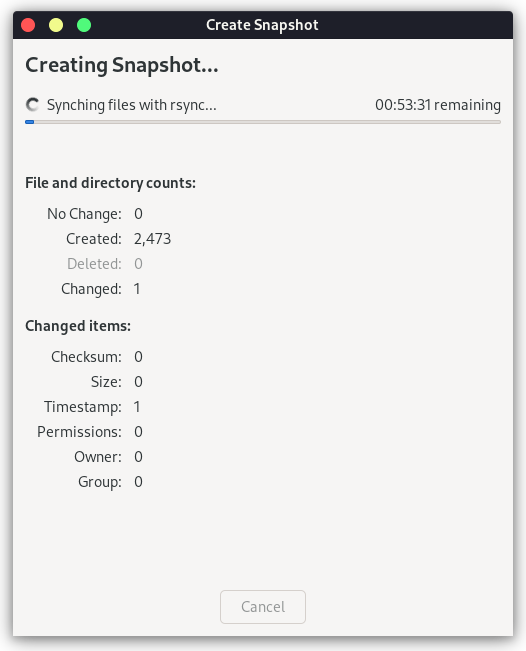
Well, that’s it, click on the create button and the application will start taking snapshots of the system for you.
How to restore the backup?
Let’s say you deleted an important system file from your distribution. Now if you want to restore everything as the way it was. You can simply follow along. Create a Bootable live USB of the same version of the Operating System and boot into it.
Now, install Timeshift in the live session using the terminal and plug in your USB which has all the backups stored.
Simply click on the snapshot version and hit the restore button now, and everything will be the way back to how it was before.
Summary
Well, that’s about it, don’t forget to take backups regularly because once the data gets lost, it’ll only consume your time and money to recover it. And remember, prevention is better than the cure.