
Most of the time, people use the default Terminal application that ships with their distribution (or more correctly, the Desktop Environment). These include Gnome Terminal, XFCE Terminal, Mate Terminal and so on in GNOME, XFCE and Mate desktop environments respectively. However, there are many other lightweight Terminal applications available written in different languages for different functionality.
Kitty Terminal is one such emulator application. It is written in Python and Objective-C language. It can be easily configured and controlled directly from the shell prompt, over ssh and through shell scripts. Kitty Terminal is very lightweight, built keeping low resource usage in mind by the developer. But, it can give an enhanced experience to you by displaying images and videos in the Terminal itself. Other than that, it also supports Unicode, mouse protocol, true-colour, and hyperlinks.
Installiing Kitty Terminal
Kitty is available in the official repositories of all the major Linux distributions, simply open your Terminal and type the following commands depending upon your OS :
# On Ubuntu and Debian-based distributions
sudo apt update && sudo apt install kitty

# On Arch Linux based distributions
sudo pacman -S kitty

# On Fedora Workstation
$ sudo dnf -y install kitty
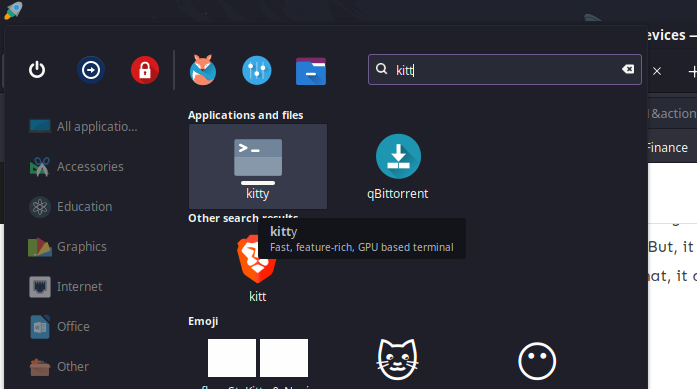
Once the installation process is complete, you can launch it from your Applications menu.
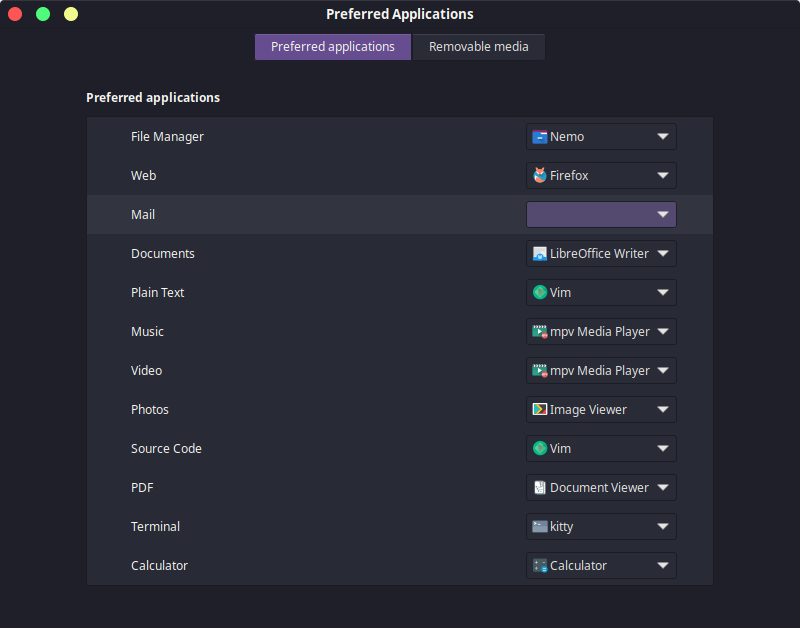
You should also make Kitty Terminal default by opening your Default applications settings (This is different for every desktop Environment), on Cinnamon, you can do it with ‘Preferred Applications.’
Customizing Kitty Terminal
You can obviously work with the default settings and theme in the Kitty Terminal, it is very functional. However, I’m going to show you a few basic optional customizations you can apply to your Kitty to make it more beautiful.
Create a config file in the ~/.config/kitty/ directory using your favourite text editor :
# For Vim users
vim ~/.config/kitty/kitty.conf

# For Nano users
nano ~/.config/kitty/kitty.conf
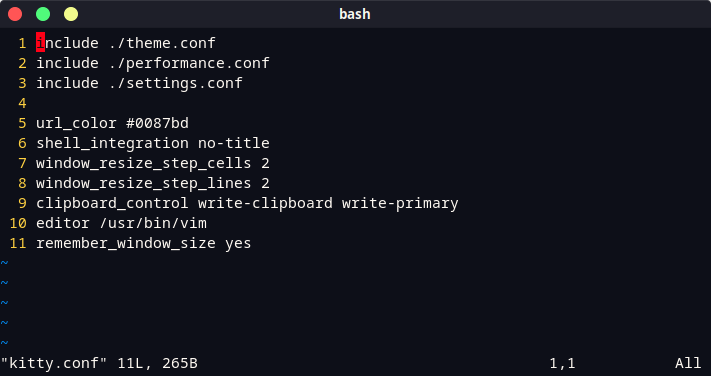
Now, copy and paste the following lines into the file :
# font_family      Input Mono
font_family      Fantasque Sans Mono
italic_font      auto
bold_font        auto
bold_italic_font auto

# Font size (in pts)
font_size        18.0

# The amount the font size is changed by (in pts) when increasing/decreasing
# the font size in a running terminal.
font_size_delta 2

# The foreground color
foreground       #c0b18b

# The background color
background       #202020

# Window Size
remember_window_size yes
shell_integration no-title
Save and exit out of your vim editor by pressing the Escape key, and then type :wq. Nano users can simply press Ctrl+O and Ctrl+X to save and exit.
You can also add custom keyboard shortcuts by looking at this config file. Themes can also be set up in the Kitty Terminal, you can check out several themes made by various users on this GitHub Page.
Summary
Once you are done with the setup, you can choose to remove the previous Terminal emulator. This is completely optional, and it is also not possible in some distributions as it can cause dependency errors. Proceed with caution and even do it via the GUI software store, it will not let you break any important package(s).