
Endeavour OS is one of the major Arch Linux-based distributions. The existence of this operating system basically makes the installation of Arch Linux really simple and easy for a newbie because of its graphical installer and is therefore considered as Arch for beginners. In this article, we will look at the features of this distribution, and we will try to install this distro on our machine/VM using a step-by-step guide.
Features of EndeavourOS
The ISO of this distribution ships with an online installer which is capable of installing possibly every desktop environment like KDE Plasma, Cinnamon (like Mint) or GNOME (like that of Ubuntu) and window manager, which is obviously possible in Arch Linux, but the difference is that Endeavour OS is entirely graphical. However, if you choose to go with an offline install, the installer will give you an option to install XFCE Desktop Environment.
Unlike Manjaro, this OS does not have any repositories and therefore the experience is very Arch Linux-like if you have not installed any themes. This does not come with any extra software pre-installed, but it gives you the choice to install important packages such as Firefox and LibreOffice during the OS installation process.
Nvidia driver support is on by default, and you can choose the Nvidia version of the OS during the boot process when you are Installing EndeavourOS. This feature is missing in Manjaro Linux and therefore can be a dealbreaker for some people who do not like the hassle of configuring Nvidia drivers.
Download the ISO & Flash it to USB drive
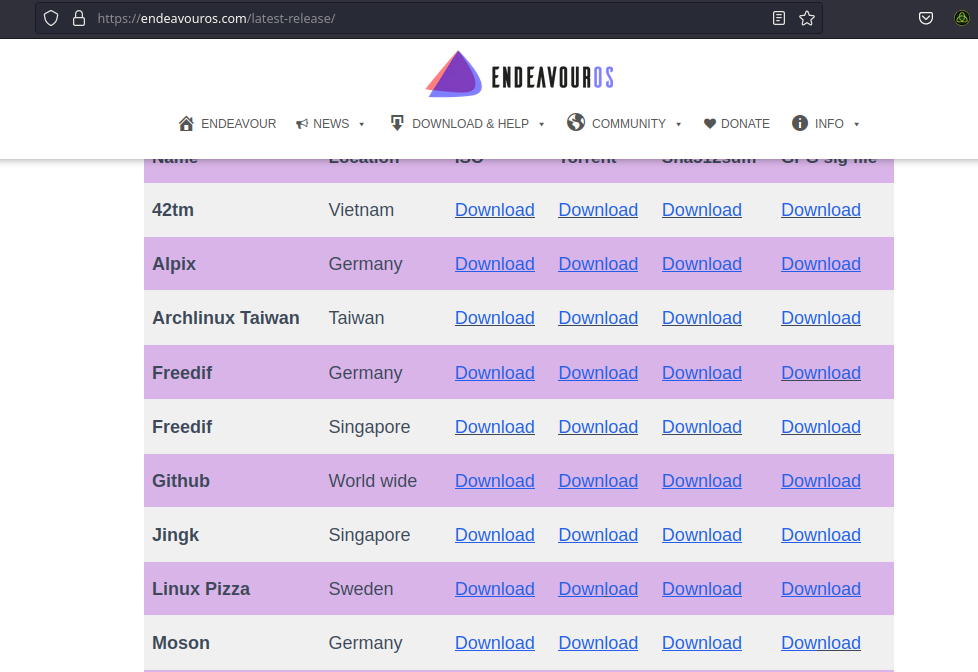
Head over to the official Download page of Endeavour OS and download the latest release of the ISO image. If you are familiar with the BitTorrent protocol, then I will recommend you to download the .torrent file and download the ISO using your Torrent client such as qBittorrent as it reduces the server load for the distribution’s developers.
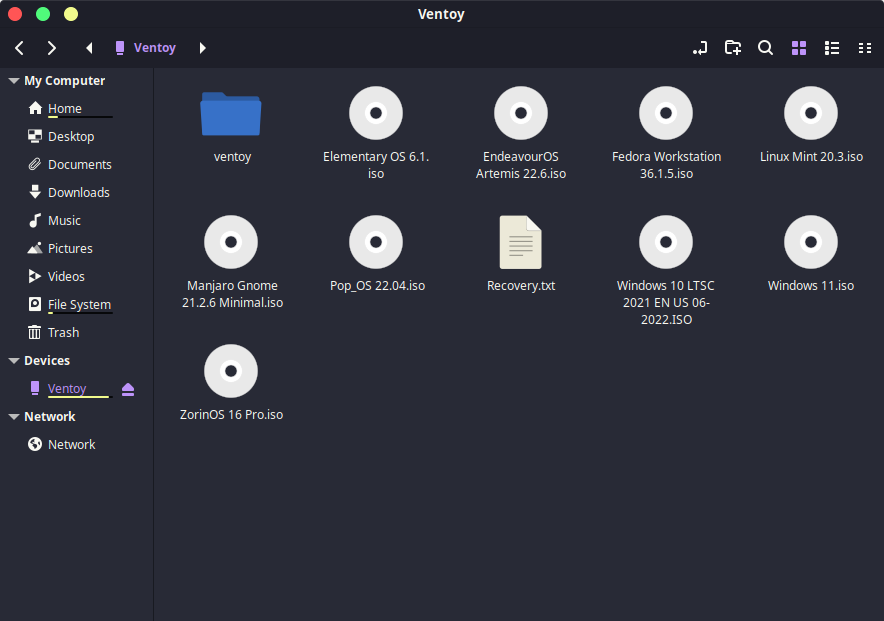
Once the download is finished, I recommend you create a bootable USB drive using Ventoy, and then simply copy-paste the EndeavourOS ISO file from your Downloads folder to the USB. You can also use applications like Balena Etcher or Rufus.
Now that you’ve created the USB stick, turn off your PC and turn it on again. While the manufacturer logo displays on your screen, you have to press either the F2 key or the Del key to enter the UEFI boot menu. This depends upon your manufacturer entirely, and you can check it on Google.
Now, look for boot settings and disable the secure boot option. I have really no way of showing this because I cannot screenshot anything in BIOS menu. You also have to change the boot order so that your USB boots first. Now, save and exit. From, the Ventoy boot screen, you can select the EndeavourOS option.
Installing Endeavour OS from Live ISO
When you first boot into the OS, you can see the Live demo of the OS and figure out how the OS feels. This is not an accurate depiction, because you can switch the desktop environment during installation, and you can only access the XFCE environment.
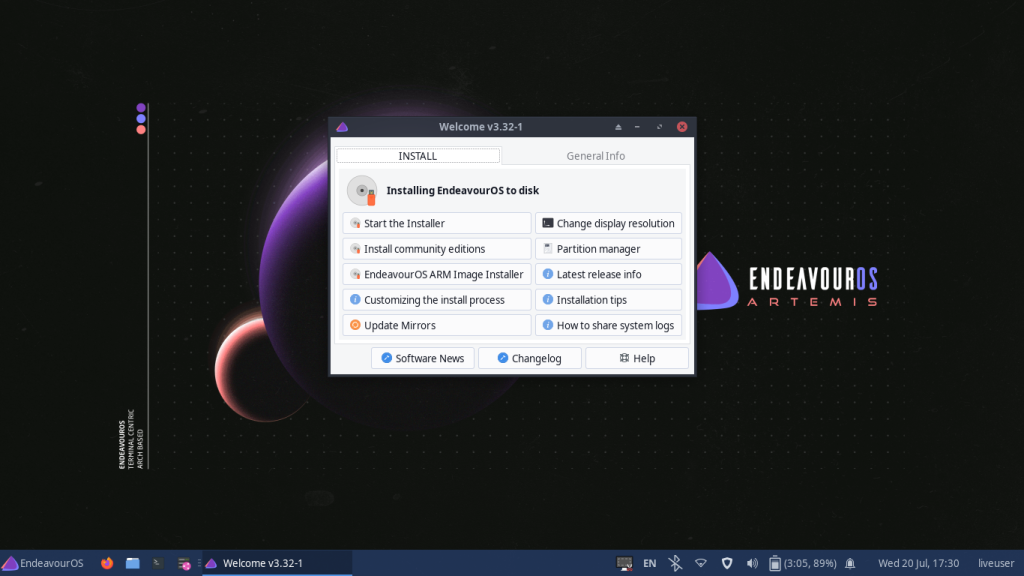
You will be greeted with the welcome application, and you can start the installer from here. If you are going for an online install, it is recommended that you should click on ‘Update this Application’ and ‘Update Mirrors’ for a faster installation and a smooth installation process. I’m going to install via the Online method, but the offline method is no different.
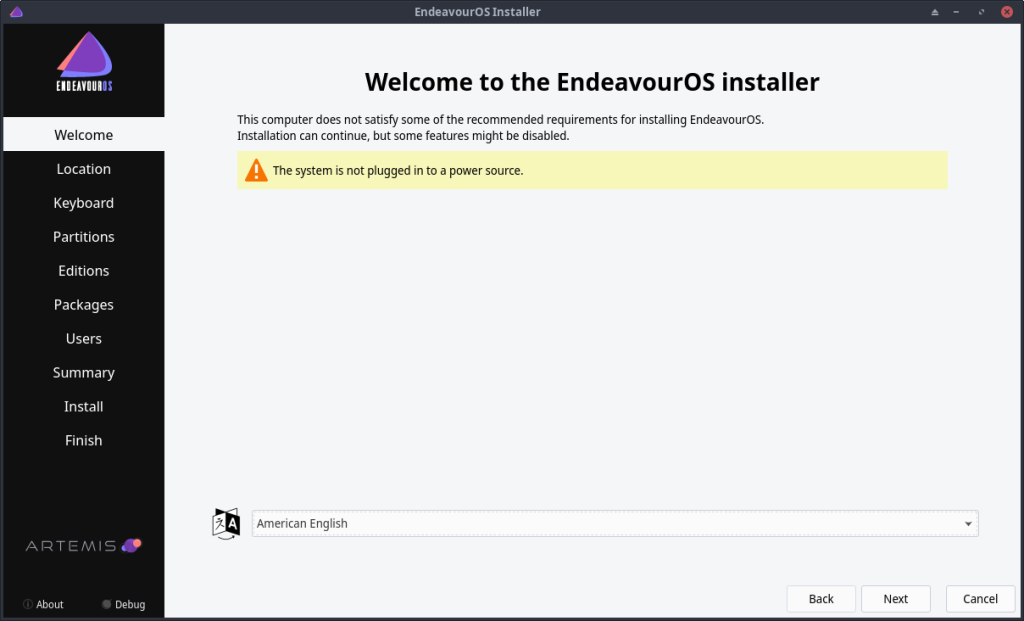
First, you will be greeted with the Welcome screen along with an option to choose the preferred language during the installation process.
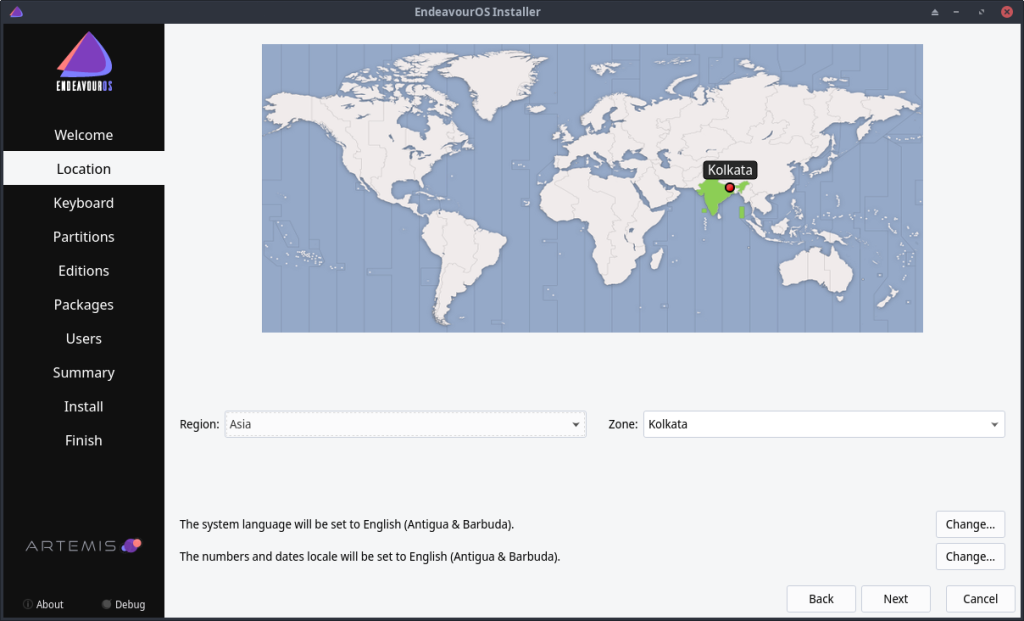
Next, you will be asked to set your Location, this process is important to set the correct timezone for your PC. You can either select using the dropdown menu or simply click on the location in the map.
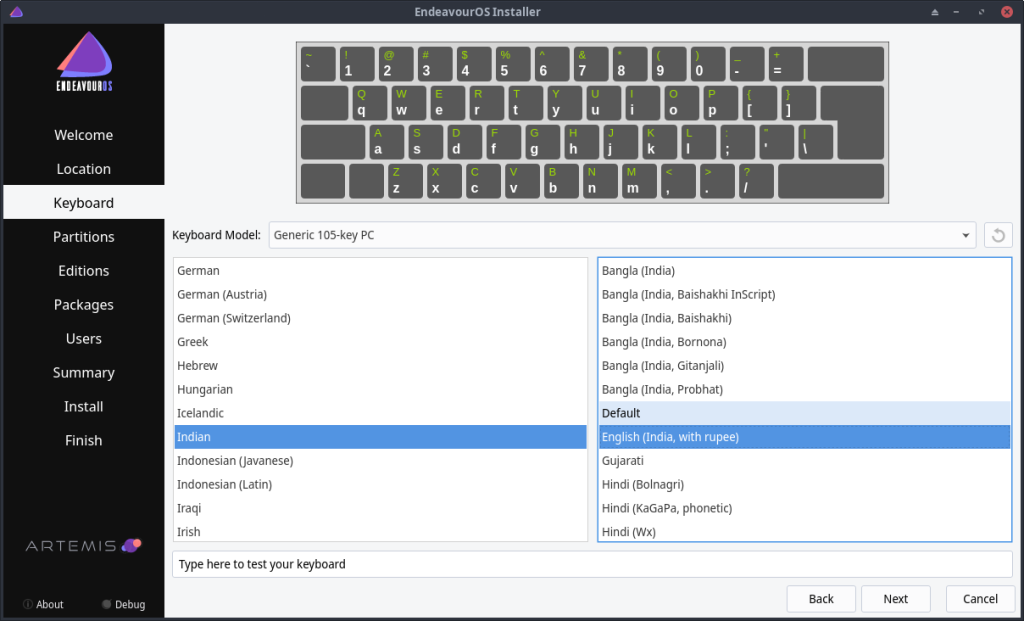
You will be asked to set the keyboard layout you want to have next, you can select it from the dropdown menu and hit next.
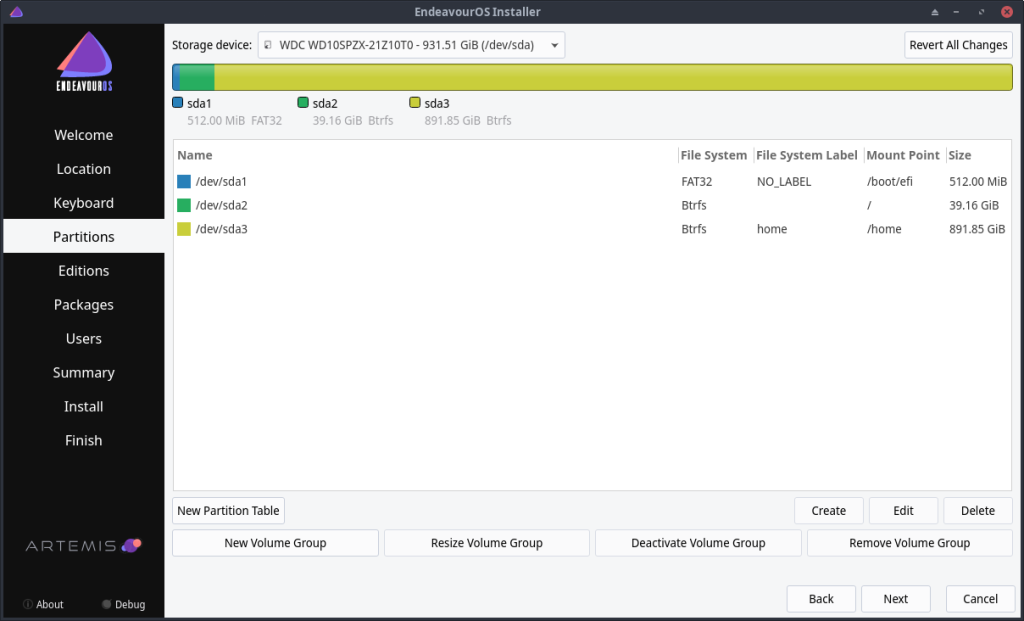
In the next menu, you will be asked to specify the partition style of your OS. Now, if you know nothing about partitioning, then you can simply click on ‘Erase disk along with swap space’ (Any data on the Hard Drive will be deleted). But if you know what you are doing then I will recommend you to create at least 3 partitions manually like this :
| Name | Mount Point | Filesystem | Size |
| Boot Partition | /boot/efi | fat32 | 512mb |
| Root Partition | / | ext4 OR btrfs | At least 30 GB |
| Home Partition | /home | ext4 OR btrfs | The rest |
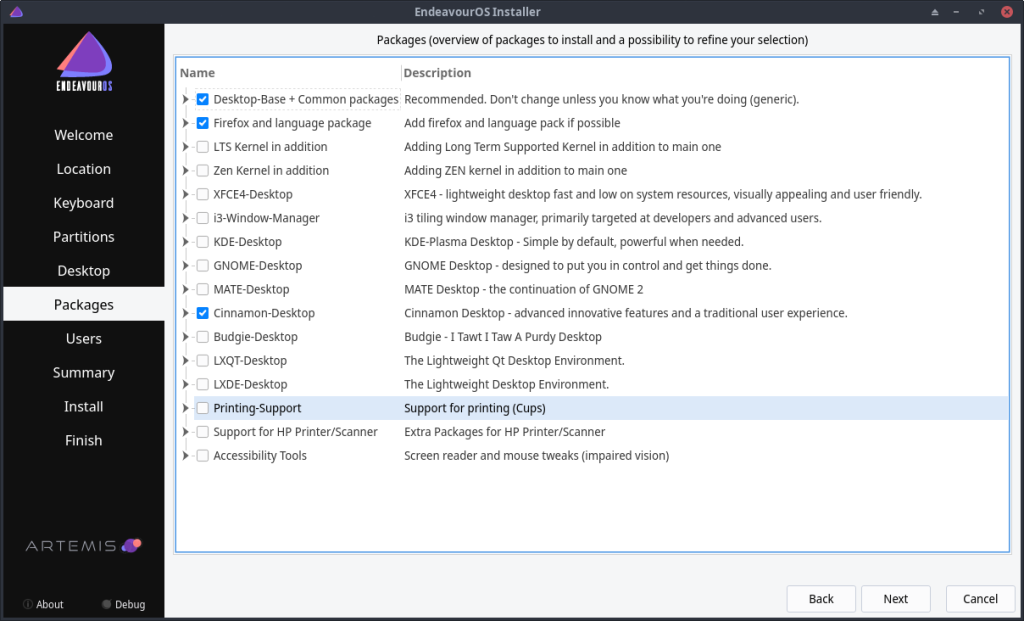
The Endeavour OS installer will then prompt you to choose the desktop environment or window manager of your preference, along with the optional theming (I’d recommend it, because it looks really nice). You can choose to install HP printer drivers and/or Accessibility tools such as text to speech etc.
Finally, you will be greeted with the Account creation menu, from here you can create the username, password and the name of your PC. Hit next and The installer will show you a short summary of what is going to happen. This is your last chance if you want to modify any disk-related parameters because your Hard drive will be formatted during the installation of Endeavour OS.

Click on the ‘Install’ button and the installation process will finally begin. Take a coffee break now, it would take around 20 minutes for the whole process to complete.
Once the process is finished, the installer will ask you to reboot your device. Also, make sure that you remove the installation media (USB Stick) before the manufacturer logo appears on your screen.
Post-installation tweaks
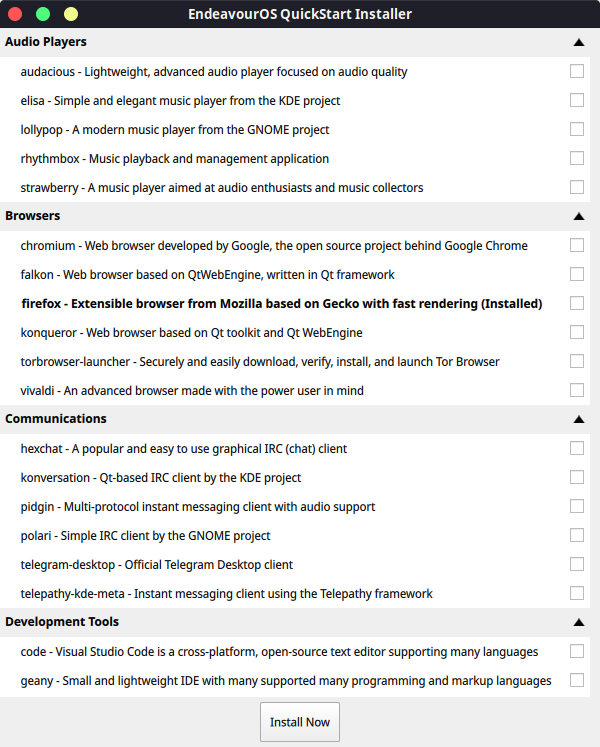
Again, the welcome application will greet you along with another tab named ‘Add more apps’, from here you can add the most commonly used applications with just a few clicks.
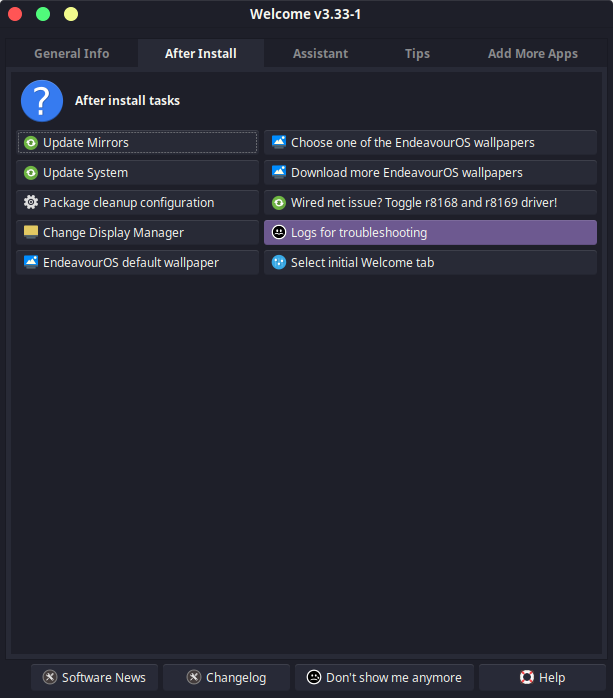
You can also change the wallpapers, add more wallpapers, change the display manager etc for your distribution from here.
I’d also recommend you to install the pamac-aur package from the Terminal, it is essentially a graphical package manager available in Manjaro, but you can install it as well. Install it by typing :
yay pamac-aur
Summary
I’d say Endeavour OS is the better Arch-based distribution than Manjaro Linux because packages in Manjaro often break because of dependency issues caused by the developers holding various packages for a certain period of time. And because Endeavour OS is very close to vanilla Arch, users can enjoy the experience without having the hassle of a command line-based installation process.
If you are a beginner, you should stick to beginner-friendly distros like Linux mint, but you can give this open-source Distro a try if you are feeling a bit adventurous.