

The first thing anyone does after booting into a custom PC that they built is to run a benchmark test. While running a benchmark test is simpler on Windows, every benchmarking website provides an EXE file that you can easily install and run the benchmark on your PC or laptop. On Linux, however, things are a little bit complicated. You can’t just install an EXE file of a benchmarking tool through a compatibility layer like WINE or Proton and expect it to perform perfectly as if it is running natively.
Therefore, you will have to install a native application that will accurately show you how well your system performs. Fortunately, Geekbench, which is one of the most popular benchmarking tools, has a native Linux port. In this tutorial, we will install this benchmarking application as well as demonstrate how to run this tool on your PC/Laptop.
Step-by-Step Guide to Installing Geekbench 6 on Linux
Geekbench is a popular benchmarking tool that offers a native Linux port for accurate system performance measurement. This comprehensive guide walks you through two methods of installing Geekbench on your PC: via Flathub and directly from the source. Once installed, you can run the benchmark tests directly from the terminal. The results are then uploaded to a web address, which can be accessed through your browser for detailed analysis. Geekbench provides a reliable way to gauge your system’s capabilities, including single-core and multicore performance.
Let’s get started with the step-by-step method for installing Geekbench on Linux. Now, we’ll be covering two methods here. Let’s start with Method 1.
Method 1: Installing Geekbench via Flathub
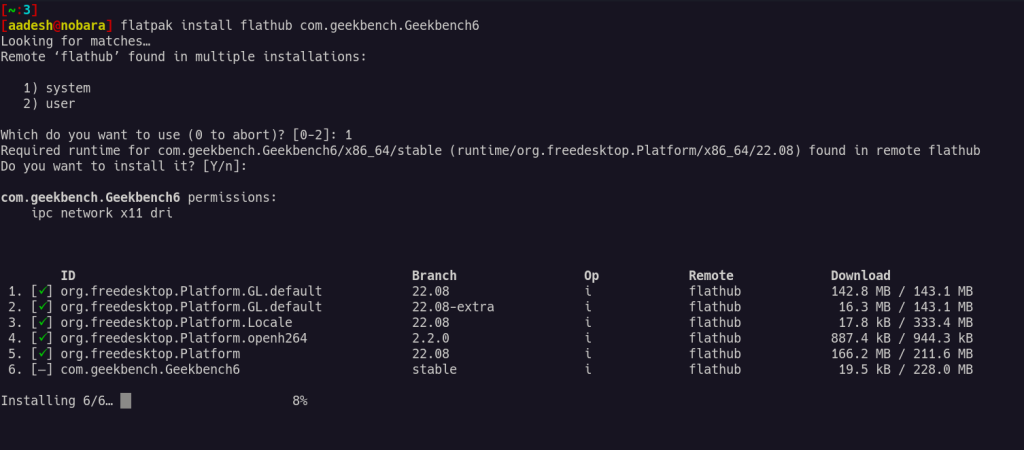
The easiest way to install and run Geekbench on your Linux device would be to use the Flatpak version. Through this method, an app and all its residual folders can also be uninstalled and removed later very easily because Flatpak apps run in a sandboxed environment. Just make sure that you have installed and enabled Flatpak and the Flathub repository on your system. Then, simply type the following commands in your ‘Terminal’ app and press enter:
flatpak install flathub com.geekbench.Geekbench6
Once installed, we can begin benchmarking by running the app.
Method 2: Installing Geekbench from Source
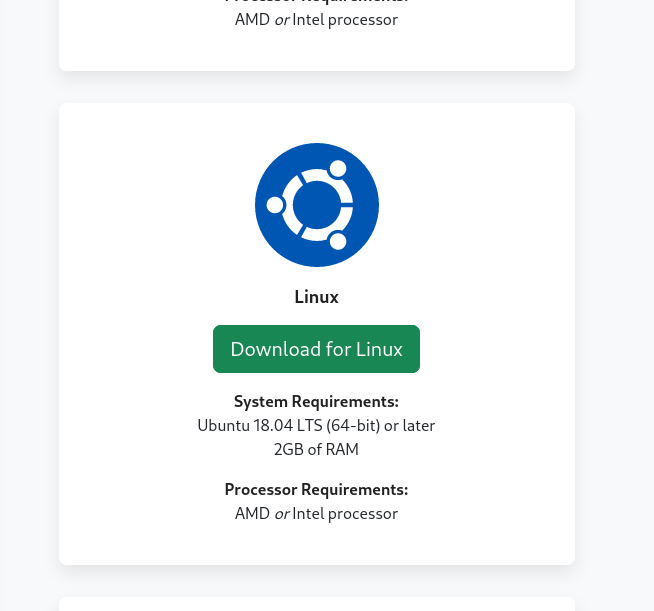
Visit the official Geekbench website and then download the Tarball from there
Once downloaded, extract it using either GUI extractor or just type this command in your Termial window:
# Enter your downloads directory
cd ~/Downloads

# Extract the Tarball
tar -xvf Geekbench*.tar.gz
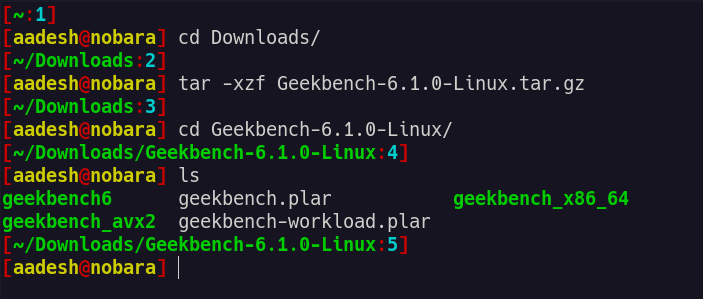
Now you’re ready to run the benchmark.
Run the benchmark on your PC
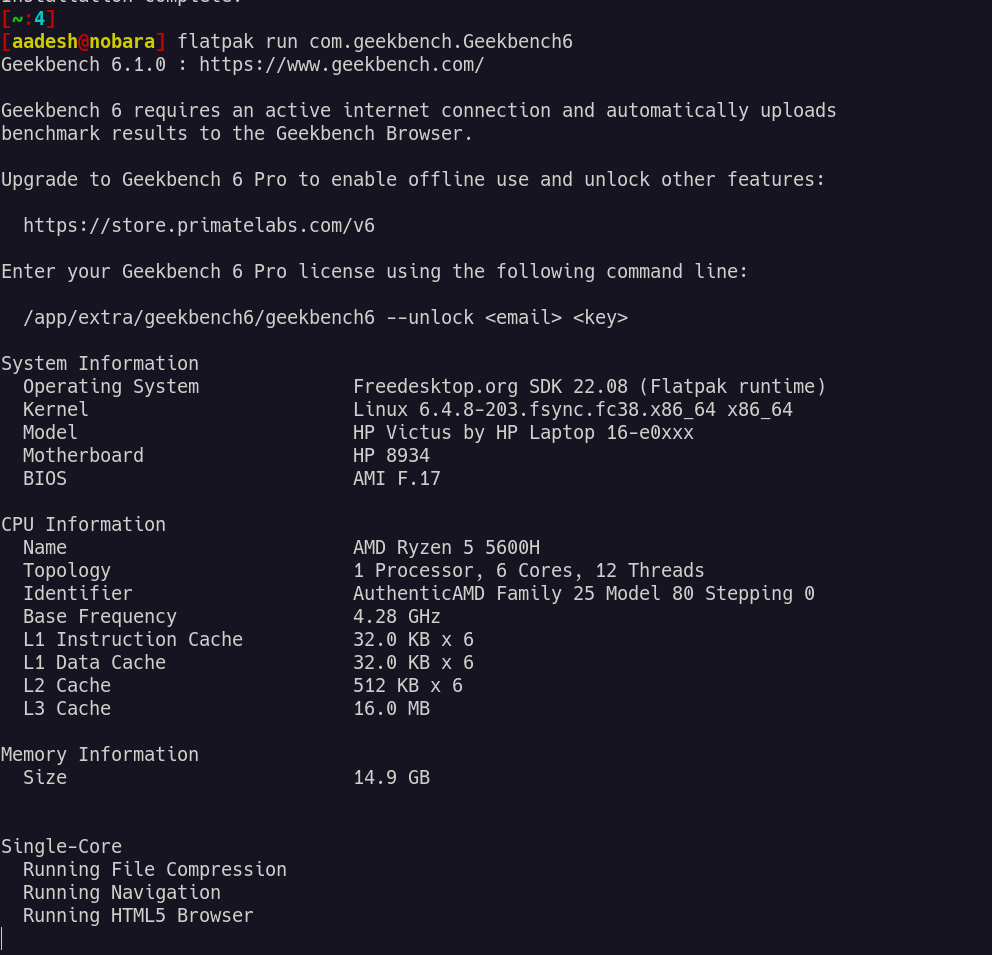
Because this is a command-line app, we will have to run it directly in the Terminal itself by running the CLI tool. If you have installed the Flatpak version, then you can run the following command:
flatpak run com.geekbench.Geekbench6
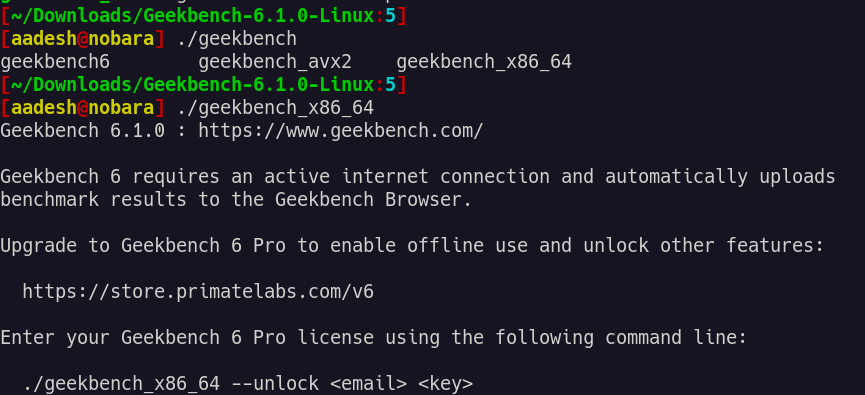
If you are running the Tarball, then you can execute the benchmark by typing the following command:
# Enter into the extracted directory
cd Geekbench*/

# Run the executable
./geekbench_x86_64
If you are running this on a laptop, then make sure that you are plugged in to get your benchmark on the highest settings. Also, if you are running the GNOME desktop, then make sure to turn on the ‘Performance’ mode from the Power Profiles Daemon (located just below your Wi-Fi configurator on the top bar).
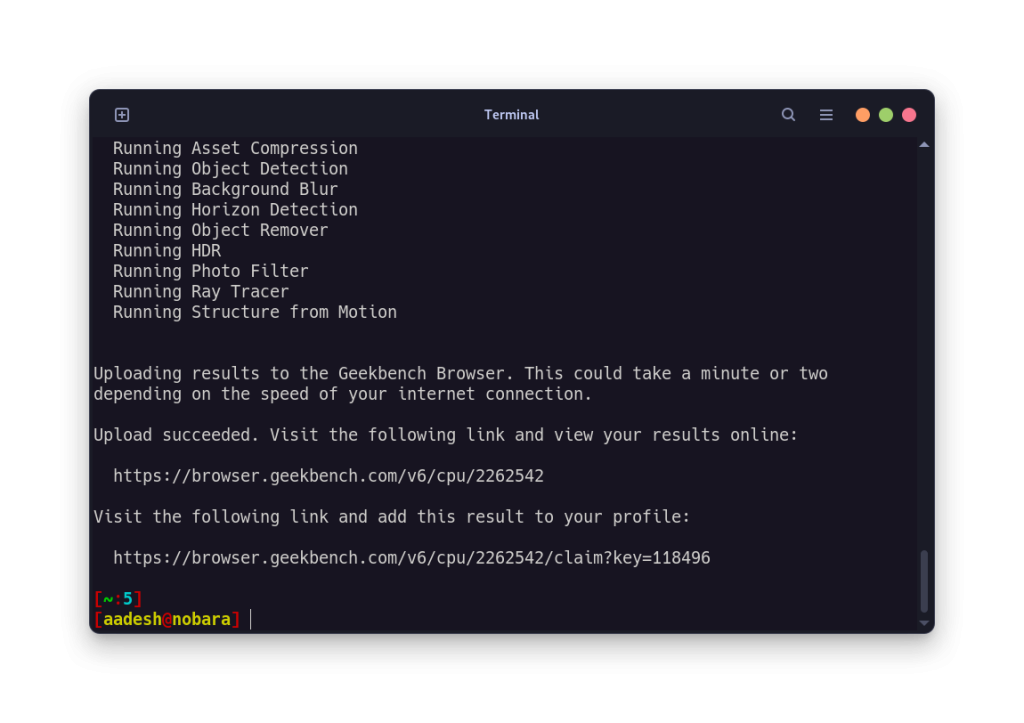
Once the benchmarking is complete, you will receive a web address in the Terminal where the result is uploaded. Either type that URL in your Browser or just press Ctrl on your keyboard and then click on the URL field.
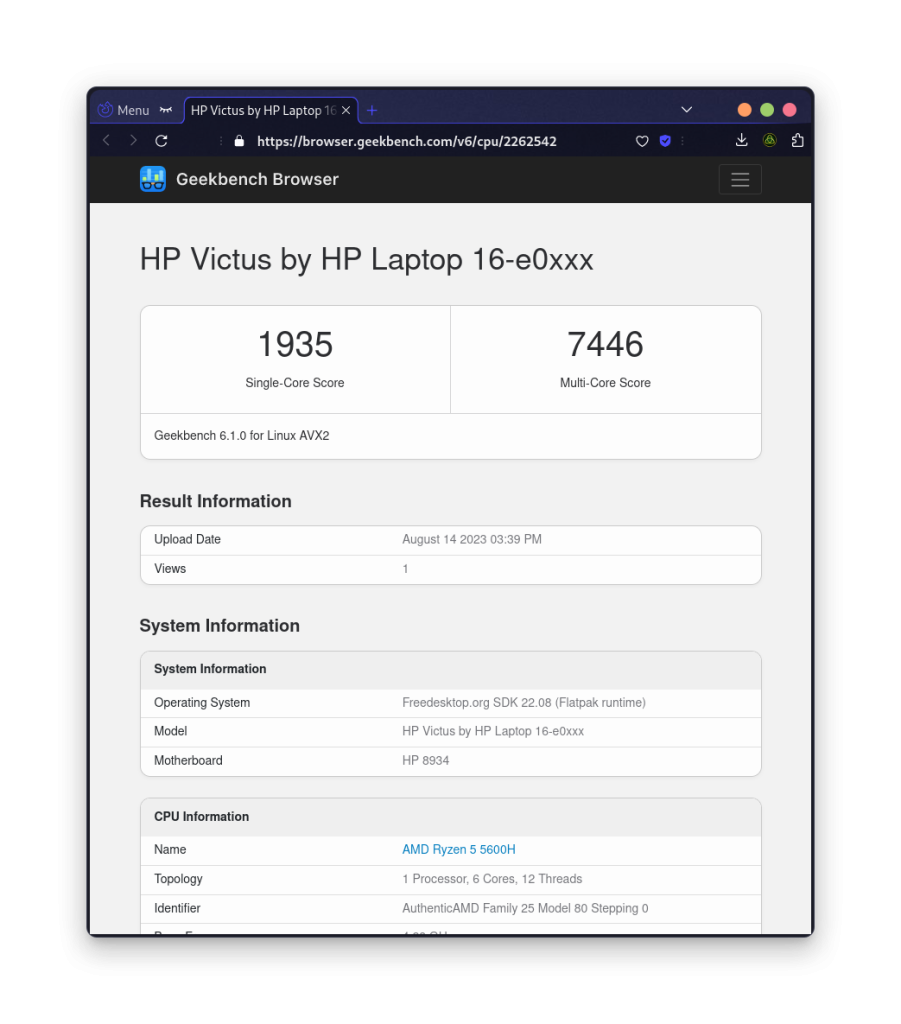
You can also add various devices or CPUs to compare your results with their score.
Wrapping Up
Geekbench scores have been a standard in the tech community to measure how well any Computer is performing. Along with several other apps like Blender etc., you can measure how your GPU, VRAM, and RAM perform and figure out which component of your PC is acting as a bottleneck.
If you really do not like using the command line interface, then maybe you can give KDiskMark app a try. The KDE community, which also creates the KDE Plasma desktop for Linux-based systems, is in charge of developing it.
What is Geekbench 6 and how does it work on Linux?
Geekbench 6 is a cross-platform benchmark that measures your system’s performance and includes variable workloads for a comprehensive analysis. It tests various aspects of your computer’s capabilities, allowing users to compare results to the Geekbench browser and see how their device or desktop computer performs against recent models.
How do I install Geekbench 6 on my Linux system?
To install Geekbench 6 on Linux, you can download the latest version from the official website. Once downloaded, you can use the command line to extract the files and run the executable to start the benchmarking process.
Can I run Geekbench 6 on a macOS device?
Yes, Geekbench 6 is compatible with macOS. Users can easily install and run the benchmark tool on their Mac devices to evaluate performance and compare results with other systems.
What command do I use to start Geekbench 6 from the terminal?
To start Geekbench 6 from the terminal, navigate to the directory where Geekbench 6 is installed and run the command ‘./geekbench6’. This will initiate the benchmark process
How can I find out today with Geekbench if my system is performing well?
You can run the Geekbench 6 benchmark and view the results. The scores will indicate how your system performs under various workloads, allowing you to assess its efficiency compared to the newest devices on the market when push comes to crunch.
Are there any specific system requirements for running Geekbench 6 on Linux?
Yes, Geekbench 6 requires a Linux system with a compatible architecture. It is recommended to have a recent version of your distribution and the necessary GPU API, such as OpenCL, to fully utilize the benchmarking capabilities.
How do I submit my Geekbench results to the Geekbench browser?
After completing the benchmark, you will have the option to submit your results to the Geekbench browser. This allows you to share your scores and compare your system’s performance with other users globally.
Is there any support available if I encounter issues while using Geekbench 6?
Yes, you can find support for Geekbench 6 through their official website. They provide documentation, FAQs, and a contact link for additional assistance with any issues you may encounter.
Can Geekbench 6 benchmark both CPU and GPU performance?
Yes, Geekbench 6 is designed to benchmark both CPU and GPU performance. It includes workloads that assess the compute capabilities of your hardware, giving you a comprehensive view of your system’s performance, especially in graphical tasks.
How does Geekbench 6 help me understand my system’s performance better?
Geekbench 6 provides detailed results and scores that help users understand how their system performs under various conditions. This knowledge allows for informed decisions when upgrading hardware or optimizing system configurations.