

In this tutorial, we see how we connect to GitHub with SSH on your server, for transferring data securely over GitHub. SSH or Secure Shell Protocol provides a secure way of accessing to another client/host. It encrypts the data transferred over the network, giving an additional layer of security.
Steps to Connect to GitHub using SSH
Let’s now go over the steps to connect to GitHub using SSH on our Linux machine.
1. Generate a new SSH key
Check for Existing Keys
To connect with ssh, you need to have an SSH key present on your local machine. To check for existing SSH keys, open up a terminal and type the ls command as below:
ls -al ~/.ssh
If any ssh key is present, the files present in the ssh directory will be listed. If these keys are present, you can choose to use the existing keys.
But it is always considered safe to create different ssh keys for different applications/connections so that even if one key is compromised, the other connection remains safe.
So you can create a new private key or can proceed to instructions of adding a new SSH key to SSH agent.
Generate an SSH key
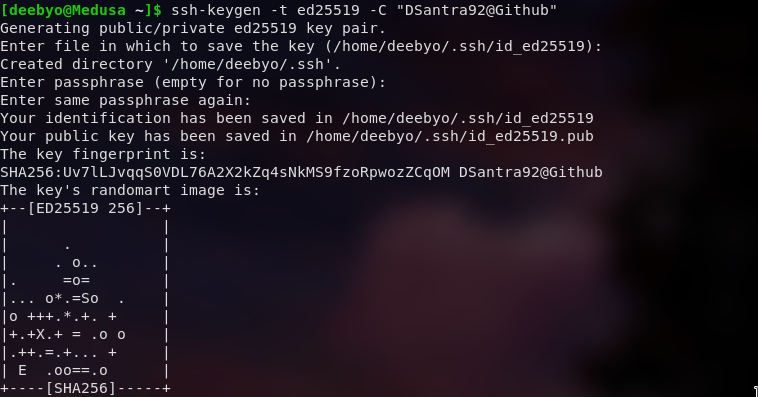
Open a terminal and type in ssh-keygen command to create an ssh key:
ssh-keygen -t ed25519 -C "<label>"
Using the label, you can label your SSH keys. If you are creating this ssh key pair only for connecting to GitHub, you can consider using the “<username@Github>” format as your label.
If your system does not support the Ed25519 algorithm, you can use the RSA algorithm instead:
ssh-keygen -t rsa -b 4096 -C "<label>"
Using RSA encryption, ssh-keygen will create different filenames, than the one given in our tutorial. To tackle that problem, change the SSH filename wherever mentioned.

Next, you are prompted to “Enter the file in which to save the key”. You can just press Enter to use the default location or specify your own file location. It is a good idea to go for the default directory because most programs will look into .ssh for finding the keys. To avoid any future conflicts, go to the default directory and press Enter.

In the end, you will be prompted to enter a “secure passphrase”. Passphrase adds a second layer of security to the connection, so it is not recommended to keep it empty. Enter and reenter your passphrase to confirm.
Optionally, when you generate a new key, you can also add passphrases to further secure the key.
2. Adding to SSH-agent
Now that we have an SSH key, we can add our keys to the ssh-agent. SSH-agent is a key manager for SSH connection. Adding the keys to the ssh-agent saves you from typing the passphrase again and again. To add our keys to the ssh-agent we start the ssh-agent in the background.
eval "$(ssh-agent -s)"

Now that we have our ssh-agent started, we add our key pair to the ssh.
ssh-add ~/.ssh/id_ed25519

Note: If you have used a different directory/filename during key creation, replace ~/.ssh/id_ed25519 with the key location.
3. Add the keys to GitHub Account
First, we need to copy the SSH public key to the clipboard. We use the xclip to copy from the file contents.
sudo apt-get install xclip
# If you are not on a Debian based distro, use package manager of your choice( eg. Pacman or yum)

xclip -selection clipboard < ~/.ssh/id_ed25519.pub
Note: If you have used a different directory/filename during key creation, replace ~/.ssh/id_ed25519 with the key location. If xclip is not working, you can use any text editor to copy from the ssh key file. Make sure you don’t add any newline or whitespace.
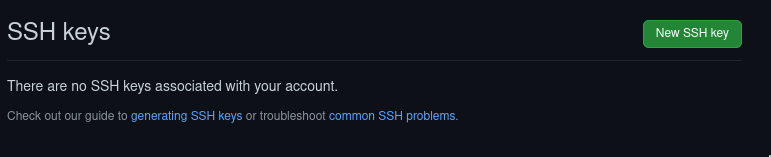
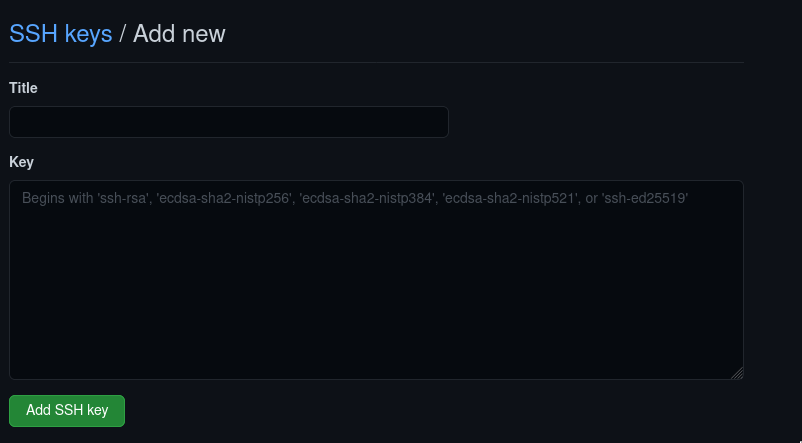
Open GitHub Key Settings and select New SSH Key.
Paste your clipboard contents under the Key and name the key using the Title form field.
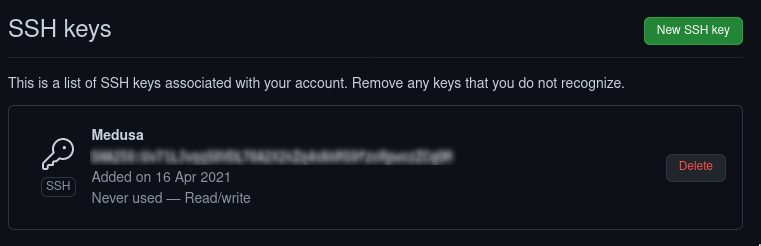
You will be redirected to type your password. After you authenticate with your username and password, you will see your ssh key added to your GitHub account. SSH command can now be used for connecting to GitHub. You can also reconfigure any local repositories to use SSH.
4. Clone repository using SSH
Go to the GitHub repository you want to clone. Click on the Download Code button and select ssh option.
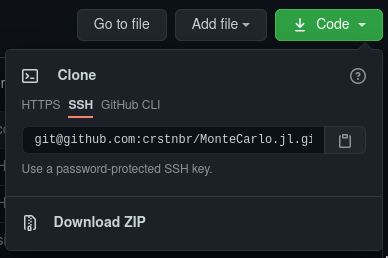
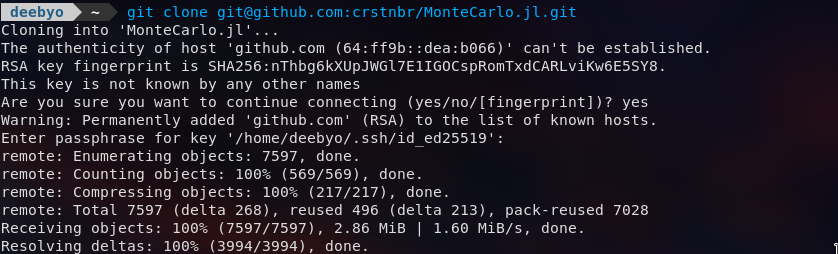
Copy the command and paste it into the command line. Your repository should be cloned using ssh. Any git commands will also use ssh for remote connections.
git clone [email protected]:crstnbr/MonteCarlo.jl.git
Conclusion
After all this setup, you are now all set to use a secure connection for connecting to GitHub. The data transferred to the GitHub.com Upstream will now be encrypted and therefore more secure.
References
You can also refer to the Official GitHub Docs