

In this tutorial, we will demonstrate how to install Okular on Linux and the features this application boasts. Firstly, let’s understand what is Okular.
If we want to read some read PDF documents, comics and EPUB books, browse images, all on single application, then we can use Okular which is an open source Universal Document Viewer developed in the KDE community. Okular allows us to read PDF documents, comics and EPUB books, browse images, visualize Markdown documents, and much more. Also, as it’s an open source program, we can also view its source code. We can use Okular on Linux and as well as on Windows.
Features of Okular
This PDF viewer is packed with a lot of features, some of them are mentioned below:
- PDF Annotation: With Okular ‘Annotation mode’, we can easily add inline and pop-up notes, highlight and underline text, or even add our own text.
- Select, View and Copy any Text: With Okular ‘Selection mode’, we can copy and paste almost anything from our documents to elsewhere. And, for those times the text we want to read is too small, we can use the ‘Magnifier mode’.
- Easier Navigation: With Okular ‘Thumbnails panel’, we can browse graphically the part of the document we are looking for. With the ‘Content panel’, we can find the chapter that we need in all supported documents.
- Signature Support: We can view and verify digital signatures embedded in PDFs, check if they are still valid, and detect any modifications since the moment the document was signed. We can even sign PDFs ourselves.
- Multiple Format support: Okular supports many formats, including PDF, EPUB, DjVU and MD for documents; JPEG, PNG, GIF, Tiff, WebP for images; CBR and CBZ for comics; and many, many more.
Installing Okular
There are multiple ways through which we can install Okular on our Linux PC. We will discuss all these steps one by one.
- Using default package manager
- Installing via graphical installer
- Installing via Flatpak
- And installing with the Snap package Manager
We will discuss all these methods one by one.
Method 1: Using default package manager
Open your Terminal, and follow the command according to your distribution.
On Debian based distributions
For Debian based Linux distros, use below given command:
# Debian / Ubuntu / Mint
sudo apt update && sudo apt upgrade
sudo apt install okular
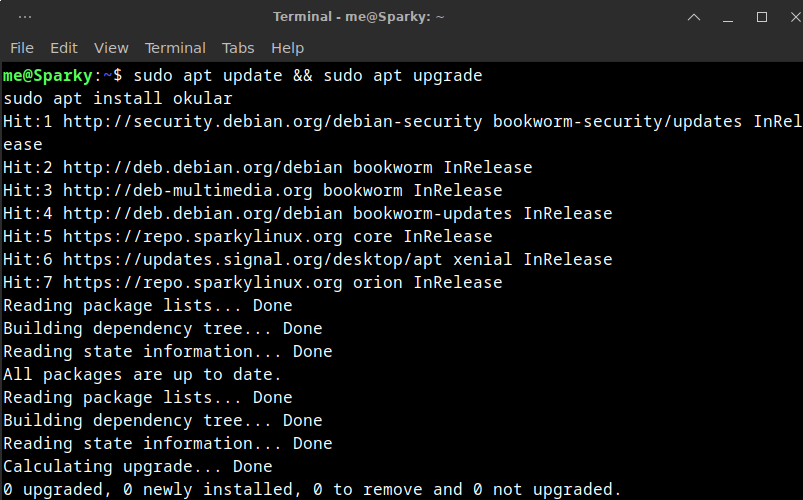
On most of the distributions, we can easily install Okular using the default package manager.
On Fedora and RHEL based distributions:
# RHEL / Fedora / Centos
sudo dnf install okular
And finally, if you are using an Arch based distribution, such as Manjaro or Endeavor OS, just run the following command:
# On Arch Linux / Manjaro / Endeavor OS
sudo pacman -S okular
Method 2: Installing via graphical installer
If you are using a distribution which uses the GNOME desktop environment, just launch the Software application and type Okular in the search bar to find the application.
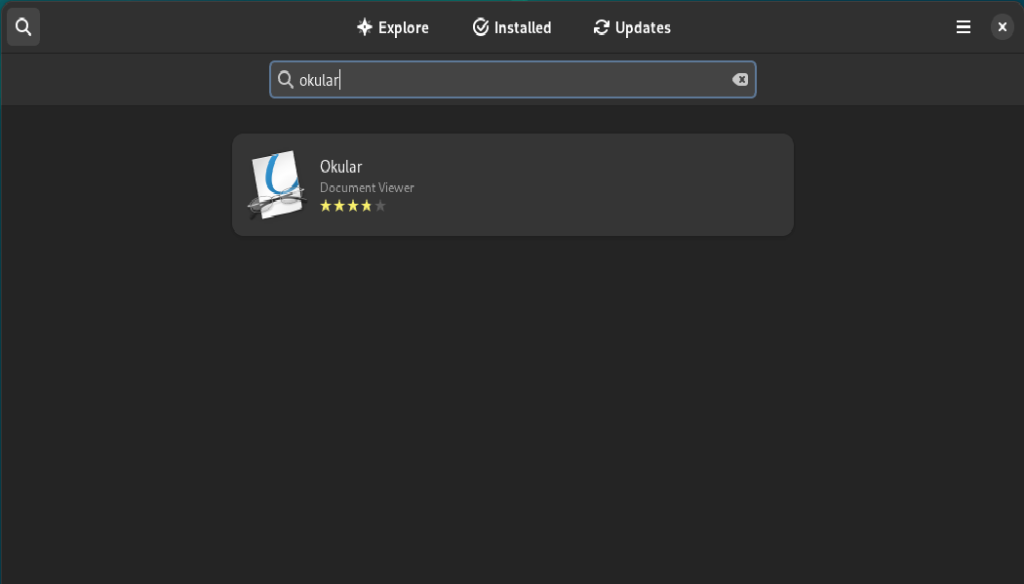
Click on Install button to download and install Okular.
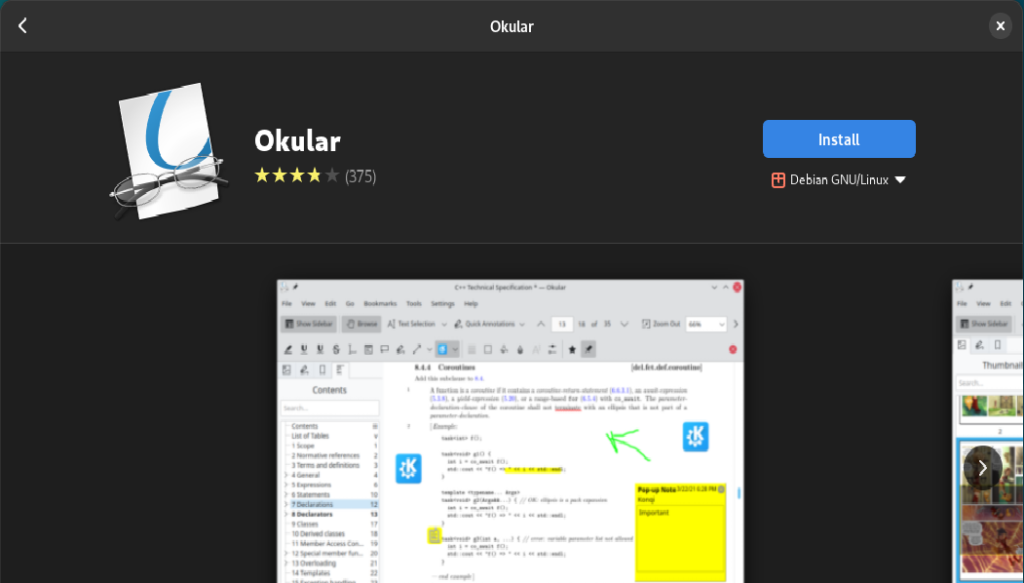
Similarly, on KDE, you can install the application from the Discover store.
Method 3: Installing via Flatpak
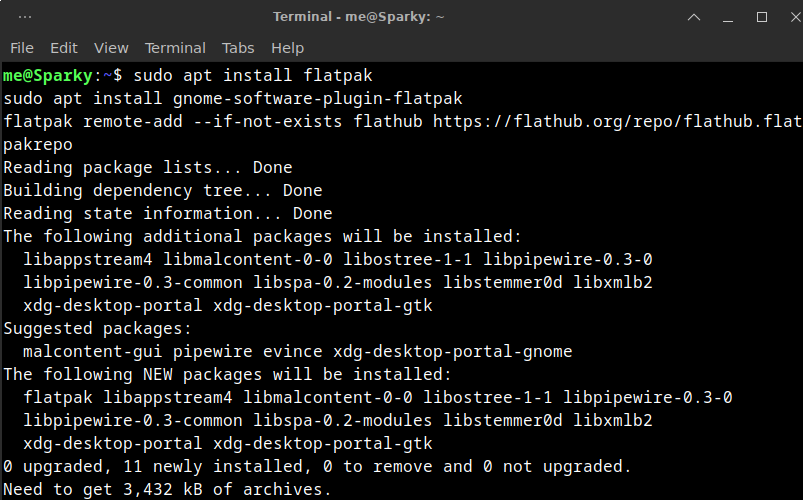
If you don’t have installed flatpak on your Linux PC, follow this guide and install using the commands according to your OS. For Debian, follow below given command:
sudo apt install flatpak
sudo apt install gnome-software-plugin-flatpak
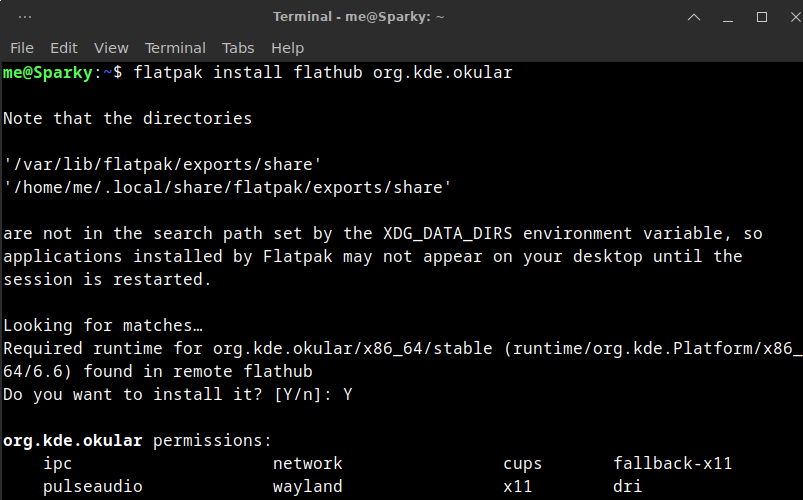
flatpak remote-add --if-not-exists flathub https://flathub.org/repo/flathub.flatpakrepo
To complete setup, we may need to restart our system. After that, we can install Okular.
flatpak install flathub org.kde.okular
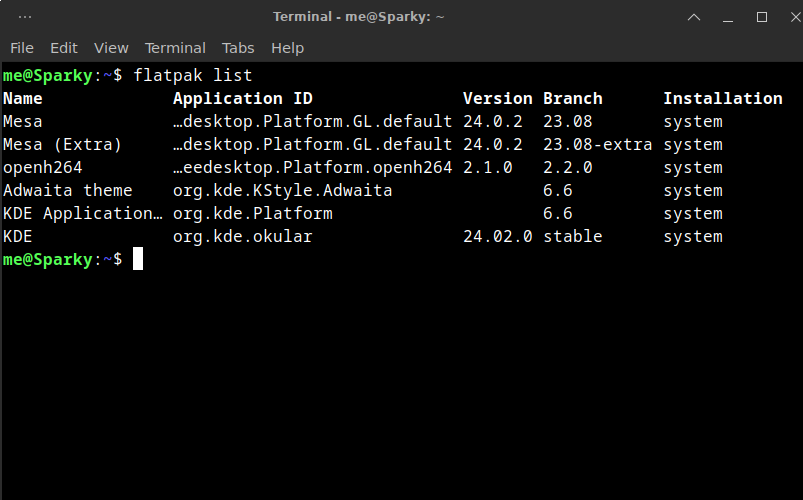
We can check all the installed flatpak application using below command:
flatpak list
Method 4: Installing Okular using Snaps
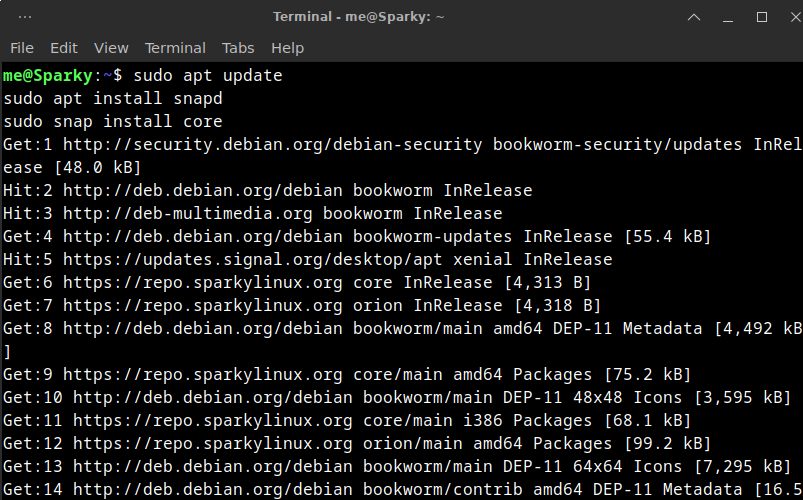
Again, if you don’t have installed snap on your Linux PC, follow this guide and install using the commands according to your OS. Note that if you are using Ubuntu, snaps are preinstalled on your system. For Debian, follow the below command:
sudo apt update
sudo apt install snapd
sudo snap install core
Now, Install Okular using snap:
sudo snap install okular
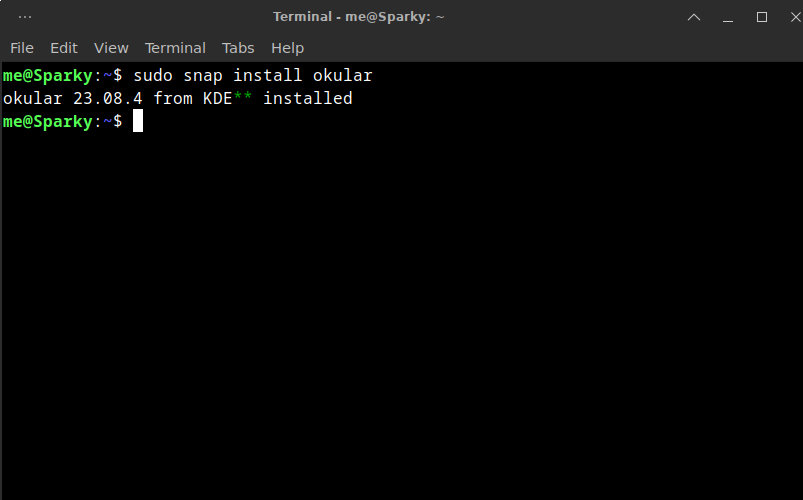
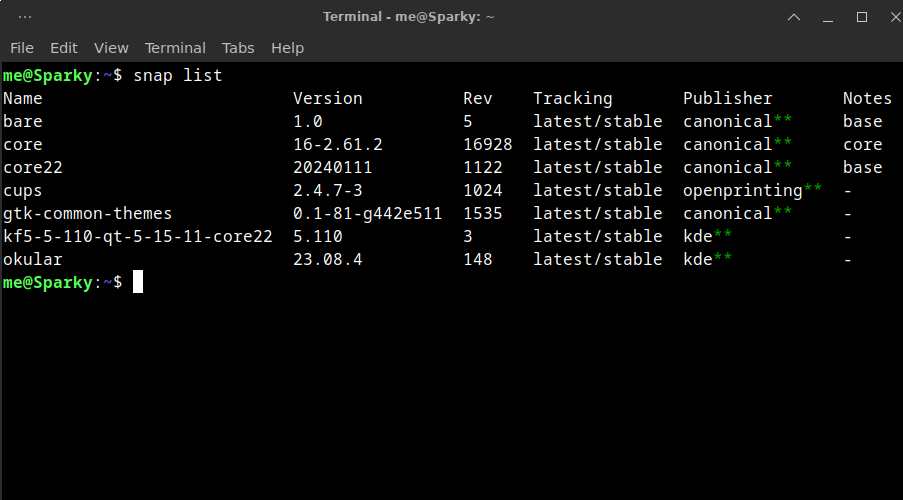
Okular has installed using snap. We can check all the installed snap application using below command:
snap list
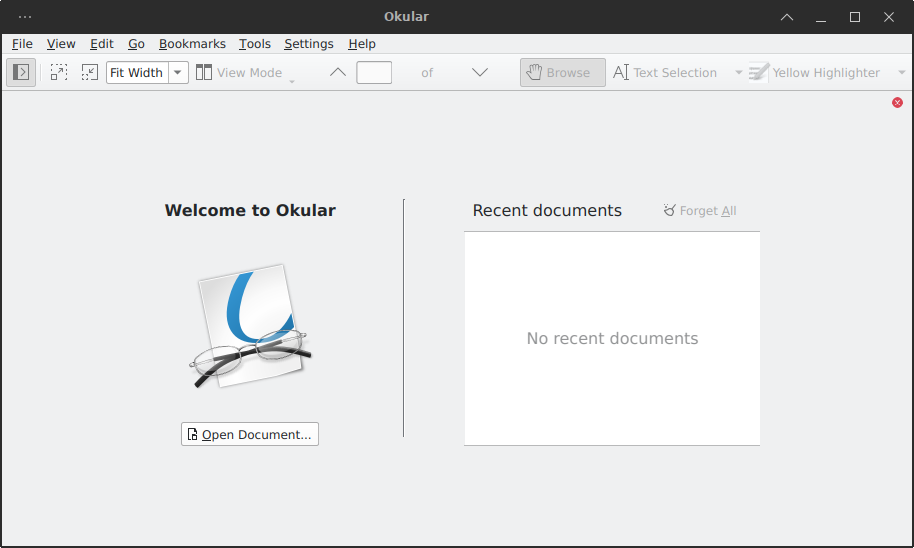
Now, we have successfully installed this application using all above-mentioned three methods, you can just launch the application from the app grid/Menu.
Conclusion
In this module, we discussed Okular which is used for viewing different types of documents, and how to install it on our Linux system. We installed Okular on our Linux in three different ways, one way by using default package manager, secondly via graphical installer and finally with snap and flatpak.